지금까지 HTML과 CSS, JavaScript로 작성한 문서를 react로 옮기는 과정에서 로그인페이지와 메인페이지의 class명이 겹쳐 css가 중복으로 적용되는 일이 발생했다. React에서는 하나의 html만 존재하기 때문이다.
모든 class명을 전부 다르게 해서 이러한 문제를 해결할 수도 있지만, sass를 사용하면 로그인파일과 메인파일의 class명이 중복되어도 css속성을 따로 적용하는 것이 가능하다.
sass를 사용하기 위해서는 라우터와 마찬가지로 터미널에
npm install sass를 입력해 설치해주어야 한다.
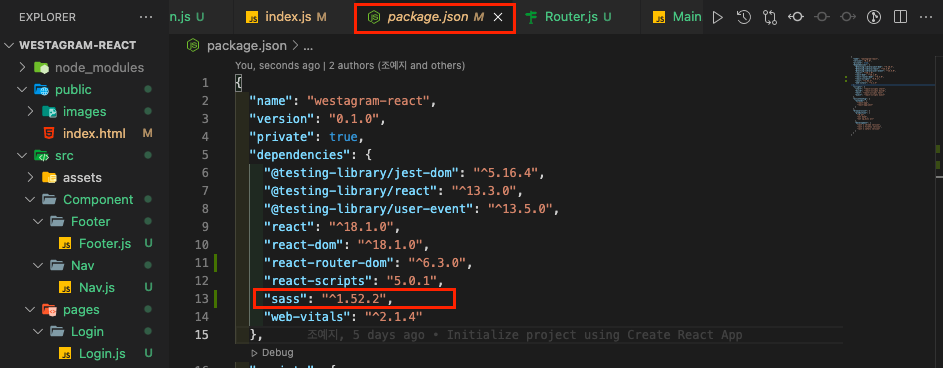
설치가 잘 완료되었다면 package.json파일에서 sass의 버전을 확인할 수 있다.
그리고 지금까지 css로 저장한 파일들의 확장자를 scss로 변경해주고, js파일에서 import로 불러온 css파일들도 scss로 변경해준다.
import './Login.scss'Nesting 기능 적용하기
sass의 가장 기본적인 기능으로는 nesting이라는 것이 있다.
.loginBox {
    display: flex;
    flex-direction: column;
    width: 100vw;
    height: 100vh;
    justify-content: center;
    align-items: center;
	}
.loginBox .border {
	display: flex;
    flex-direction: column;
    justify-content: center;
    text-align: center;
    width: 350px;
    height: 500px;
    border: 1px solid #E6E6E6;
	}
.loginBox .border .logo {
	font-family: 'Lobster', cursive;
    font-size: 40px;
    }
css로 style값을 적용할 경우 위와 같이 'loginBox 안의 border안의 logo라는 클래스'라는 식으로 작성을 해주어야 하지만
.loginBox {
    display: flex;
    flex-direction: column;
    width: 100vw;
    height: 100vh;
    justify-content: center;
    align-items: center;

    .border {
        display: flex;
        flex-direction: column;
        justify-content: center;
        text-align: center;
        width: 350px;
        height: 500px;
        border: 1px solid #E6E6E6;
    }

    .logo {
        font-family: 'Lobster', cursive;
        font-size: 40px;
    }
scss로 작성할 경우 위와 같이 상위 태그 안에 하위 태그의 클래스들을 nesting해줄 수 있다. 따라서 class명이 다른 파일과 중복이 되더라도 nesting을 통해 style값이 중복되지 않도록 할 수 있다.
보통 component명은 중복되지 않기 때문에 가장 상위 태그의 class name을 component명과 같게 해준 뒤 하위 태그들을 그 안에 nesting 해주면 각 파일들의 style값이 충돌하는 것을 방지할 수 있다.
변수 활용,연산자, mixin 등 기본 기능 적용하기
1. 변수 활용
$theme-color: powderblue;

.loginBox {
	background-color: $theme-color
}
자주 사용되는 속성을 변수에 저장해 두면 언제든지 변수만 불러와 쓸 수 있다.
2. & 연산자
#searchBar {
	width: 80%;
    border: none;
    background-color: #EFEFEF;
}
#searchBar:focus {
	outline: none;
}
&연산자를 사용하면 위의 코드를 아래와 같이 간단하게 변경할 수 있다.
#searchBar {
	width: 80%;
    border: none;
    background-color: #EFEFEF;

	&:focus {
    outline: none;
    }
}
3. mixin
@mixin logoFont {
	font-weight: bold;
    color: pink;
    font-size: 30px;
}


.logo {
	@include logoFont;
}
위와 같이 scss를 작성하면 @mixin을 통해 logoFont에 저장된 style값들이 @include를 통해 logo라는 클래스에 모두 적용된다.