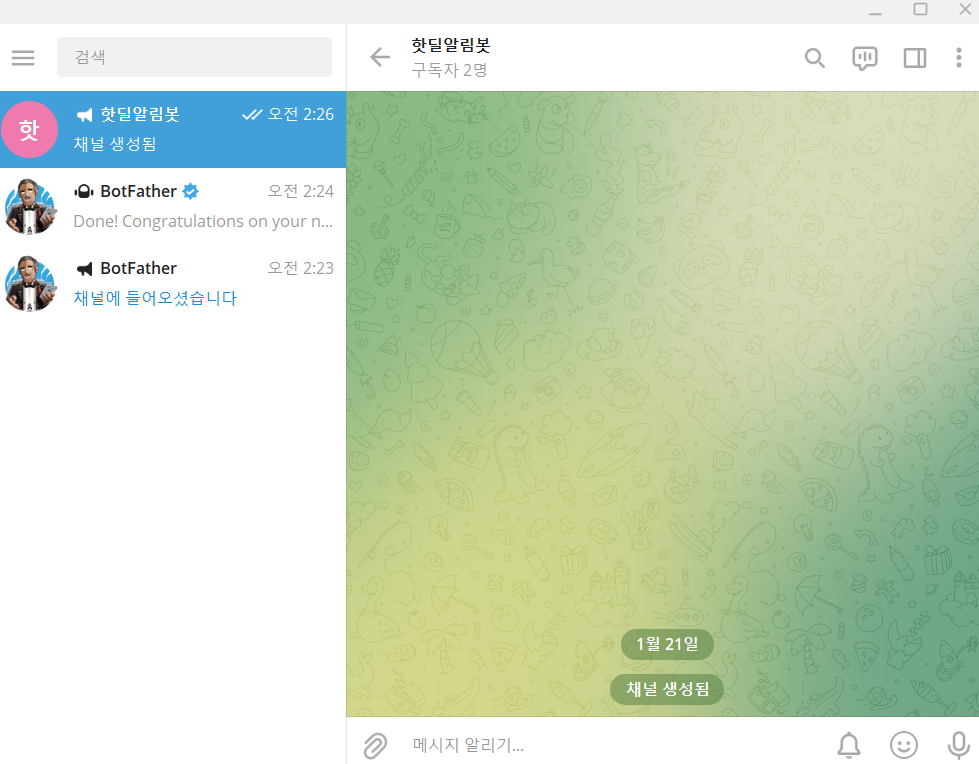
1. BotFather 통해 텔레그램방 생성하기
Teleme : 내 자신의 Telegram Bot를 만드는 방법 을 참고합니다.
API Token 을 잊지 않도록 합니다.
2. 간단한 Crawler 만들기
- 우선 텔레그램 봇을 설치 합니다.
$ pip install python-telegram-bot- 그리고 크롤러 코드를 작성 합니다.
뽐뿌의 좋아요 5개 이상의 글을 수집해오는 크롤링 코드를 짠 후, telegram 과 관련된 모듈을 넣어야 합니다.
# telegram-bot/crawler.py
from bs4 import BeautifulSoup
import requests
import telegram	# 텔레그램 모듈을 가져온다.

response = requests.get(
    "https://www.ppomppu.co.kr/zboard/zboard.php?id=ppomppu"
)
soup = BeautifulSoup(response.text, 'html.parser')
BOT_TOKEN = 'YOUR API TOKEN'		# 토큰을 변수에 저장.
bot = telegram.Bot(token = BOT_TOKEN)	# bot 선언.

for item in soup.find_all('tr', {'class': ['list1', 'list0']}):
    try:
        image = item.find('img', class_='thumb_border').get('src')[2:]
        title = item.find('font', class_='list_title').text
        title = title.strip()
        link = item.find('font', class_='list_title').parent.get('href')
        link = 'https://www.ppomppu.co.kr/zboard/' + link
        reply_count = item.find('span', class_='list_comment2').text
        reply_count = int(reply_count)
        up_count = item.find_all('td')[-2].text
        up_count = up_count.split("-")[0]
        up_count = int(up_count)

        if up_count >= 5:
            bot.send_message(-1001760796628, '{} {}'.format(title, link))

    except Exception as e:
        continue
- chat_id 가져오기
bot.send_meesage(chat_id, 'message') 를 통해 메시지를 주고받게 하려면 chat_id가 필요합니다. 그러나 chat_id를 채널방에서 자체적으로 가져올 수 있는 방법은 없습니다.
대안으로 브라우저 주소 입력창에 https://api.telegram.org/bot{YOUR API TOKEN}/getUpdates 를 입력하면 채널방이 어떤 리퀘스트를 받는지 알 수 있습니다.
주소를 제대로 입력했을 경우 처음에는 다음과 같은 메시지가 출력됩니다.
{"ok":true,"result":[]}그 후 채팅방에 입장한 후, 메시지를 하나 보내고 주소를 새로고침하면 chat_id를 얻을 수 있습니다.
{"ok":true,"result":[{"update_id":78739183,
"my_chat_member":{"chat":{"id":-1001760796628,"title":"\ud56b\ub51c\uc54c\ub78c\ubd07","type":"channel"},"from":{"id":5294452231,"is_bot":false,"first_name":"JIMIN","last_name":"LEE"},"date":1642702748,"old_chat_member":{"user":{"id":5006961994,"is_bot":true,"first_name":"\ud56b\ub51c\uc54c\ub9bc\ubd07","username":"hotdeal_alarm_bot"},"status":"left"},"new_chat_member":{"user":{"id":5006961994,"is_bot":true,"first_name":"\ud56b\ub51c\uc54c\ub9bc\ubd07","username":"hotdeal_alarm_bot"},"status":"administrator","can_be_edited":false,"can_manage_chat":true,"can_change_info":true,"can_post_messages":true,"can_edit_messages":true,"can_delete_messages":true,"can_invite_users":true,"can_restrict_members":true,"can_promote_members":false,"can_manage_voice_chats":true,"is_anonymous":false}}},{"update_id":78739184,
"channel_post":{"message_id":2,"sender_chat":{"id":-1001760796628,"title":"\ud56b\ub51c\uc54c\ub78c\ubd07","type":"channel"},"chat":{"id":-1001760796628,"title":"\ud56b\ub51c\uc54c\ub78c\ubd07","type":"channel"},"date":1642702751,"text":"hello"}}]}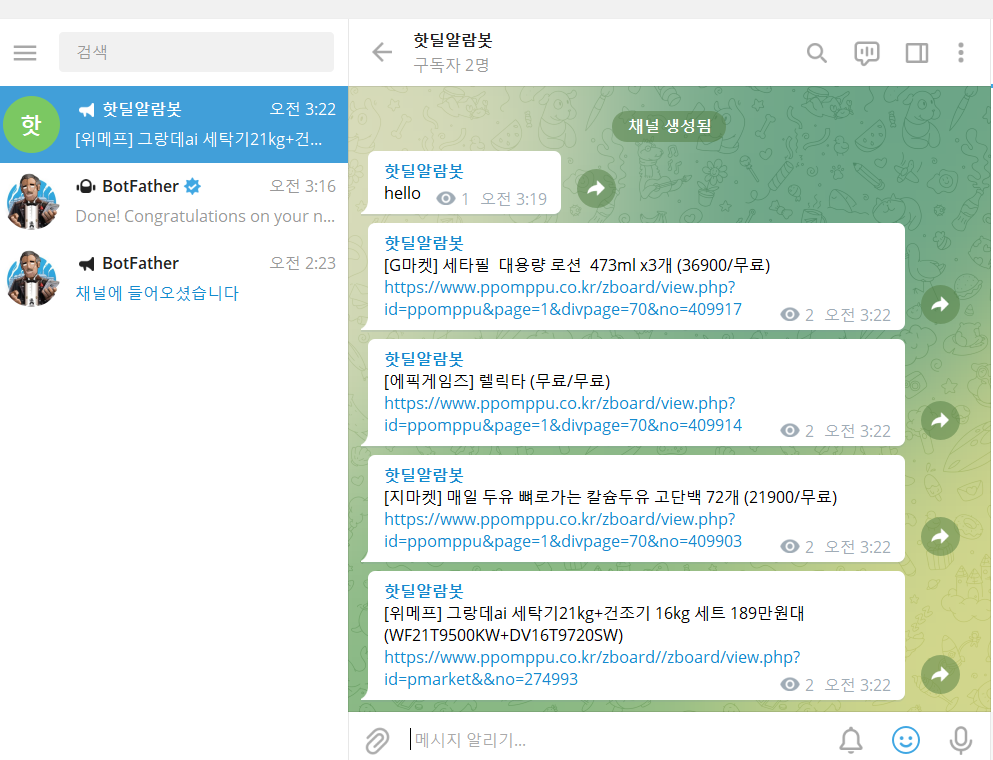
crawler.py를 실행하니 메시지가 잘 전달되는 것을 확인할 수 있습니다.
그러나 파일을 실행할 때 마다 똑같은 게시글의 추천알림이 뜨는 문제점이 있습니다.
이는 django-rest-framework 를 통해 api를 만들면서 해결해 볼겁니다.
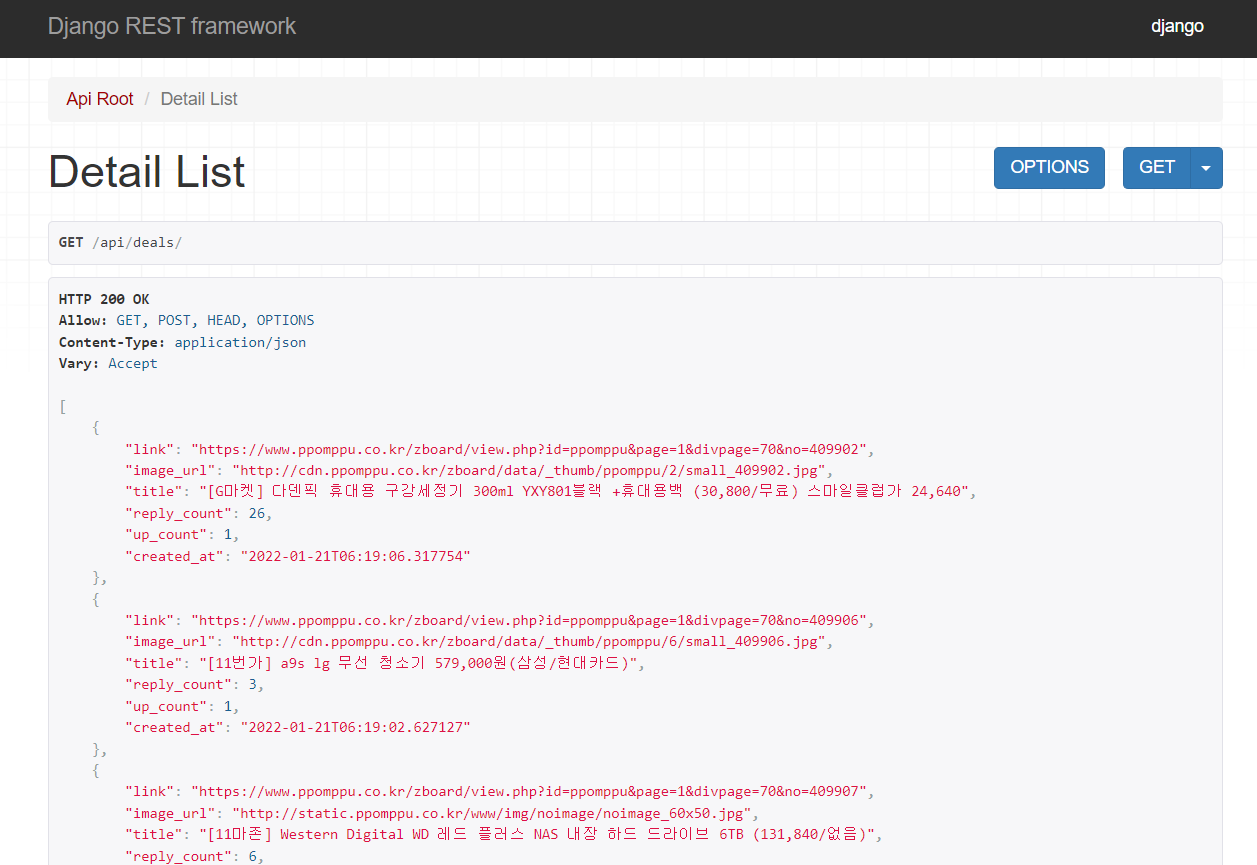
3. django-rest-framework 이용하기
- 장고 설치 후 프로젝트 환경 구성을 해줍니다.
자유롭게 생성합니다.
프로젝트 생성 과정과 RestAPI의 Viewset 설정 등을 통해 화면의 띄우는 과정은 생략하도록 하겠습니다.
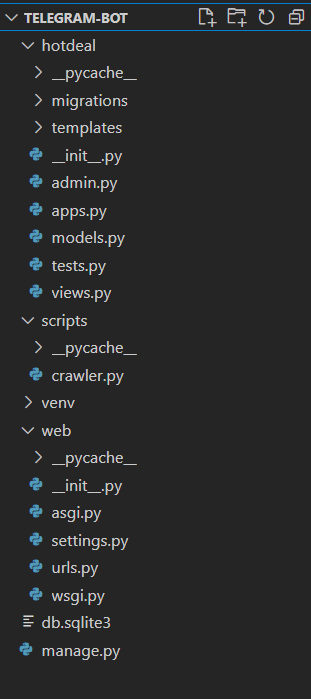
- 크롤러와 장고 모델을 연결합니다.
크롤러의 데이터를 저장할 모델을 작성한 후
# telegram-bot/hotdeal/models.py
from django.db import models

# Create your models here.
class Deal(models.Model):
    image_url = models.CharField(max_length=200)
    title = models.CharField(max_length=200)
    link = models.CharField(max_length=200, primary_key=True)
    reply_count = models.IntegerField()
    up_count = models.IntegerField()
    created_at = models.DateTimeField(auto_now_add=True)

    class Meta:
        ordering =['-created_at']
한 번 DB에 저장되었던 게시글은 추천을 받지 않게 crawler.py 코드를 수정합니다.
# telegram-bot/hotdeal/scripts/crawler.py
from bs4 import BeautifulSoup
import requests
import telegram
from hotdeal.models import Deal

response = requests.get(
    "https://www.ppomppu.co.kr/zboard/zboard.php?id=ppomppu"
)
soup = BeautifulSoup(response.text, 'html.parser')
BOT_TOKEN = 'YOUR API TOKEN'
bot = telegram.Bot(token=BOT_TOKEN)

def run():
    # 현재 시간에서 3일을 뺀 시간보다 작은 created_at 필드를 가진 게시물은 삭제한다.
    # 즉, 3일이 지난 게시물은 삭제된다.
    Deal.objects.filter(created_at__lte=datetime.now() - timedelta(days=3)).delete()
    print(row, "deals deleted")

    for item in soup.find_all('tr', {'class': ['list1', 'list0']}):
        try:
            image = item.find('img', class_='thumb_border').get('src')[2:]
            image = 'http://' + image
            title = item.find('font', class_='list_title').text
            title = title.strip()
            link = item.find('font', class_='list_title').parent.get('href')
            link = 'https://www.ppomppu.co.kr/zboard/' + link
            reply_count = item.find('span', class_='list_comment2').text
            reply_count = int(reply_count)
            up_count = item.find_all('td')[-2].text
            up_count = up_count.split("-")[0]
            up_count = int(up_count)

            if up_count >= 5:
                # iexact : 대소문자를 구분하지않고 정확히 일치하는 데이터를 찾는다.
                # DB내의 링크와 크롤링한 링크가 같은 것이 없으면
                # 크롤링 데이터를 DB에 집어넣는다. (즉, 등록되어 있지 않은 글만 집어넣음.)
                if (Deal.objects.filter(link__iexact=link).count() == 0):
                    Deal(image_url=image, title=title, link=link, reply_count=reply_count, up_count=up_count).save()
                    bot.send_message(-1001760796628, '{} {}'.format(title, link))

        except Exception as e:
            continue
$ python manage.py runscript crawler위의 쉘 명령어를 통해 crawler를 돌려보면 이제 중복된 추천알림이 뜨지 않는걸 확인할 수 있습니다.