데이터 베이스
이번에는 첫 번째 장고 앱 작성하기, part2 공식문서 페이지를 참고하였다.
참고로 좀 길다. 마지막에 요약을 적어놔야겠다.
django를 사용하기 위해 초기 세팅으로 데이터 베이스를 설치하라고 한다.
우선 기본적으로 SQLite를 사용하지만, 이는 가볍게 사용하기 위함일 뿐, 내 프로젝트가 더욱 커지는 것을 예상하고, 원한다면 mariaDB와 같은 더욱 큰 물에서 놀아야하니 이 과정에서 미리 판단하고 진행하라고 공식문서에서도 말해주고 있다.
하지만 지금은 연습삼아 진행 해보는 것이니 따라만 해보자.
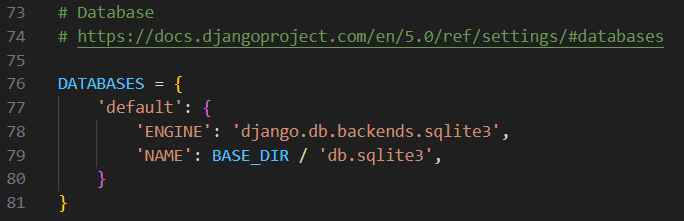
우선 settings.py에서 DATABASES부분을 확인한다.
공식문서에는 아래처럼 얘기를 하고 있다.
DATABASES 'default' 항목의 값을 다음의 키 값으로 바꿔주세요.

ENGINE – 'django.db.backends.sqlite3', 'django.db.backends.postgresql', 'django.db.backends.mysql', 또는 'django.db.backends.oracle'. 그외에 서드파티 백엔드 참조.
NAME – 데이터베이스의 이름입니다. SQLite를 사용하는 경우 데이터베이스는 컴퓨터의 파일이 됩니다. 이 경우 :setting:`NAME`은 파일 이름을 포함한 해당 파일의 전체 절대 경로여야 합니다. 기본값인 ``BASE_DIR / ‘db.sqlite3’``은 파일을 프로젝트 디렉토리에 저장합니다.
나의 경우에도 위처럼 django.db.backends.sqlite3로 이미 되어있으므로 따로 손대진 않아보려한다.
시간대 설정 및 국가 설정
mysite/settings.py를 편집할 때, 당신의 시간대에 맞춰 TIME_ZONE 값을 설정하세요.
라는 말에 따라 시간대 설정을 해주자. 또 LANGUAGE_CODE도 같이 붙어있으니, 한국어를 쓰는 한국인으로 이것도 손대봐야겠다.
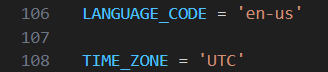
LANGUAGE_CODE = 'en-us'
TIME_ZONE = 'UTC'
↓
LANGUAGE_CODE = 'ko-kr'
TIME_ZONE = 'Asia/Seoul'
로 변경!
공식문서에서 또 migrate하라하니 settings.py 저장하고 시도!
python manage.py migrate모델 만들기
여론조사 앱에서 Question 과 Choice``이라는 두 가지 모델을 만들 것입니다. ``Question 에는 질문과 발행일을 위한 두 개의 필드를 가집니다. Choice 는 선택 텍스트와 투표 집계를 위한 두 개의 필드를 가집니다. 각각의 ``Choice``모델은 ``Question``과 연관됩니다.
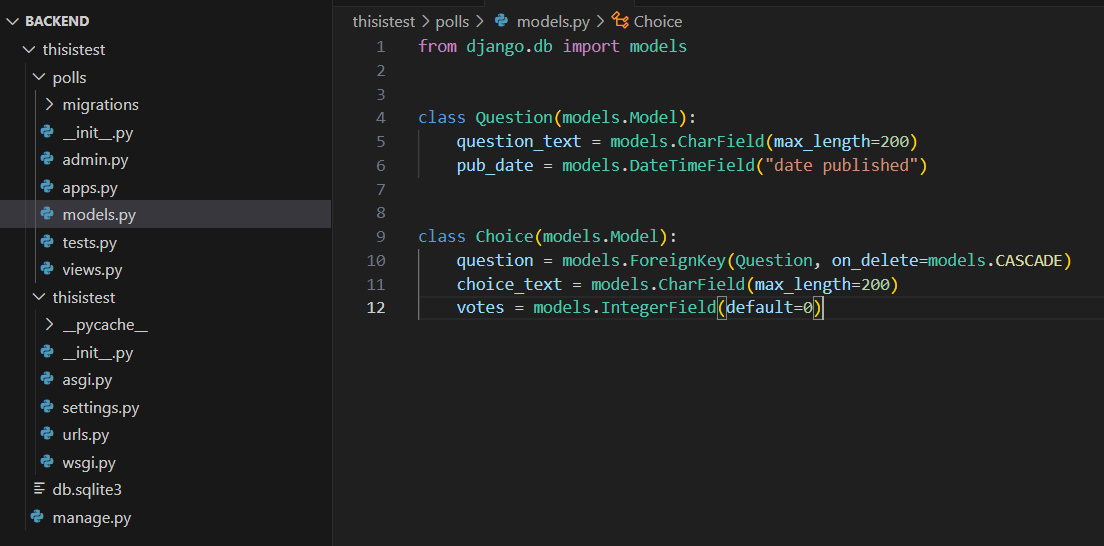
이러한 개념은 Python 클래스로 표현됩니다. file:polls/models.py 파일을 다음과 같이 수정하십시오.
from django.db import models
class Question(models.Model):
question_text = models.CharField(max_length=200)
pub_date = models.DateTimeField("date published")
class Choice(models.Model):
question = models.ForeignKey(Question, on_delete=models.CASCADE)
choice_text = models.CharField(max_length=200)
votes = models.IntegerField(default=0)공식문서에는 이렇게 설명이 되어있는데 난 polls라는 폴더도 없고, models.py 파일도 없다.
아무래도 polls라는 폴더가 있어야하나보다.
그런데 이때 필요한 건 polls 폴더가 아닌 앱이 필요한 것이다. 따라서 아래 명령어를 입력해주자.
python manage.py startapp polls따라서 난 polls라는 앱를 만들고 그 안에 models.py파일을 생성해서 해당 코드를 입력했다.
모델 활성화
polls 라는 폴더를 만들었다. 그런데 공식문서 가라사대
가장 먼저 현재 프로젝트에게 polls 앱이 설치되어 있다는 것을 알려야 합니다그래서 settings.py에서 INSTALLED_APPS 에 가서
아래 코드를 추가해주었다.
'polls.apps.PollsConfig',
그러니 요롷게 되었다.
INSTALLED_APPS = [
    'polls.apps.PollsConfig',
    'django.contrib.admin',
    'django.contrib.auth',
    'django.contrib.contenttypes',
    'django.contrib.sessions',
    'django.contrib.messages',
    'django.contrib.staticfiles',
]
참고로 ' , ' 이 콤마 안 찍으면 안 됨. 꼭 찍어야 함.
그리고
python manage.py makemigrations polls코드를 실행 시켜보자.
Migrations for 'polls':
  polls\migrations\0001_initial.py
    - Create model Question
    - Create model Choice
이렇게 되면 공식문서가 하라는 데로 잘 되고 있다고 보면 된다.
만약 하라는대로 했다생각되는데 제대로 안되고 있고,
ModuleNotFoundError: No module named 'polls'위와 같은 식으로 뜬다면 앱을 안만들었거나, INSTALLED_APPS 또는 앱 생성 위치를 보도록하자.
난 이제 공식문서가 또 가라사대
makemigrations 을 실행시킴으로서, 당신이 모델을 변경시킨 사실과(이 경우에는 새로운 모델을 만들었습니다) 이 변경사항을 migration으로 저장시키고 싶다는 것을 Django에게 알려줍니다.

Migration은 Django가 모델(즉, 당신의 데이터베이스 스키마)의 변경사항을 디스크에 저장하는 방법입니다. 원하는 경우 polls/migrations/0001_initial.py 파일로 저장된 새 모델에 대한 migration을 읽어볼 수 있습니다. 걱정하지 마세요, 여러분이 Django가 migration을 만들 때마다 읽을 것으로 기대되지는 않지만, Django의 변경점을 수동으로 수정하기를 원할 때를 대비해서 사람이 수정할 수 있도록 설계되었습니다.

당신을 위해 migration들을 실행시켜주고, 자동으로 데이터베이스 스키마를 관리해주는 migrate 명령어가 있습니다. 이 명령을 알아보기 전에 migration이 내부적으로 어떤 SQL 문장을 실행하는지 살펴봅시다. sqlmigrate 명령은 migration 이름을 인수로 받아, 실행하는 SQL 문장을 보여줍니다.
python manage.py sqlmigrate polls 0001위에서 가리키는 .py파일이 있는지 확인하고 이를 실행시켜주었다.
그러니 아래와 같은 문장을 확인 할 수 있었다.
$ python manage.py sqlmigrate polls 0001
BEGIN;
--
-- Create model Question
--
CREATE TABLE "polls_question" ("id" integer NOT NULL PRIMARY KEY AUTOINCREMENT, "question_text" varchar(200) NOT NULL, "pub_date" datetime NOT NULL);
--
-- Create model Choice
--
CREATE TABLE "polls_choice" ("id" integer NOT NULL PRIMARY KEY AUTOINCREMENT, "choice_text" varchar(200) NOT NULL, "votes" integer NOT NULL, "question_id" bigint NOT NULL REFERENCES "polls_question" ("id") DEFERRABLE INITIALLY DEFERRED);
CREATE INDEX "polls_choice_question_id_c5b4b260" ON "polls_choice" ("question_id");
COMMIT;
migrate를 한 것은 아니고 모델이 어떻게 되어있는지에 대해 SQL문장을 보여준 것이다.
이제 migrate까지 해보자.
python manage.py migrate위 를 통해 3가지 과정으로 db에 변경사항을 수정할 수 있음을 확인했다.
1. (models.py 에서) 모델을 변경
2. python manage.py makemigrations을 통해 이 변경사항에 대한 마이그레이션
3. python manage.py migrate 명령을 통해 변경사항을 데이터베이스에 적용
API 가지고 놀기
python manage.py shell이 명령어로 python 쉘을 실행해서 db를 건드릴 수도 있다.
그리고 공식문서처럼 놀아주었다.
>>> from polls.models import Choice, Question  # Import the model classes we just wrote.

# No questions are in the system yet.
>>> Question.objects.all()
<QuerySet []>

# Create a new Question.
# Support for time zones is enabled in the default settings file, so
# Django expects a datetime with tzinfo for pub_date. Use timezone.now()
# instead of datetime.datetime.now() and it will do the right thing.
>>> from django.utils import timezone
>>> q = Question(question_text="What's new?", pub_date=timezone.now())

# Save the object into the database. You have to call save() explicitly.
>>> q.save()

# Now it has an ID.
>>> q.id
1

# Access model field values via Python attributes.
>>> q.question_text
"What's new?"
>>> q.pub_date
datetime.datetime(2012, 2, 26, 13, 0, 0, 775217, tzinfo=datetime.timezone.utc)

# Change values by changing the attributes, then calling save().
>>> q.question_text = "What's up?"
>>> q.save()

# objects.all() displays all the questions in the database.
>>> Question.objects.all()
<QuerySet [<Question: Question object (1)>]>
이러다가 polls앱의 models.py에서 아래처럼 바꿔주었다.
아, 나가는 것은 exit() 하니까 나가졌다.
import datetime

from django.db import models
from django.utils import timezone


class Question(models.Model):
    question_text = models.CharField(max_length=200)
    pub_date = models.DateTimeField("date published")
    def __str__(self):
        return self.question_text
    def was_published_recently(self):
        return self.pub_date >= timezone.now() - datetime.timedelta(days=1)

class Choice(models.Model):
    question = models.ForeignKey(Question, on_delete=models.CASCADE)
    choice_text = models.CharField(max_length=200)
    votes = models.IntegerField(default=0)
    def __str__(self):
        return self.choice_text
다시 파이썬쉘에서 놀기 위해 아래 명령어를 치고, 공식문서가 하라는 대로 해보자.
python manage.py shell>>> from polls.models import Choice, Question
# Make sure our __str__() addition worked.
>>> Question.objects.all()
<QuerySet [<Question: What's up?>]>
# Django provides a rich database lookup API that's entirely driven by
# keyword arguments.
>>> Question.objects.filter(id=1)
<QuerySet [<Question: What's up?>]>
>>> Question.objects.filter(question_text__startswith="What")
<QuerySet [<Question: What's up?>]>
# Get the question that was published this year.
>>> from django.utils import timezone
>>> current_year = timezone.now().year
>>> Question.objects.get(pub_date__year=current_year)
<Question: What's up?>
# Request an ID that doesn't exist, this will raise an exception.
>>> Question.objects.get(id=2)
Traceback (most recent call last):
...
DoesNotExist: Question matching query does not exist.
# Lookup by a primary key is the most common case, so Django provides a
# shortcut for primary-key exact lookups.
# The following is identical to Question.objects.get(id=1).
>>> Question.objects.get(pk=1)
<Question: What's up?>
# Make sure our custom method worked.
>>> q = Question.objects.get(pk=1)
>>> q.was_published_recently()
True
# Give the Question a couple of Choices. The create call constructs a new
# Choice object, does the INSERT statement, adds the choice to the set
# of available choices and returns the new Choice object. Django creates
# a set to hold the "other side" of a ForeignKey relation
# (e.g. a question's choice) which can be accessed via the API.
>>> q = Question.objects.get(pk=1)
# Display any choices from the related object set -- none so far.
>>> q.choice_set.all()
<QuerySet []>
# Create three choices.
>>> q.choice_set.create(choice_text="Not much", votes=0)
<Choice: Not much>
>>> q.choice_set.create(choice_text="The sky", votes=0)
<Choice: The sky>
>>> c = q.choice_set.create(choice_text="Just hacking again", votes=0)
# Choice objects have API access to their related Question objects.
>>> c.question
<Question: What's up?>
# And vice versa: Question objects get access to Choice objects.
>>> q.choice_set.all()
<QuerySet [<Choice: Not much>, <Choice: The sky>, <Choice: Just hacking again>]>
>>> q.choice_set.count()
3
# The API automatically follows relationships as far as you need.
# Use double underscores to separate relationships.
# This works as many levels deep as you want; there's no limit.
# Find all Choices for any question whose pub_date is in this year
# (reusing the 'current_year' variable we created above).
>>> Choice.objects.filter(question__pub_date__year=current_year)
<QuerySet [<Choice: Not much>, <Choice: The sky>, <Choice: Just hacking again>]>
# Let's delete one of the choices. Use delete() for that.
>>> c = q.choice_set.filter(choice_text__startswith="Just hacking")
>>> c.delete()Django 관리자 소개
관리자 생성하기
아래 명령어를 이용해서 관리자를 생성할 수 있다.
python manage.py createsuperuser이러면 각 과정을 거치면서 관리자를 생성할 수 있다.
password는 아무리쳐도 안보이는데, 이거 2번 치면서 올바로 되었는지 확인가능하다. 다만 이 또한 알아서 잘 해두면 된다.
나의 경우는 테스트 용도니까 아주 간단하고 언제나 생각나는 비밀번호를 넣었다.
$ python manage.py createsuperuser
사용자 이름 (leave blank to use '어쩌고'): 내아이디
이메일 주소: 알아서@알아서.com
Password:
Password (again):
Superuser created successfully.
개발 서버 시작
다시 서버를 실행 시켜주자.
python manage.py runserver그리고
http://127.0.0.1:8000/admin 으로 이동하게 되면 아래와 같은 창이 뜬다.
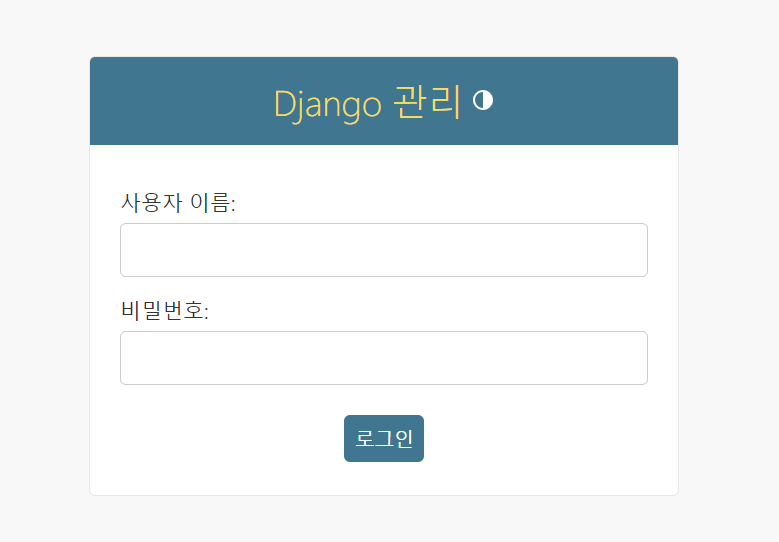
만들어둔 관리자 id와 비밀번호를 치고 들어가자. 그러면 아래와 같은 창이 보인다.
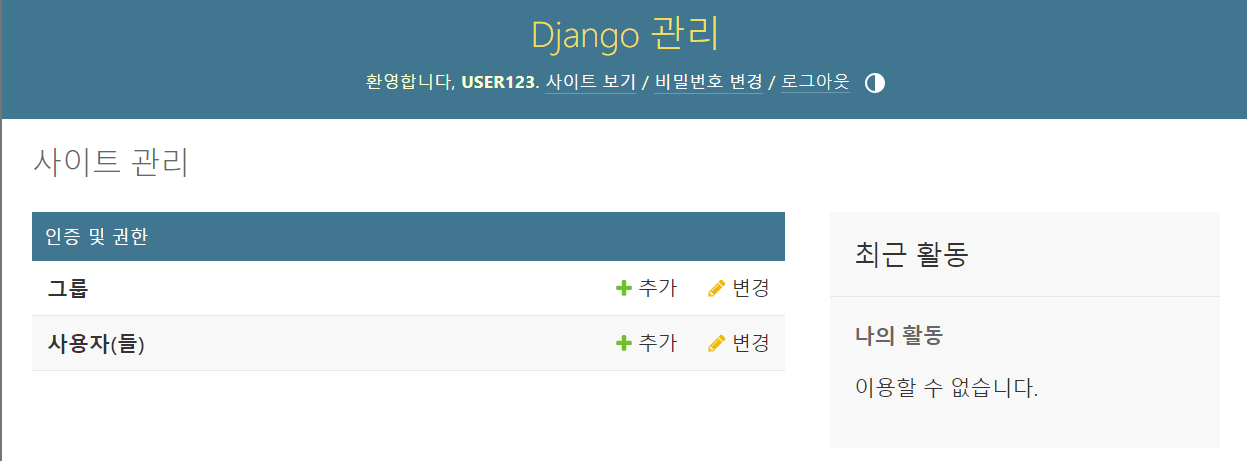
우리가 여기서하려는 것은 polls app을 조작하는 것인데, 아직 그 과정을 안했다. 따라서 polls앱의 admin.py를 아래처럼 수정해주자.
from django.contrib import admin

from .models import Question

admin.site.register(Question)
저장하고 새로고침까지 해주면 아래처럼 바뀐 것을 확인할 수 있다.
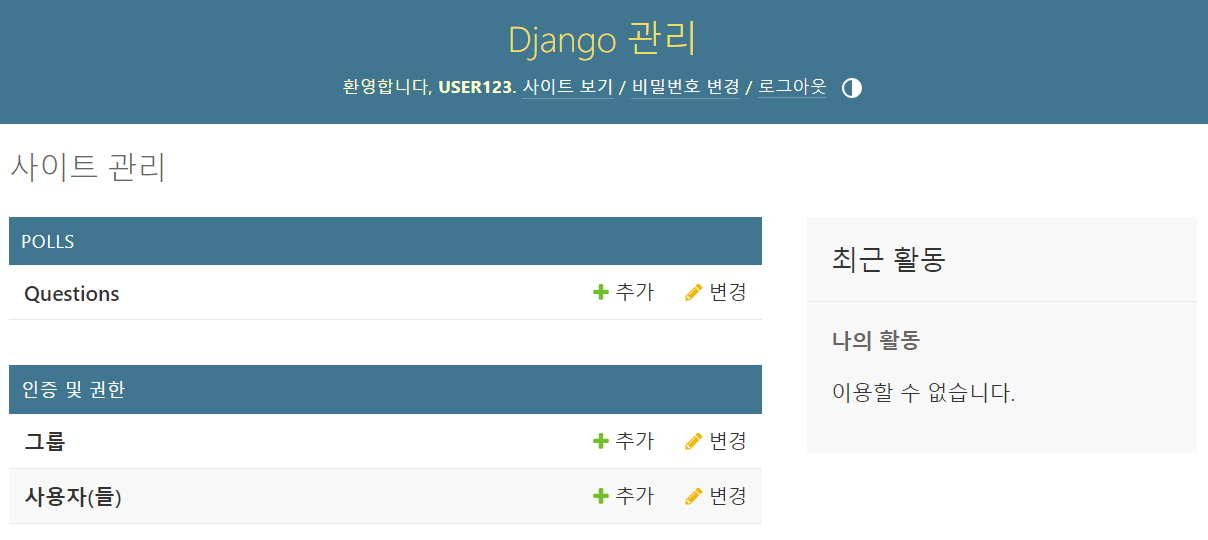
이제 여기서 Questions를 클릭해서 "What's up?"질문을 수정해보자.
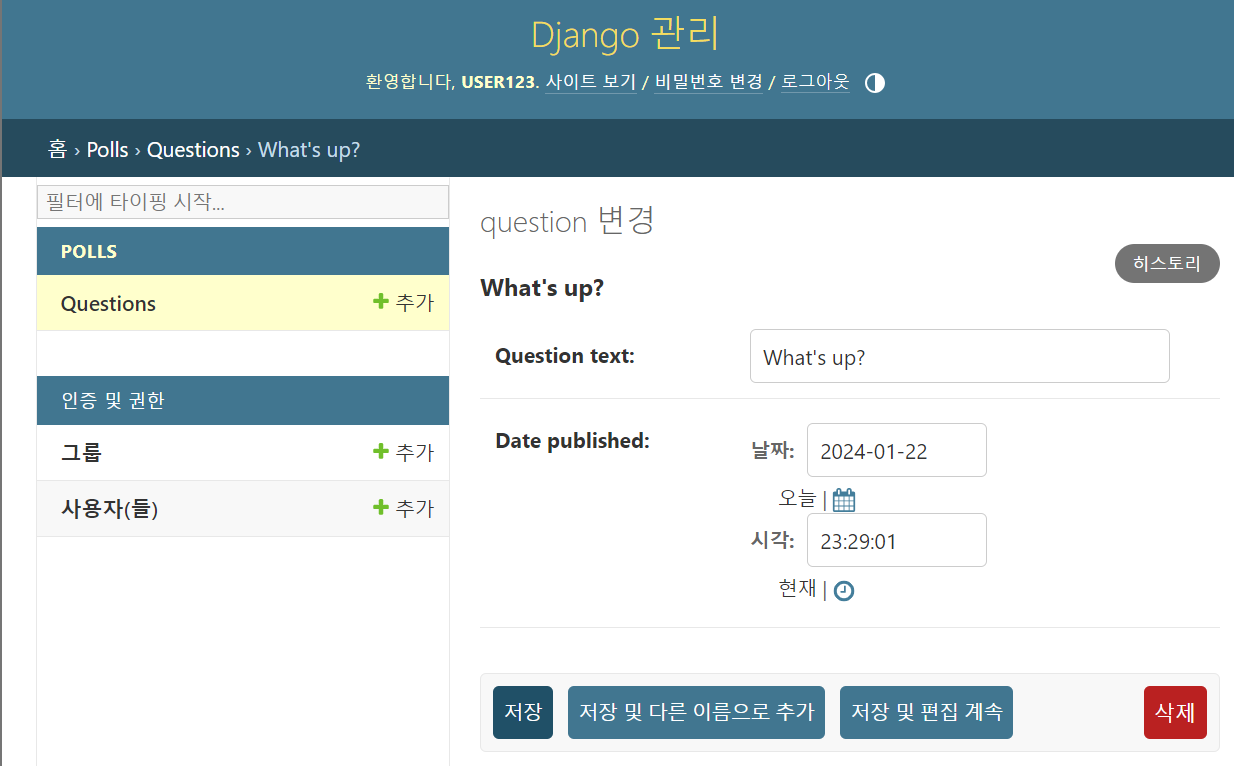
그러면 아래처럼 바뀐다.
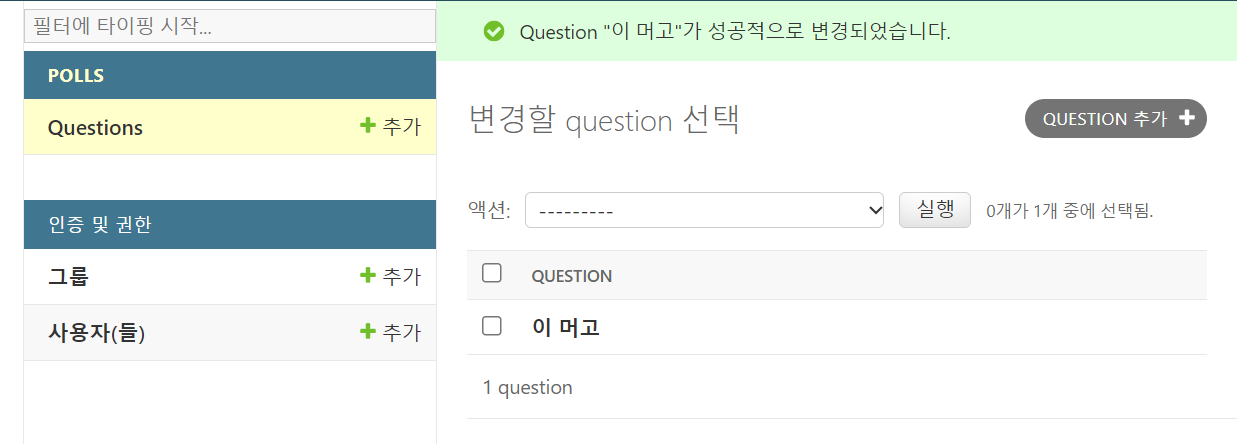
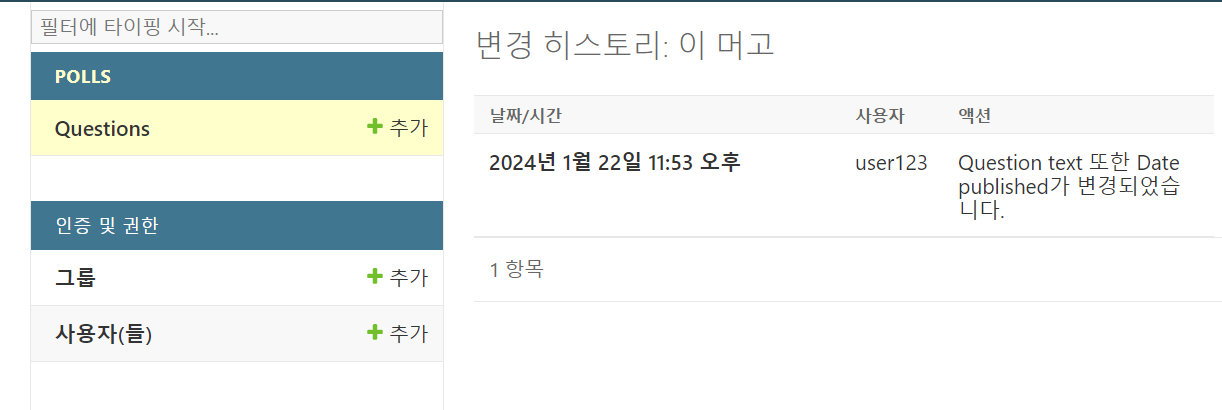
여기까지가 part2의 내용이다.
요약
- django에서는 models.py를 이용해서 db 테이블을 생성한다.
이때, models.py를 수정 및 저장했다면 이후 해야할 명령어는 아래와 같다.
python manage.py makemigrations
3. python manage.py migrate- models.py를 시행하기 전에 앱이 있어야, models.py도 만들수 있다. 여기서 앱은 표현하자면, API 분류라고 생각하면 된다.
앱을 만드는 명령어는 아래와 같다.
python manage.py startapp polls- 앱은 만들었다고 끝이 아니다. settings.py에다가 기록해서, 나 사용됨 ㅇㅋ? 를 해줘야한다.
그 과정이 위에서 했던 setting.py에 INSTALLED_APPS에서 'polls.apps.PollsConfig'를 추가해준 것이다. - 관리자 생성해서 기존 db를 추가 삭제 변경이 가능하다. 관리자 생성 명령어와 관리자 주소는 아래와 같다.
python manage.py createsuperuser

http://127.0.0.1:8000/admin
의외로 긴 과정이었다. 간만에 하니 헷갈렸는데 다시 감이 잡히기 시작했다. 완전 처음 손대는 사람이라면 앱만드는 과정에서 버벅거렸을 수도 있겠다 싶었다. 왜냐하면 공식문서 설명에 그런 내용을 아직 못봤걸랑;;;
다음은 part3을 보고 따라 해봐야지.