
첫 번째 장고 앱 작성하기, part 3를 참고해서 진행했다.
Django 프로젝트 생성2에 이어서 진행을 해본다.
뷰 추가하기
이전에 만들어 둔 polls 앱의 view.py에 들어가서 다음처럼 작성한다.
from django.shortcuts import render

# Create your views here.
def detail(request, question_id):
    return HttpResponse("You're looking at question %s." % question_id)


def results(request, question_id):
    response = "You're looking at the results of question %s."
    return HttpResponse(response % question_id)


def vote(request, question_id):
    return HttpResponse("You're voting on question %s." % question_id)
이를 사용하기 위해서 경로를 설정하기 위해 polls앱에 urls.py파일을 생성하고 다음 내용을 추가한다.
from django.urls import path

from . import views

urlpatterns = [
    # ex: /polls/
    path("", views.index, name="index"),
    # ex: /polls/5/
    path("<int:question_id>/", views.detail, name="detail"),
    # ex: /polls/5/results/
    path("<int:question_id>/results/", views.results, name="results"),
    # ex: /polls/5/vote/
    path("<int:question_id>/vote/", views.vote, name="vote"),
]
코드를 보면 알 수 있듯이, urls에 적힌 경로의 주소를 요청하면, views.py에 있는 각 함수들이 실행이 된다.
경로 추가 필수
그리고 현재 공식문서에서는 빠져있는 부분인데, 반드시 아래과정도 거쳐야 작동이 된다.
polls 앱 말고 settings.py가 있는 앱의 urls.py를 다음 처럼 바꿔주자.
from django.contrib import admin
from django.urls import path, include

urlpatterns = [
    path('admin/', admin.site.urls),
    path('polls/', include('polls.urls')),
]
뷰가 실제로 작동하게 만들기
현재까지 작성한 것으로는 작동할 수가 없다.
뷰는 두 가지 중 하나를 하도록 되어있는데, 1번째로 요청된 페이지의 내용이 담긴 HttpResponse 객체를 반환, 2번째는 Http404 같은 예외를 발생하게 하는 것이다.
따라서 지금의 상태말고, 실제로 작동할 수 있게 다음처럼 진행을 해준다.
Django에 필요한 것은 HttpResponse 객체 혹은 예외인데, httpResponse 코드를 작성했으므로 사용하기 위해 import 해주자. 또 이전에 만들어뒀던 Qustion 데이터를 사용할 수 있게 하자.
from django.shortcuts import render
from django.http import HttpResponse
from .models import Question

# Create your views here.
def detail(request, question_id):
    return HttpResponse("You're looking at question %s." % question_id)


def results(request, question_id):
    response = "You're looking at the results of question %s."
    return HttpResponse(response % question_id)


def vote(request, question_id):
    return HttpResponse("You're voting on question %s." % question_id)

def index(request):
    latest_question_list = Question.objects.order_by("-pub_date")[:5]
    output = ", ".join([q.question_text for q in latest_question_list])
    return HttpResponse(output)
템플릿 만들기
위 주소를 이용해보기 위한 화면을 만들어서 우리가 시도하는 것이 제대로 되고 있는지 보도록하자. templates 폴더를 만들고 그 안에 index.html에 코드를 작성해보자.
polls앱에서 templates라는 폴더를 만들고 그 안에 다시 polls앱을 만든 후, index.html 파일을 생성하자.
그리고 index.html에 아래의 코드를 입력해보자.
<!DOCTYPE html>
<html lang="en">
<head>
    <meta charset="UTF-8">
    <meta name="viewport" content="width=device-width, initial-scale=1.0">
    <title>Document</title>
</head>
<body>
    {% if latest_question_list %}
        <ul>
        {% for question in latest_question_list %}
            <li><a href="/polls/{{ question.id }}/">{{ question.question_text }}</a></li>
        {% endfor %}
        </ul>
    {% else %}
        <p>No polls are available.</p>
    {% endif %}
</body>
</html>
이제 다시 polls/view.py로 돌아와 의 def index()를 수정하자.
수정한 polls/view.py는 아래와 같다.
from django.shortcuts import render
from django.http import HttpResponse
from django.template import loader
from .models import Question
# Create your views here.
def detail(request, question_id):
return HttpResponse("You're looking at question %s." % question_id)
def results(request, question_id):
response = "You're looking at the results of question %s."
return HttpResponse(response % question_id)
def vote(request, question_id):
return HttpResponse("You're voting on question %s." % question_id)
def index(request):
latest_question_list = Question.objects.order_by("-pub_date")[:5]
template = loader.get_template("polls/index.html")
context = {
"latest_question_list": latest_question_list,
}
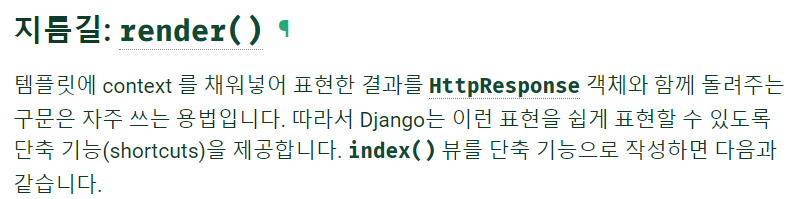
return HttpResponse(template.render(context, request))HttpResponse를 이용했지만, render를 이용한 방법도 있다.
render에 대한 설명은 다음과 같다.
def index(request):
    latest_question_list = Question.objects.order_by("-pub_date")[:5]
    template = loader.get_template("polls/index.html")
    context = {
        "latest_question_list": latest_question_list,
    }
    return HttpResponse(template.render(context, request))
위와 같은 index()를 아래처럼 바꿔주자.
# render의 import는 이미 되어있을 것임.
from django.shortcuts import render

def index(request):
    latest_question_list = Question.objects.order_by("-pub_date")[:5]
    context = {"latest_question_list": latest_question_list}
    return render(request, "polls/index.html", context)
404 에러 일으키기
위 까지 잘 작동되었다면 404에러도 일으켜보자.
여기서는 질문 상세 뷰에 일으키겠다고 한다.
polls앱의 view.py에서 detail()을 수정하자.
from django.http import Http404

def detail(request, question_id):
    try:
        question = Question.objects.get(pk=question_id)
    except Question.DoesNotExist:
        raise Http404("Question does not exist")
    return render(request, "polls/detail.html", {"question": question})
try except 문을 이용해 요청받은 질문의 id가 없으면 404 에러를 일으키게 한다.
detail()이 잘 작동하는지 확인하기위해 polls/templates/polls에서 detail.html을 만들어주자.
<!DOCTYPE html>
<html lang="en">
<head>
    <meta charset="UTF-8">
    <meta name="viewport" content="width=device-width, initial-scale=1.0">
    <title>Document</title>
</head>
<body>
    <h1>detail 페이지</h1>
    <div>{{question}}</div>
</body>
</html>
이렇게 하면 http://127.0.0.1:8000/polls/1/ 로 들어갔을 때는 아래처럼 뜨지만

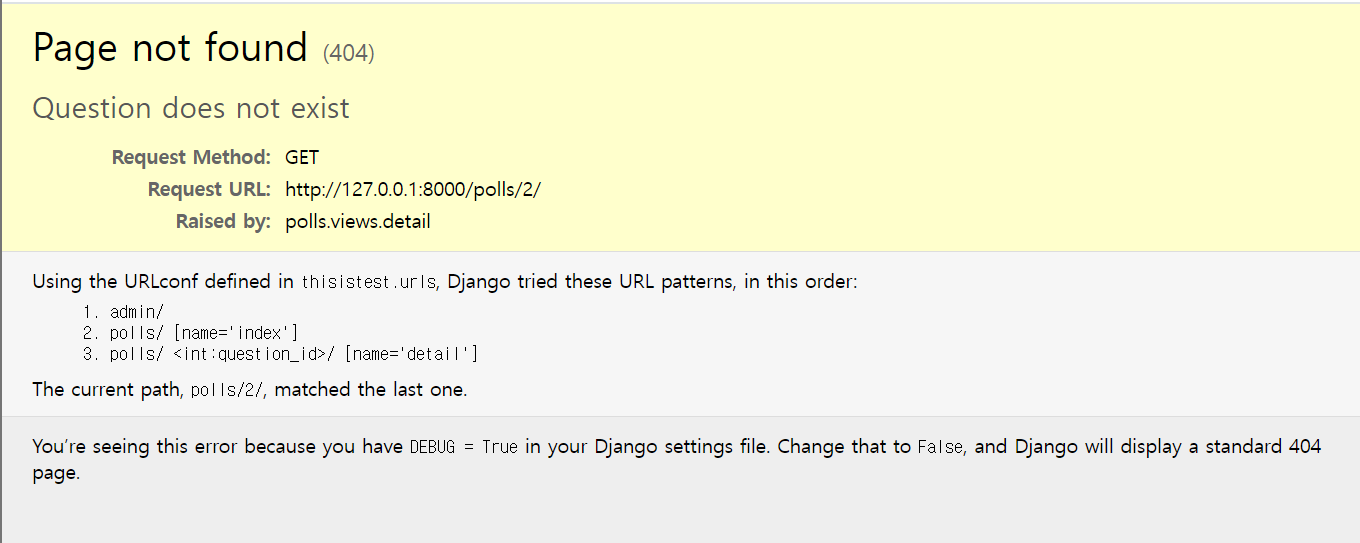
아까 만든 404에러로 아래처럼 보이게 된다.
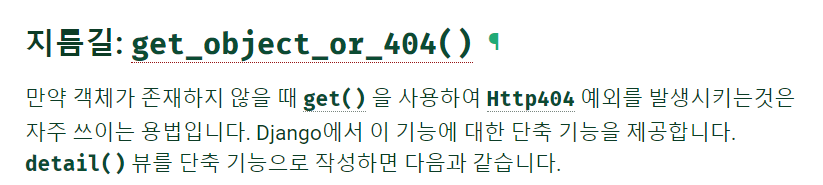
get_object_or_404()
아까 try except문을 이용해서 404에러를 출력했는데, 이 방법 말고 다른 방법으로도 가능하다. get_object_or_404()를 사용하면 된다.
사용 방법은 아래처럼 사용하면 된다.
from django.shortcuts import render, get_object_or_404

def detail(request, question_id):
    question = get_object_or_404(Question, pk=question_id)
    return render(request, "polls/detail.html", {"question": question})
이와 유사하게 get_list_or_404()가 있는데, object는 단일 객체를 list는 객체 리스트를 반환하면서, 빈 리스트 일 때 404에러를 출력시킨다.
템플릿 시스템 사용하기
detail()로 돌아가서 context변수 question이 주어졌을 때, polls/detail.html을 보기 위해 아래처럼 변경해주자.
<!DOCTYPE html>
<html lang="en">
<head>
    <meta charset="UTF-8">
    <meta name="viewport" content="width=device-width, initial-scale=1.0">
    <title>Document</title>
</head>
<body>
    <h1>{{ question.question_text }}</h1>
    <ul>
    {% for choice in question.choice_set.all %}
        <li>{{ choice.choice_text }}</li>
    {% endfor %}
    </ul>
</body>
</html>
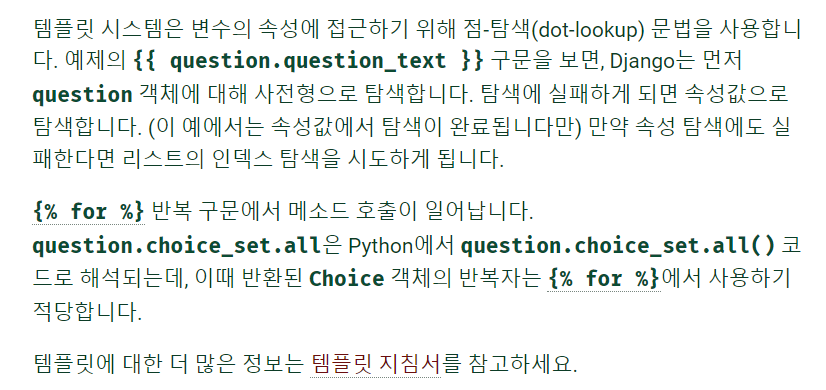
{% for choice in question.choice_set.all %}
    <li>{{ choice.choice_text }}</li>
{% endfor %}
이 부분에 대해서는 아래를 읽어보자.
템플릿에서 하드코딩된 URL 제거하기
polls/index.html로 돌아와서 코드를 보자.
주소가 하드 코딩되어있다.
{% if latest_question_list %}
        <ul>
        {% for question in latest_question_list %}
            <li><a href="/polls/{{ question.id }}/">{{ question.question_text }}</a></li>
        {% endfor %}
        </ul>
    {% else %}
        <p>No polls are available.</p>
    {% endif %}
현재의 경우 한 줄이어서 하드 코딩해도 상관이 없을 정도지만, 이후 똑같은 주소를 여러줄 사용하게 되고, 뒤죽박죽 된 코드가 되어있을 것이다. 이 때 필요에 의해 주소가 바뀌는 경우도 발생할텐데, 하드 코딩되어있다면, 이 주소가 사용된 모든 부분을 일일이 찾아서 수정할 필요가 있다.
위의 상황을 효율적으로 실행하기 위해 우리는 urls.py를 보면 path()에 name을 작성했다.
path("<int:question_id>/", views.detail, name="detail"),그 name을 사용할 것이다.
<li><a href="/polls/{{ question.id }}/">{{ question.question_text }}</a></li>위 부분을 아래처럼 바꿔주자.
<li><a href="{% url 'detail' question.id %}">{{ question.question_text }}</a></li>이렇게 할 경우 주소를 바꿔야할 경우, 예를 들어 'polls/12/' 가 아닌 'polls/specifics/12/'로 바꾸고 싶다면,
path("<int:question_id>/", views.detail, name="detail"),이것 대신
path("specifics/<int:question_id>/", views.detail, name="detail"),이것으로 바꿔주기만 하면된다.
URL의 이름공간 정하기
현재는 polls라는 앱 한 개만 이용을 했지만, 실제로는 더 많은 앱들을 사용하게 될 수 있다. 이 때, 앱을 구분하기 위해 앱도 이름을 작성해서 관리를 하게된다.
polls/urls.py에서 app_name을 추가하자.
아래처럼 된다.
from django.urls import path

from . import views

app_name = "polls"
urlpatterns = [
    # ex: /polls/
    path("", views.index, name="index"),
    # ex: /polls/5/
    path("<int:question_id>/", views.detail, name="detail"),
    # ex: /polls/5/results/
    path("<int:question_id>/results/", views.results, name="results"),
    # ex: /polls/5/vote/
    path("<int:question_id>/vote/", views.vote, name="vote"),
]
그리고 polls/index.html을 변경하자.
<li><a href="{% url 'detail' question.id %}">{{ question.question_text }}</a></li>이렇게 되어있던 부분을 app_name까지 표시해서 아래처럼 바꿔주자.
<li><a href="{% url 'polls:detail' question.id %}">{{ question.question_text }}</a></li>이렇게 아주 기본적인 urls.py 그리고 views.py와 html 사용을 배워보았다.
이후 내용은 첫 번째 장고 앱 작성하기, part 4 를 따라 진행해보자.
요약
- 앱에서 작성한 views.py를 이용하기 위해서는 주소 즉 경로를 작성해야하고 그것은 해당 앱의 urls.py에서 작성을 한다. 이 때 views.py는 models.py에 있는 것을 사용하는 용도라고 생각하면 된다.
- 앱의 urls.py를 이용하기 위해서는 메인 urls.py에 include를 통해 등록해야한다.
- django로 경로를 하드코딩하지말고 name을 사용하면 추후 관리에 용이하다.
- django내에서 html을 이용 할 수 있다.