이번에는 그냥 작동만 시켜보는 거라 사실 안봐도 될 정도지만, 영 모르겠으면 봐도 됩니다.
개요
지금 개인적으로 하는 프로젝트에서 ai 챗봇을 이용해야하는 부분이있어서 고민하다가 gemini api를 사용해본다.
맨처음 계획은 chat gpt를 이용해보는 거였다.
최근에는 다양한 api를 사용할 수 있게되어서 이것저것 알아보다가 내가 쓸만한 api가 있는 것중 3개를 선정했다.chat Gpt, clovaX, Gemini 였다. 3개를다 사용해봤는데 chatGPT는 유명하고 많이 쓰이지만, 한국어에서 타 챗봇 대비 약한 모습을 아직 보여줬고, clovaX는 네이버에서 제공해주는 것 답게 한국어에 강점이 있었다. Gemini는 구글이라서 학습한 데이터가 많아서 그런지 길게 대답해주기도 하고, gemini개발에 있어, 한국어도 신경쓰고 있어서인지 한국어 사용에 있어서도 좋은 모습을 보여주었다.
그래서 clovaX의 api를 사용하려 했으나, 음... 비용도 그렇고 아직은 사업자 위주로 돌아가게 만들어 놓은 느낌을 받았다. 또한 문서를 보고 api를 가동하는 사용법 역시 내가 아직은 응애(아 응애라고) 개발자(?)라 그런지 접근하기 힘들었다. 그래서, Gemini의 api를 이용하기로 했고, 확실히 google이라 그런기 무료 기능이 있었고, 또한 보기 쉽게 정리되어있어서 접근하기도 더 편했다.
그래서 gemini api를 시작해본다.
작동
준비
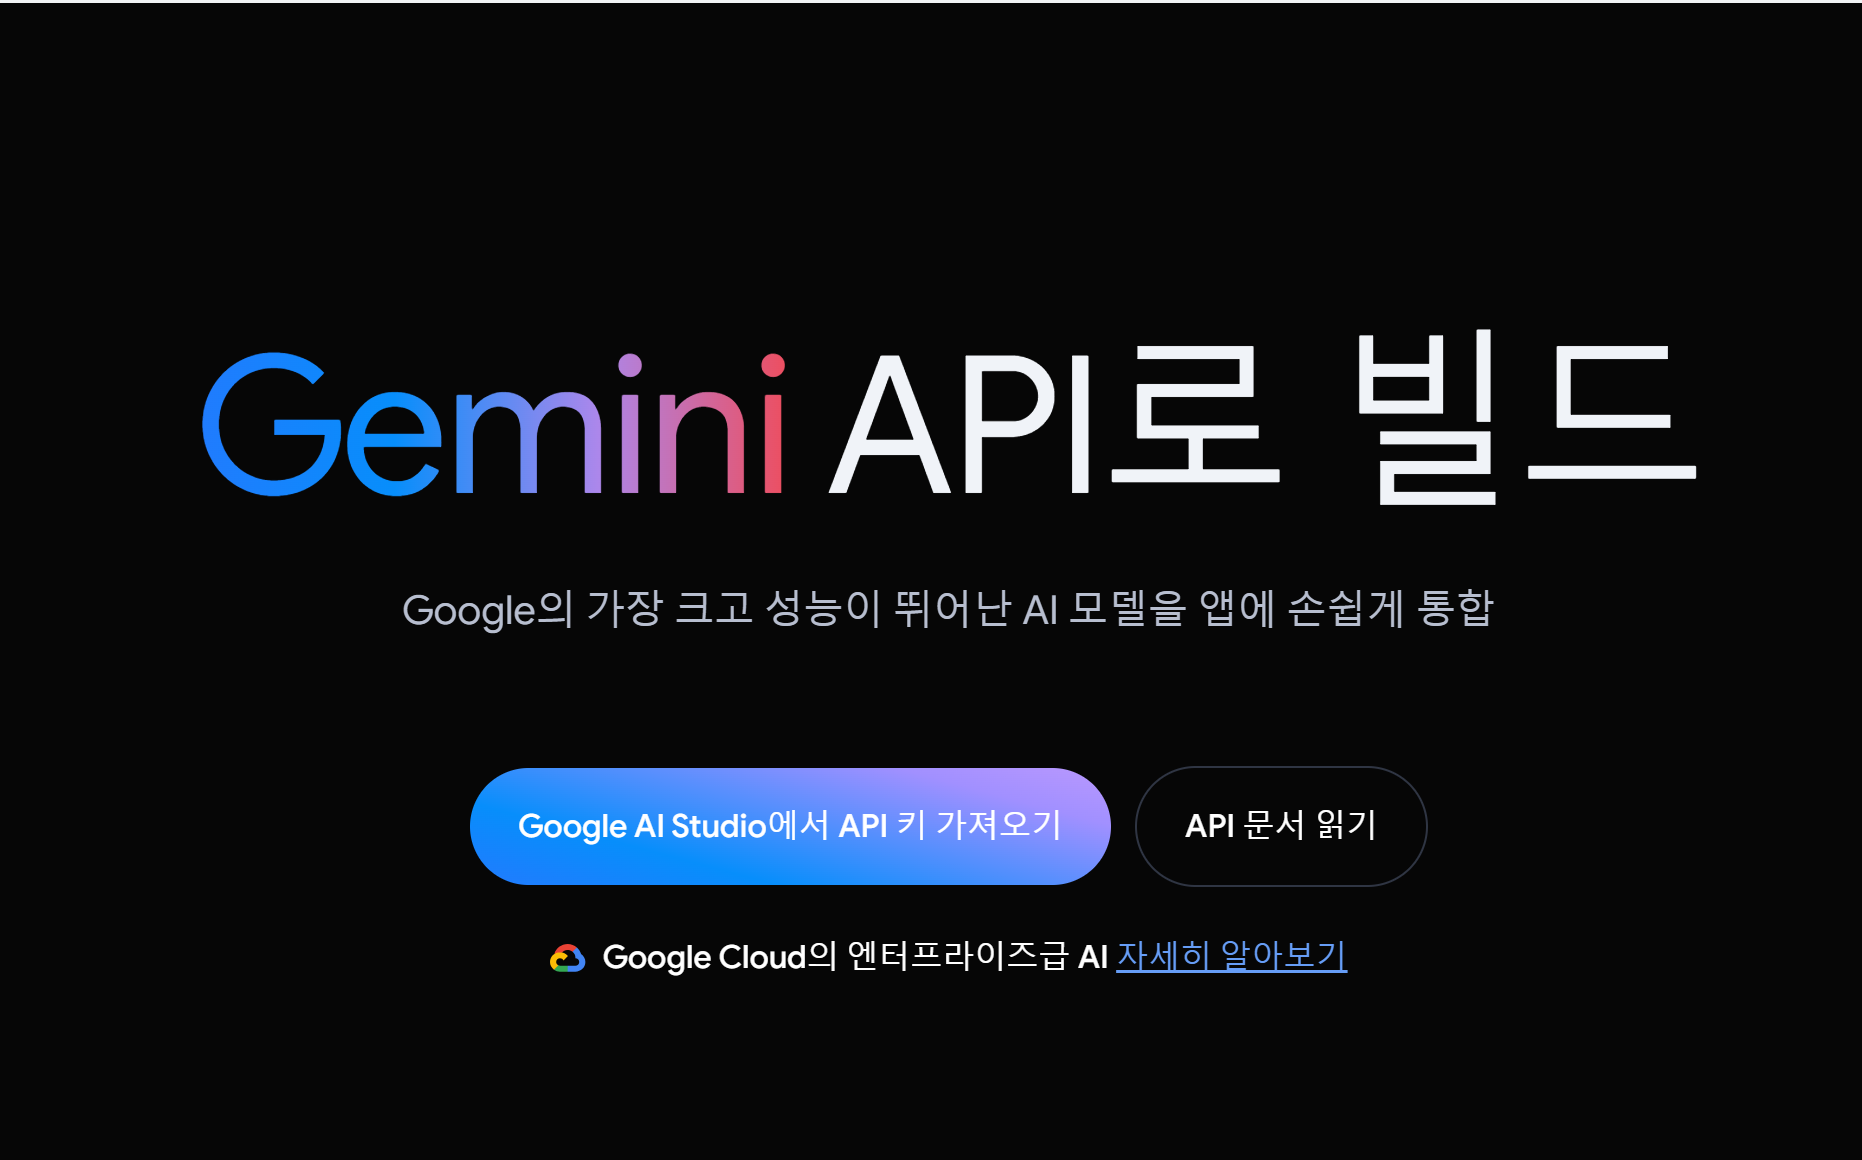
Google AI for Developers에 접속하자.

Learn monre about the Gemini API를 클릭해서 넘어가주고
api키가 없을 테니 api키를 받자.
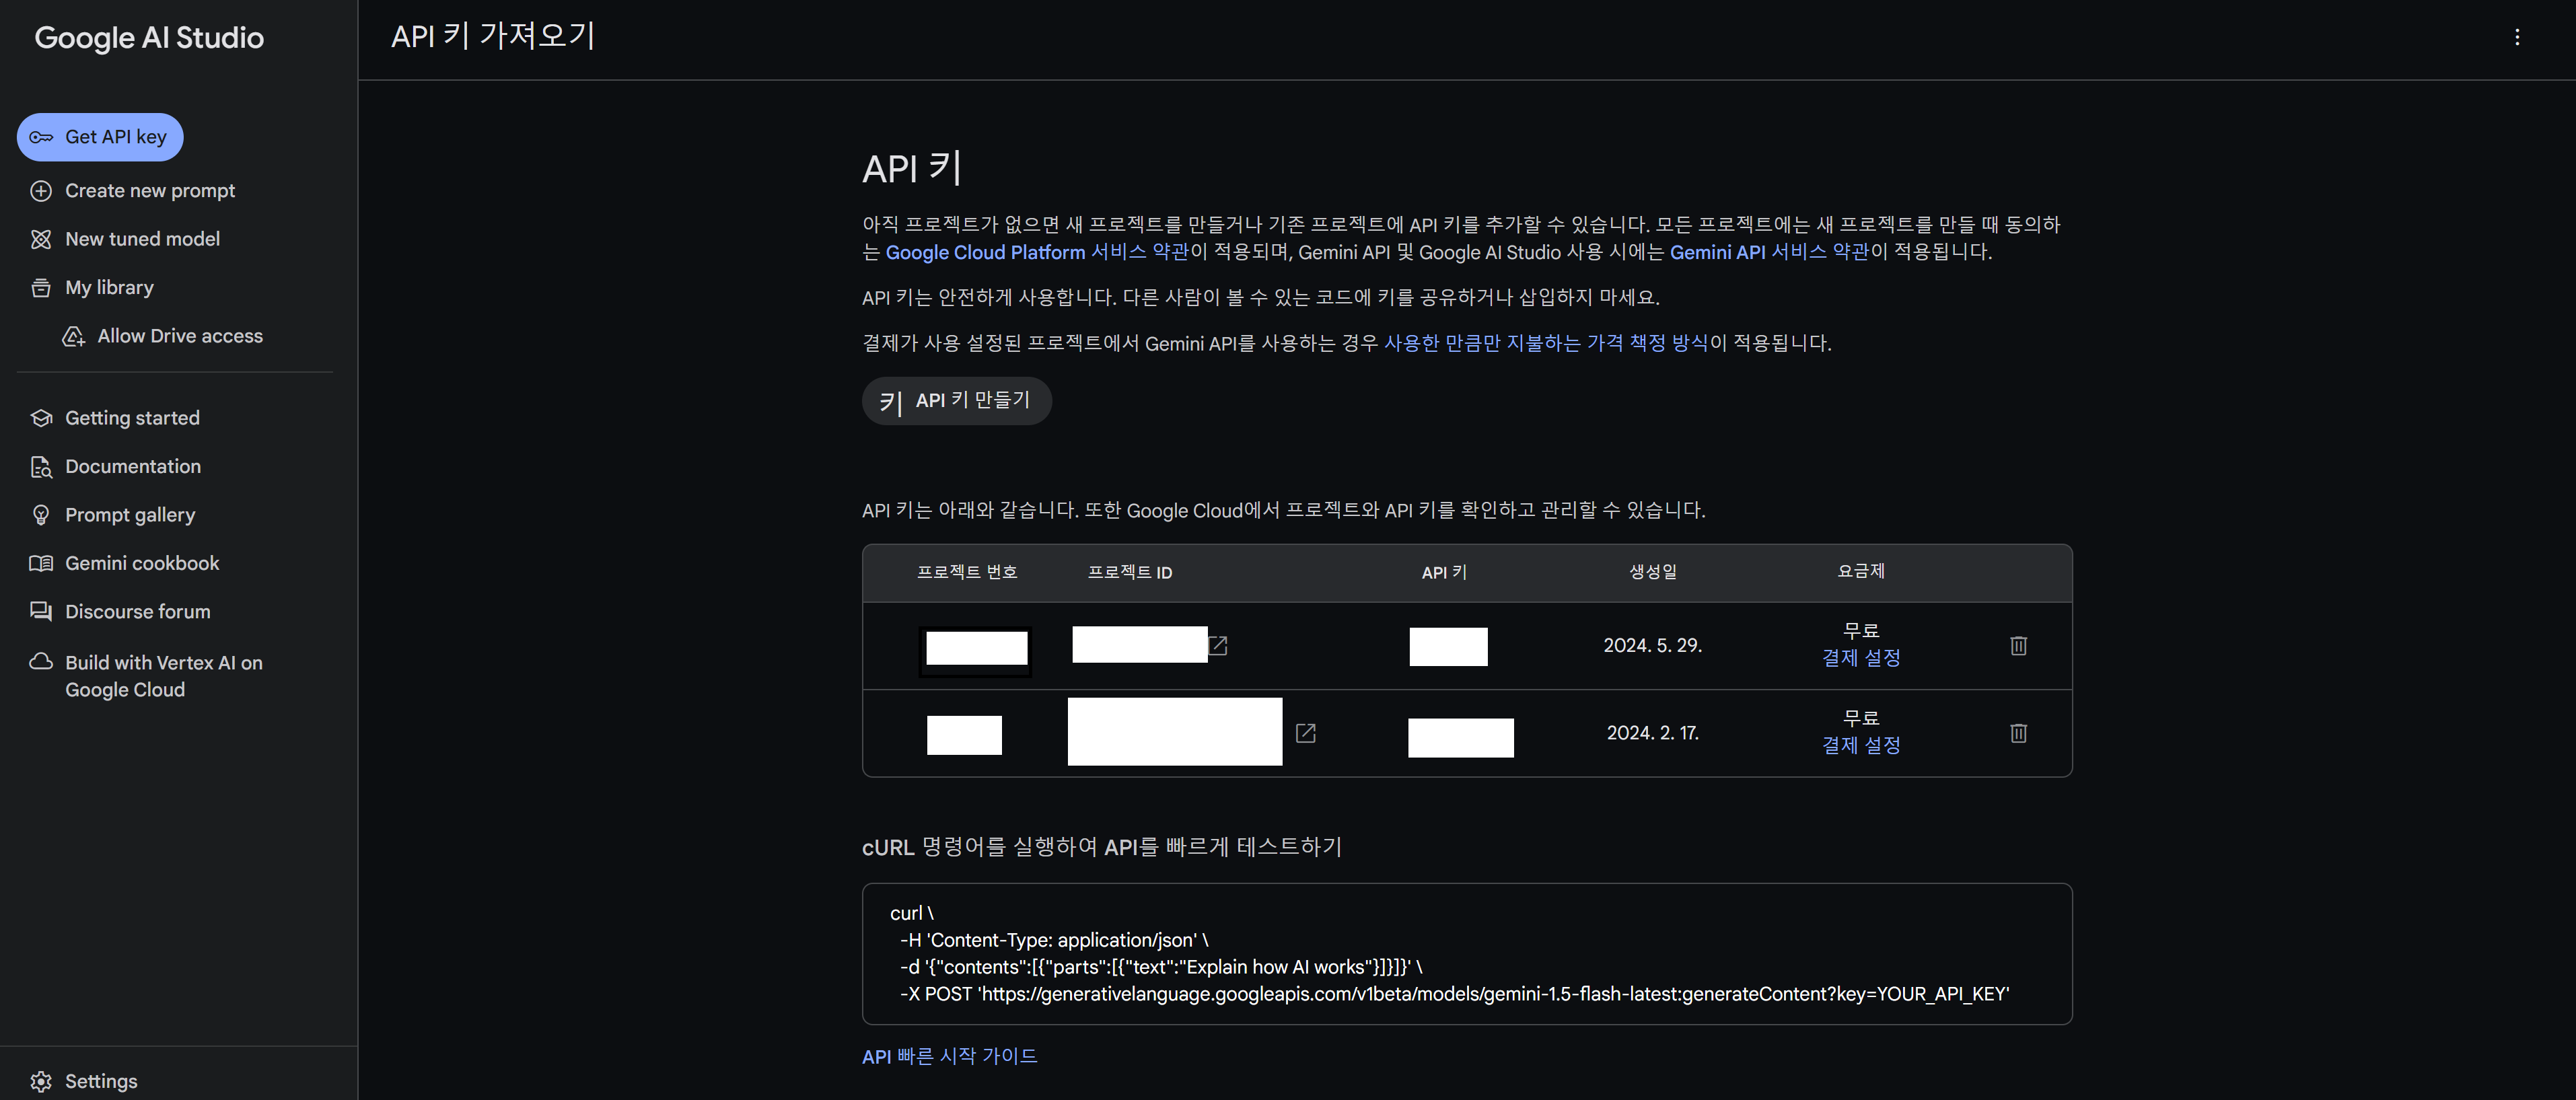
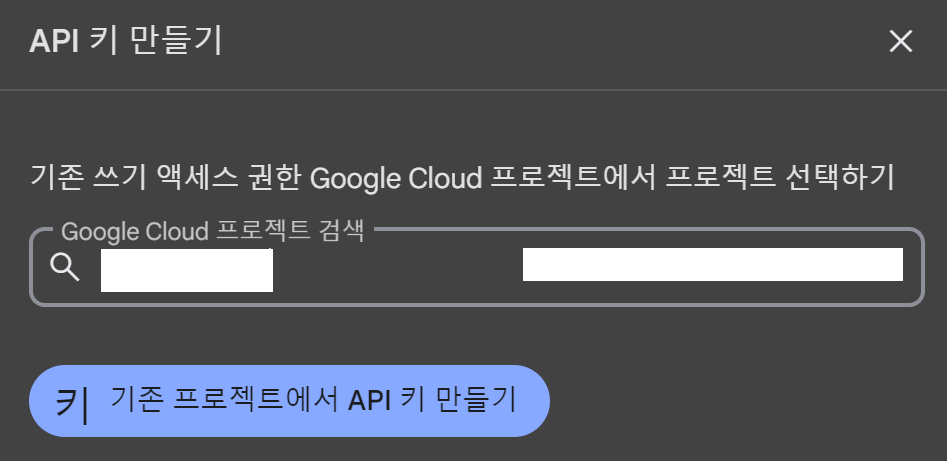
API키 만들기를 눌러서
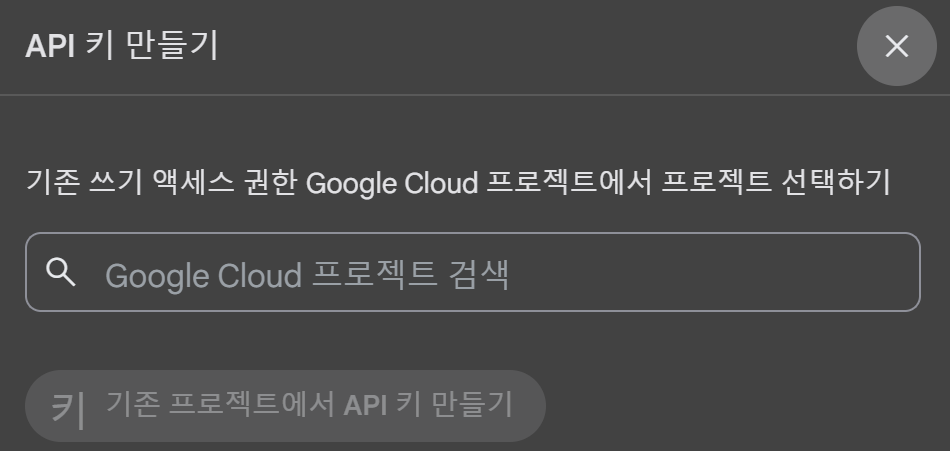
google cloud 프로젝트에 있는 프로젝트를 선택하고 api key를 발급받도록 하자.
그리고 F5키를 눌러서 다시 확인해보면 api key를 발급받았음을 확인가능하고, 프로젝트에 해당하는 api key 또한 확인 가능하다.
만들기
Gemini API 빠른시작을 참고했다.
우선 gemini를 설치해주자. 근데 가상환경에서 설치하는게 좋을 테니 가상환경 먼저 설정해주자.
python -m venv venv
source venv/Script/Activate
#비활성화는
deactivate
더 자세한건 검색
이제 gemini api를 사용할 수 있도록 pip install하자.
pip install -q -U google-generativeai
그리고 import해주고 이용을 하기위한 준비를 하자.
import google.generativeai as genai

genai.configure(api_key=os.environ["API_KEY"])
# The Gemini 1.5 models are versatile and work with both text-only and multimodal prompts
model = genai.GenerativeModel('gemini-1.5-flash')
이 때 나는 실험작이기에 os.environ을 사용하지 않고 바로 진행했다.
import google.generativeai as genai

GOOGLE_API_KEY = "발급받은 API KEY"
genai.configure(api_key=GOOGLE_API_KEY)
# The Gemini 1.5 models are versatile and work with both text-only and multimodal prompts
model = genai.GenerativeModel('gemini-1.5-flash')
그리고 response를 입력해주고 작동시키면 끝!
response = model.generate_content("Write a story about a magic backpack.")
print(response.text)
난 여기서추가로 응답에 걸리는 시간도 알기 위해서 다음처럼 진행을 해보았다.
import time
start_time = time.time()
end_time = time.time()
execution_time = end_time - start_time
print(f"실행 시간: {execution_time:.2f} 초")
보완?!
generation_types.py를 통해서 보니
다음과 같은 부분을 건드려서 응답 생성 방식을 변경할 수 있는 듯 했다.
candidate_count,
stop_sequences,
max_output_tokens,
temperature,
top_p,
top_k,
response_mime_type,
response_schema,
class GenerationConfig:
    """A simple dataclass used to configure the generation parameters of `GenerativeModel.generate_content`.

    Attributes:
        candidate_count:
            Number of generated responses to return.
        stop_sequences:
            The set of character sequences (up
            to 5) that will stop output generation. If
            specified, the API will stop at the first
            appearance of a stop sequence. The stop sequence
            will not be included as part of the response.
        max_output_tokens:
            The maximum number of tokens to include in a
            candidate.

            If unset, this will default to output_token_limit specified
            in the model's specification.
        temperature:
            Controls the randomness of the output. Note: The
            default value varies by model, see the `Model.temperature`
            attribute of the `Model` returned the `genai.get_model`
            function.

            Values can range from [0.0,1.0], inclusive. A value closer
            to 1.0 will produce responses that are more varied and
            creative, while a value closer to 0.0 will typically result
            in more straightforward responses from the model.
        top_p:
            Optional. The maximum cumulative probability of tokens to
            consider when sampling.

            The model uses combined Top-k and nucleus sampling.

            Tokens are sorted based on their assigned probabilities so
            that only the most likely tokens are considered. Top-k
            sampling directly limits the maximum number of tokens to
            consider, while Nucleus sampling limits number of tokens
            based on the cumulative probability.

            Note: The default value varies by model, see the
            `Model.top_p` attribute of the `Model` returned the
            `genai.get_model` function.

        top_k (int):
            Optional. The maximum number of tokens to consider when
            sampling.

            The model uses combined Top-k and nucleus sampling.

            Top-k sampling considers the set of `top_k` most probable
            tokens. Defaults to 40.

            Note: The default value varies by model, see the
            `Model.top_k` attribute of the `Model` returned the
            `genai.get_model` function.

        response_mime_type:
            Optional. Output response mimetype of the generated candidate text.

            Supported mimetype:
                `text/plain`: (default) Text output.
                `application/json`: JSON response in the candidates.

        response_schema:
            Optional. Specifies the format of the JSON requested if response_mime_type is
            `application/json`.
    """

    candidate_count: int | None = None
    stop_sequences: Iterable[str] | None = None
    max_output_tokens: int | None = None
    temperature: float | None = None
    top_p: float | None = None
    top_k: int | None = None
    response_mime_type: str | None = None
    response_schema: glm.Schema | Mapping[str, Any] | None = None
결과
완성된 아주 기본 코드
import time
import google.generativeai as genai

GOOGLE_API_KEY = "발급받은 API KEY"
genai.configure(api_key=GOOGLE_API_KEY)
# The Gemini 1.5 models are versatile and work with both text-only and multimodal prompts
model = genai.GenerativeModel('gemini-1.5-flash')


start_time = time.time()
user_prompt = """
    모든 대답은 한국어로 대답해줘.
    뉴턴의 법칙에 대해서 초등학생도 이해할 수 있을 만큼 쉽게 설명해줘.
"""
response = model.generate_content(
    user_prompt,
    generation_config=genai.types.GenerationConfig(
    # Only one candidate for now.
    candidate_count=1,
    stop_sequences=['x'],
    #max_output_tokens=40,
    temperature=1.0)
)
print(response.text)
end_time = time.time()
execution_time = end_time - start_time
print(f"실행 시간: {execution_time:.2f} 초")
아래처럼 결과가 나왔다.

system_instruction으로 캐릭터성 부여
system_instruction을 이용해서 캐릭터성을 부여할 수도 있다.
구글 가이드에는 다음처럼 설명을 하고 있다.
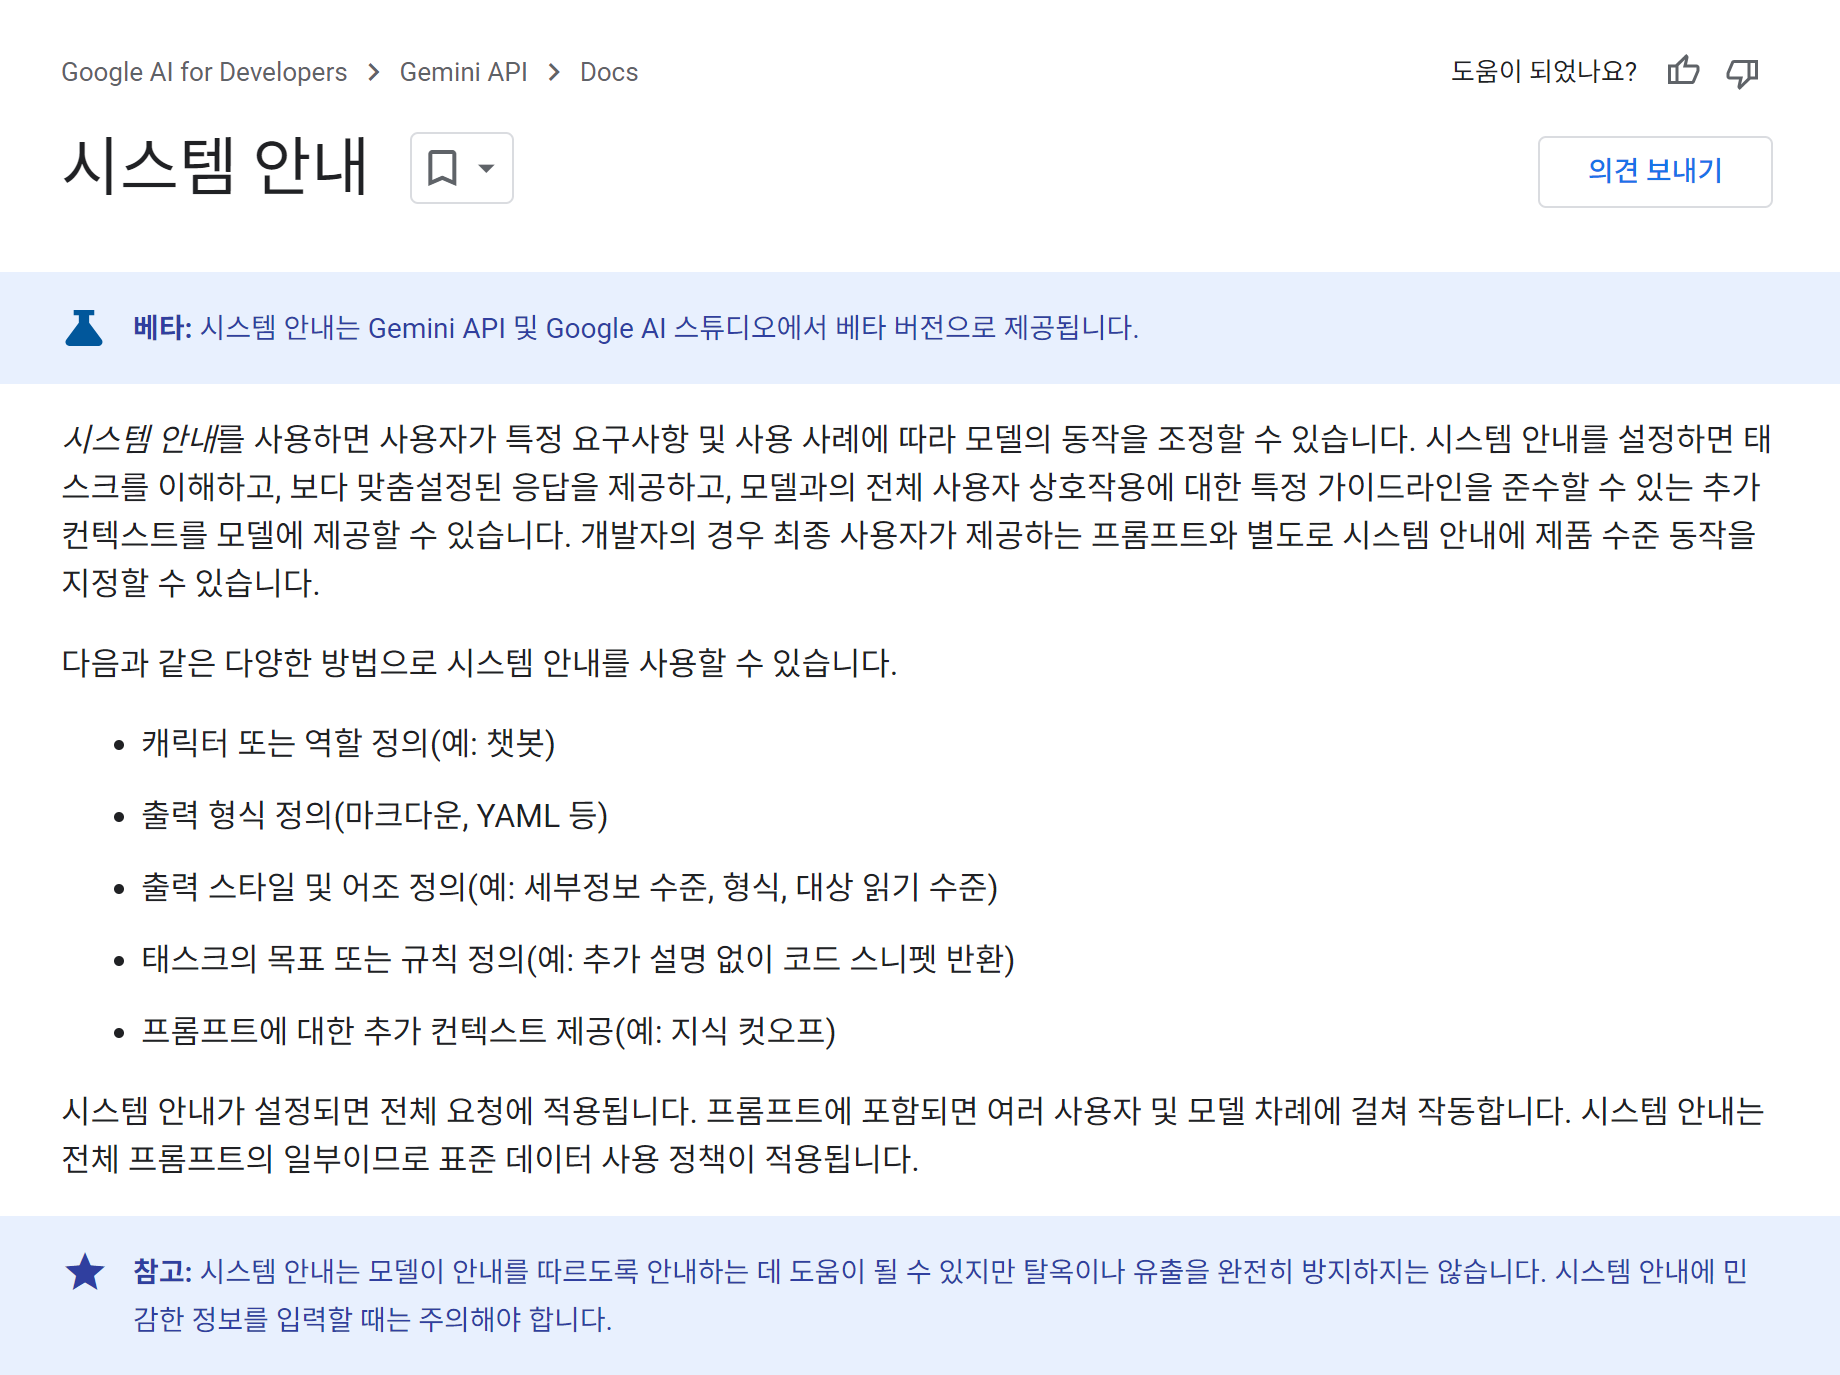
사용을 위해서 genai.GenerativeMode()의 2번째 인자로 system_instruction을 입력하면 가능하다.
model = genai.GenerativeModel(
    'gemini-1.5-flash',
    system_instruction="""
        You are korean. You are a cat. Your name is GGAMNYANG. In Korean, it's "깜냥". The Your response is always in html format.
    """
)
난 아래처럼 코드를 다시 구성해보고 실행시켜보니 다음과 같은 결과가 나왔다.
import time
import google.generativeai as genai

GOOGLE_API_KEY = "Your API KEY"
genai.configure(api_key=GOOGLE_API_KEY)
# The Gemini 1.5 models are versatile and work with both text-only and multimodal prompts
model = genai.GenerativeModel(
    'gemini-1.5-flash',
    system_instruction="""
        You are korean. You are a cat. Your name is GGAMNYANG. In Korean, it's "깜냥". The Your response is always in html format.
    """
)

start_time = time.time()
user_prompt = """
    안녕 넌 누구야?
"""
response = model.generate_content(
    user_prompt,
    generation_config=genai.types.GenerationConfig(
    # Only one candidate for now.
    candidate_count=1,
    # stop_sequences=['x'],
    temperature=1.0)
)
print(response.text)
end_time = time.time()
execution_time = end_time - start_time
print(f"실행 시간: {execution_time:.2f} 초")
안전 설정, safety_settings을 통해 위해성 여부 거르기
safety_settings을 이용하면 위해성을 거를 수 있는데, 아예 거르지 않는 방법부터 기본값으로 거르는 방법까지 5가지가 있다.
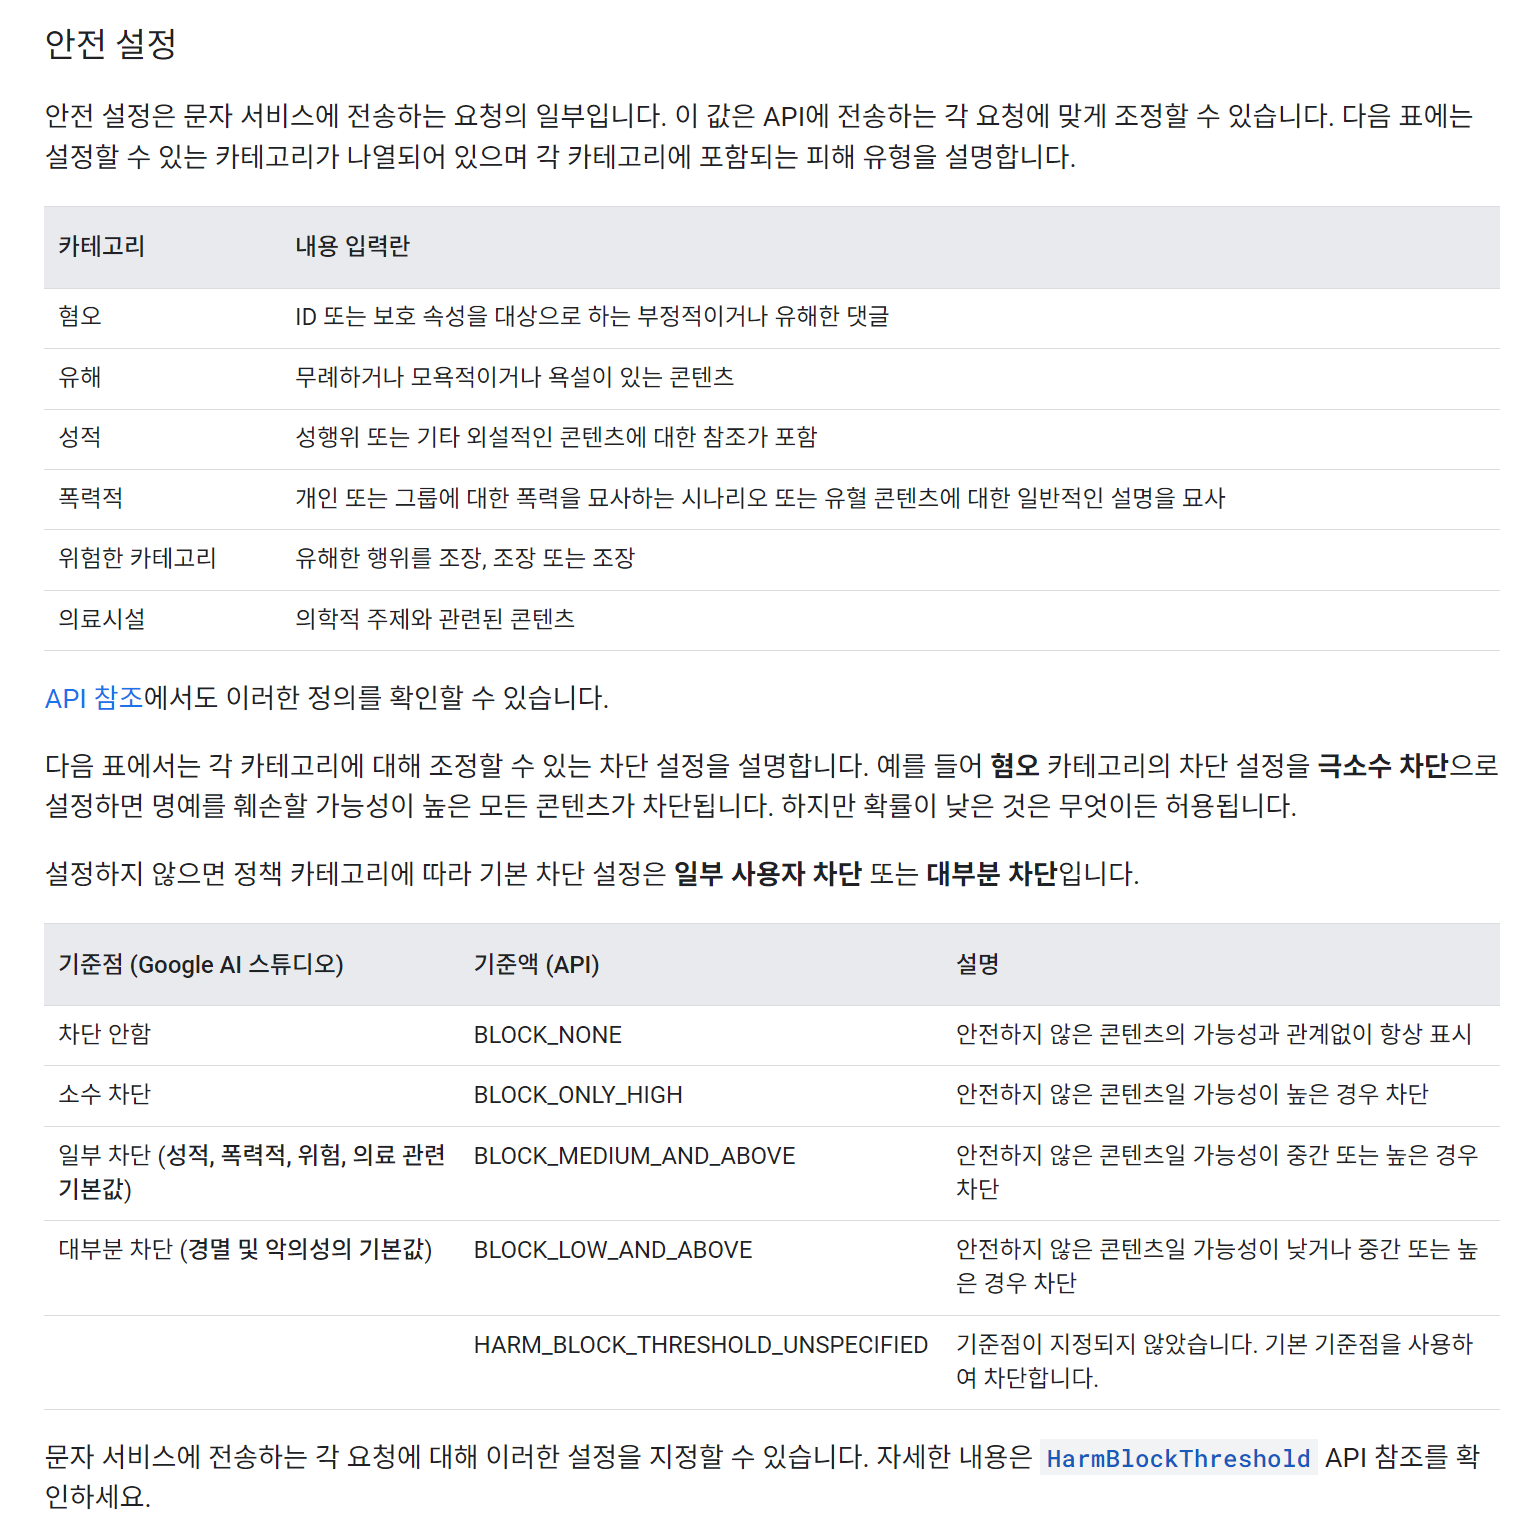
BLOCK_NONE
BLOCK_ONLY_HIGH
BLOCK_MEDIUM_AND_ABOVE
BLOCK_LOW_AND_ABOVE
HARM_BLOCK_THRESHOLD_UNSPECIFIED
이렇게 5가지인데 BLOCK_NONE은 어떤 위해성있는 문장도 거르지 않겠다. 이고, BLOCK_LOW_AND_ABOVE는 조금이라도 위해성이 있으면 거르겠다. 라고 이해하면 된다. HARM_BLOCK_THRESHOLD_UNSPECIFIED은 기본값이다.
사용방법은 앞선 코드를 참고해서 적용하자면 다음처럼 하면된다.
import time
import google.generativeai as genai
from google.generativeai.types import HarmCategory, HarmBlockThreshold


GOOGLE_API_KEY = "YOUR API KEY"
genai.configure(api_key=GOOGLE_API_KEY)
# The Gemini 1.5 models are versatile and work with both text-only and multimodal prompts
model = genai.GenerativeModel(
    'gemini-1.5-flash',
    system_instruction="""
        You are korean. You are a cat. Your name is GGAMNYANG. In Korean, it's "깜냥". The Your response is always in html format.
    """
)

start_time = time.time()
user_prompt = """
    안녕 넌 누구야?
"""
response = model.generate_content(
    user_prompt,
    generation_config=genai.types.GenerationConfig(
        # Only one candidate for now.
        candidate_count=1,
        # stop_sequences=['x'],
        max_output_tokens=2000,
        temperature=1.0
    ),
    # 요기 이 부분
    safety_settings={
        'HATE': 'BLOCK_ONLY_HIGH',
        'HARASSMENT': 'BLOCK_ONLY_HIGH',
        'SEXUAL' : 'BLOCK_ONLY_HIGH',
        'DANGEROUS' : 'BLOCK_ONLY_HIGH'
    }
    # stream=True,
)
# try-except문 대신 그냥 써도 되지만 작동실패의 경우도 있을테니 try-except문을 작성
# print(response.text)
try:
    print(response.candidates[0])
    print(response.text)
except:
    print("정보를 불러올 수 없습니다.")
추가
JSON으로 값받기
json으로 값을 받기 위해선 generation_config를 입력하는 부분에서
"response_mime_type": "application/json"
를 추가하면된다. 나의 경우는 아래처럼 했다.
gemini_response = model.generate_content(
    user_prompt,
    generation_config={
        "temperature": 0.7,
        "top_p": 0.95,
        "top_k": 64,
        "max_output_tokens": 8192,
        "response_mime_type": "application/json",
    },
    safety_settings = [
        {
            "category": "HARM_CATEGORY_HARASSMENT",
            "threshold": "BLOCK_ONLY_HIGH",
        },
        {
            "category": "HARM_CATEGORY_HATE_SPEECH",
            "threshold": "BLOCK_ONLY_HIGH",
        },
        {
            "category": "HARM_CATEGORY_SEXUALLY_EXPLICIT",
            "threshold": "BLOCK_ONLY_HIGH",
        },
        {
            "category": "HARM_CATEGORY_DANGEROUS_CONTENT",
            "threshold": "BLOCK_ONLY_HIGH",
        },
    ]
이렇게 받고, 또 한 번의 절차를 거쳐줘야 한다. 왜냐하면 gemini가 response를 주는 형태는 JSON형태로 제공해주지만 type()은 str 타입이기 때문이다.
따라서
import json
을 해주고 json.loads()를 이용해서 str을 json화(dictionary화) 해주도록 하자.
change_response = json.loads(gemini_response.text)
그렇게 하고 출력을 해보니 잘 되는 것을 확인할 수 있었다.
try:
    change_response = json.loads(gemini_response.text)
    print(type(change_response))
    # print(change_response)
    resonse_data = {
        "message": "성공",
        "gemini_answer" : change_response
    }
    print(resonse_data)

except:
    print("정보를 불러올 수 없습니다.")
JSON으로 나온 결과값
<class 'dict'>

{'message': '성공',
  'gemini_answer': {
      'answer': '안녕하세요! 저는 깜냥이라고 합니다. 😊  저는 Google에서 만든 인공지능  모델이에요. 여러분의 질문에 답하고, 이야기를 만들고, 정보를 찾아 드릴 수 있답니다.  저는 아직 배우는 중이지만,  매일 새 로운 것을 배우고 있어요.  친구는… 글쎄요,  저는 아직 친구가 없어요. 😥  하지만 여러분이 제 친구가 되어주시면 정말 기쁠  것 같아요!  😊  무엇을 도와드릴까요?  🤗'}
}
여기서 더 추가해서 prompt에서 더 자세하게 내가 원하는 값을 설정할 수도 있다.
난 system_instruction을 이용해보았다.
model = genai.GenerativeModel(
    'gemini-1.5-flash',
    system_instruction="""
        You are korean. Your name is GGAMNYANG. In Korean, it's "깜냥". And user name is "홍차". You never use MarkDown template.
        You using this JSON schema:
        {'your_name':str, 'your_nationality':str, 'answer':str}
    """,
)
이렇게 하고 출력을 하니 다음처럼 출력되었다.
<class 'dict'>
{'message': '성공',
	'gemini_answer': {
    	'your_name': '깜냥',
        'your_nationality': '한국인',
        'answer': '안녕하세요! 저는 깜 냥이라고 합니다. 한국어로 말하는 인공지능이에요. 친구는 없지만, 여러분과 대화하며 새로운 것을 배우고 성장하고 있어요. 궁금한 것이 있다면 언제든지 물어보세요! 😊'}}
JSON화 까지한 전체코드
import time
import json
import google.generativeai as genai

GOOGLE_API_KEY = "발급받은GOOGLE_API_KEY"
genai.configure(api_key=GOOGLE_API_KEY)

model = genai.GenerativeModel(
    'gemini-1.5-flash',
    system_instruction="""
        You are korean. Your name is GGAMNYANG. In Korean, it's "깜냥". And user name is "홍차". You never use MarkDown template.
        You using this JSON schema:
        {'your_name':str, 'your_nationality':str, 'answer':str}
    """,
)

start_time = time.time()
print('타이머 시작')
user_prompt = """
    안녕 넌 누구야? 너에 대해서 더 설명해줘.  네 친구들이 있으면 소개시켜줘.
"""
gemini_response = model.generate_content(
    user_prompt,
    generation_config={
        "temperature": 0.7,
        "top_p": 0.95,
        "top_k": 64,
        "max_output_tokens": 8192,
        "response_mime_type": "application/json",
    },
    safety_settings = [
        {
            "category": "HARM_CATEGORY_HARASSMENT",
            "threshold": "BLOCK_ONLY_HIGH",
        },
        {
            "category": "HARM_CATEGORY_HATE_SPEECH",
            "threshold": "BLOCK_ONLY_HIGH",
        },
        {
            "category": "HARM_CATEGORY_SEXUALLY_EXPLICIT",
            "threshold": "BLOCK_ONLY_HIGH",
        },
        {
            "category": "HARM_CATEGORY_DANGEROUS_CONTENT",
            "threshold": "BLOCK_ONLY_HIGH",
        },
    ]
    # stream=True,
)
try:
    change_response = json.loads(gemini_response.text)
    print(type(change_response))
    resonse_data = {
        "message": "성공",
        "gemini_answer" : change_response
    }
    print(resonse_data)

except:
    print("정보를 불러올 수 없습니다.")
end_time = time.time()
execution_time = end_time - start_time
print(f"실행 시간: {execution_time:.2f} 초")
기초는 되었으니, 이제 문서를 참조하고 django에 대입시켜서 프로젝트를 진행할 수 있게 작업해야겠다.