안드로이드에서 AWS의 MQTT 기능을 사용해보았다.
https://ap-northeast-2.console.aws.amazon.com/iot/home?region=ap-northeast-2#/home
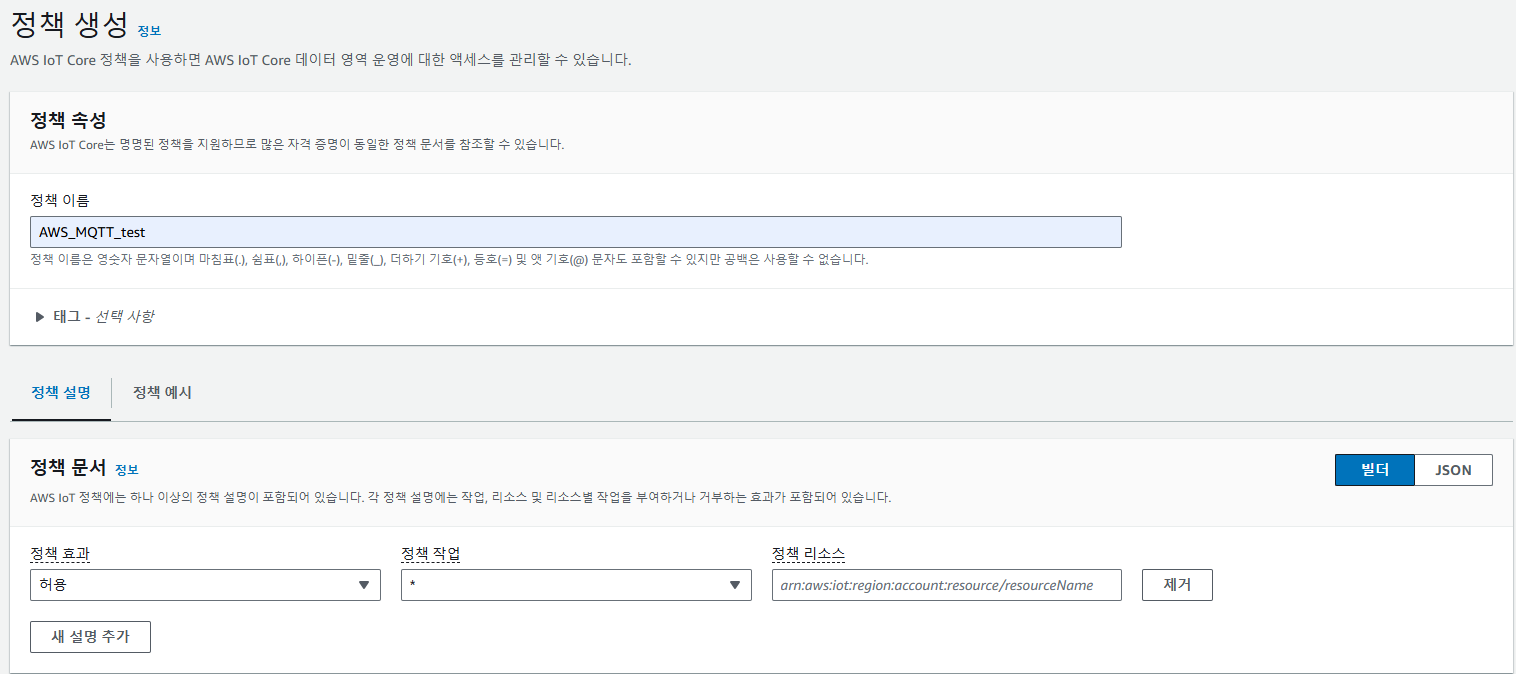
정책 생성
AWS IoT Core 기능을 사용할 사물의 접근 가능 기능 권한을 설정하는 정책을 생성한다.
여기서는 테스트 용도이기에 모든 작업에 대한 권한을 부여하였다.
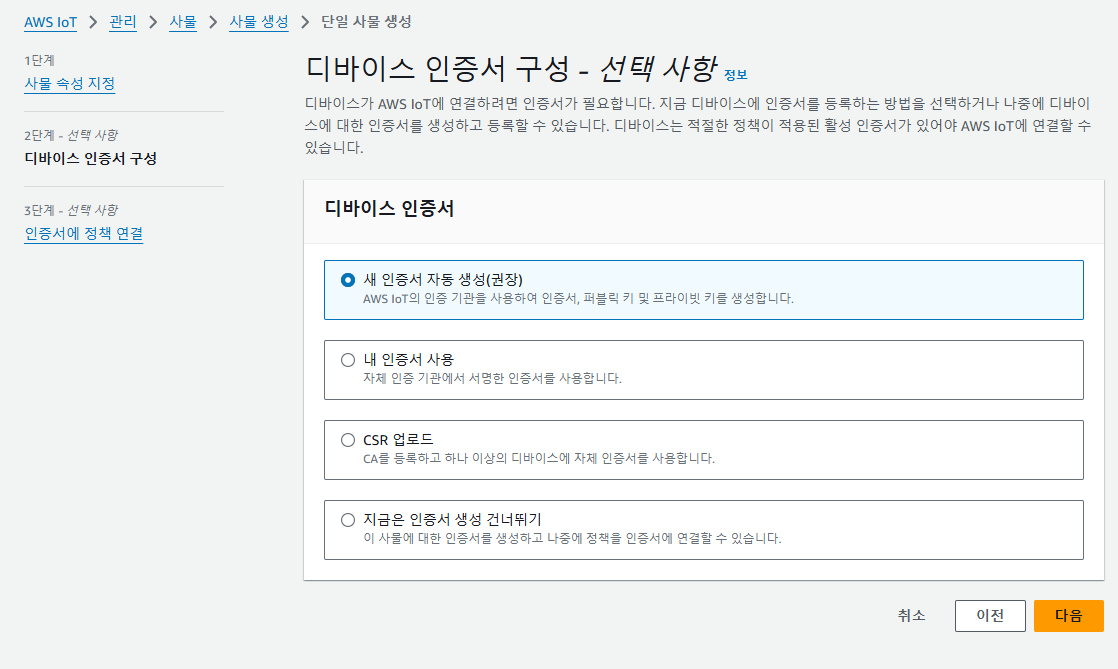
사물 생성 & 인증서 생성
AWS IoT Core 기능을 사용할 사물을 생성하면서 동시에 인증서를 생성한다.
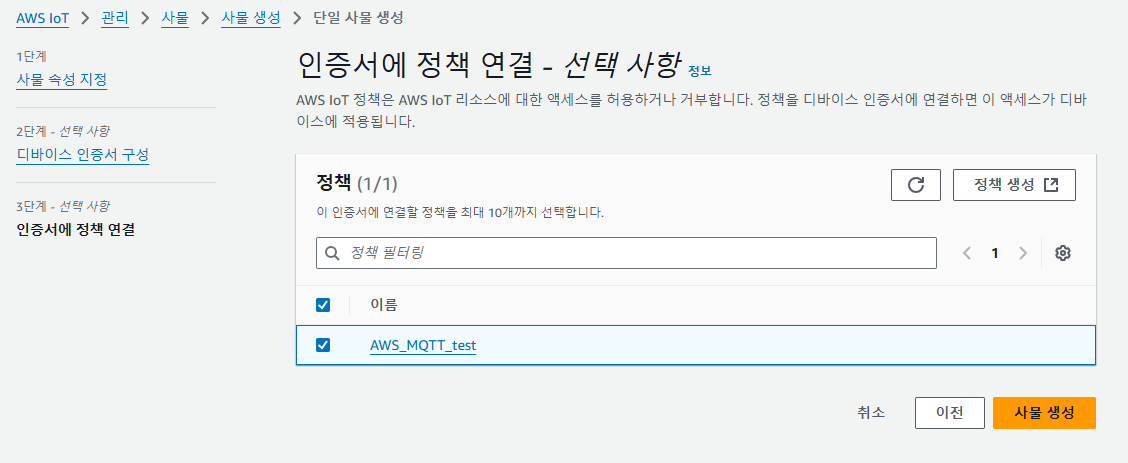
이 때 인증서에 앞에서 생성한 정책을 연결해준다.
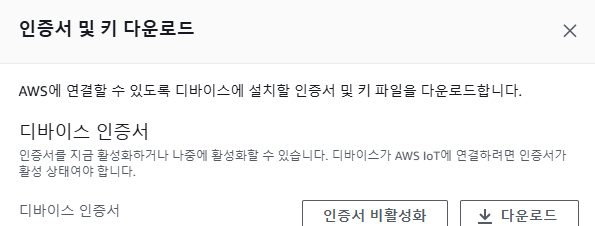
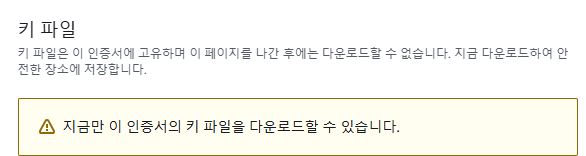
인증서를 생성하면 인증서와 키 파일을 다운받는 화면이 나온다.
해당 인증서와 키 파일들을 모두 다운받는다.
해당 과정을 마치면 AWS IoT Core 기능을 사용할 수 있는 사물과 인증서가 생성된다.
Android 에서 AWS IoT MQTT 사용하기
dependencies 추가
build.gradle에 의존성을 추가한다.
dependencies {
	...

    implementation("com.amazonaws:aws-android-sdk-iot:2.54.0")
}
INTERNET 권한 추가
AndroidManifest.xml에 INTERNET 권한을 추가한다.
<?xml version="1.0" encoding="utf-8"?>
<manifest xmlns:android="http://schemas.android.com/apk/res/android">

    <uses-permission android:name="android.permission.INTERNET"/>
    <uses-permission android:name="android.permission.ACCESS_NETWORK_STATE"/>
인증서 & 보안 키 추가
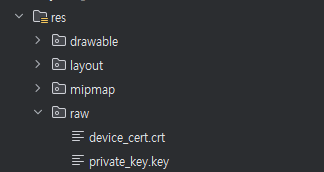
프로젝트 안에 앞에서 다운받은 인증서와 보안 키를 넣는다.
AWS IoT Core 에 연결
저장한 인증서/보안 키 와 따로 설정하는 KeyStore의 이름/비밀번호/인증id 를 사용해 KeyStore를 생성,
AWSIoTMqttManager 에서 KeyStore 와 엔드포인트를 이용해 연결을 구축한다.
엔드포인트는 AWS Iot Core 페이지의 도메인 탭에서 확인 가능하다.
public class MainActivity extends AppCompatActivity {

    private static final String TAG = "MainActivity";

    private static final String CUSTOMER_SPECIFIC_ENDPOINT = "디바이스 데이터 엔드포인트";
    private static final String KEYSTORE_NAME = "iot_keystore";
    private static final String KEYSTORE_PASSWORD = "password";
    private static final String CERTIFICATE_ID = "default";

    AWSIotMqttManager awsIotMqttManager;
    String clientId;
    KeyStore clientKeyStore;

    @Override
    protected void onCreate(Bundle savedInstanceState) {
        super.onCreate(savedInstanceState);
        EdgeToEdge.enable(this);
        setContentView(R.layout.activity_main);
        ViewCompat.setOnApplyWindowInsetsListener(findViewById(R.id.main), (v, insets) -> {
            Insets systemBars = insets.getInsets(WindowInsetsCompat.Type.systemBars());
            v.setPadding(systemBars.left, systemBars.top, systemBars.right, systemBars.bottom);
            return insets;
        });

        clientId = "CLIENT";

        awsIotMqttManager = new AWSIotMqttManager(clientId, CUSTOMER_SPECIFIC_ENDPOINT);

        try {
            prepareKeyStore();

            connect();
        } catch (Exception e){
            Log.e(TAG, "Error in keystore preparation or connection", e);
        }

        ...

    }

    private void prepareKeyStore() throws Exception{
        InputStream certInputStream = getResources().openRawResource(R.raw.device_cert);
        InputStream privateKeyInputStream = getResources().openRawResource(R.raw.private_key);

        String certPem = convertStreamToString(certInputStream);
        String privateKeyPem = convertStreamToString(privateKeyInputStream);

        if(!AWSIotKeystoreHelper.isKeystorePresent(getFilesDir().getPath(),KEYSTORE_NAME)){
            // Generate KeyStore
            AWSIotKeystoreHelper.saveCertificateAndPrivateKey(
                    CERTIFICATE_ID,
                    certPem,
                    privateKeyPem,
                    getFilesDir().getPath(),
                    KEYSTORE_NAME,
                    KEYSTORE_PASSWORD
            );
        }

        // Load KeyStore
        clientKeyStore = AWSIotKeystoreHelper.getIotKeystore(
                CERTIFICATE_ID,
                getFilesDir().getPath(),
                KEYSTORE_NAME,
                KEYSTORE_PASSWORD
        );
    }

    private void connect() {
        awsIotMqttManager.connect(clientKeyStore,new AWSIotMqttClientStatusCallback() {
            @Override
            public void onStatusChanged(AWSIotMqttClientStatus status, Throwable throwable) {
                runOnUiThread(new Runnable() {
                    @Override
                    public void run() {
                        Log.d(TAG, status.toString());
                    }
                });
            }
        });
    }

    ...

    // Convert InputStream to String
    private String convertStreamToString(InputStream is) throws Exception {
        java.util.Scanner s = new java.util.Scanner(is).useDelimiter("\\A");
        return s.hasNext() ? s.next() : "";
    }

}
이 방법은 프로젝트 안에 인증서와 보안 키를 넣고 사용하는 방법이기에 보안적으로 매우 취약하다.
테스트이기 때문에 이러한 방법을 사용했지만 실제로는 다른 방법을 사용하자.
Publish
지정한 Topic으로 메시지의 Publish 는 다음처럼 실행할 수 있다(AWSIotMqttClientStatus가 Connected 된 상태에서 수행해야 됨).
        Button buttonPublish = findViewById(R.id.button);
        buttonPublish.setOnClickListener(new View.OnClickListener() {
            @Override
            public void onClick(View view) {
                publish();
            }
        });

        ...

    private void publish() {
        try {
            String message = "MESSAGE";
            awsIotMqttManager.publishString(message, "android/" + clientId, AWSIotMqttQos.QOS0);
            Log.d(TAG, "Message Published : " + message);
        } catch (Exception e) {
            e.printStackTrace();
        }
    }
Subscribe
지정한 Topic의 Subscribe 는 다음처럼 실행할 수 있다(AWSIotMqttClientStatus가 Connected 된 상태에서 수행해야 됨).
        Button buttonSubscribe = findViewById(R.id.button2);
        buttonSubscribe.setOnClickListener(new View.OnClickListener() {
            @Override
            public void onClick(View view) {
                subscribe();
            }
        });

    ...

    private void subscribe(){
        try {
            awsIotMqttManager.subscribeToTopic("android/monitor", AWSIotMqttQos.QOS0, new AWSIotMqttSubscriptionStatusCallback() {
                @Override
                public void onSuccess() {
                    Log.d(TAG, "Subscribe Success");
                }

                @Override
                public void onFailure(Throwable exception) {
                    Log.d(TAG, "Subscribe Failed : " + exception);
                }
            }, new AWSIotMqttNewMessageCallback() {
                @Override
                public void onMessageArrived(String topic, byte[] data) {
                    try {
                        String message = new String(data, "UTF-8");
                        Log.d(TAG, "Got Message : " + message);
                    } catch (UnsupportedEncodingException e) {
                        e.printStackTrace();
                    }
                }
            });
        } catch (Exception e) {
            e.printStackTrace();
        }
    }