Styled-Components란?
Styled-Components는 대표적인 Css-in-Js 라이브러리의 일환으로, Js 파일 안에서 css를 사용할수 있도록 하는 기능을 한다.
ThemeProvider란?
결국 이 ThemeProvider는 Styled-Components안에 들어있는 컴포넌트중 하나이다.
ThemeProvider를 사용하면 하위에 있는 태그들에게 모두 스타일이 미치게되어 전역적으로 스타일링을 해줄 수 있다.
오늘은 이 ThemProvider를 이용해서 라이트모드, 다크모드를 구현해보도록하자.
환경설정
React + TypeScript
npx create-react-app@latest firsr-themeprovider --template=typescriptstyled-components설치
npm install styled-componentsnpm install --save-dev @types/styled-componentsreact-router-dom 설치
npm install react-router-dom디렉토리 및 컴포넌트 생성
우선 사용하기 위해서 몇가지 디렉토리와 컴포넌트를 생성해보자
- 페이지
Apgae
src/pages/aPage.tsx

function APage() {
    return (
        <>
            <PageTitle title="a 페이지" />
        </>
    );
}

export default APage;
BPage
src/pages/bPage.tsx

function BPage() {
    return (
        <>
            <PageTitle title="b 페이지" />
        </>
    );
}

export default BPage;- PageTitle 컴포넌트
src/components/pageTitle.tsx

interface PageTitleProps {
    title: string;
}

function PageTitle({ title }: PageTitleProps) {
    return <PageTitleStyle className="page-title">{title}</PageTitleStyle>;
}

const PageTitleStyle = styled.div`
    width: 200px;
    margin: 0 auto;
    margin-top: 1rem;
    height: 100px;
    display: flex;
    align-items: center;
    justify-content: center;
`;

export default PageTitle;- Header 컴포넌트
src/components/layout/header.tsx

function Header() {
    const navigate = useNavigate();

    return (
        <HeaderStyle>
            <div
                className="header-btn"
                onClick={() => {
                    navigate("/bPage");
                }}>
                헤더
            </div>
            <div
                className="header-btn"
                >
                라이트모드
            </div>
            <div
                className="header-btn"
                onClick={() => {
                    navigate("/");
                }}>
                a페이지
            </div>
        </HeaderStyle>
    );
}

const HeaderStyle = styled.header`
    width: 100%;
    height: 75px;
    display: flex;
    align-items: center;
    justify-content: space-between;
    padding: 0 2rem;
    /* border-bottom: 1px solid gray; */
    box-shadow: 0 2px 10px rgba(0, 0, 0, 0.3);

    .header-btn {
        width: 20%;
        height: 100%;
        display: flex;
        align-items: center;
        justify-content: center;
        cursor: pointer;
    }
`;

export default Header;- 라우팅 설정
src/routes/index.tsx

function RootRoute() {
    return (
        <BrowserRouter>
            <Header />
            <Routes>
                <Route path="/" element={<APage />} />
                <Route path="/bPage" element={<BPage />} />
            </Routes>
        </BrowserRouter>
    );
}

export default RootRoute;- app.tsx
src/app.tsx

function App() {

    return (
        <>
            <GlobalStyle />
            <RootRoute />
        </>
    );
}

export default App;- GlobalStyle
src/style/styles.ts

export const GlobalStyle = createGlobalStyle`

    *, *::after, *::before {
        padding: 0;
        margin: 0;
        box-sizing: border-box;
    }
`;
생각보다 환경설정에 애를 많이 먹었다. 하지만 공부할려면 이정도 감수는 해야지!
결과 화면
이렇게 간단하게 제작을 마쳤다.
ThemeProvider 사용하기
- theme설정
ThemeProvider는 theme이라는 props를 받는다. 그것을 만들어 보도록 하자.
src/style/themes.ts

const lightTheme = { //라이트 모드시 스타일
    mode: "light",
    body: "#dfdfdf",
    headerBtn: "#ffffff",
    titleBtn: "black",
    card_radius: "0.428rem",
    text: "#6e6b7b",
    border: "#c8c8c8",
};
const darkTheme = { //다크 모드시 스타일
    mode: "dark",
    body: "#283046",
    headerBtn: "#161d31",
    titleBtn: "whitesmoke",
    card_radius: "0.428rem",
    text: "#b4b7bd",
    border: "#404656",
};

const themes = {
    light: lightTheme,
    dark: darkTheme,
};

export default themes;- GlobalStyle에 적용
src/style/style.ts

export type TypeofTheme = keyof typeof themes; //모드의 type("light" | "dark")

export type StyleMode = {
    toggleStyle: (mode: TypeofTheme) => void; //현재 모드를 바꿔주는 함수
    theme: TypeofTheme; //현재모드
};

export const GlobalStyle = createGlobalStyle`

    *, *::after, *::before {
        padding: 0;
        margin: 0;
        box-sizing: border-box;
    }

    body {
        background-color : ${(props) => props.theme.body};
        color : ${(props) => props.theme.text};
    }

    div.header-btn {
        background-color : ${(props) => props.theme.headerBtn};
        color : ${(props) => props.theme.text};
    }

    div.page-title {
        background-color : ${(props) => props.theme.titleBtn};
        border : 5px solid ${(props) => props.theme.border};
        border-radius : ${(props) => props.theme.card_radius};
    }

    header {
        background-color : ${(props) => props.theme.body};
    }
`;- app.tsx에 적용
우리는 라이트모드 다크모드를 전역으로 사용할것이기 때문에 최상단인 app.tsx에 ThemeProvider를 추가해보자
src/app.tsx

function App()

    return (
        <>
            <ThemeProvider theme={themes["light"]}>
                <GlobalStyle />
                <RootRoute />
            </ThemeProvider>
        </>
    );
}

export default App;
우선 라이트 모드의 theme이 들어가도록 해두었다.
이렇게 하면 실행이 될것 같지만 error가 난다...!
바로 지금 환경이 typeScipt이기 때문이다.(이것땜에 애를 많이 먹었디.)
ThemePriver를 사용하면 theme에 들어간 값들이 defaultProps로 넘어가게 되는데 typeScript에서는 그 defaultProps에 대한 type을 정해주어야한다.
src/style/styled.d.ts
declare module "styled-components" {
export interface DefaultTheme {
mode: string;
body: string;
headerBtn: string;
titleBtn: string;
card_radius: string;
text: string;
border: string;
}
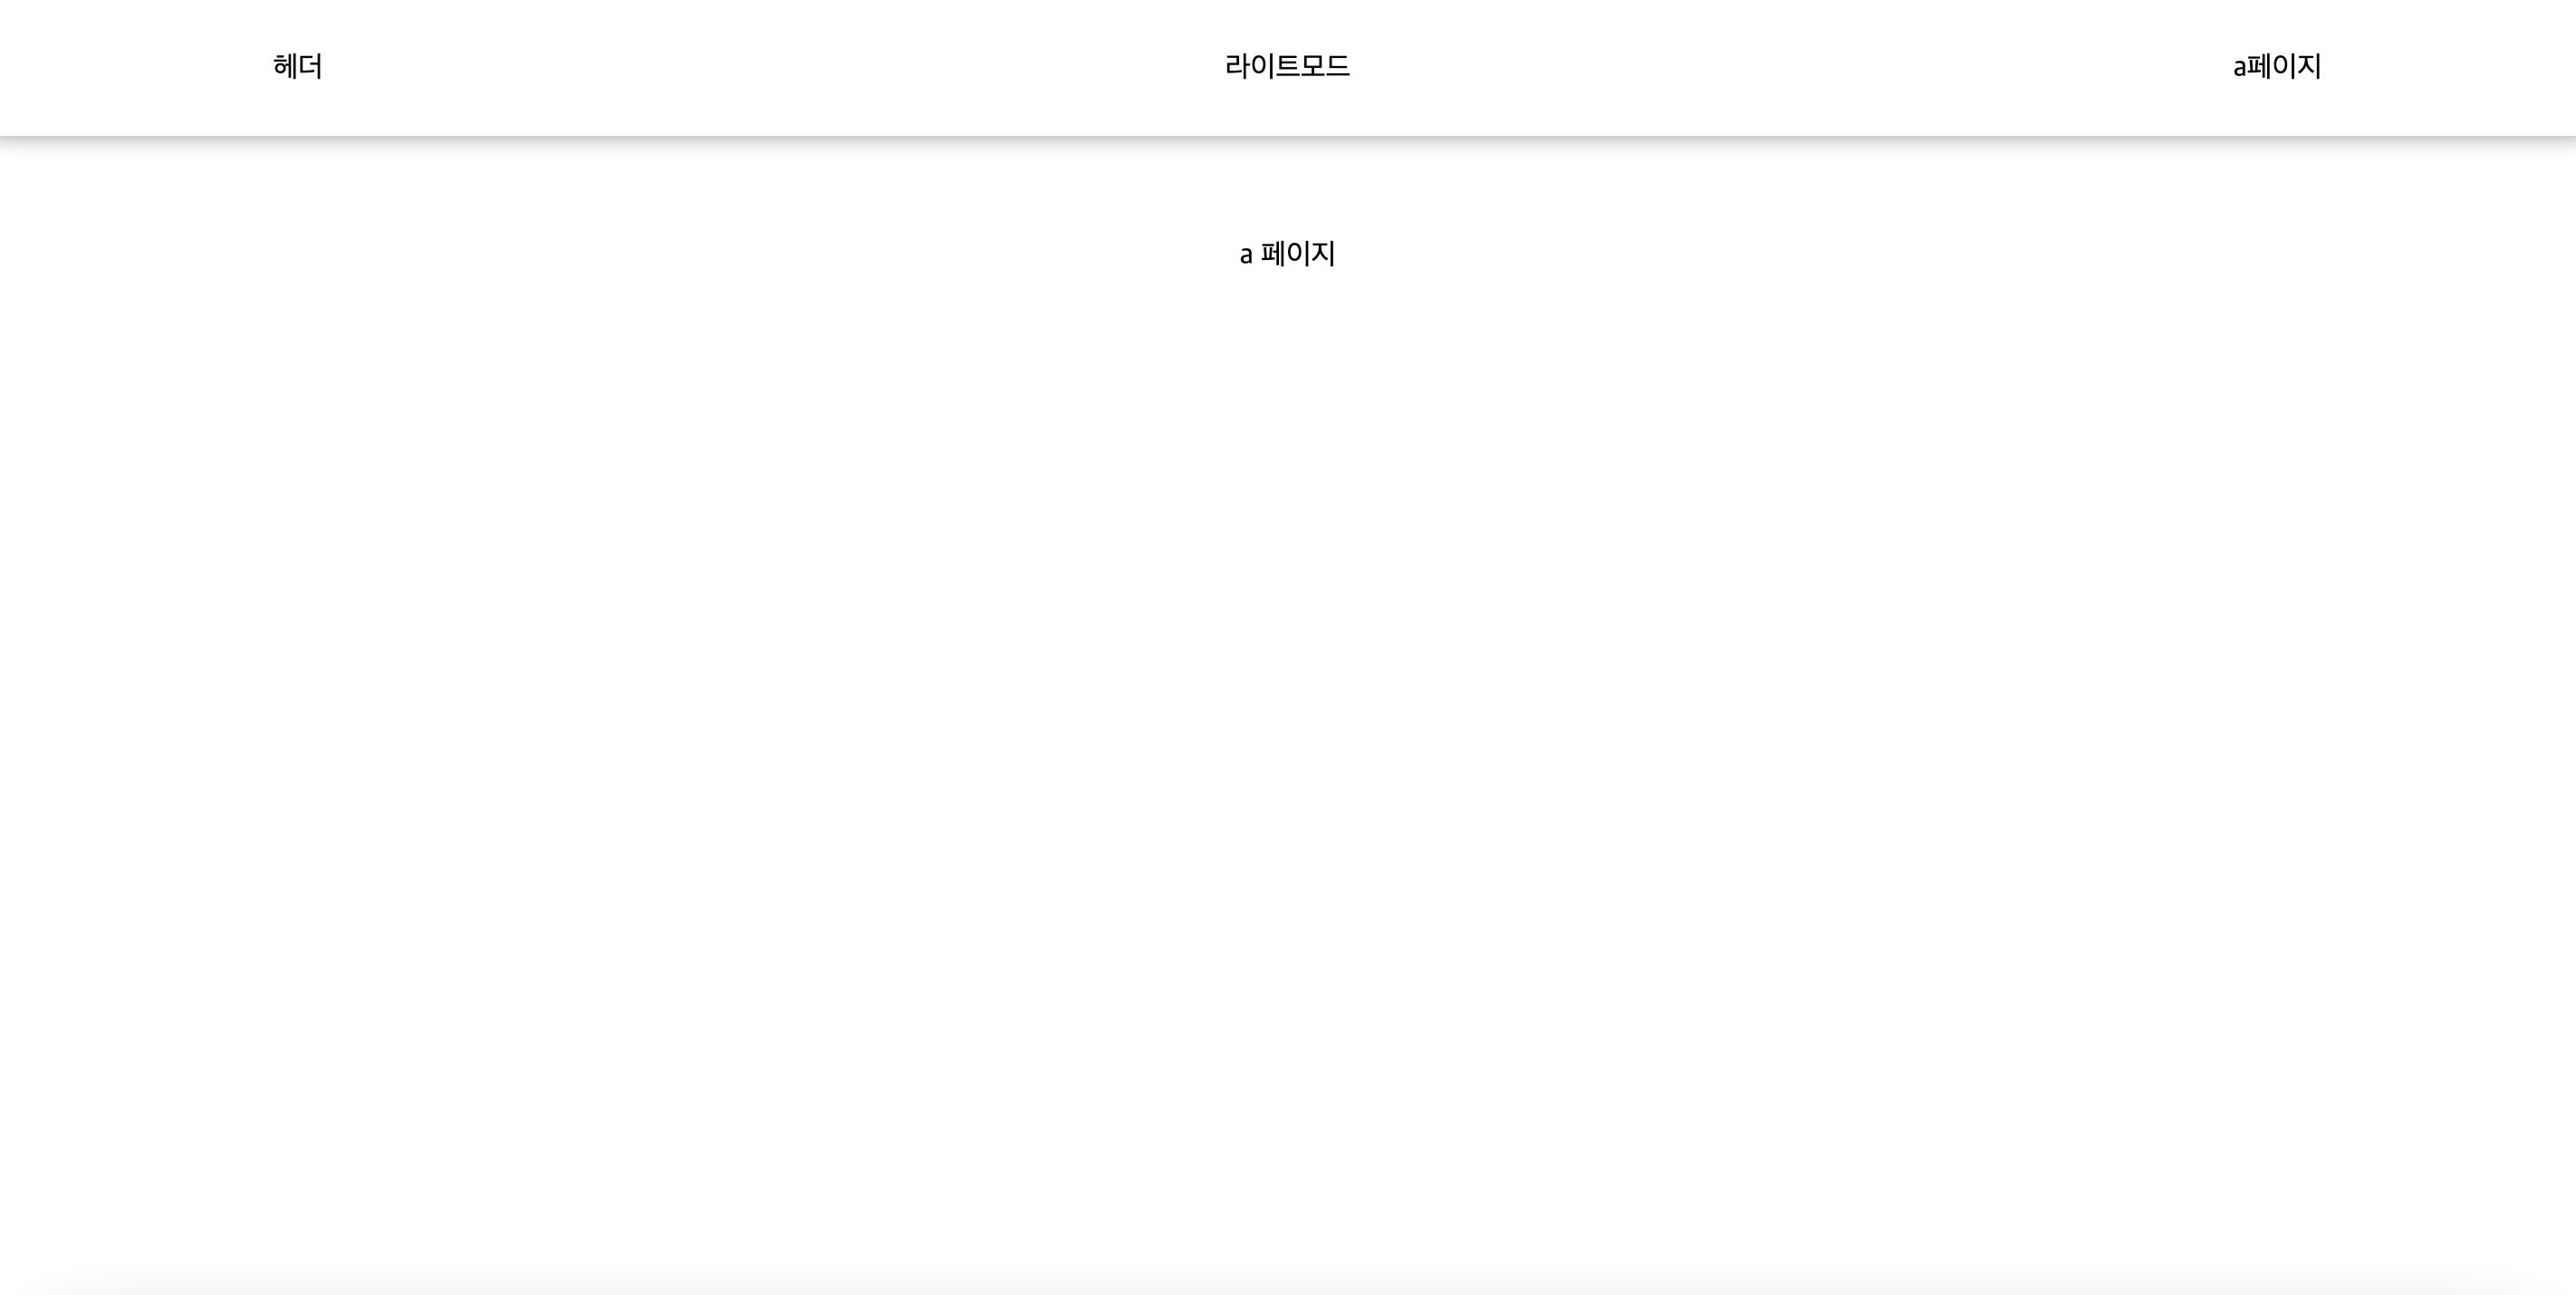
}실행 화면

배경색과 텍스트 칼라, 테두리 색깔이 들어가니 조금더 다채로워진 느낌이다.
다크모드 구현하기
결국 이제 남은일은 ThemeProvider에 들어가는 themes의 key을 "light" 또는 "dark"로 바꿔주어야한다.
그것을 헤더의 중간에 있는 버튼을 누르면 바꿔주도록 할것이고, 그것을 전역 상태관리 툴인 Context api을 이용해서 바꿔주도록 하자
- app.tsx 변경
src/app.tsx

export const MyContext = createContext<StyleMode | null>(null); //Context 생성

function App() {
    const [theme, setTheme] = useState<TypeofTheme>("light"); //현재 모드값에 대한 state

    const toggleStyle = useCallback((mode: TypeofTheme) => {
        localStorage.setItem("theme", mode);
        setTheme(mode);
    }, []); //클릭시 현재 모드값을 바꾸는 함수

    useEffect(() => {
        const nowTheme = localStorage.getItem("theme") as TypeofTheme;
        setTheme(nowTheme);
    }, []); //초기 실행시 현재 모드값 읽기

    return (
        <>
            <ThemeProvider theme={themes[theme]}> //중요!!!!
                <GlobalStyle />
                <MyContext.Provider value={{ theme, toggleStyle }}> //하위 요소로 Context값 전달
                    <RootRoute />
                </MyContext.Provider>
            </ThemeProvider>
        </>
    );
}

export default App;
Context를 사용하면서 localStorage를 이용해 페이지에 나갔다 들어와도 사용자가 선택한 모드로 설정되도록 해두었다.
그리고 type에 주의 하도록하자!! 생각보다 ts의 위력은 강력하니깐...!
- Header 변경
src/components/layout/header.tsx

function Header() {
    const navigate = useNavigate();
    const { theme, toggleStyle } = useContext(MyContext) as StyleMode; //Context값 불러오기

    return (
        <HeaderStyle>
            <div
                className="header-btn"
                onClick={() => {
                    navigate("/bPage");
                }}>
                헤더
            </div>
            <div
                className="header-btn"
                onClick={() => {
                    toggleStyle(theme === "light" ? "dark" : "light"); //버튼 클릭시 현재 모드값 바꿔주기!
                }}>
                {theme === "light" ? "라이트모드" : "다크모드"} //모드 값에따라 text 바꿔주기
            </div>
            <div
                className="header-btn"
                onClick={() => {
                    navigate("/");
                }}>
                a페이지
            </div>
        </HeaderStyle>
    );
}
실행 화면
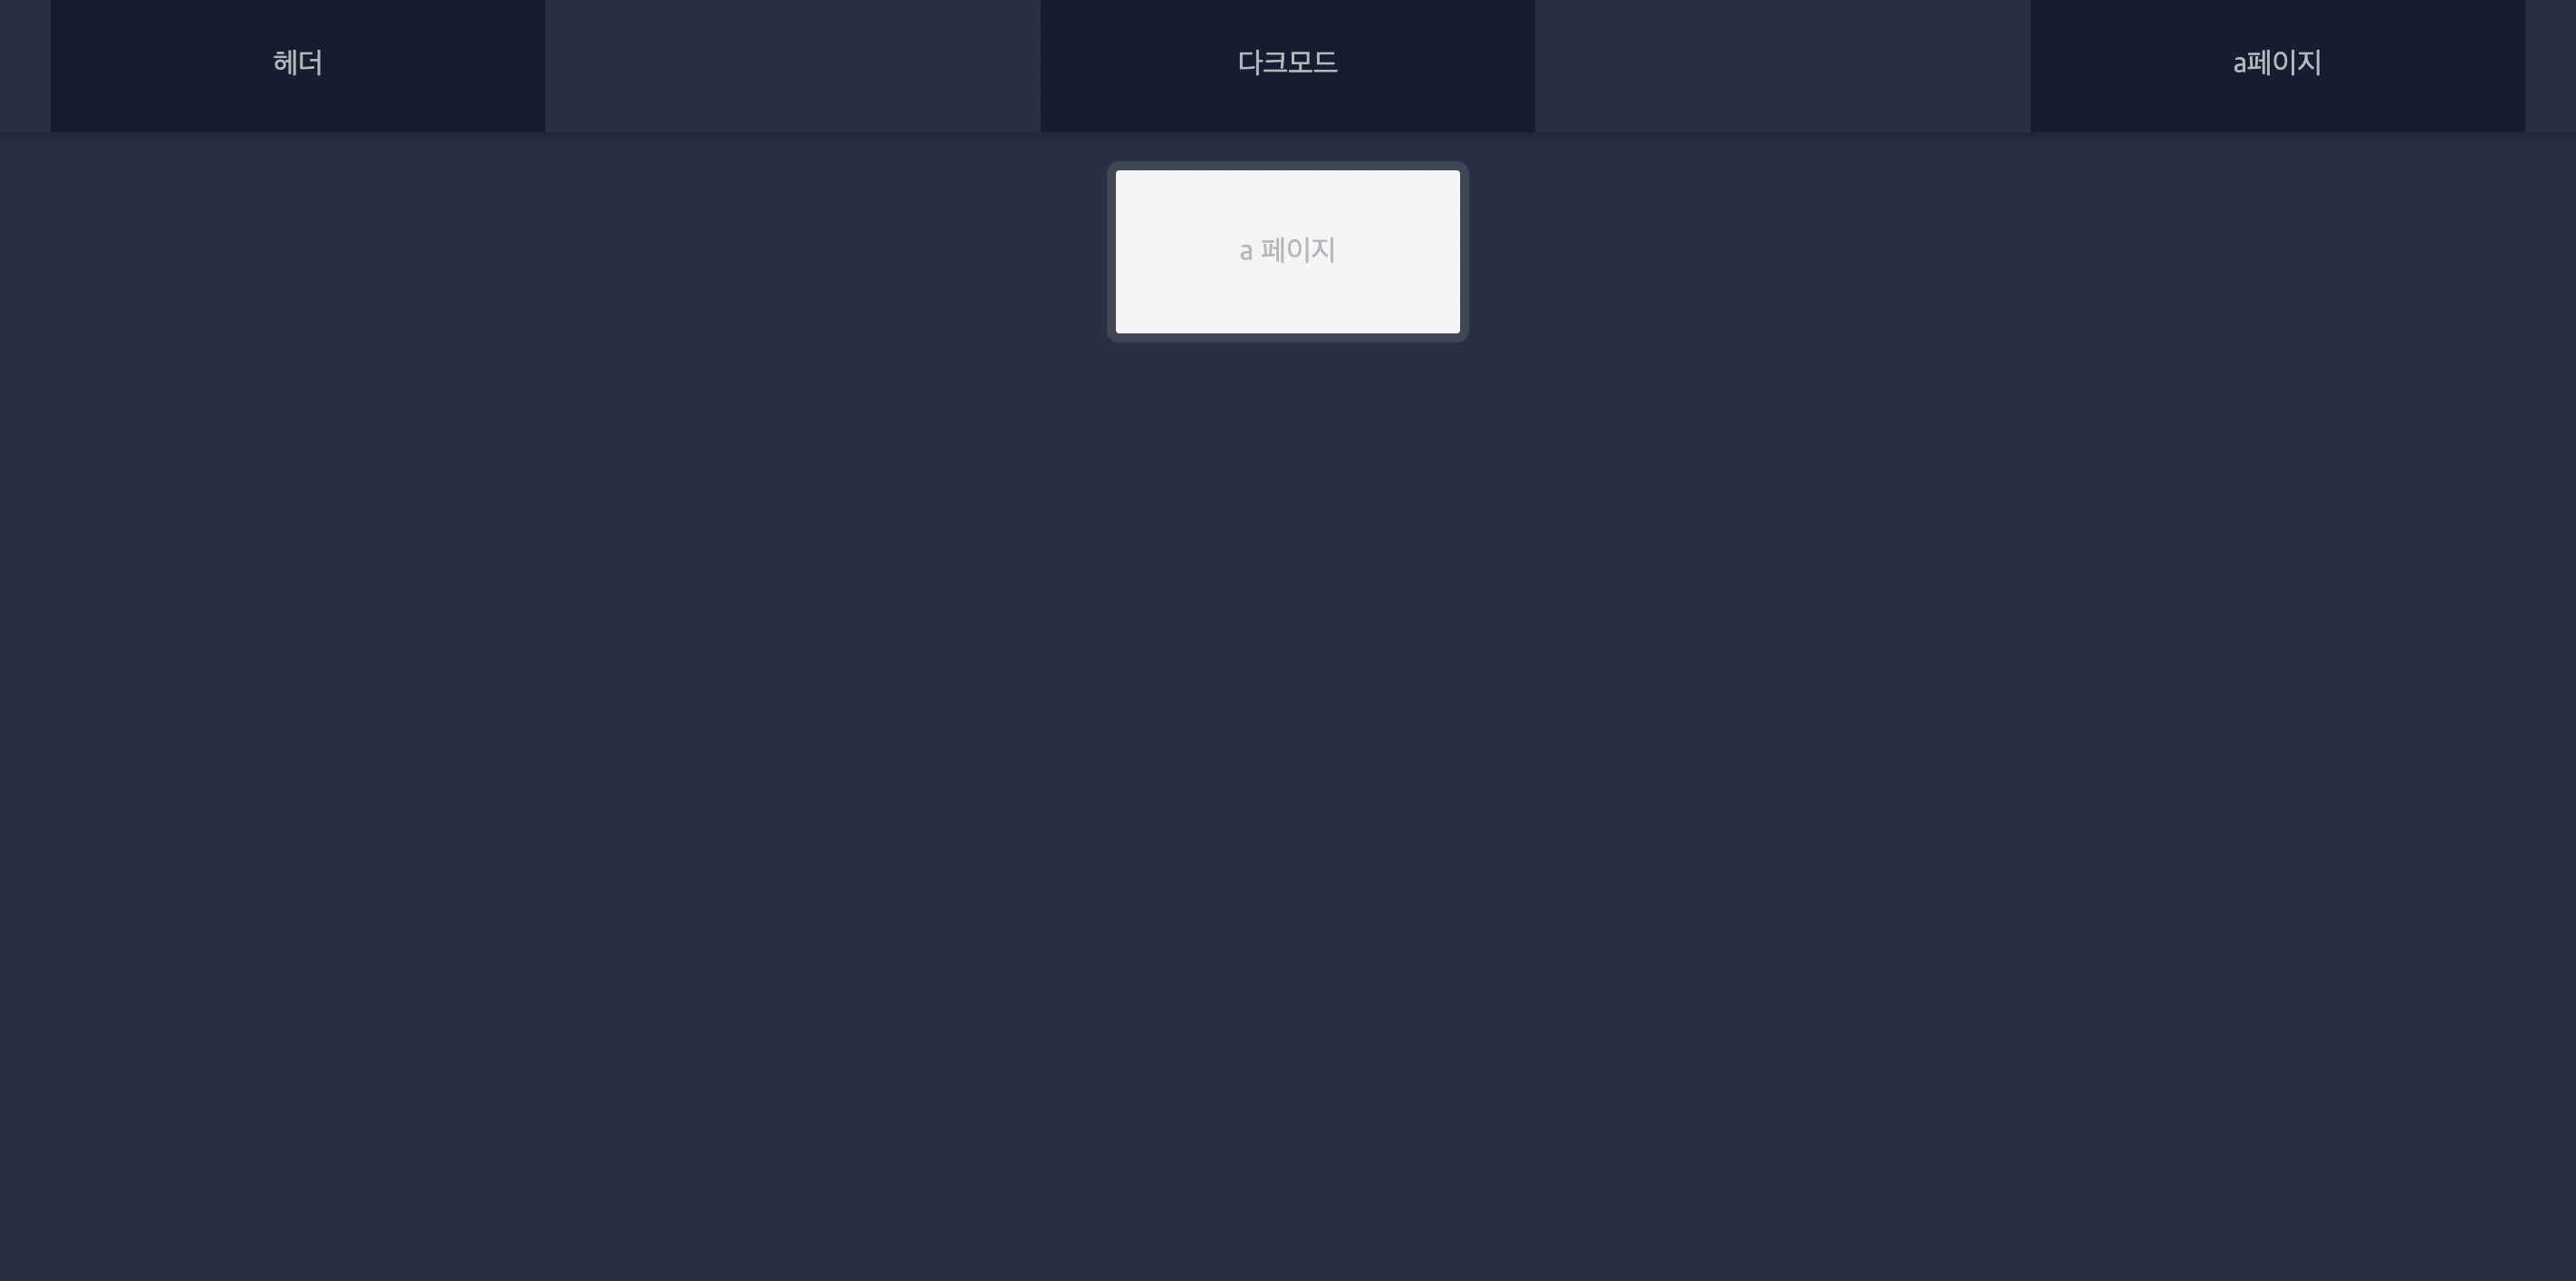
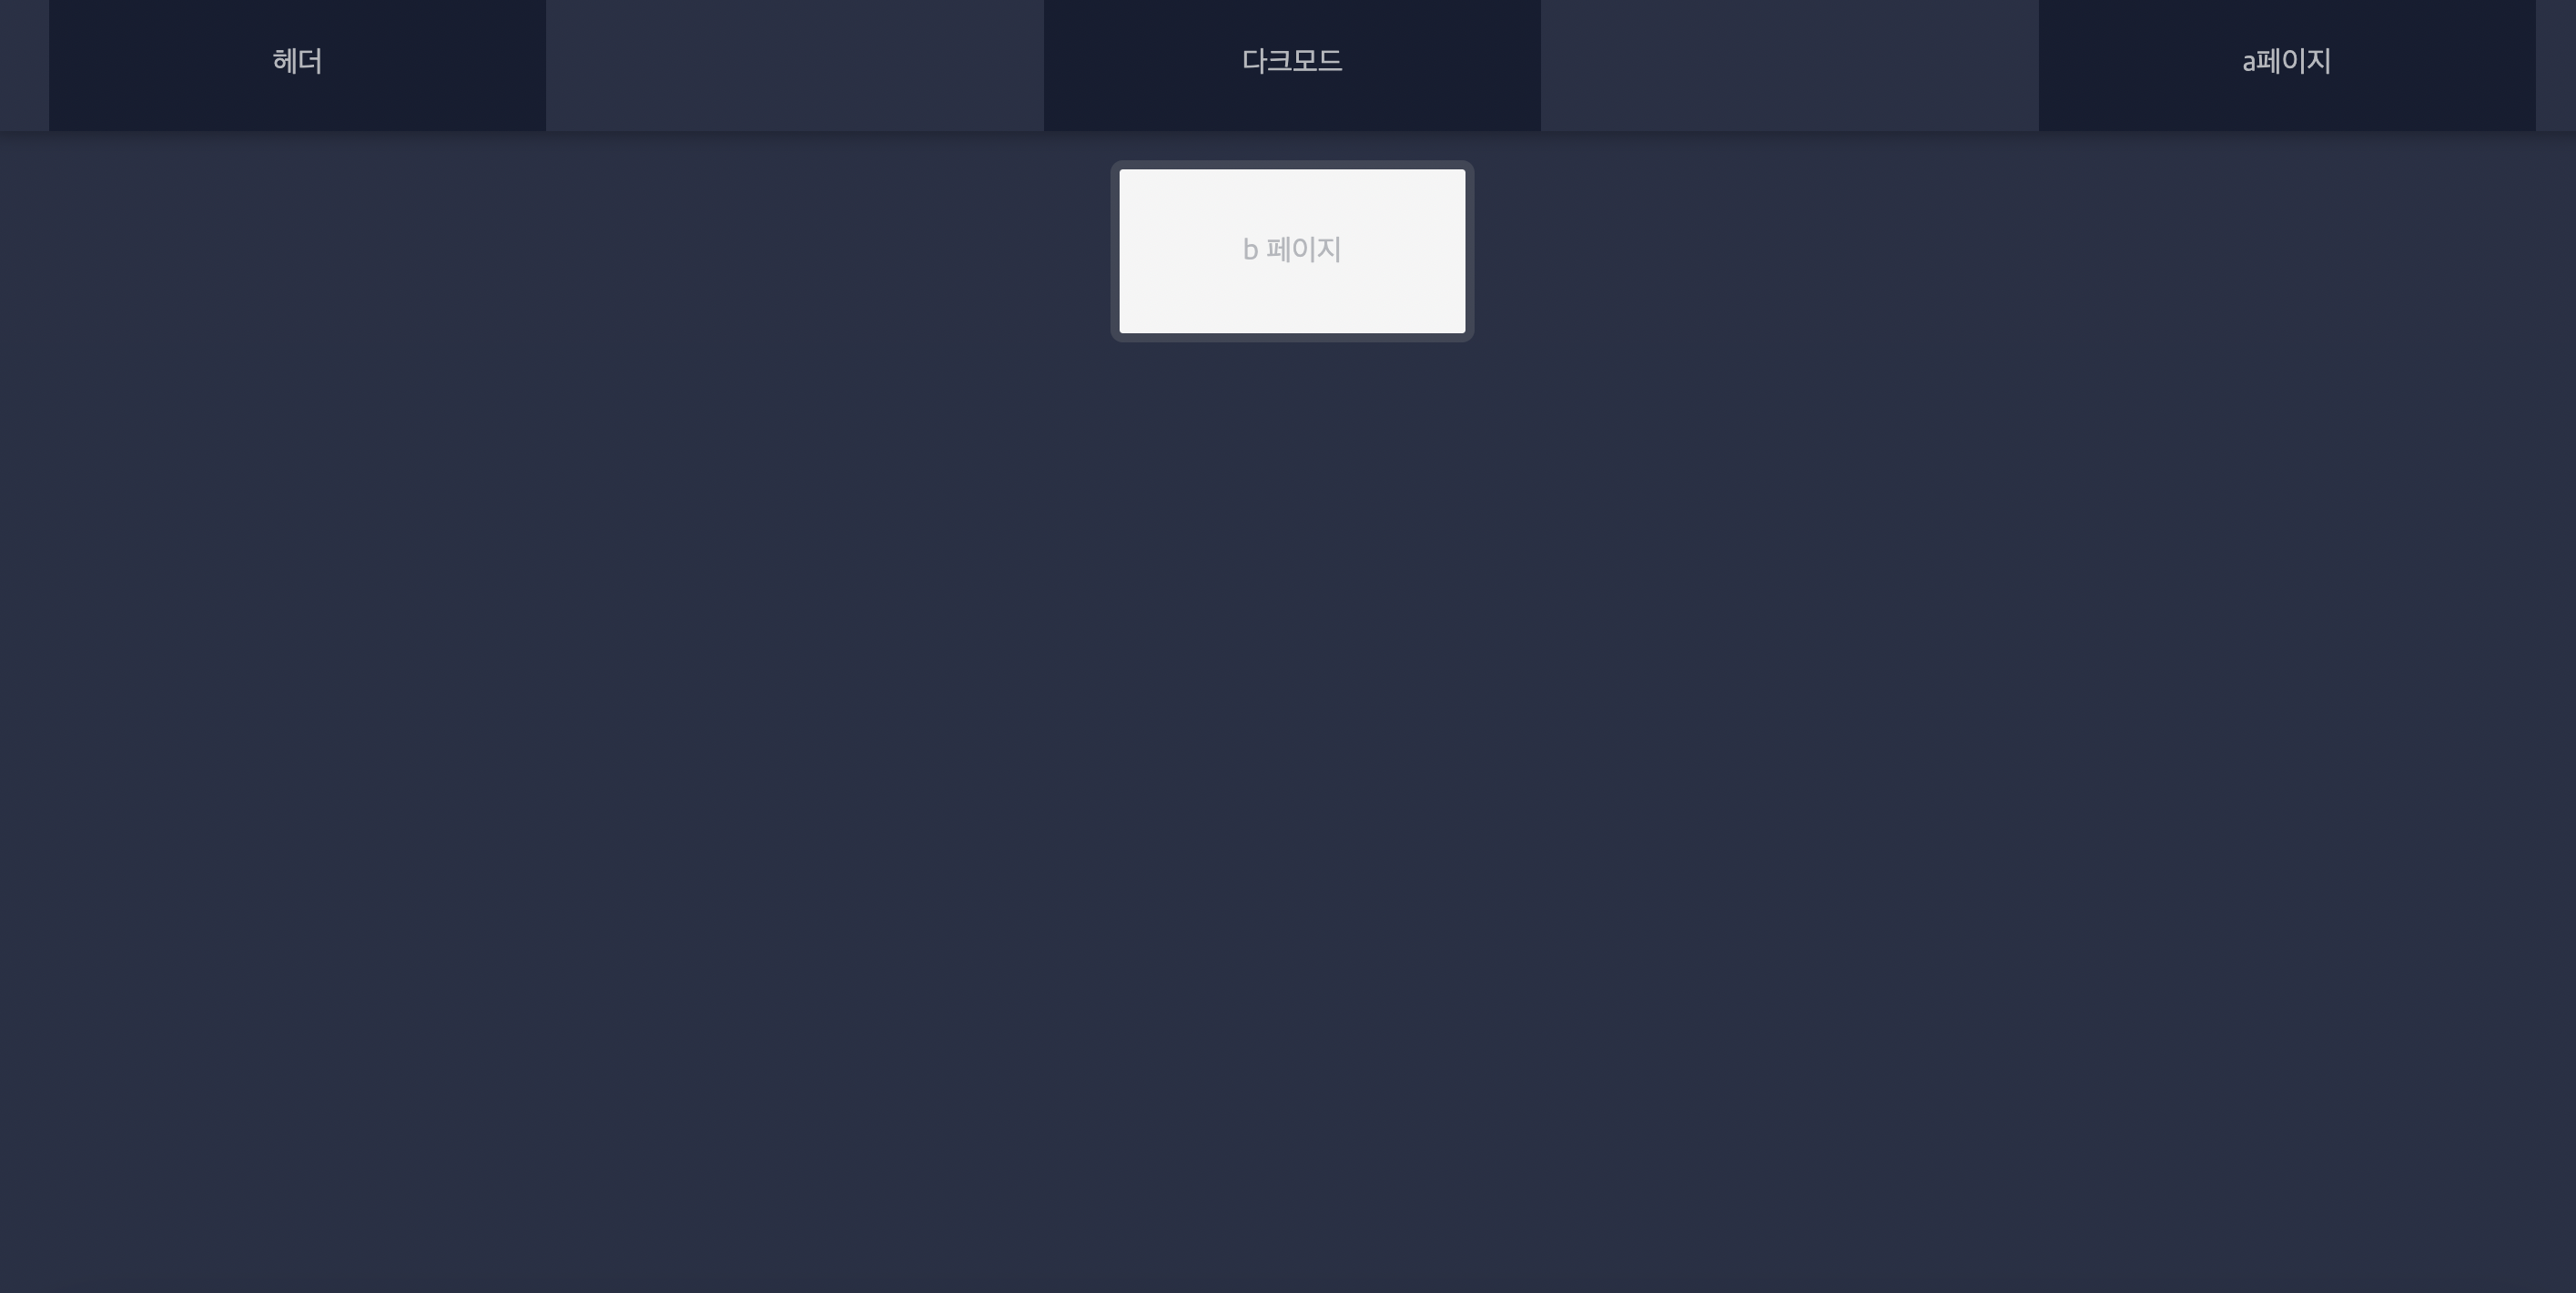
짜잔~ 구현에 성공하였다!!!!
localStorage와 함께 사용하였기 때문에 페이지 이동시에도 그대로 유지되고, 페이지를 나갔다가 들어와서 모드값이 그대로 유지되어있다.
이렇게 오늘은 ThemeProvider를 통해 다크모드를 구현하는방법 대해서 알아보았다.
간단하게 구현 할수 있을줄 알았지만 생각보다 많은 환경설정과 Context 및 type설정이 들어가면서 꽤많은 시간이 걸렸다.
하지만 이렇게 한번 설정을 해두면 themes.ts에 한개씩 한개씩 스타일을 추가하면서 전역 상태를 줄수 있으니 참 유용한 기술인것 같다.
어려운걸 하고 나면 기분도 좋아지니깐 ㅎㅎ
다음엔 styled-components에 대해서도 한번 포스팅 해보자~