
프로젝트 생성
# npm 7이상 '--' 꼭 붙여야 함
npm create vite@latest [프로젝트명] -- --tamplate react-swc-ts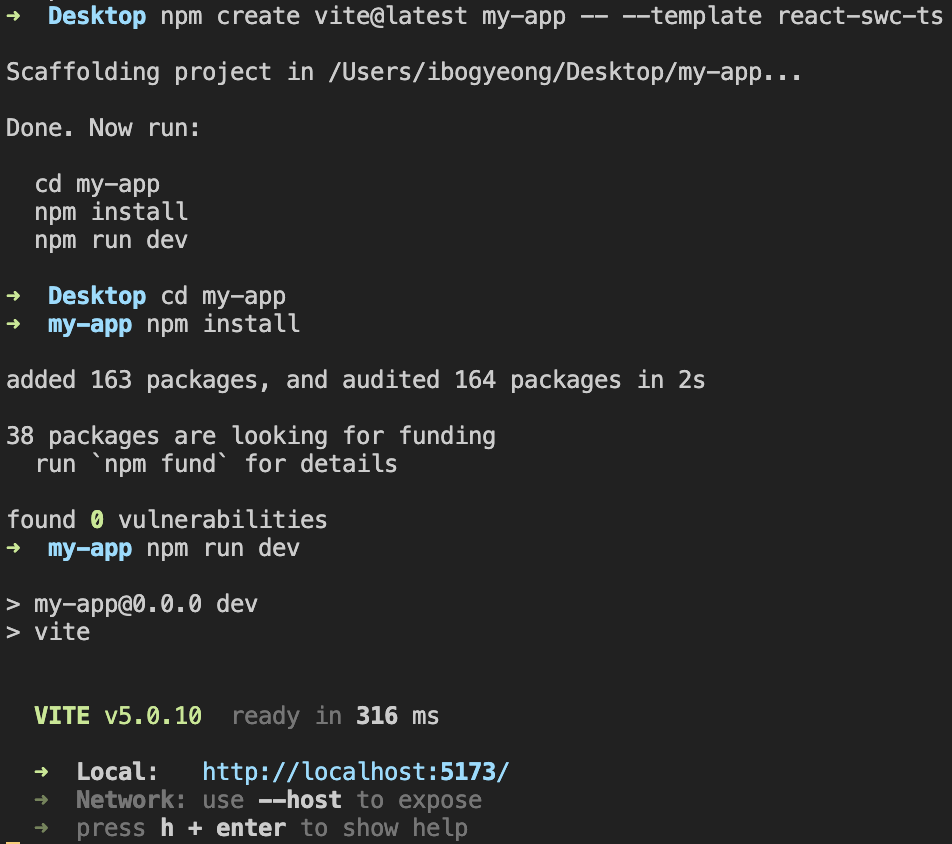
# 아래와 같이 작성 후 옵션(프로젝트명, 템플릿)을 직접 지정하는 방법도 가능
npm create vite@latest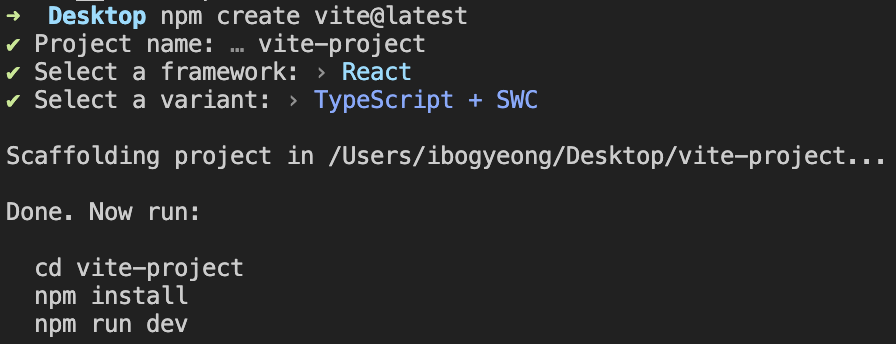
프로젝트 설정
vite.config.ts
// 초기 코드
import { defineConfig } from 'vite'
import react from "@vitejs/plugin-react-swc";

// https://vitejs.dev/config/
export default defineConfig({
  plugins: [react()],
})
1) server port 지정
Vite 템플릿을 사용해서 프로젝트 생성시 기본 localhost 주소는 http://localhost:5173으로 지정됩니다. CRA 환경처럼 http://localhost:3000을 로컬 서버로 사용하기 위해서 다음과 같이 설정해줍니다.
import { defineConfig } from 'vite'
import react from "@vitejs/plugin-react-swc";

export default defineConfig({
  plugins: [react()],
  server: {
    port: 3000,
  },
})
2) server proxy 설정 (옵션)
또한 개발시에 API 요청을 프록시하기 위한 설정도 추가해 줍니다. /api로 시작하는 모든 요청은 실제 서버인 http://127.0.0.1:5000으로 전달됩니다.
import { defineConfig } from 'vite'
import react from "@vitejs/plugin-react-swc";

export default defineConfig({
  plugins: [react()],
  server: {
    port: 3000,
    proxy: {
      "/api": {
        target: "http://127.0.0.1:5000",
        changeOrigin: true,  // 요청 헤더의 host를 대상 서버의 호스트로 변경
        secure: false, // SSL 인증서를 무시, 개발 시에 자체 서명된 인증서를 사용하는 경우에 편리
      },
    },
  },
})
3) svgrPlugin 설정
Vite 프로젝트에서 svg 파일을 사용하기 위해서는 다음과 같은 설정이 필요합니다.
npm install vite-plugin-svgrimport { defineConfig } from "vite";
import react from "@vitejs/plugin-react-swc";
import svgrPlugin from "vite-plugin-svgr";
export default defineConfig({
plugins: [react(), svgrPlugin()],
server: {
port: 3000,
proxy: { ... },
},
});4) 절대 경로 지정
npm install -D vite-tsconfig-paths @types/nodeimport path from "path";
import { defineConfig } from "vite";
import react from "@vitejs/plugin-react-swc";
import svgrPlugin from "vite-plugin-svgr";
export default defineConfig({
plugins: [react(), svgrPlugin()],
server: {
port: 3000,
proxy: { ... },
},
resolve: {
alias: [{ find: "@", replacement: path.resolve(__dirname, "src") }],
},
});tsconfig.json
// 초기 코드
{
  "compilerOptions": {
    "target": "ES2020",
    "useDefineForClassFields": true,
    "lib": ["ES2020", "DOM", "DOM.Iterable"],
    "module": "ESNext",
    "skipLibCheck": true,

    /* Bundler mode */
    "moduleResolution": "bundler",
    "allowImportingTsExtensions": true,
    "resolveJsonModule": true,
    "isolatedModules": true,
    "noEmit": true,
    "jsx": "react-jsx",

    /* Linting */
    "strict": true,
    "noUnusedLocals": true,
    "noUnusedParameters": true,
    "noFallthroughCasesInSwitch": true
  },
  "include": ["src"],
  "references": [{ "path": "./tsconfig.node.json" }]
}
// 변경 코드
{
"compilerOptions": {
"target": "ES2020",
"useDefineForClassFields": true,
"lib": ["ES2020", "DOM", "DOM.Iterable"],
"module": "ESNext",
"skipLibCheck": true,
"baseUrl": ".",
"paths": {
"@/*": ["src/*"]
},
/* Bundler mode */
"moduleResolution": "bundler",
"allowImportingTsExtensions": true,
"resolveJsonModule": true,
"isolatedModules": true,
"noEmit": true,
"jsx": "react-jsx",
/* Linting */
"strict": true,
"noUnusedLocals": true,
"noUnusedParameters": true,
"noFallthroughCasesInSwitch": true,
},
"include": ["src", "svg.d.ts"],
"references": [{ "path": "./tsconfig.node.json" }]
}"baseUrl": ".","paths": {"@/*": ["src/*"]} 절대 경로 사용을 위해 정의합니다.
"include": ['svg.d.ts'] svg 파일은 그냥 사용하면 자바스크립트 모듈처럼 사용이 불가능하기에 import 방식으로 사용을 위해 아래와 같이 정의해야 합니다.
// svg.d.ts

declare module '*.svg' {
  const value: React.FunctionComponent<React.SVGAttributes<SVGElement>>;
  export default value;
}
.eslintrc.tjs
- 기존 코드 사용하기
// 초기 코드
module.exports = {
  root: true,
  env: { browser: true, es2020: true },
  extends: [
    'eslint:recommended',
    'plugin:@typescript-eslint/recommended',
    'plugin:react-hooks/recommended',
  ],
  ignorePatterns: ['dist', '.eslintrc.cjs'],
  parser: '@typescript-eslint/parser',
  plugins: ['react-refresh'],
  rules: {
    'react-refresh/only-export-components': [
      'warn',
      { allowConstantExport: true },
    ],
  },
}
module.exports = {
root: true,
env: { browser: true, es2020: true },
extends: [
'eslint:recommended',
'plugin:@typescript-eslint/recommended',
'plugin:react-hooks/recommended',
],
ignorePatterns: ["dist", ".eslintrc.cjs"],
parser: "@typescript-eslint/parser",
plugins: ["react-refresh"],
rules: {
"react-refresh/only-export-components": ["warn", { allowConstantExport: true }],
"no-var": "off",
"prefer-const": "warn",
"@typescript-eslint/no-unused-vars": "warn",
"@typescript-eslint/explicit-function-return-type": "off",
"@typescript-eslint/no-inferrable-types": "off",
},
};- airbnb eslint로 설정하기
npm install -D eslint@8.2.0 @typescript-eslint/eslint-plugin @typescript-eslint/parser...
.prettierrc.cjs
npm install -D prettier eslint-config-prettiermodule.exports = {
endOfLine: "lf", // 개행문자 설정
singleQuote: false, // 홑따옴표 사용
semi: true, // 세미콜론 사용 여부
tabWidth: 2, // 탭의 넓이 2칸
trailingComma: "all", // key: value 뒤에 항상 콤마 붙이기
printWidth: 150, // 코드 한 줄의 max lnegth 150
arrowParens: "always", // 화살표 함수의 매개변수가 하나일 때 괄호 생략 여부 (생략할 경우 aviod)
};prettier 옵션에는 다음과 같은 것들이 있습니다. 프로젝트에 따라 필요한 옵션을 가감하여 사용하시면 됩니다.
{
  "arrowParens": "avoid", // 화살표 함수 괄호 사용 방식
  "bracketSpacing": false, // 객체 리터럴에서 괄호에 공백 삽입 여부
  "endOfLine": "auto", // EoF 방식, OS별로 처리 방식이 다름
  "htmlWhitespaceSensitivity": "css", // HTML 공백 감도 설정
  "jsxBracketSameLine": false, // JSX의 마지막 `>`를 다음 줄로 내릴지 여부
  "jsxSingleQuote": false, // JSX에 singe 쿼테이션 사용 여부
  "printWidth": 80, //  줄 바꿈 할 폭 길이
  "proseWrap": "preserve", // markdown 텍스트의 줄바꿈 방식 (v1.8.2)
  "quoteProps": "as-needed" // 객체 속성에 쿼테이션 적용 방식
  "semi": true, // 세미콜론 사용 여부
  "singleQuote": true, // single 쿼테이션 사용 여부
  "tabWidth": 2, // 탭 너비
  "trailingComma": "all", // 여러 줄을 사용할 때, 후행 콤마 사용 방식
  "useTabs": false, // 탭 사용 여부
  "vueIndentScriptAndStyle": true, // Vue 파일의 script와 style 태그의 들여쓰기 여부 (v1.19.0)
  "parser": '', // 사용할 parser를 지정, 자동으로 지정됨
  "filepath": '', // parser를 유추할 수 있는 파일을 지정
  "rangeStart": 0, // 포맷팅을 부분 적용할 파일의 시작 라인 지정
  "rangeEnd": Infinity, // 포맷팅 부분 적용할 파일의 끝 라인 지정,
  "requirePragma": false, // 파일 상단에 미리 정의된 주석을 작성하고 Pragma로 포맷팅 사용 여부 지정 (v1.8.0)
  "insertPragma": false, // 미리 정의된 @format marker의 사용 여부 (v1.8.0)
  "overrides": [
    {
      "files": "*.json",
      "options": {
        "printWidth": 200
      }
    }
  ], // 특정 파일별로 옵션을 다르게 지정함, ESLint 방식 사용
}