Jenkins?
[특징]
- 가장 오래되고 강력한 CI 서버
- 모든 기능 커스텀 가능
- 온프레미스 또는 클라우드 어디든 설치 가능
[구조]
- Master / Contrller : Jenkins 서버
- Agent / Node : 실제 빌드가 돌아가는 서버
- Pipeline : CI/CD 스크립트(Jenkinsfile)
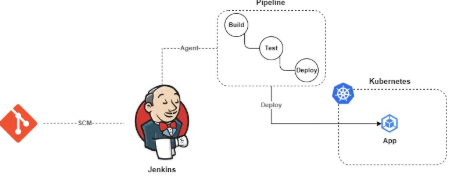
Jenkins 구조
Jenkins는
Master/Slave구조로 동작함.
-
Master
흔히Controller라고 불리며, Jenkins Slave를 관리하고 작업 스케줄링과 Slave 모니터링을 포함하여 다양한 작업을 관리함.

=> Jenkins 설치 시, 생기는 Pod 가 Controller이자, Master 이다. -
Slave
흔히Agent라고 불리며, 실제 파이프라인 작업을 수행함. 다양한 환경에서 작동하며 작업을 분산시켜 부하를 감소시키는 역할을 담당한다. agent는 로컬 또는 클라우드 컴퓨터를 통해Jenkins Controller에 연결될 수 있어 다양한 유연성을 제공한다.
특정 작업이 트리거 시, Pod 단위로 생성되게 된다.
해당 Pod는 작업을 하고 없어지게 된다.

=> 위에가 Master이고, CI 작동 시, 생기는 Slave이다.
Jenkins NewItem
Jenkins를 설치하고나면, 다음과 같은 기능을 사용할 수 있다.
1. FreeStyle Project
가장 기본적인 형태의 Job
2. Pipeline
Jenkinsfile로 CI/CD 전체 코드로 작성하는 방식
=> Pipeline as Code 방식
3. MultiBranch Pipeline
Git 저장소의 모든 브랜치를 자동으로 Job으로 생성
4. Folder
Job을 그룹핑하는 폴더
5. Organization Folder
GitHub / GitLab 조직 전체를 자동 스캔해서 Job 생성
=> MultiBranch Pipeline 의 조직 버전
5. External Job
Jenkins가 직접 실행하지 않는 Job
6. Maven Project
Maven 빌드에 특화된 Job
Jenkins 설치
1. Docker Desktop & Kind(Kubernetes in Docker) 환경
Ubuntu 20.04.6LTS 설치
Docker Destktop 설치
Kind 설치
- kind-config.yaml
kind: Cluster
apiVersion: kind.x-k8s.io/v1alpha4

networking:
  disableDefaultCNI: false
  kubeProxyMode: "iptables"

nodes:
  - role: control-plane
    image: kindest/node:v1.25.3
    extraPortMappings:
    # Istio Ingress / Kubeflow Dashboard
    - containerPort: 80
      hostPort: 8080
      protocol: TCP
    - containerPort: 443
      hostPort: 8443
      protocol: TCP
  - role: worker
    image: kindest/node:v1.25.3
  - role: worker
    image: kindest/node:v1.25.3
  - role: worker
    image: kindest/node:v1.25.3
2-0. 혹시 CertManager와 IngressController가 설치되어 있나요??
안되어 있다면?? 설치해주셔야 합니다.
- CertManager 설치
kubectl apply -f https://github.com/cert-manager/cert-manager/releases/download/v1.14.5/cert-manager.yaml- IngressController (Proxy-Server) 설치
kubectl apply -f https://raw.githubusercontent.com/kubernetes/ingress-nginx/main/deploy/static/provider/kind/deploy.yaml2. Jenkins Resource 설치
- namespace :
namespace.yaml
apiVersion: v1
kind: Namespace
metadata:
  name: cicd-jenkins
kubectl apply -f namespace.yaml- volume :
volume.yaml
apiVersion: v1
kind: PersistentVolumeClaim
metadata:
  name: jenkins-pv-claim
  namespace: cicd-jenkins
spec:
  storageClassName: standard # nfs 동적 프로비저너가 있다면 nfs sc도 사용 가능
  accessModes:
    - ReadWriteOnce
  resources:
    requests:
      storage: 5Gi
kubctl apply -f volume.yaml- ServiceAccount :
ServiceAccount.yaml
해당
ServiceAccount는Jenkins-Controller에서Agent를 만들어내거나Kubernetes를 Jenkins와 연결하기 위해 사용되는토큰이라고 생각하면 쉽다.
실제로는 사용자별로 리소스 접근 권한을 분리하기 위한 용도로 커스텀되어서 사용된다. 실습에서는 다음과 같이만 사용한다.
apiVersion: v1
kind: ServiceAccount
metadata:
  name: jenkins
  namespace: jenkins
---
apiVersion: rbac.authorization.k8s.io/v1
kind: Role
metadata:
  name: jenkins-role
  namespace: jenkins
rules:
- apiGroups: [""]
  resources: ["pods", "services", "configmaps"]
  verbs: ["get", "list", "watch"]
---
apiVersion: rbac.authorization.k8s.io/v1
kind: RoleBinding
metadata:
  name: jenkins-binding
  namespace: jenkins
subjects:
- kind: ServiceAccount
  name: jenkins
roleRef:
  kind: Role
  name: jenkins-role
  apiGroup: rbac.authorization.k8s.io
---
apiVersion: v1
kind: ServiceAccount
metadata:
  name: jenkins-admin
  namespace: jenkins
---
apiVersion: rbac.authorization.k8s.io/v1
kind: ClusterRole
metadata:
  name: jenkins-admin
rules:
  - apiGroups: [""]
    resources: ["*"]
    verbs: ["*"]
---
# (jenkins-admin ClusterRole) → (jenkins-admin ClusterRoleBinding) → (cicd-jenkins namespace의 ServiceAccount)
apiVersion: rbac.authorization.k8s.io/v1
kind: ClusterRoleBinding
metadata:
  name: jenkins-admin-binding # Binding name
roleRef: # RoleBinding이 연결할 Role 정보
  apiGroup: rbac.authorization.k8s.io
  kind: ClusterRole # Role or ClusterRole
  name: jenkins-admin # 연결할 Role or ClusterRole 이름
subjects: # RoleBinding이 연결할 대상 정보
- kind: ServiceAccount # 어떤 종류의 주체인지 (ServiceAccount, User, Group)
  name: jenkins-admin # SA 이름
  namespace: jenkins # SA가 속한 네임스페이스
kubectl apply -f ServiceAccount.yamlServiceAccount토큰 추출
- Jenkins 기본 설치 :
deployment.yaml
apiVersion: apps/v1
kind: Deployment
metadata:
  name: jenkins
  namespace: cicd-jenkins
spec:
  replicas: 1
  selector:
    matchLabels:
      app: jenkins
  template:
    metadata:
      labels:
        app: jenkins
    spec:
      serviceAccountName: jenkins
      securityContext:
        fsGroup: 1000
      containers:
        - name: jenkins
          image: jenkins/jenkins:lts
          ports:
            - name: http
              containerPort: 8080
          volumeMounts:
            - name: jenkins-data
              mountPath: /var/jenkins_home
      volumes:
        - name: jenkins-data
          persistentVolumeClaim:
            claimName: jenkins-pv-claim
kubectl apply -f deployment.yaml- Jenkins Custom 설치 :
deployment.yamlJenkins가 프라이빗 망에 설치되어 있고 기존에 사설 CA를 가지고 설치된GitLab과 같은 플랫폼들과 통신을 하기 위해서는 관련 인증서들을 미리 설치해두어야 한다.
...- Jenkins Service :
service.yaml
apiVersion: v1
kind: Service
metadata:
  name: jenkins-service
  namespace: jenkins
spec:
  type: ClusterIP
  selector:
    app: jenkins
  ports:
    - name: http
      port: 80         # 외부에서 접속할 포트
      targetPort: 8080   # Pod 컨테이너 포트
    - name: jnlp
      port: 50000
      targetPort: 50000
kubectl apply -f service.yaml- Jenkins Ingress :
ingress.yaml- Jenkins Master ↔ Kubernetes API 또는 Agent 사이의 통신에는 WebSocket이 필요합니다.
- Nginx Ingress Controller의 기본 설정은 HTTP/1.0이므로 WebSocket이 제대로 동작하지 않을 수 있습니다.
따라서 HTTP 버전을 1.1로 강제하고, Upgrade/Connection 헤더를 설정하여 WebSocket 업그레이드를 지원합니다.
또한 빌드가 오래 걸릴 수 있으므로 Read/Send timeout을 충분히 늘려 안정적인 연결을 보장합니다.
apiVersion: networking.k8s.io/v1
kind: Ingress
metadata:
  name: jenkins-ingress
  namespace: jenkins
  annotations:
    # HTTPS 강제
    nginx.ingress.kubernetes.io/ssl-redirect: "true"

    # Jenkins는 HTTP로 서비스됨
    nginx.ingress.kubernetes.io/backend-protocol: "HTTP"

    # WebSocket 필수 설정
    nginx.ingress.kubernetes.io/proxy-http-version: "1.1"
    nginx.ingress.kubernetes.io/proxy-read-timeout: "3600"
    nginx.ingress.kubernetes.io/proxy-send-timeout: "3600"

    # WebSocket Upgrade 헤더
    nginx.ingress.kubernetes.io/proxy-set-headers: |
      Upgrade: $http_upgrade
      Connection: upgrade
spec:
  ingressClassName: nginx

  tls:
    - hosts:
        - jenkins.localhost
      secretName: jenkins-tls

  rules:
    - host: jenkins.localhost
      http:
        paths:
          - path: /
            pathType: Prefix
            backend:
              service:
                name: jenkins-service
                port:
                  number: 80
kubectl apply -f ingress.yaml3. portforwading
kubectl port-forward \
  -n ingress-nginx \
  svc/ingress-nginx-controller \
  --address 0.0.0.0 \
  8180:80 \
  9443:443
4. Jenkins 접속
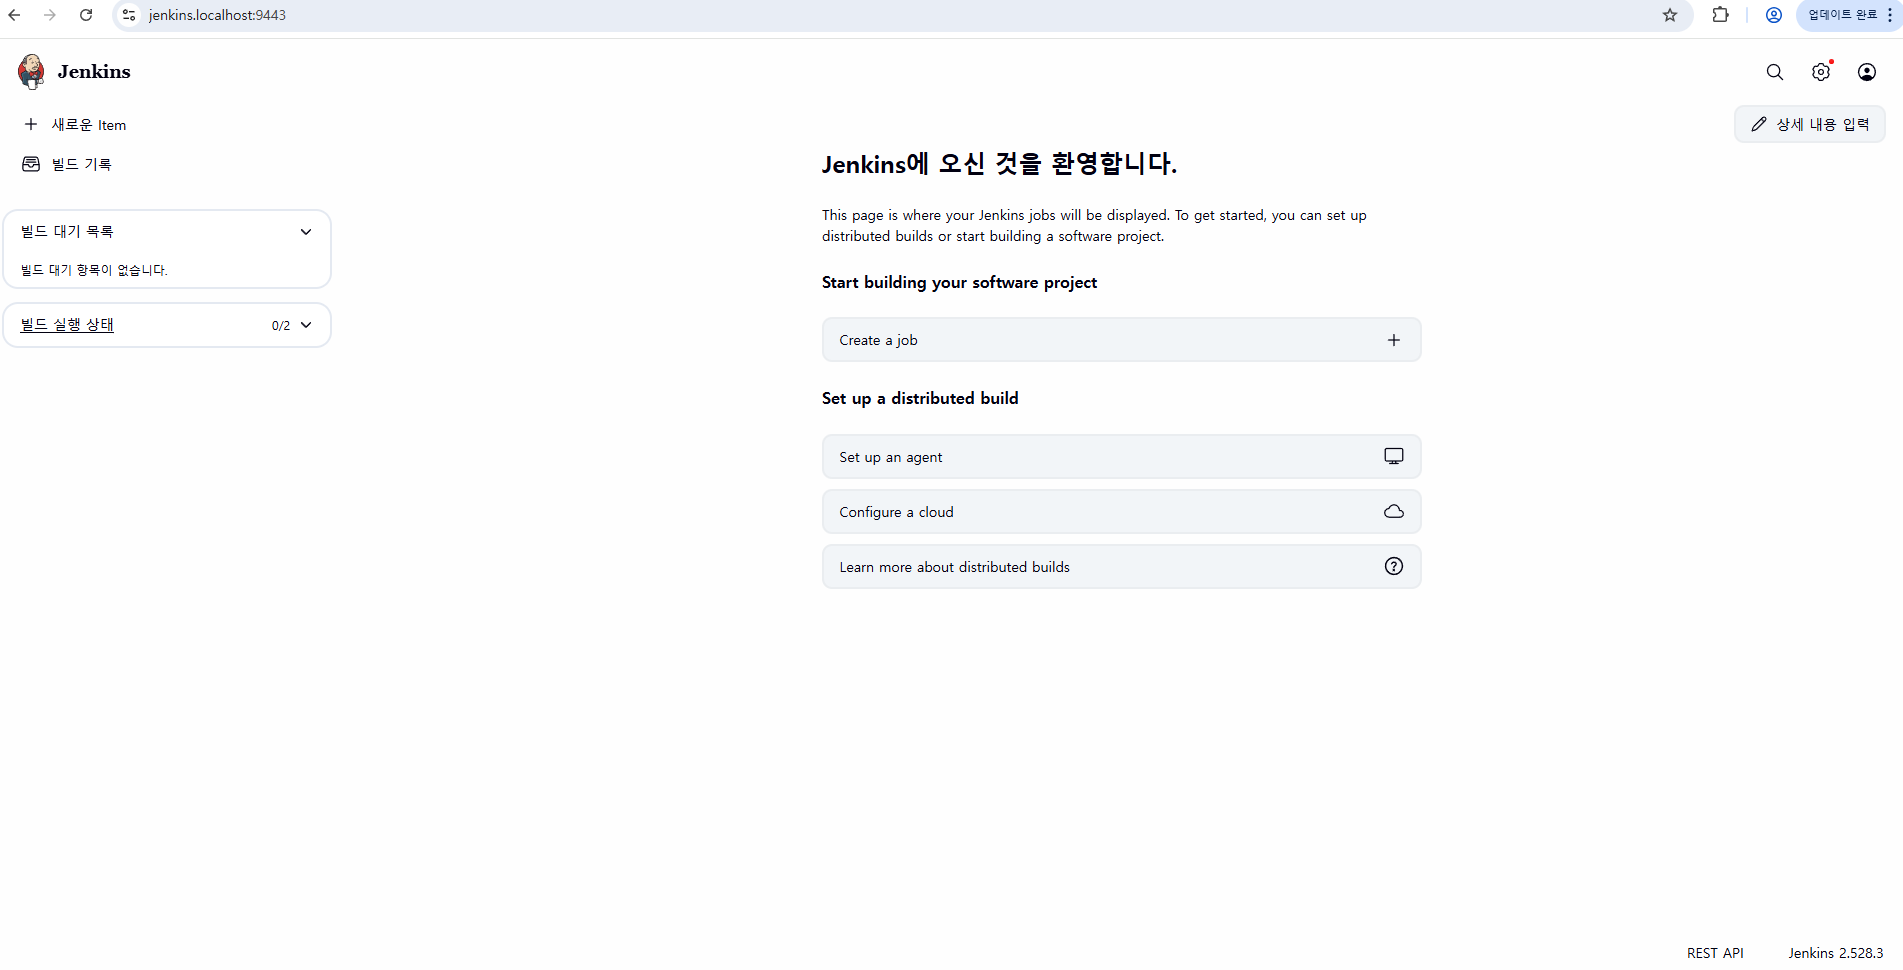
https://jenkins.localhost:9443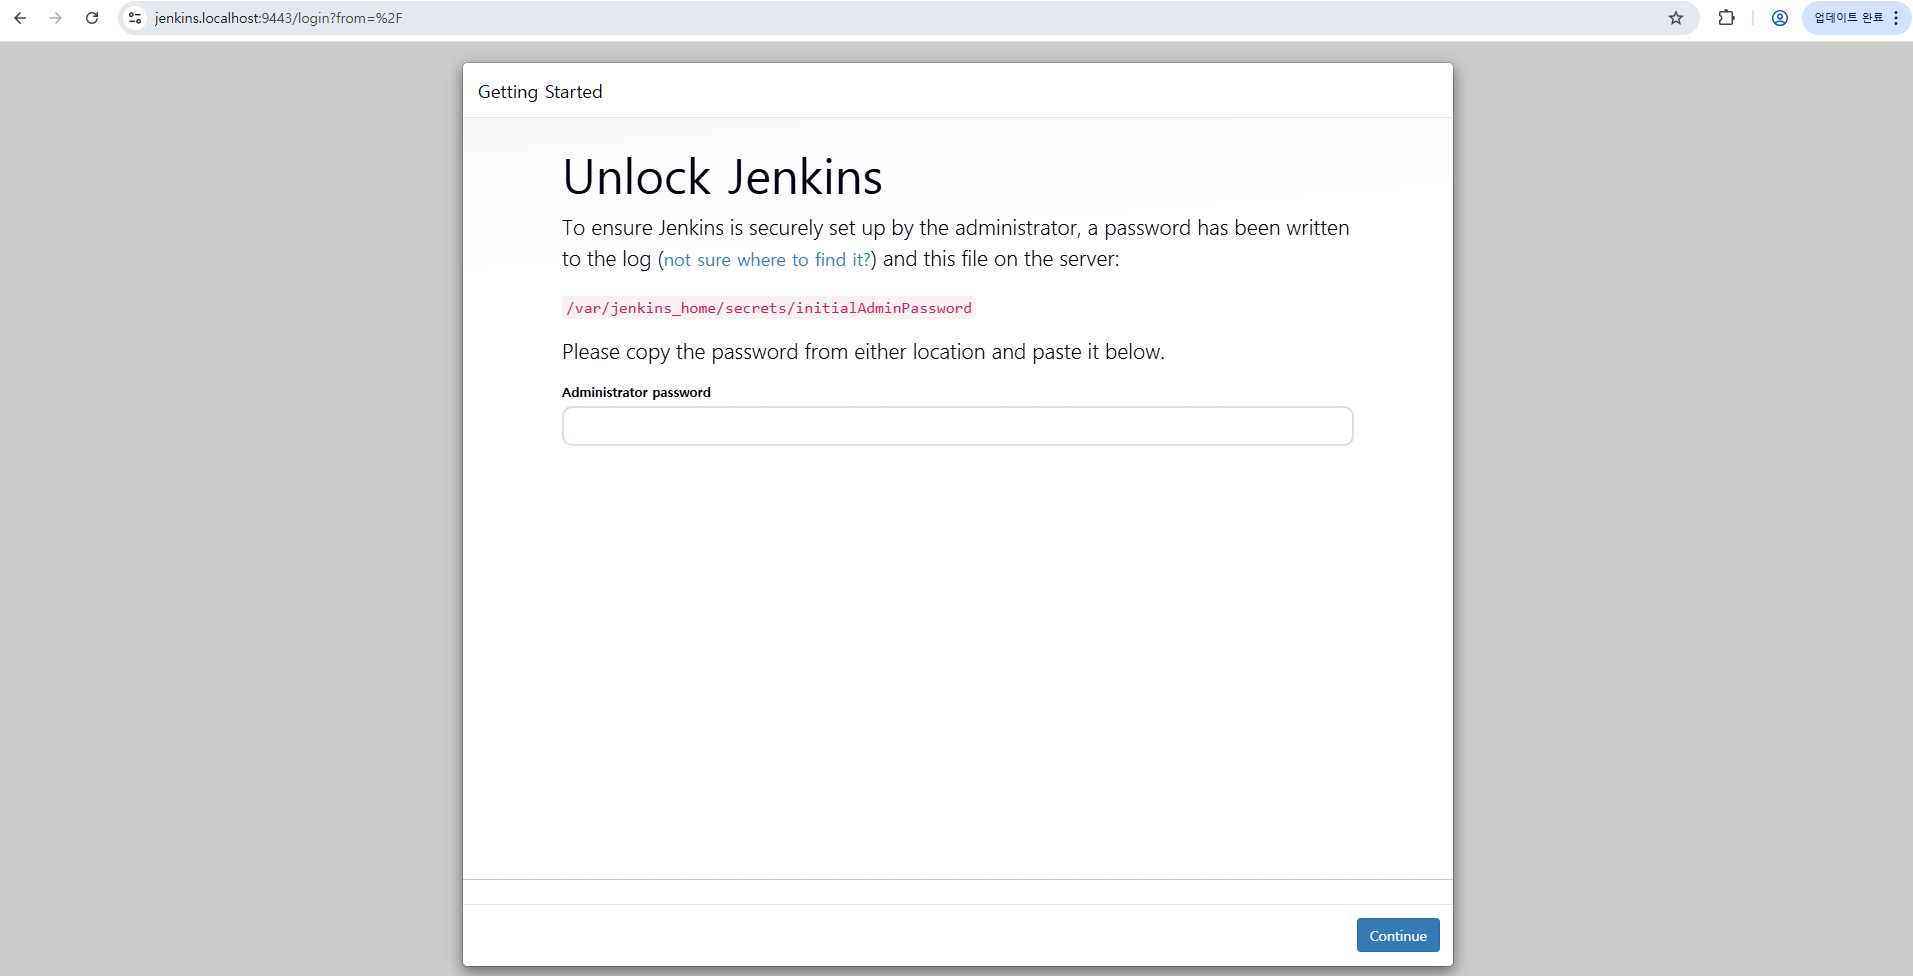
다음과 같다면 성공이다.
해당 화면은 초기 비밀번호를 확인하여 입력하여야 한다.
5. 초기 설정
- jenkins master pod 이름 확인
kubectl get po -n jenkins
- 해당 pod log를 통해 비밀번호 확인
kubectl logs <jenkins-Pod-name> -n jenkins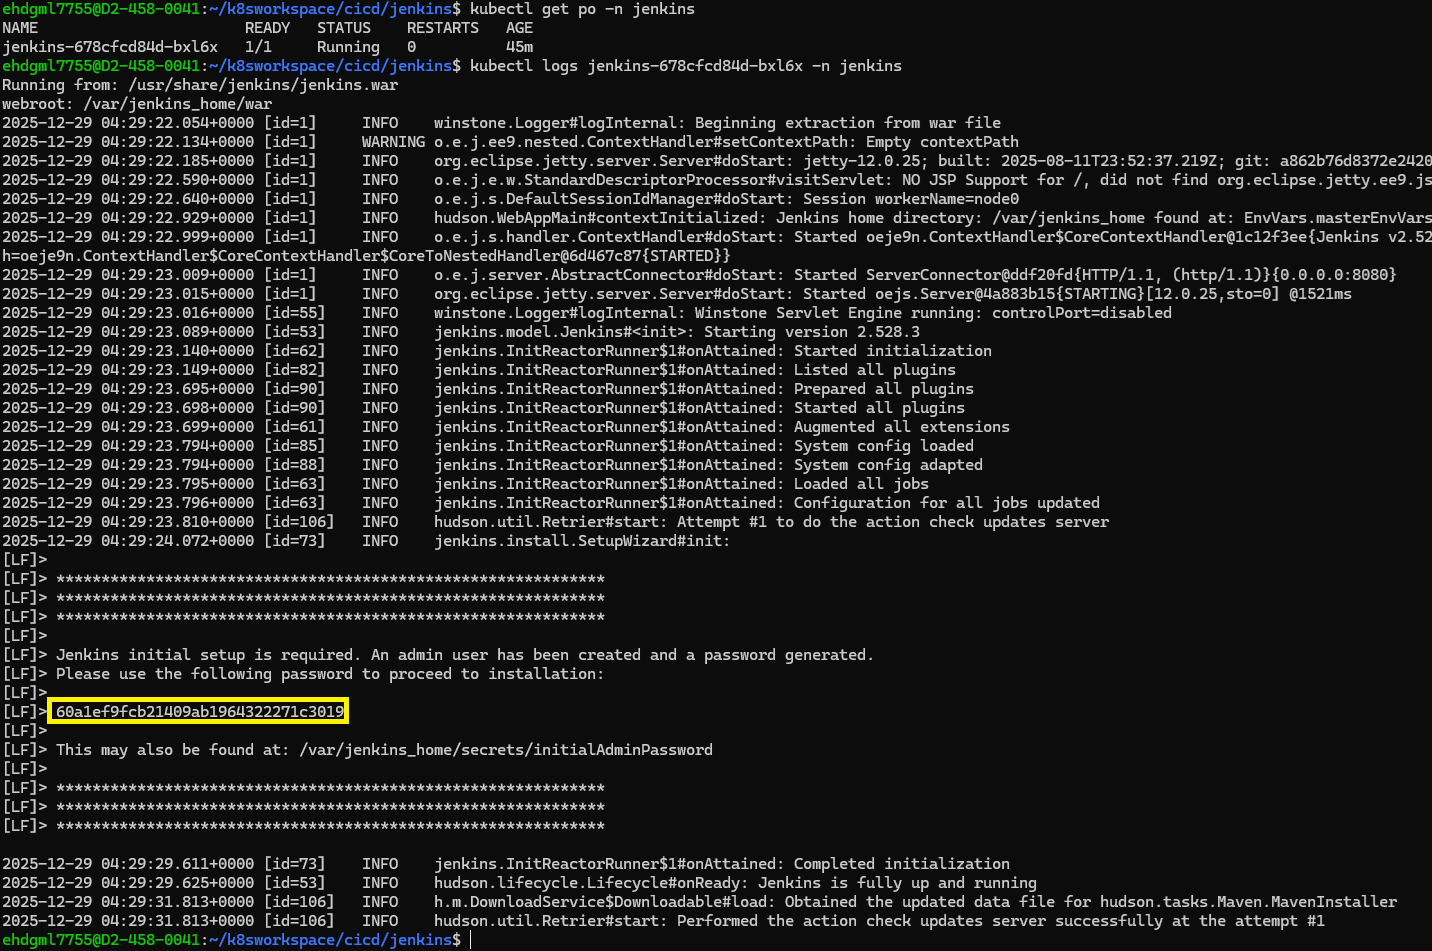
=> 중간에 나오는 비밀번호(노란칸)를 입력하면 된다.
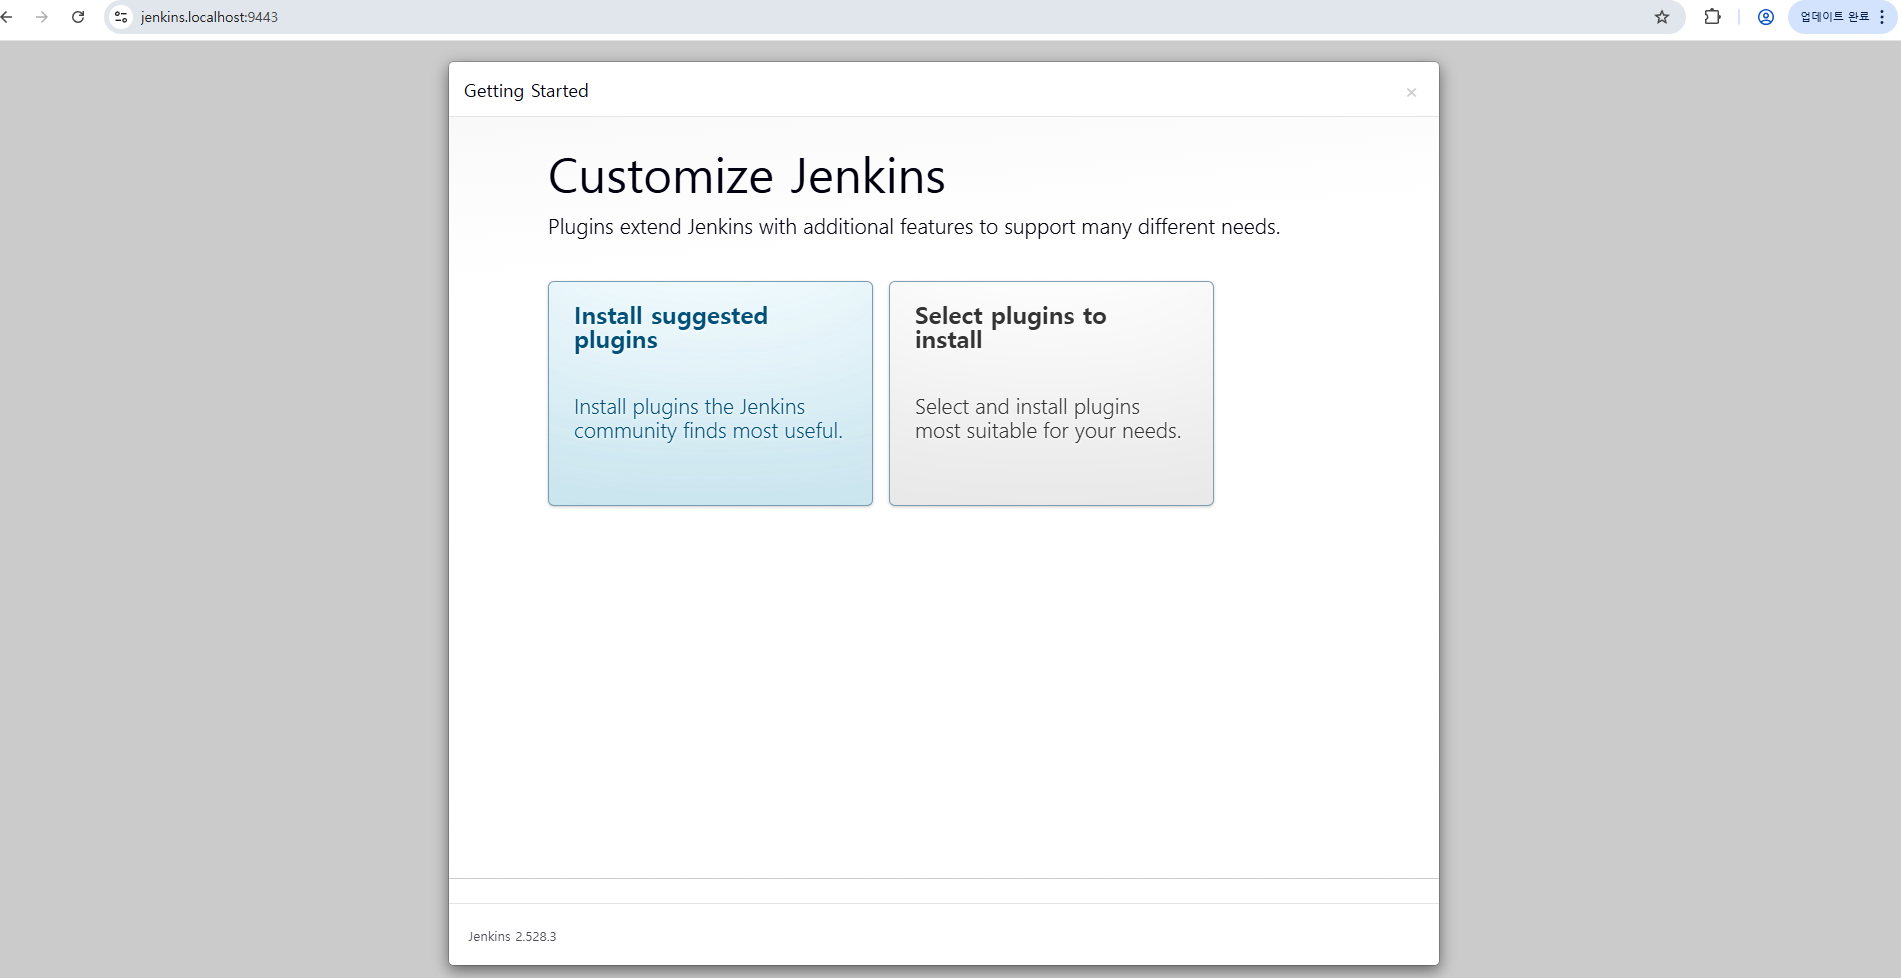
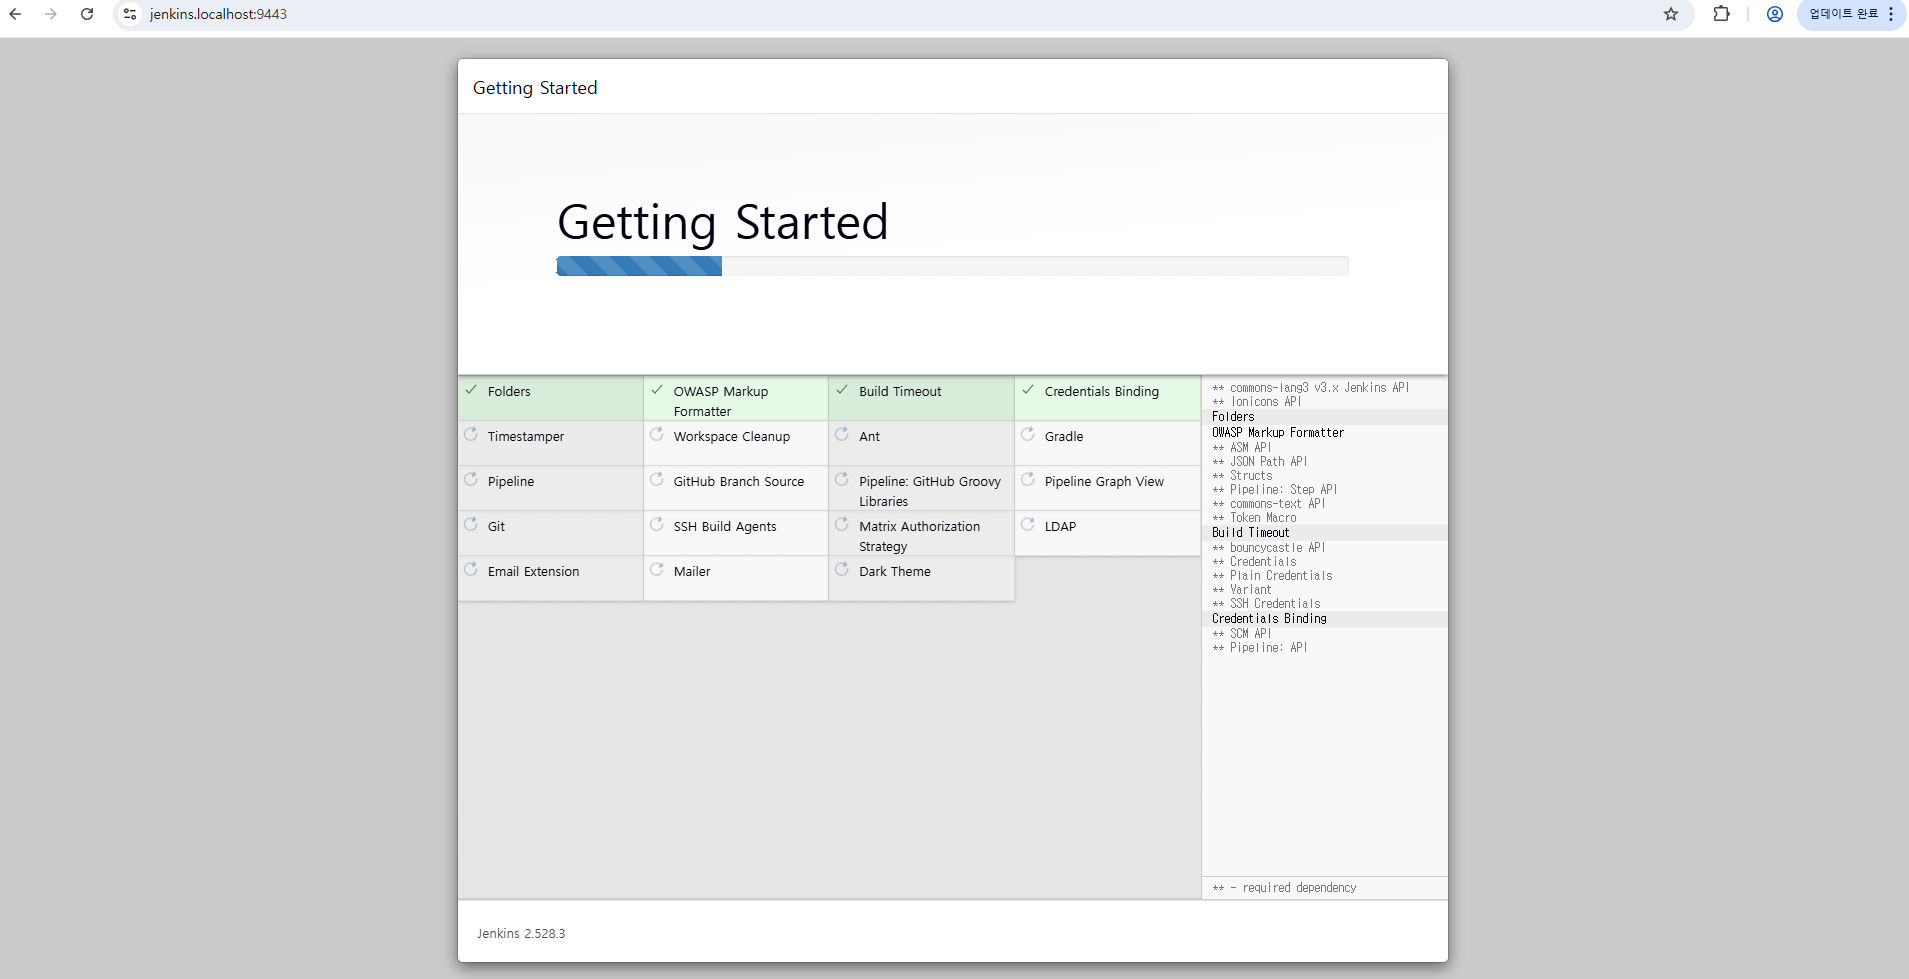
=> 다음과 같이 나올 것이다. 우선 왼쪽 Install Suggested Plugin을 더블 클릭하여 설치하여준다.
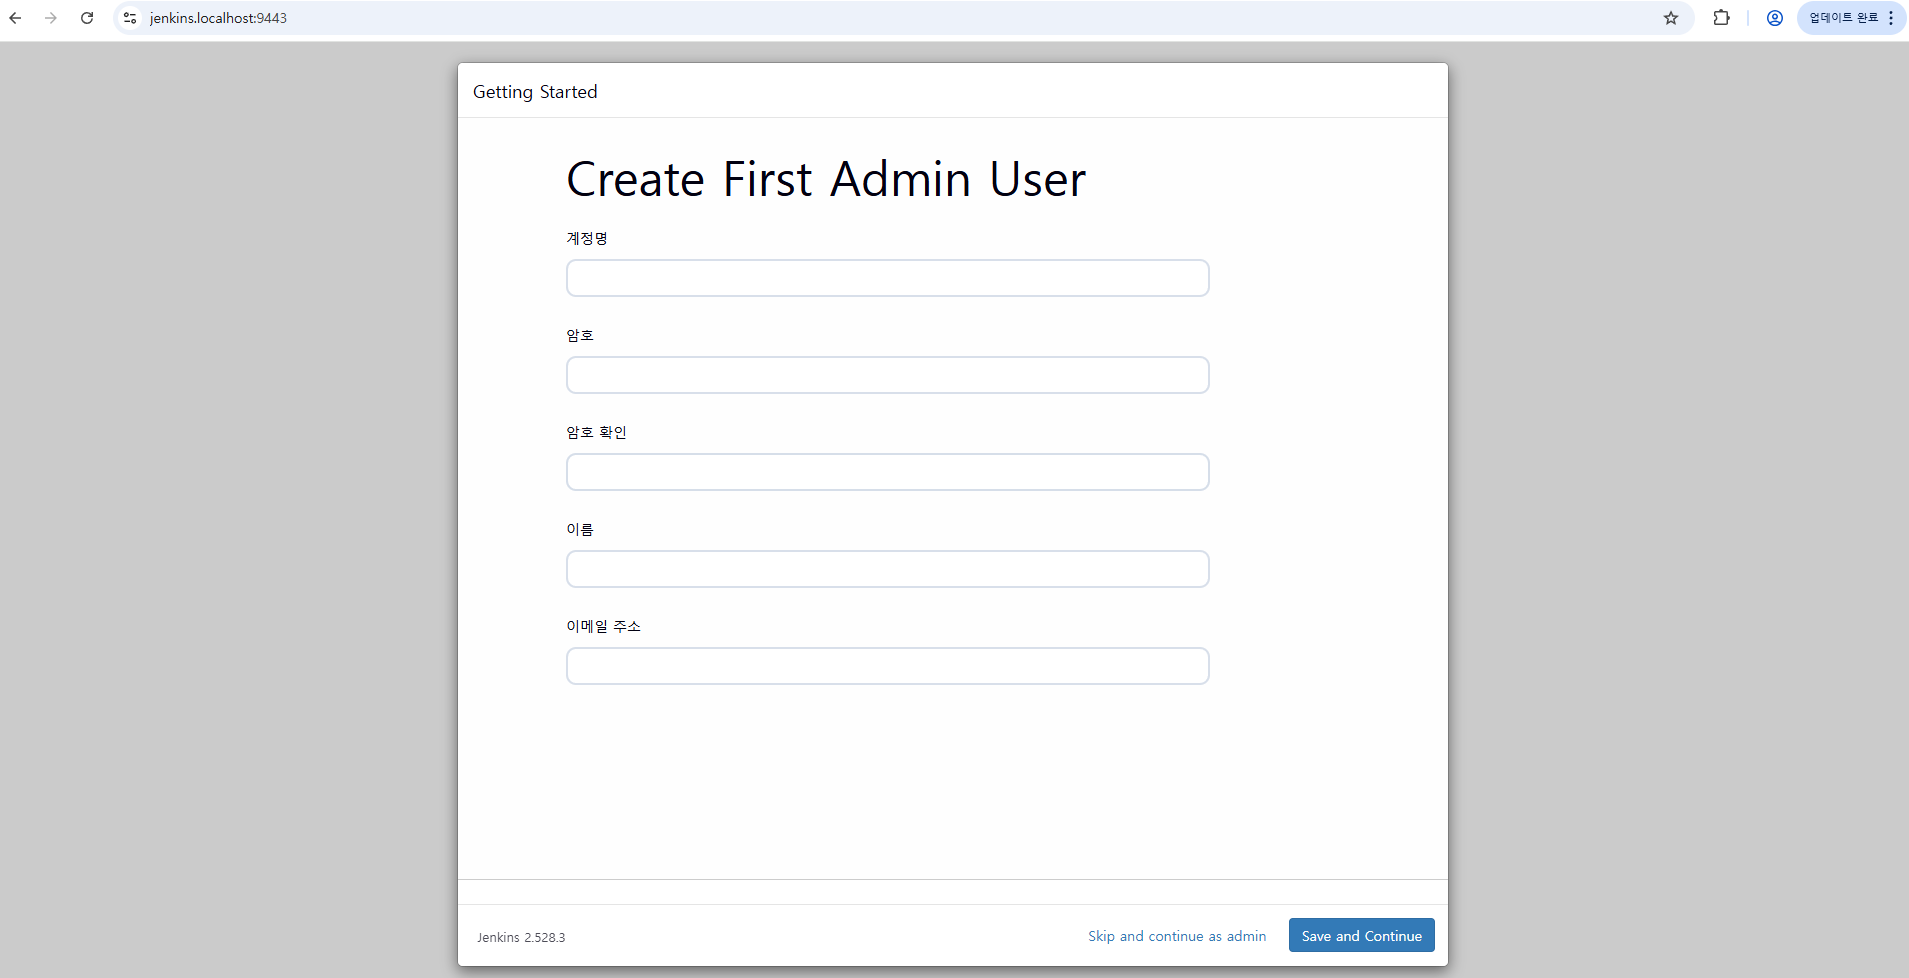
=> 설치 완료 후, 다음 First Admin User를 설정하면 된다.
- 계정 명 : Admin
- 암호 : 1234
- 암호 확인 : 1234
- 이름 : ...
- 이메일 주소 : ...
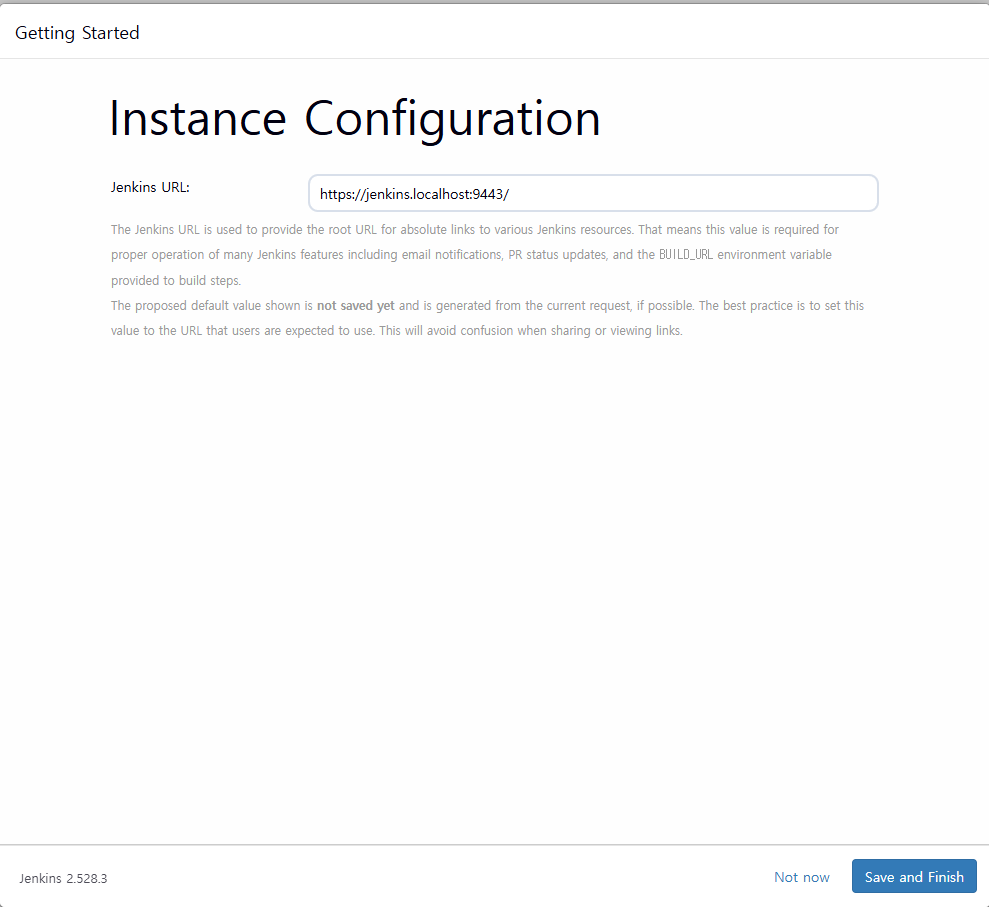
- Jenkins URL : https://jenkins.localhost:9443/
=> Save and Finish
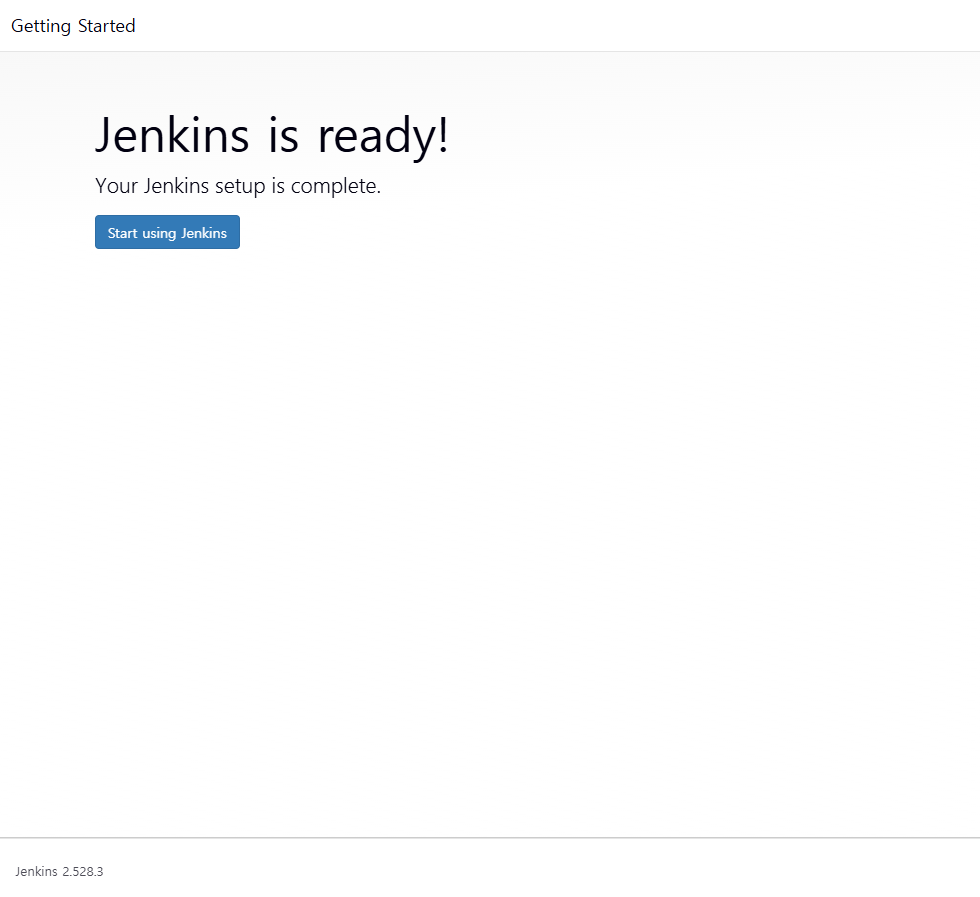
=> Start Using Jenkins
기본적인 gitlab과의 CICD 연동은 다음 회차에서 다루고자 한다.