
2주차
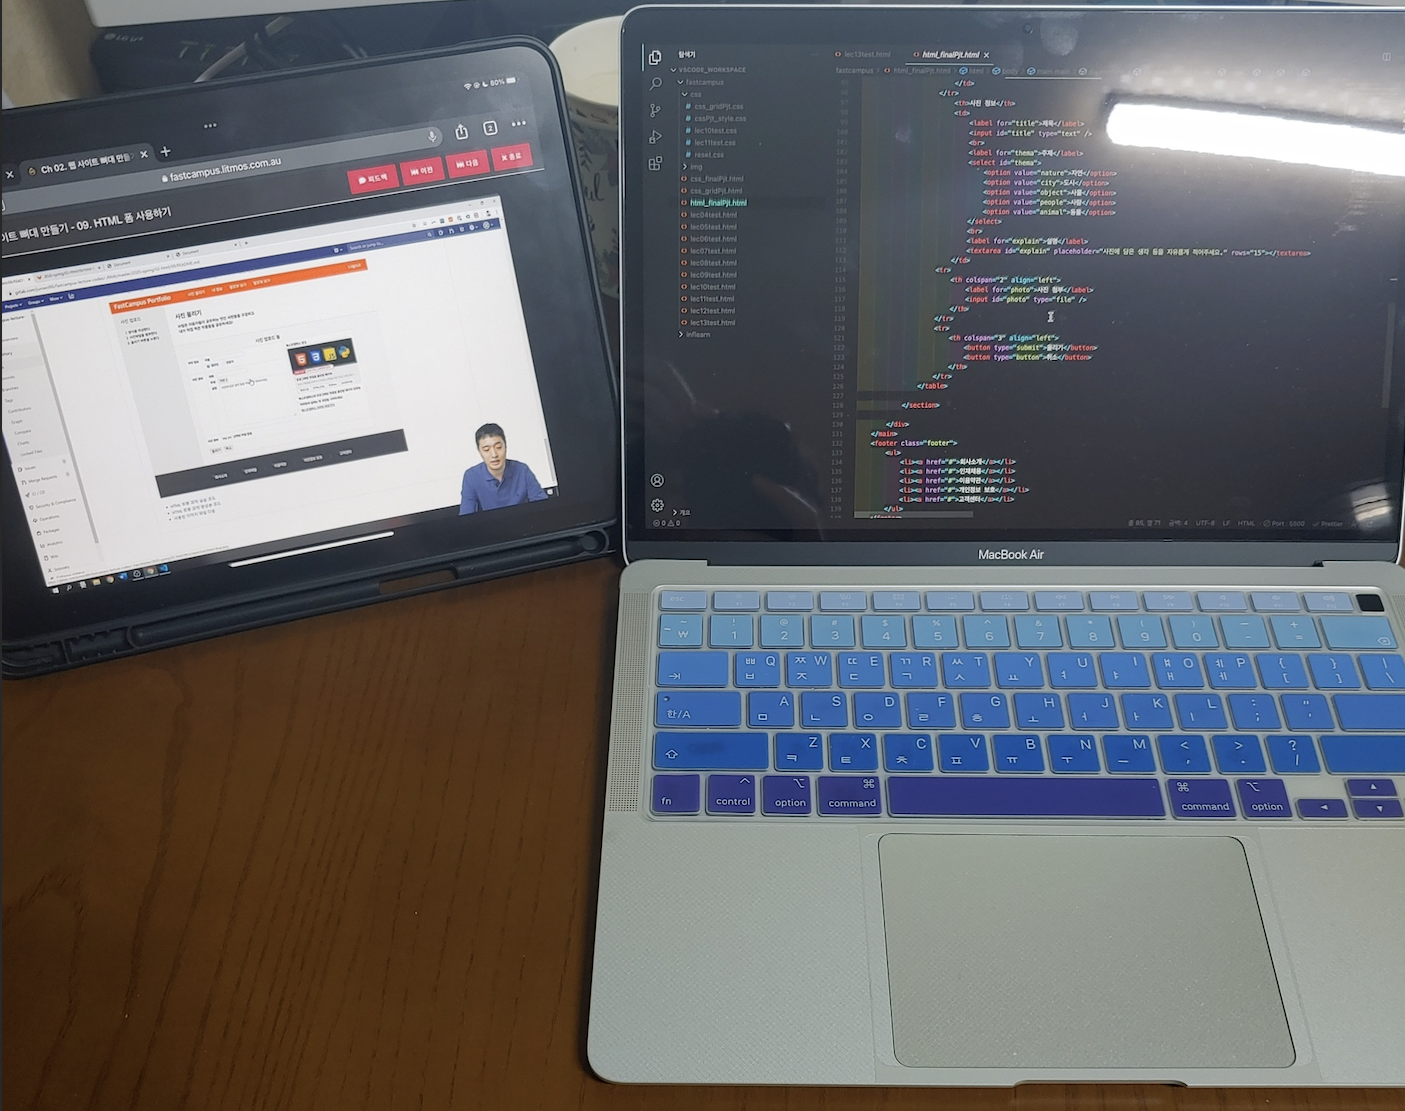
2주차 강의는 HTML 뼈대 만들기 내용으로 body태그 내에 작성되는 HTML기본 태그 위주의 강의였다. 주로 사용하는 div태그와 class명을 잘 주어야 하는 것, 좋은 코드를 위해 시맨틱 태그를 잘 활용해야 하는 점을 숙지하였다. 과제로 주어진 코드에 빈칸을 채우는 형식으로 aside클래스 부분 section intro클래스 부분, 테이블을 이용한 section form 클래스 부분을 만들어 보았다.
(1) aside클래스, section intro 클래스
- ul, li 태그를 이용해서 aside 클래스 작성
<aside class="aside">
	<div class="option-title">사진 업로드</div>
    <!-- 이곳을 채워넣으세요. -->
    <ol>
    	<li>양식을 작성한다.</li>
        <li>사진파일을 첨부한다.</li>
        <li>올리기 버튼을 누른다.</li>
    </ol>
</aside>- h1, p 태그를 이용해서 section intro 클래스 작성
 <section class="section intro">
 	<!-- 이곳을 채워넣으세요. -->
    <h1>사진 올리기</h1>
    <p>
    수많은 이용자들이 공유하는 멋진 <b>사진</b>들을 구경하고<br>
    내가 직접 찍은 작품들을 공유하세요!
    </p>
</section>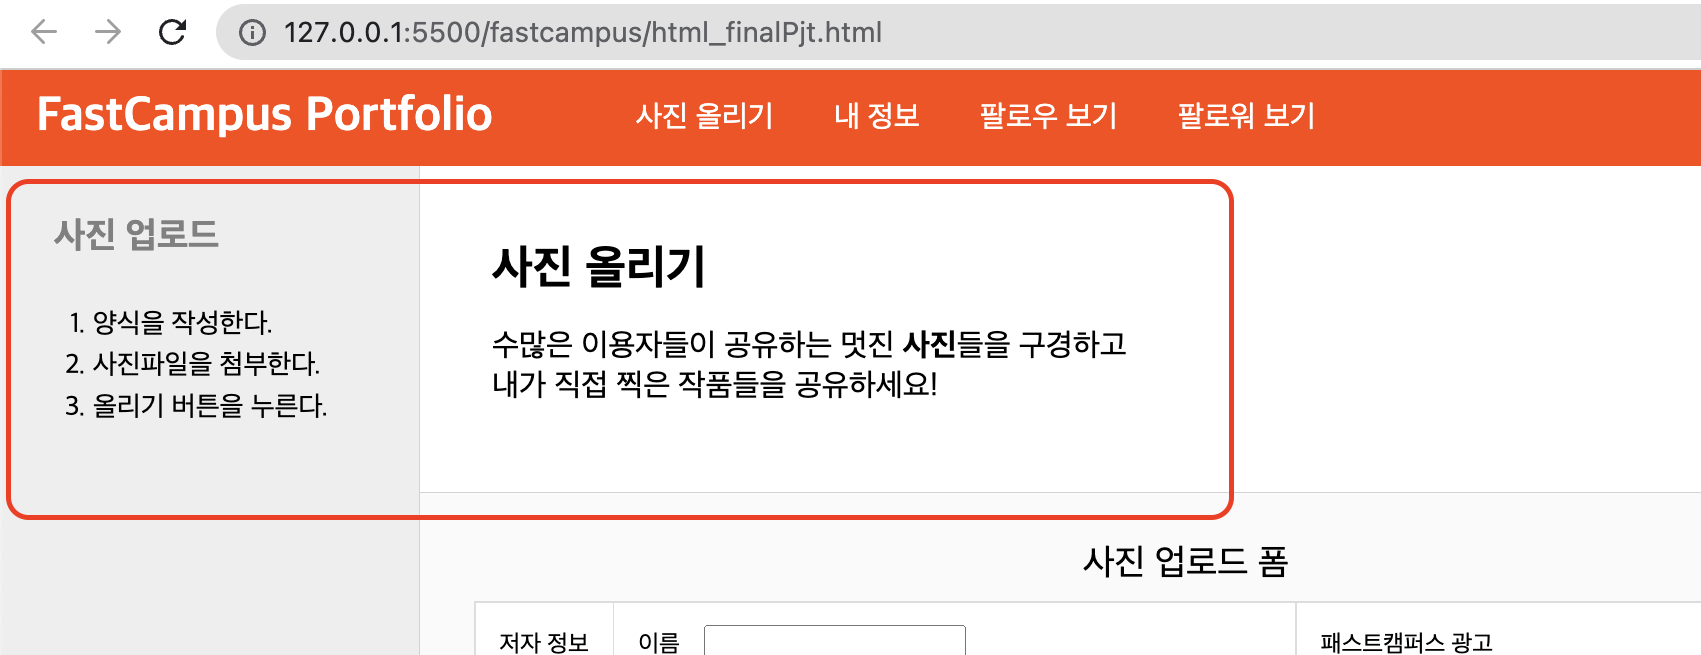
(2) section form 클래스
- table, form 태그를 이용하여 작성
<section class="section form">
	<!-- 이곳을 채워넣으세요. -->
	<table>
		<caption>사진 업로드 폼</caption>
		<tr>
			<th>저자 정보</th>
			<td>
				<label for="uName">이름</label>
				<input id="uName" type="text" />
				<br>
				<input id="public" name="person" type="radio" checked />
				<label for="public">일반인</label>
				<input id="master" name="person" type="radio" />
				<label for="master">전문가</label>
			</td>
			<td rowspan="3">
				<p>패스트캠퍼스 광고</p>
				<img src="img/fastcampus-ad.png" alt="패스트캠퍼스 광고"/>
				<p>패스트캠퍼스의 프로그래밍 첫걸음 올인원 패키지 강좌로<br>여러분의 설레는 첫 코딩을 시작하세요!</p>
				<a href="https://fastcampus.co.kr/" target="_blank">패스트캠퍼스 사이트 바로가기</a>
			</td>
		</tr>
		<th>사진 정보</th>
		<td>
			<label for="title">제목</label>
			<input id="title" type="text" />
			<br>
			<label for="thema">주제</label>
			<select id="thema">
				<option value="nature">자연</option>
				<option value="city">도시</option>
				<option value="object">사물</option>
				<option value="people">사람</option>
				<option value="animal">동물</option>
			</select>
			<br>
			<label for="explain">설명</label>
			<textarea id="explain" placeholder="사진에 담은 생각 등을 자유롭게 적어주세요." rows="15"></textarea>
		</td>
		<tr>
			<th colspan="2" align="left">
				<label for="photo">사진 첨부</label>
				<input id="photo" type="file" />
			</th>
		</tr>
		<tr>
			<th colspan="3" align="left">
				<button type="submit">올리기</button>
				<button type="button">취소</button>
			</th>
		</tr>
	</table>
</section>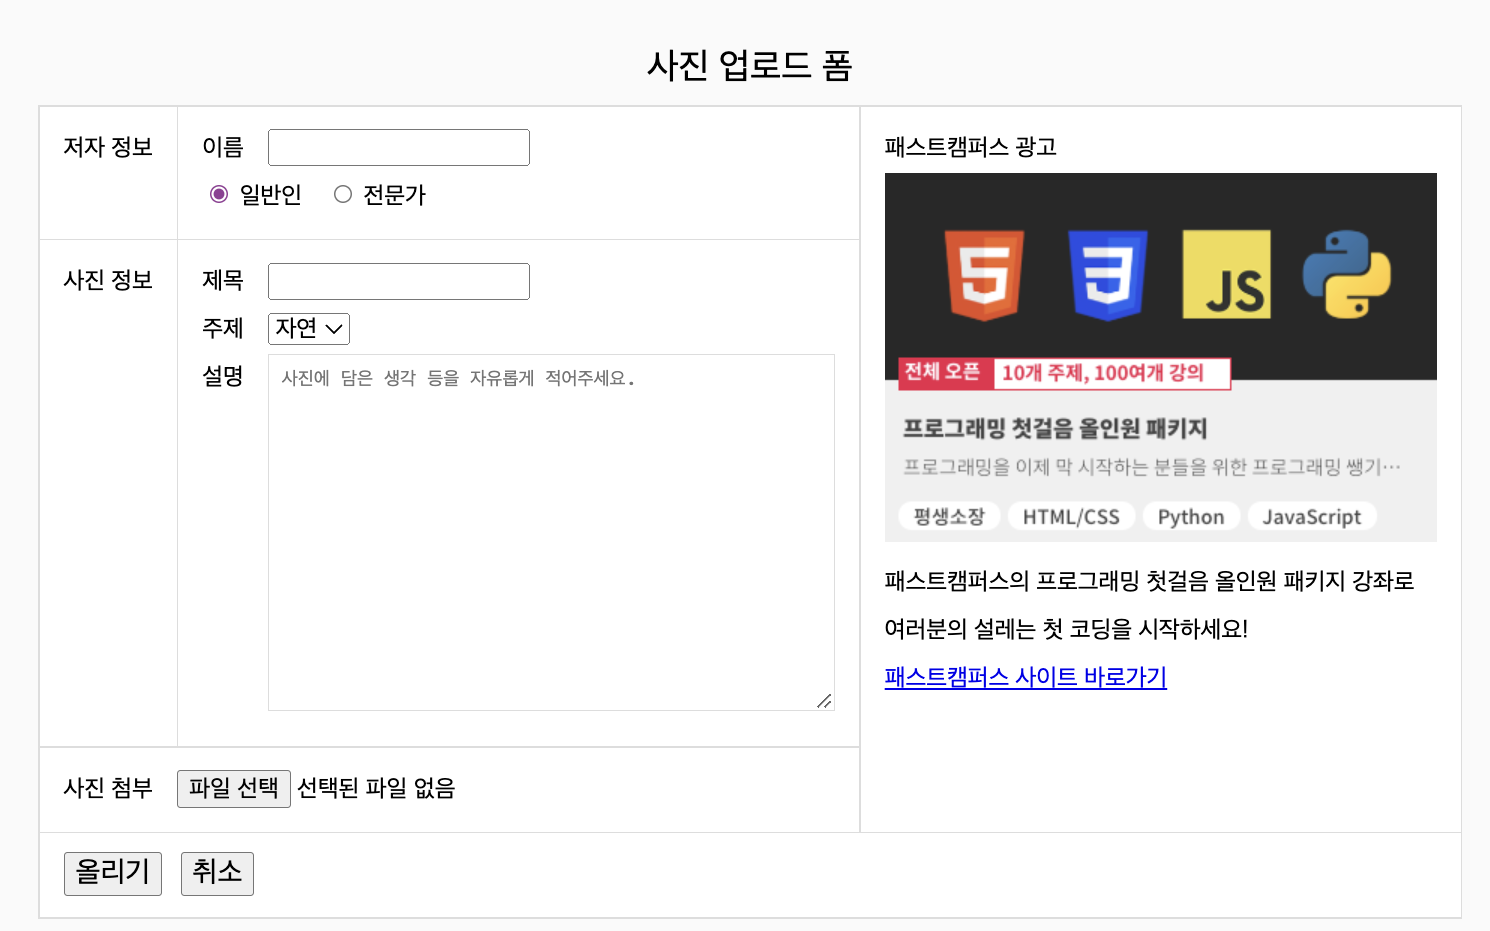
2주차 수강 후기
아직 이해하기 어렵거나 복잡한 게 나오지 않아 특별히 어렵거나 힘든 점은 없다. 점점 진도가 나가면서 나오는 개념들을 따로 정리를 해서 반복적으로 볼수 있도록 단원화를 하고 있다. 아직 영타가 어색해서 느린편인데 예제 코드나 클론 코딩을 하면서 반복적으로 꾸준히 하다 보면 나아질 것이라고 생각한다.

기술 스택 : Javascript/Java/Spring Framework