YOLO
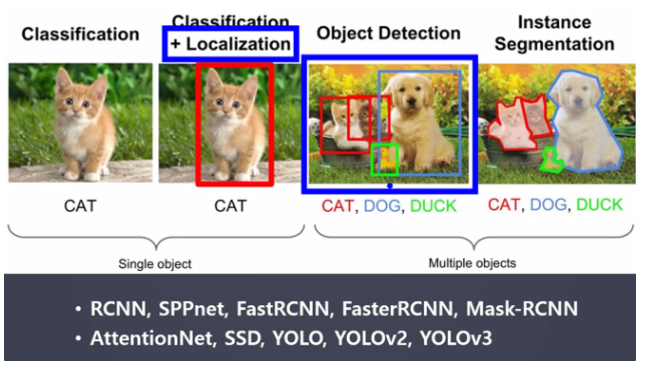
- Object Detection(객체 탐지)
객체 탐지란?
이미지 내에서 객체(사물, 사람 등)를 감지해 내는 것
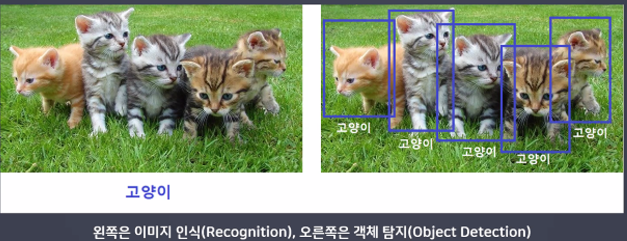 → 왼쪽은 CNN, 오른쪽은 YOLO
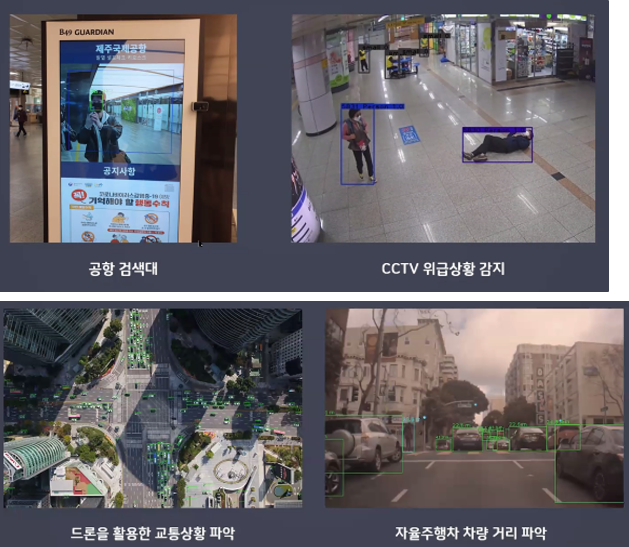
- 활용 분야
- 객체 탐지 알고리즘의 역사
발전 순서
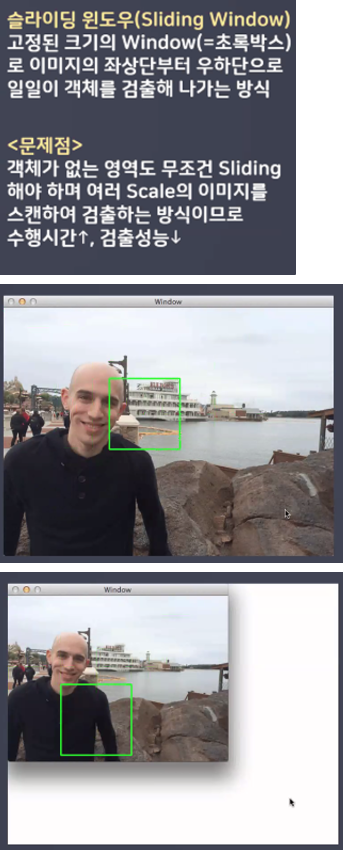
- Traditional Detection Methods
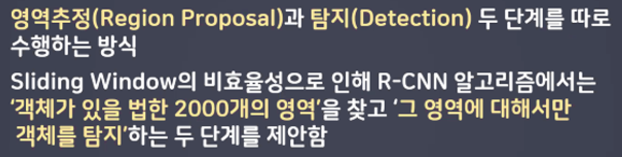
- Two-stage detector
- One-stage dectector
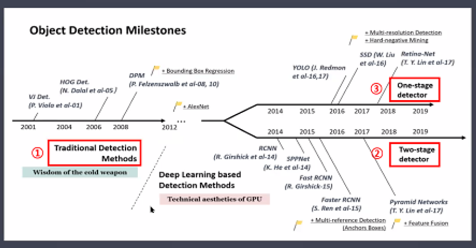
- Traditional Detection Methods
- Two-stage detector (→ R-CNN)
- 장점 : 높은 성능
- 단점 : 속도가 느림 10~15 FPS(동영상이 보통 30 FPS) → 실시간 탐지 불가능
-선택적 검색(Selective Search)
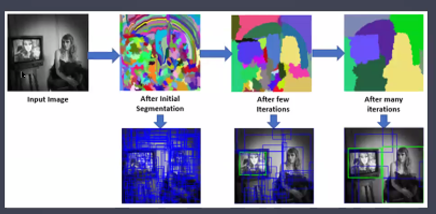
1) 처음에는 분할된 모든 부분들을 Bounding box로 만들어 리스트에 추가
2) 색상, 무늬, 크기, 형태에 따라 유사도가 비슷한 부분들을 그룹핑(Bbox 개수 감소)
3) 1, 2 단계를 계속 반복
- One-stage Detector (→ YOLO)
- 장점 : 속도가 빠름 30~40 FPS → 실시간 탐지 가능
- 단점 : 낮은 성능 → 0.7
- YOLO(You Only Look Once)
- One-stage detector 방식 실시간 객체 검출 알고리즘의 선봉장!
- 16년 v1 부터 22년 v7까지 오픈소스로 출시됨
- v1(GoogLeNet 적용)은 Two-stage detector 의 Faster R-CNN(vgg 16 적용) 보다 6배 빠른 속도록 논문에 기재됨
실습
- 라벨링 파일
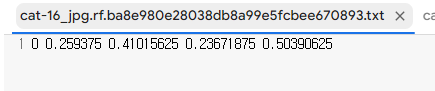 → 라벨링을 열어보면 5개의 숫자가 있다.
* 첫 번째 숫자 = cat(0) or dog(1)
* 2~5번째 숫자 = 객체의 위치
* x1, y1, x2, y2
* 각각의 숫자는 찍은 위치의 픽셀값 / 이미지 크기 → 0~1숫자로 적혀있음
- roboflow에서 라벨링 한 데이터 가져오기
!curl -L "https://app.roboflow.com/ds/lwJF2ISVe8?key=4qmtvOwC3S" > roboflow.zip; unzip roboflow.zip; rm roboflow.zip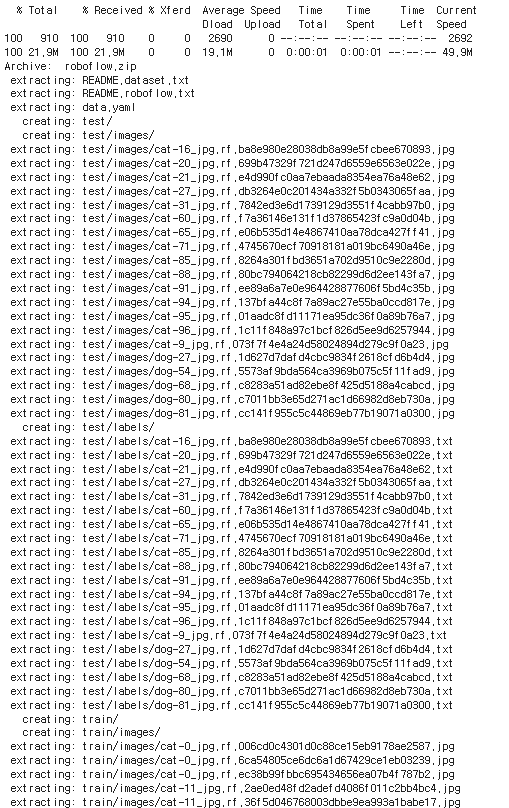
 → 폴더 열어서 데이터 불러와졌는지 확인
- dataset 폴더 만들기
# mkdir(make directory)
%mkdir dataset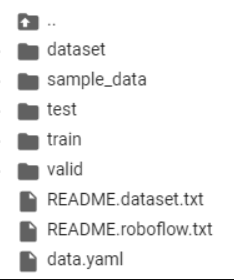
 → 폴더 만들어졌는지 확인
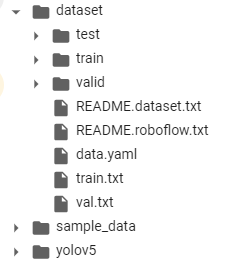
- 만든 dataset 폴더에 불러온 데이터 파일들 이동하기
# mv(move)
%mv ./README.dataset.txt ./README.roboflow.txt ./data.yaml train test valid /content/dataset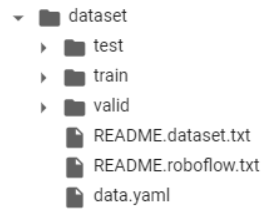
- 이미지파일 txt파일로 변경
# 하나의 변수에 사용 할 파일 모아주기
# 이미지 파일의 경로를 모은 메모장(txt)파일 만들기
# train.text, val.txt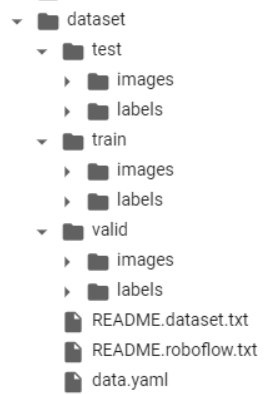
-파일 경로 불러오기
from glob import glob

train_img_list = glob('/content/dataset/train/images/*.jpg')
train_img_list
-valid도 똑같이
val_img_list = glob('/content/dataset/valid/images/*.jpg')-이미지 파일의 경로를 txt파일을 안에 담기
with open('/content/dataset/train.txt', 'w') as f :
  f.write('\n' .join(train_img_list) + '\n')

with open('/content/dataset/val.txt', 'w') as f :
  f.write('\n' .join(val_img_list) + '\n')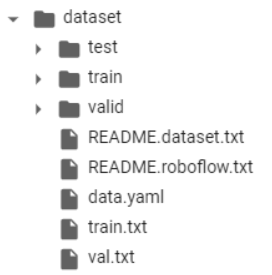
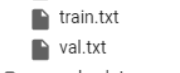 → txt파일 만들어졌는지 확인
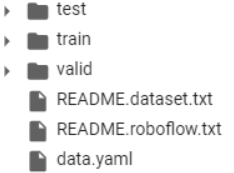
- data.yaml 파일
# 학습시에는 data.yaml파일을 사용
# data.yaml파일 안에서 train과 val경로 수정 → train.txt, val.txt 경로 적기

# 데이터셋 사용 준비 완료
-파일 열기
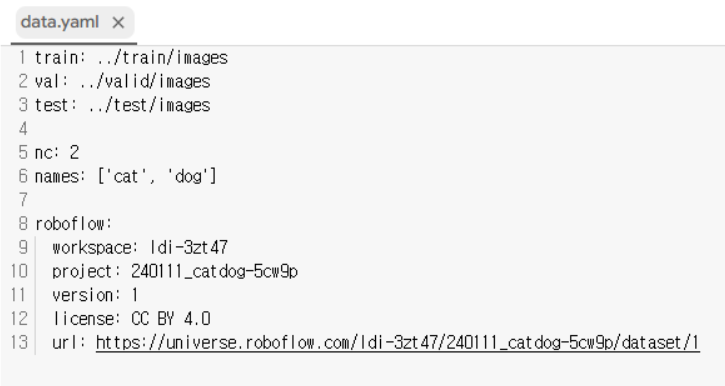
 → 이렇게 변경
YOLOv5 사용 준비
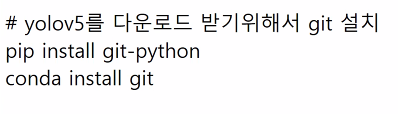
- github에 있는 파일 다운로드
!git clone https://github.com/ultralytics/yolov5
 → 폴더 생겼는지 확인
- print working directory
%pwd
- change directory
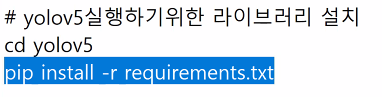
%cd yolov5
- YOLO 사용에 필요한 라이브러리 다운로드
!pip install -r requirements.txt- 학습
!python train.py --img 640 --batch 16 --epochs 50 --data /content/dataset/data.yaml --name cat_dog_yolov5s_results

# --img 640 → 이미지 크기
# --batch 16 → 한 번에 학습 할 이미지 갯수
# --epochs 50 → 몇 번 학습을 반복 할 것인지
# --data /content/dataset/data.yaml → 학습 할 데이터
# --name cat_dog_yolov5s_results → 저장될 폴더 이름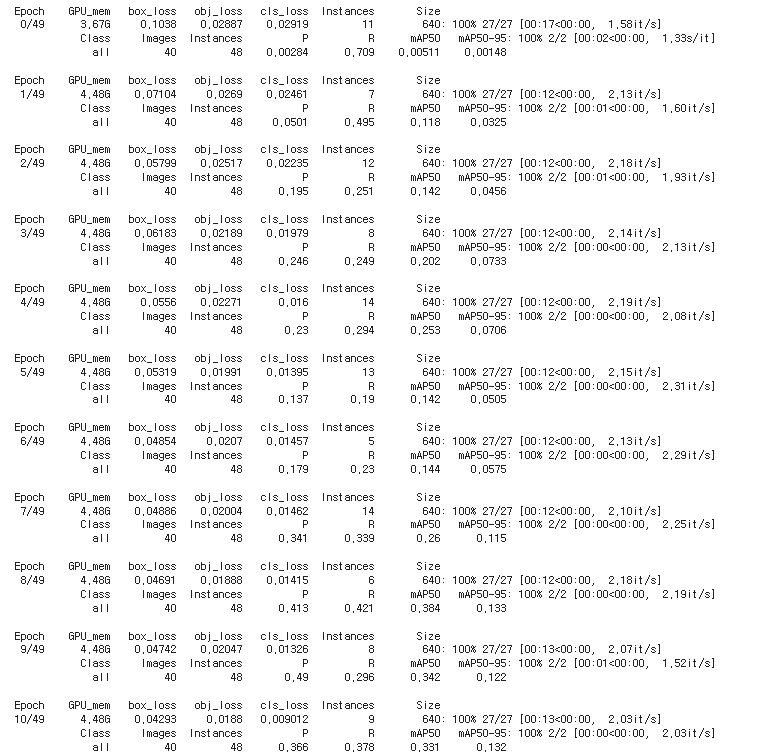
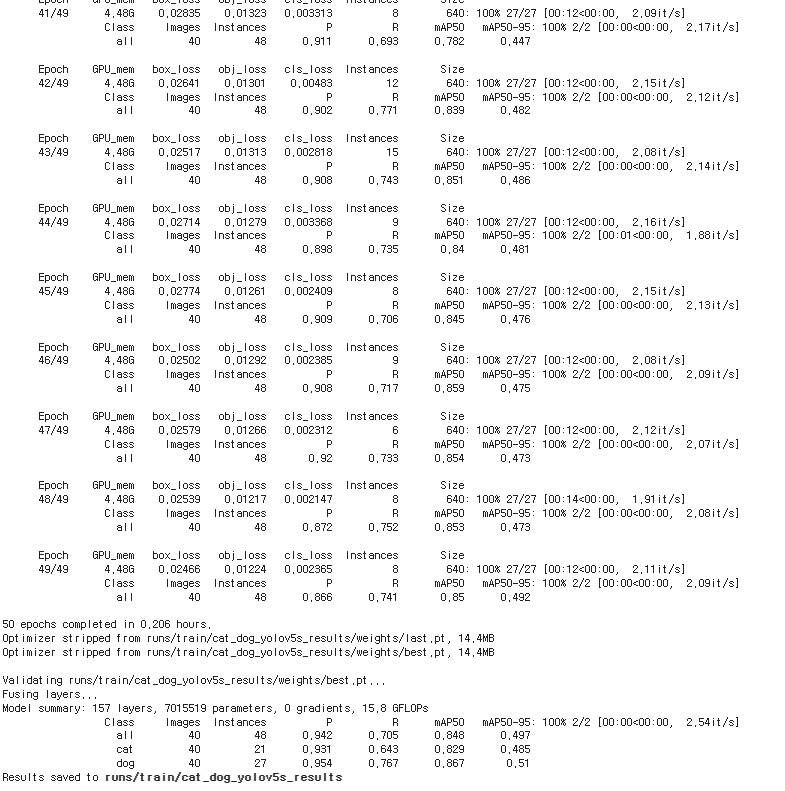
- 학습 완료 후
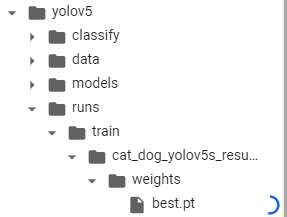 → best.pt 다운로드
(학습 완료시 → yolov5 → runs → cat → train → cat_dog_yolov5s_results → weights → best.pt 다운로드)
- YOLO 환경설정
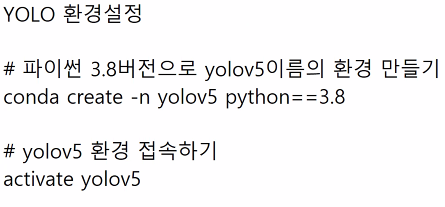


위에 설정하고 jupyter nootbook으로 실행
import torch # yolo를 사용하는 라이브러리
import numpy as np
import cv2 # 이미지 다루는 라이브러리
import pathlib
temp = pathlib.PosixPath
pathlib.PosixPath = pathlib.WindowsPath- 모델 불러오기
model = torch.hub.load('ultralytics/yolov5', 'custom', path='data/best.pt' , force_reload=True)- 이미지 불러오기 + 검출
dog = cv2.imread('./data/dog.jpg')

# 객체 검출하기
result = model(dog)
# ctrl + shift + '-' → 커서 기준으로 셀 분할- 6개의 값
# x1, y1, x2, y2, 정확도(confidence), class
detect = result.xyxyn[0].numpy()

# 기존 이미지 크기
x = dog.shape[1]
y = dog.shape[0]

# 객체의 위치 계산
x1 = int(detect[0,0] * x)
y1 = int(detect[0,1] * y)
x2 = int(detect[0,2] * x)
y2 = int(detect[0,3] * y)- 셀 합치기
# 이미지 불러오기
dog = cv2.imread('./data/dog.jpg')

# 객체 검출하기
result = model(dog)
# ctrl + shift + '-' → 커서 기준으로 셀 분할
# shift + m → 아래 셀과 합치기(command mode)

# 6개의 값
# x1, y1, x2, y2, 정확도(confidence), class
detect = result.xyxyn[0].numpy()

# 기존 이미지 크기
x = dog.shape[1]
y = dog.shape[0]

# 객체의 위치 계산
x1 = int(detect[0,0] * x)
y1 = int(detect[0,1] * y)
x2 = int(detect[0,2] * x)
y2 = int(detect[0,3] * y)- 객체 검출했으면 이미지에 표시하기
cv2.rectangle(dog, (x1,y1) , (x2,y2) , (0,0,255), 2)

# 이미지 띄우기
cv2.imshow('dog',dog)
cv2.waitKey(0)
cv2.destroyAllWindows()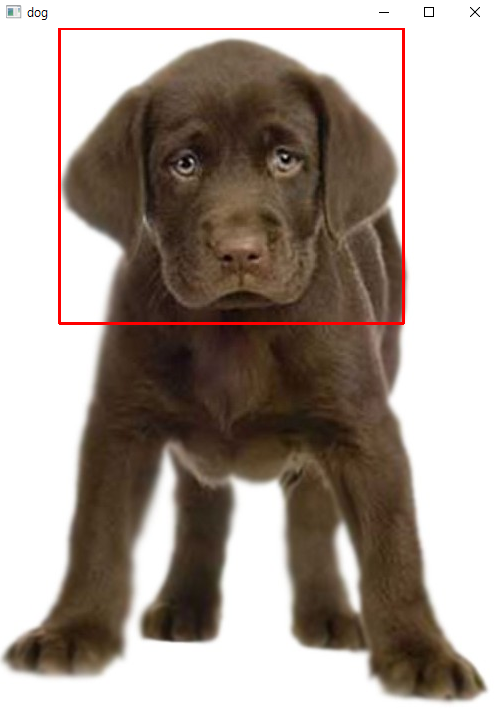
- 여러마리 검출하기
# 이미지 불러오기
dog = cv2.imread('./data/dogs.png')

# 객체 검출하기
result = model(dog)
# ctrl + shift + '-' → 커서 기준으로 셀 분할
# shift + m → 아래 셀과 합치기(command mode)

# 6개의 값
# x1, y1, x2, y2, 정확도(confidence), class
detect = result.xyxyn[0].numpy()

# 기존 이미지 크기
x = dog.shape[1]
y = dog.shape[0]

# 여러마리 검출했을 경우
for i in range(len(detect)) :
    # 객체의 위치 계산
    x1 = int(detect[i,0] * x)
    y1 = int(detect[i,1] * y)
    x2 = int(detect[i,2] * x)
    y2 = int(detect[i,3] * y)

    # 객체 검출했으면 이미지에 표시하기
    cv2.rectangle(dog, (x1,y1) , (x2,y2) , (0,0,255), 2)

# 이미지 띄우기
cv2.imshow('dog',dog)
cv2.waitKey(0)
cv2.destroyAllWindows()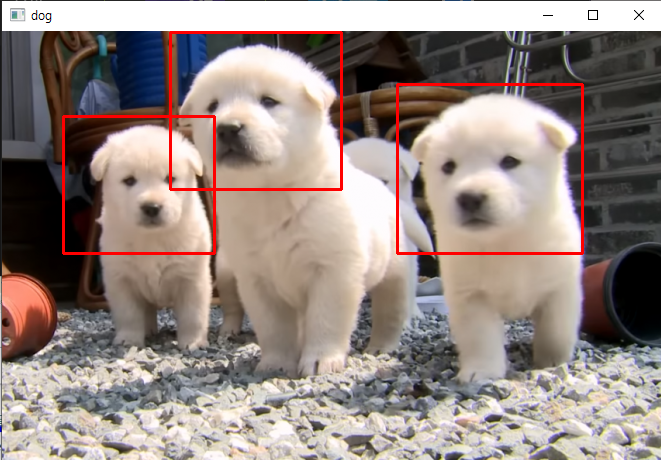
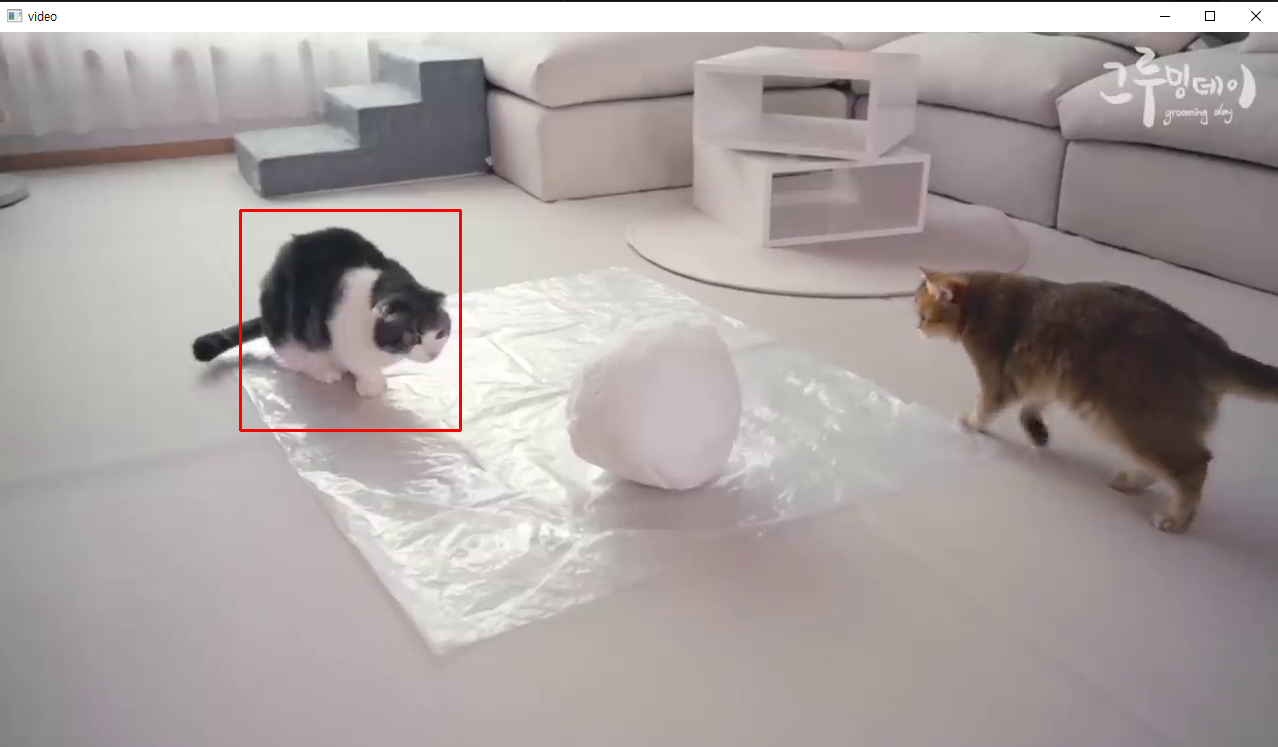
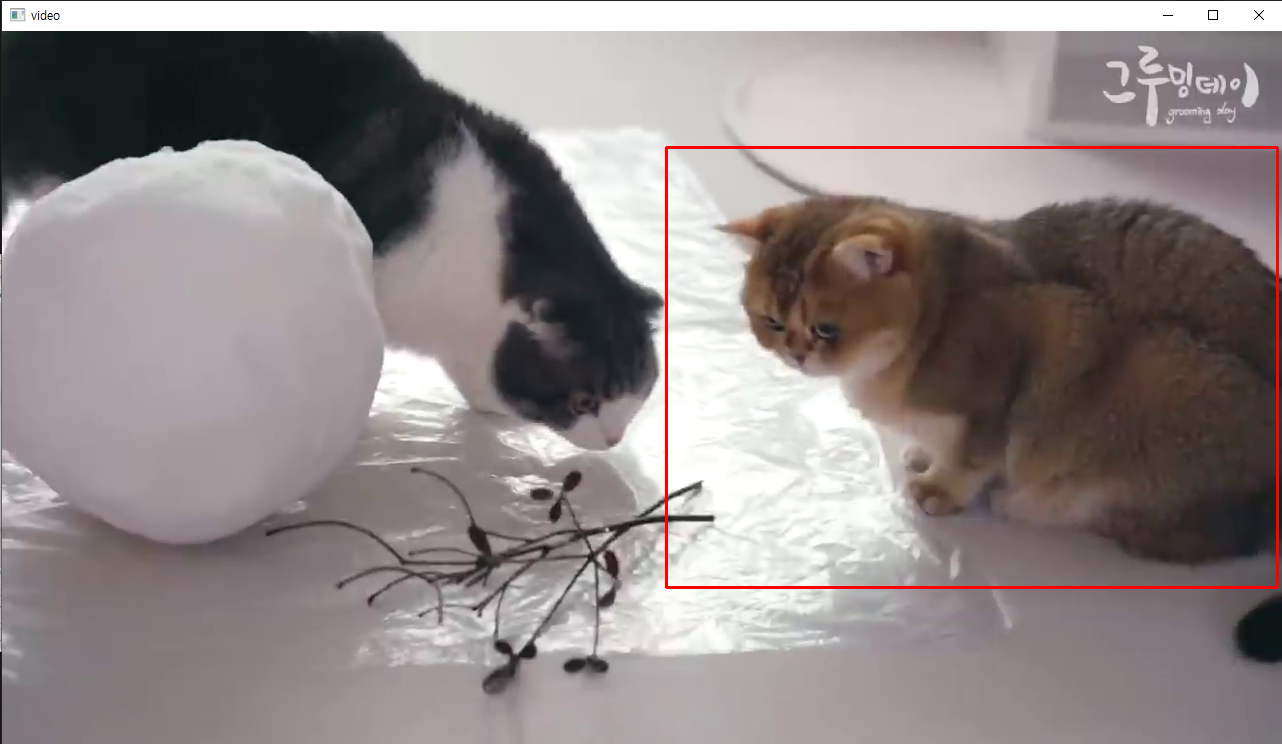
동영상으로 해보기
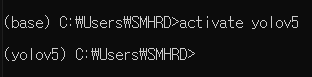
- anaconda prompt 명령어
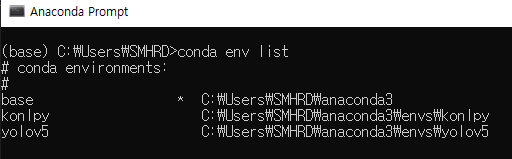
- 가상환경 확인
conda env list
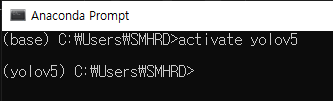
- 환경 접속
activate 환경 이름
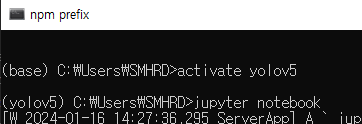
- jupyter notebook 열기
jupyter notebook(기존에 설치가 되어있어야 된다.)
- 동영상 연결하기
import cv2

# 모델 불러오기
model = torch.hub.load('ultralytics/yolov5', 'custom', path='data/best.pt' , force_reload=True)

# 동영상 연결하기
video_path = './data/cat_video.mp4'

# 비디오 연결하기
video = cv2.VideoCapture(video_path)

# 초 당 30장의 사진을 가져온다 → 한 장씩 사용
while video.isOpened() :
    ret, img = video.read() # 이미지 한 장 가져오기
    # ret = 성공여부, img = 이미지 값

    if not ret :
        break

    result = model(img)
    # ctrl + shift + '-' → 커서 기준으로 셀 분할
    # shift + m → 아래 셀과 합치기(command mode)

    # 6개의 값
    # x1, y1, x2, y2, 정확도(confidence), class
    detect = result.xyxyn[0].numpy()

    # 기존 이미지 크기
    x = img.shape[1]
    y = img.shape[0]

    # 여러마리 검출했을 경우
    for i in range(len(detect)) :
        # 객체의 위치 계산
        x1 = int(detect[i,0] * x)
        y1 = int(detect[i,1] * y)
        x2 = int(detect[i,2] * x)
        y2 = int(detect[i,3] * y)

        # 객체 검출했으면 이미지에 표시하기
        cv2.rectangle(img, (x1,y1) , (x2,y2) , (0,0,255), 2)

    # 사진 띄우기
    cv2.imshow('video', img)
    # 동영상 종료 기능(1(!))
    k = cv2.waitKey(1)
    if k == 49 :
        break

# 비디오 연결 종료
video.release()

# 윈도우에 띄우 창 종료
cv2.destroyAllWindow()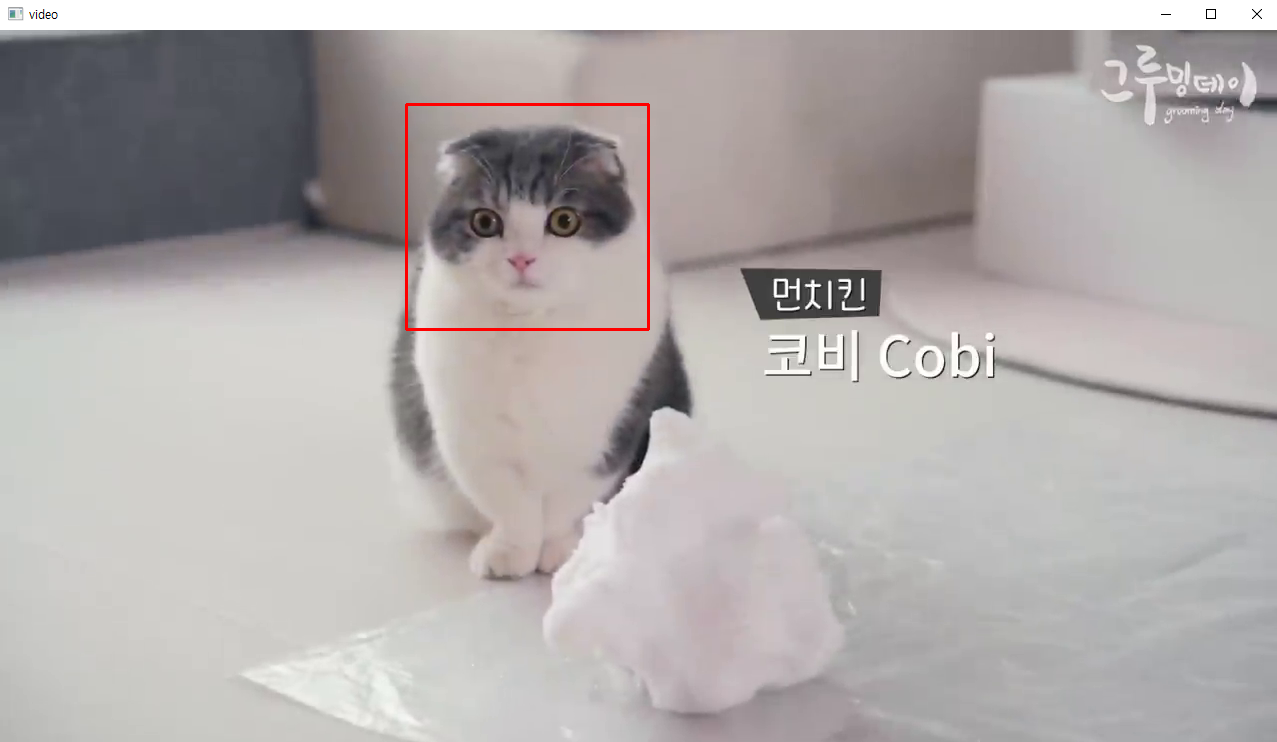

노는게 제일 좋아~!