
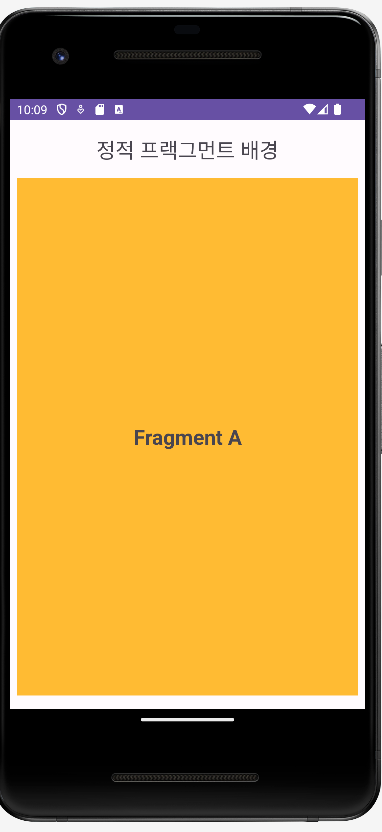
정적 프래그먼트
MainActivity 에서 코드 추가 없이 실행 가능하다.
inflater.inflate()
- 첫 번째 인자 -> Layout(fragment_a.xml) 에서 설계한 화면을 출력
- 세번째 인자 : Boolean 값
false-> view가 fragment_a 의 root view
true-> container가 fragment_a 의 root viewval view = inflater.inflate(R.layout.fragment1, container, false)
android: name
-> fragment 를 정의한 클래스 파일
===> 필수!!!!!!!!!!!!!!!1
- activity_main.xml
<?xml version="1.0" encoding="utf-8"?>
<androidx.constraintlayout.widget.ConstraintLayout xmlns:android="http://schemas.android.com/apk/res/android"
    xmlns:app="http://schemas.android.com/apk/res-auto"
    xmlns:tools="http://schemas.android.com/tools"
    android:layout_width="match_parent"
    android:layout_height="match_parent"
    tools:context=".MainActivity">

    <TextView
        android:id="@+id/textView"
        android:layout_width="wrap_content"
        android:layout_height="wrap_content"
        android:layout_marginTop="16dp"
        android:text="정적 프랙그먼트 배경"
        android:textSize="24sp"
        app:layout_constraintEnd_toEndOf="parent"
        app:layout_constraintStart_toStartOf="parent"
        app:layout_constraintTop_toTopOf="parent" />

    <androidx.fragment.app.FragmentContainerView
        android:id="@+id/fragmentContainerView"
        android:name="com.example.fragmentsample.FragmentA"
        android:layout_width="0dp"
        android:layout_height="0dp"
        android:layout_marginStart="8dp"
        android:layout_marginTop="16dp"
        android:layout_marginEnd="8dp"
        android:layout_marginBottom="16dp"
        app:layout_constraintBottom_toBottomOf="parent"
        app:layout_constraintEnd_toEndOf="parent"
        app:layout_constraintHorizontal_bias="0.5"
        app:layout_constraintStart_toStartOf="parent"
        app:layout_constraintTop_toBottomOf="@+id/textView"
        tools:layout="@layout/fragment_a" />

</androidx.constraintlayout.widget.ConstraintLayout>
동적 프래그먼트
정적 배치와 무엇이 다른가?
1.<FrameLayout>태그 사용
2. android : Id 속성 추가
3. android : name 속성 삭제
4. tools.layout 속성 삭제
class MainActivity : AppCompatActivity() {
    private lateinit var binding: ActivityMainBinding
    override fun onCreate(savedInstanceState: Bundle?) {
        super.onCreate(savedInstanceState)
        binding = ActivityMainBinding.inflate(layoutInflater)
        setContentView(binding.root)

        val ft: FragmentTransaction =
             supportFragmentManager.beginTransaction().apply {
            add(R.id.fragmentA, FragmentA())
            commit()
        }

    }
}
- Fragment 클래스 객체 생성
val ft : Fragment = FragmentA()
upportFragmentManager객체의beginTransaction()메소드를 호출해FragmentTransaction객체를 반환 받음
val transaction
	= supportFragmentManager.beginTransaction()
- Activity 레이아웃에 FragmentA 에서 정의한 fragment 를 추가 변경된 결과를 반영하려면 반드시 commit() 메소드 호출
transaction.add(R.id.fragment_container, ft)
transaction.commit()- 방법1
val fA : Fragment = FragmentA()
val ft: FragmentTransaction =
            supportFragmentManager.beginTransaction()
        ft.add(R.id.fragmentA, fA)
ft.commit()- 방법2
supportFragmentManager.beginTransaction()
        .add(R.id.fragmentA, FragmentA())
.commit()- 방법3
supportFragmentManager.beginTransaction().apply {
            add(R.id.fragmentA, FragmentA())
            commit()
        }
프래그먼트 동적 교체
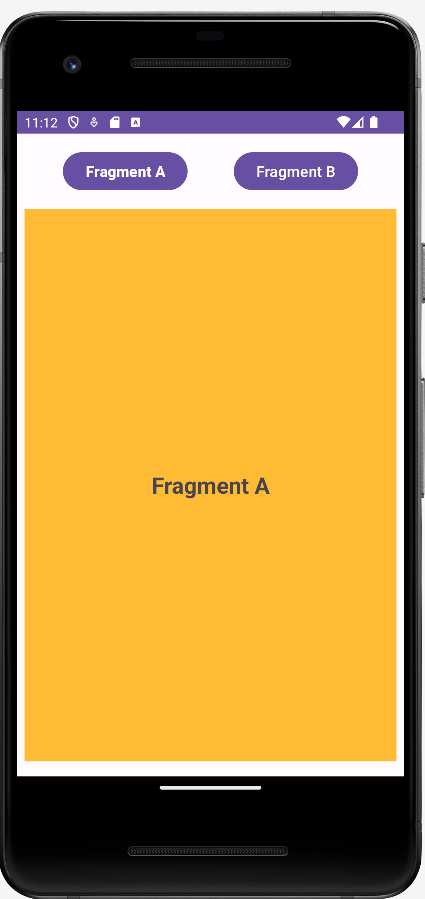 |  |
Fragment 를 배치할 공간에 어떤 프래그먼트도 배치되어있지 않은 경우
-> FragmentA를 배치
val fr: Fragment? = supportFragmentManager.findFragmentById(R.id.fragment_container)
// 초기 화면 설정
if (fr == null) {
supportFragmentManager.beginTransaction().apply {
add(R.id.fragment_container, FragmentA())
addToBackStack(null)
commit()
}
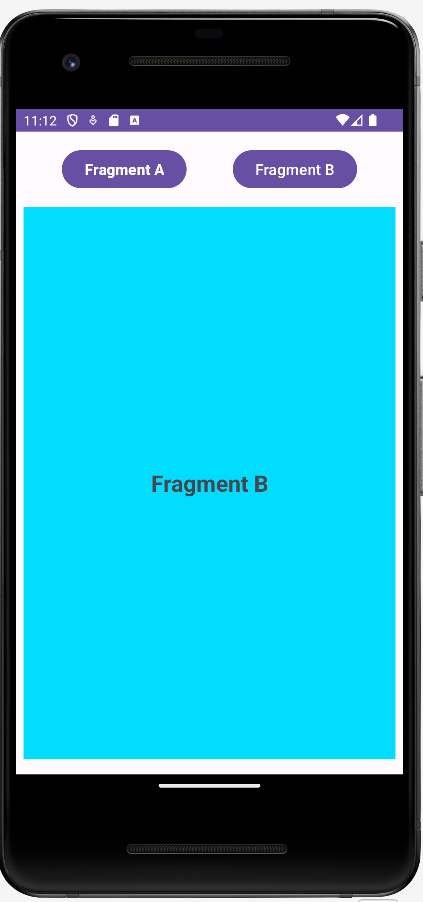
}add() 는 기존의 프래그먼트 위에 추가
replace() 는 이전 프래그먼트들을 제거한 후에 새로운 프래그먼트를 추가
// add()
add(R.id.fragment_container, FragmentA())

// replace()
replace(R.id.fragment_container, FragmentB())
사용자가 백터튼을 누르면 이전 상황이 복원된다.
만약 이 코드가 없다면, 백버튼 누를면 꺼진다...addToBackStack(null)
package com.example.fragmentsample

import android.os.Bundle
import androidx.appcompat.app.AppCompatActivity
import androidx.fragment.app.Fragment
import com.example.fragmentsample.databinding.ActivityMainBinding

class MainActivity : AppCompatActivity() {
    private lateinit var binding: ActivityMainBinding
    override fun onCreate(savedInstanceState: Bundle?) {
        super.onCreate(savedInstanceState)
        binding = ActivityMainBinding.inflate(layoutInflater)
        setContentView(binding.root)

        val fr: Fragment? = supportFragmentManager.findFragmentById(R.id.fragment_container)
        // 초기 화면 설정
        if (fr == null) {
            supportFragmentManager.beginTransaction().apply {
                add(R.id.fragment_container, FragmentA())
                addToBackStack(null)
                commit()
            }
        }

        binding.buttonA.setOnClickListener {
            supportFragmentManager.beginTransaction().apply {
                replace(R.id.fragment_container, FragmentA())
                addToBackStack(null)
                commit()
            }
        }

        binding.buttonB.setOnClickListener {
            supportFragmentManager.beginTransaction().apply {
                replace(R.id.fragment_container, FragmentB())
                addToBackStack(null)
                commit()
            }
        }

    }
}
Fragement 에서 View Binding 을 사용하려면...?
- Before
class FragmentA : Fragment() {
    override fun onCreateView(
        inflater: LayoutInflater, container: ViewGroup?,
        savedInstanceState: Bundle?
    ): View? {
        // Inflate the layout for this fragment
        return inflater.inflate(R.layout.fragment_a, container, false)
    }
}
- After
class FragmentA : Fragment() {
    override fun onCreateView(
        inflater: LayoutInflater, container: ViewGroup?,
        savedInstanceState: Bundle?
    ): View? {
        // Inflate the layout for this fragment
        val binding = FragmentABinding.inflate(inflater, container, false)
        // 여기서 binding 을 이용해 (지역)변수들 이용가능!
        return binding.root
    }
}