Pawn과 Actor에 입력값을 주고 동작시키는 수업
1. Event Tick을 이용해 폰을 동작시키기 (Right, Left 반복)

1 - 1. Event Tick을 이용해 폰을 동작시키기 (Right, Left 반복)
Right, Up, Left, Down의 반복으로 사각형의 움직임을 동작함
열거형 변수를 만들어 스위치를 만들면 다음 동작에 대한 노드를 쉽게 설정할 수 있음

2. Actor에 입력값을 넣어주는 함수
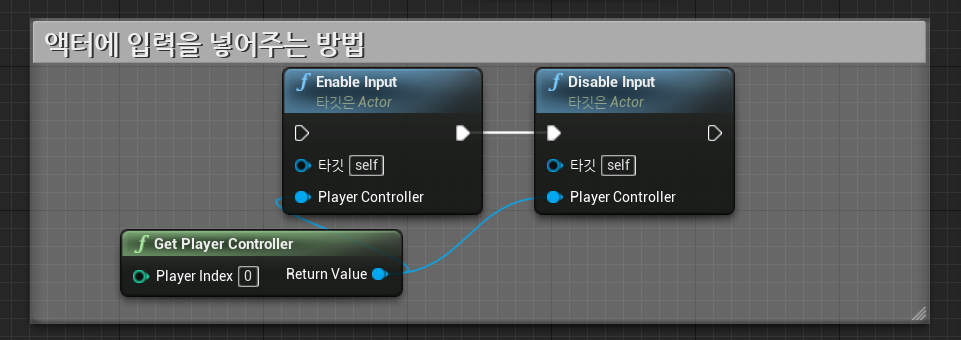
기본적으로 언리얼 엔진에서 입력 값을 줄 수 있는 객체는 폰, 레벨 블루프린트, 플레이어 컨트롤러이지만 위 함수를 사용하여 이벤트 그래프 안에서 액터에게 입력값을 줄 수 있음
3. 타임라인을 이용해 액터를 동작시키기(Location 사용)

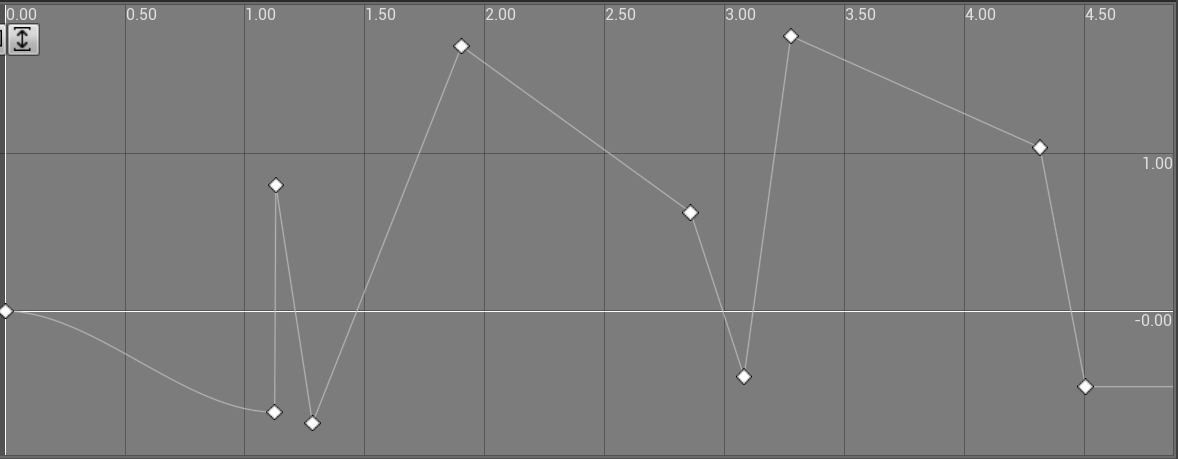
다음과 같이 Begin Play Event 혹은 입력 키 노드를 시작으로 타임라인을 이용해 액터를 동작시킬 수 있고 또 타임라인의 독자적인 그래프로 위치(Location)값을 임의로 조정 가능
3 - 1. 타임라인을 이용해 액터를 동작시키기(Rotation 사용)
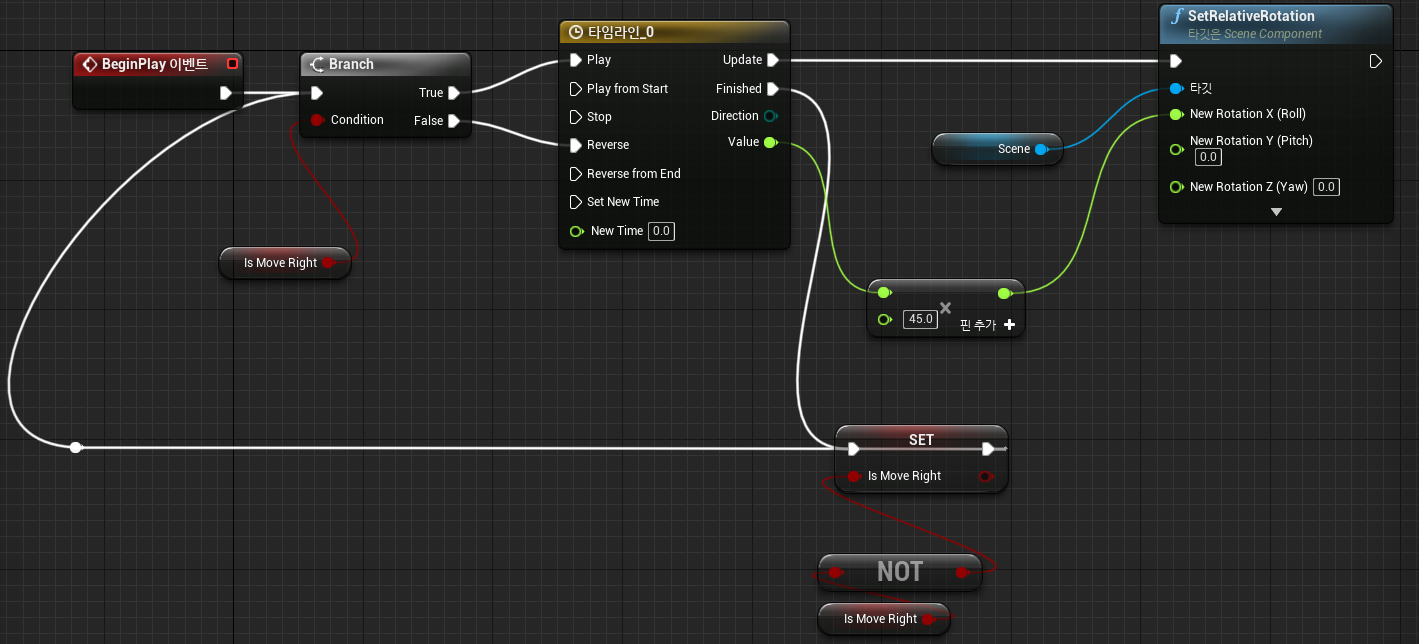
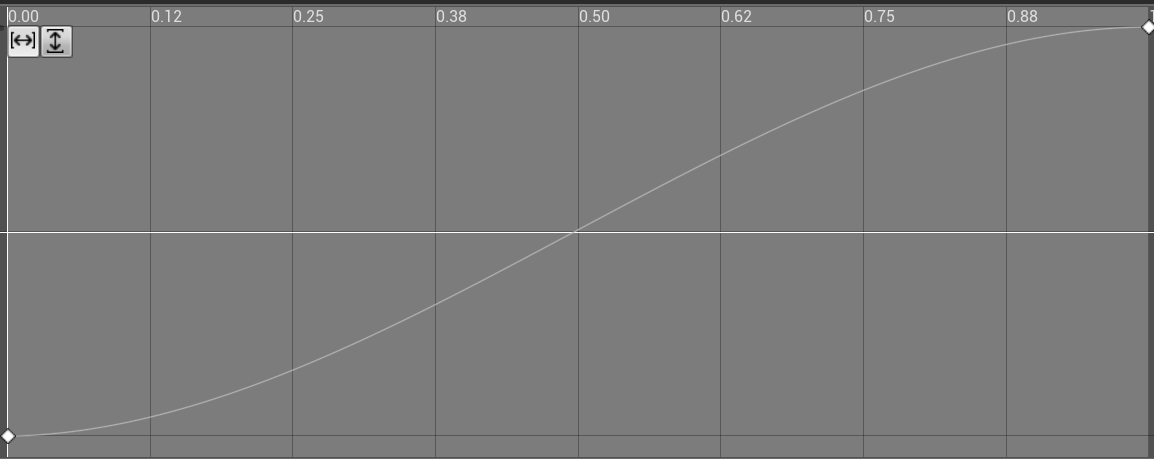
다음과 같이 Rotation을 사용하면 액터에 회전을 주어 동작시킬 수 있음.

개인 공부를 정리함니다