
!
- 오른쪽 상단 버튼 콘솔에서 프로젝트 만들기
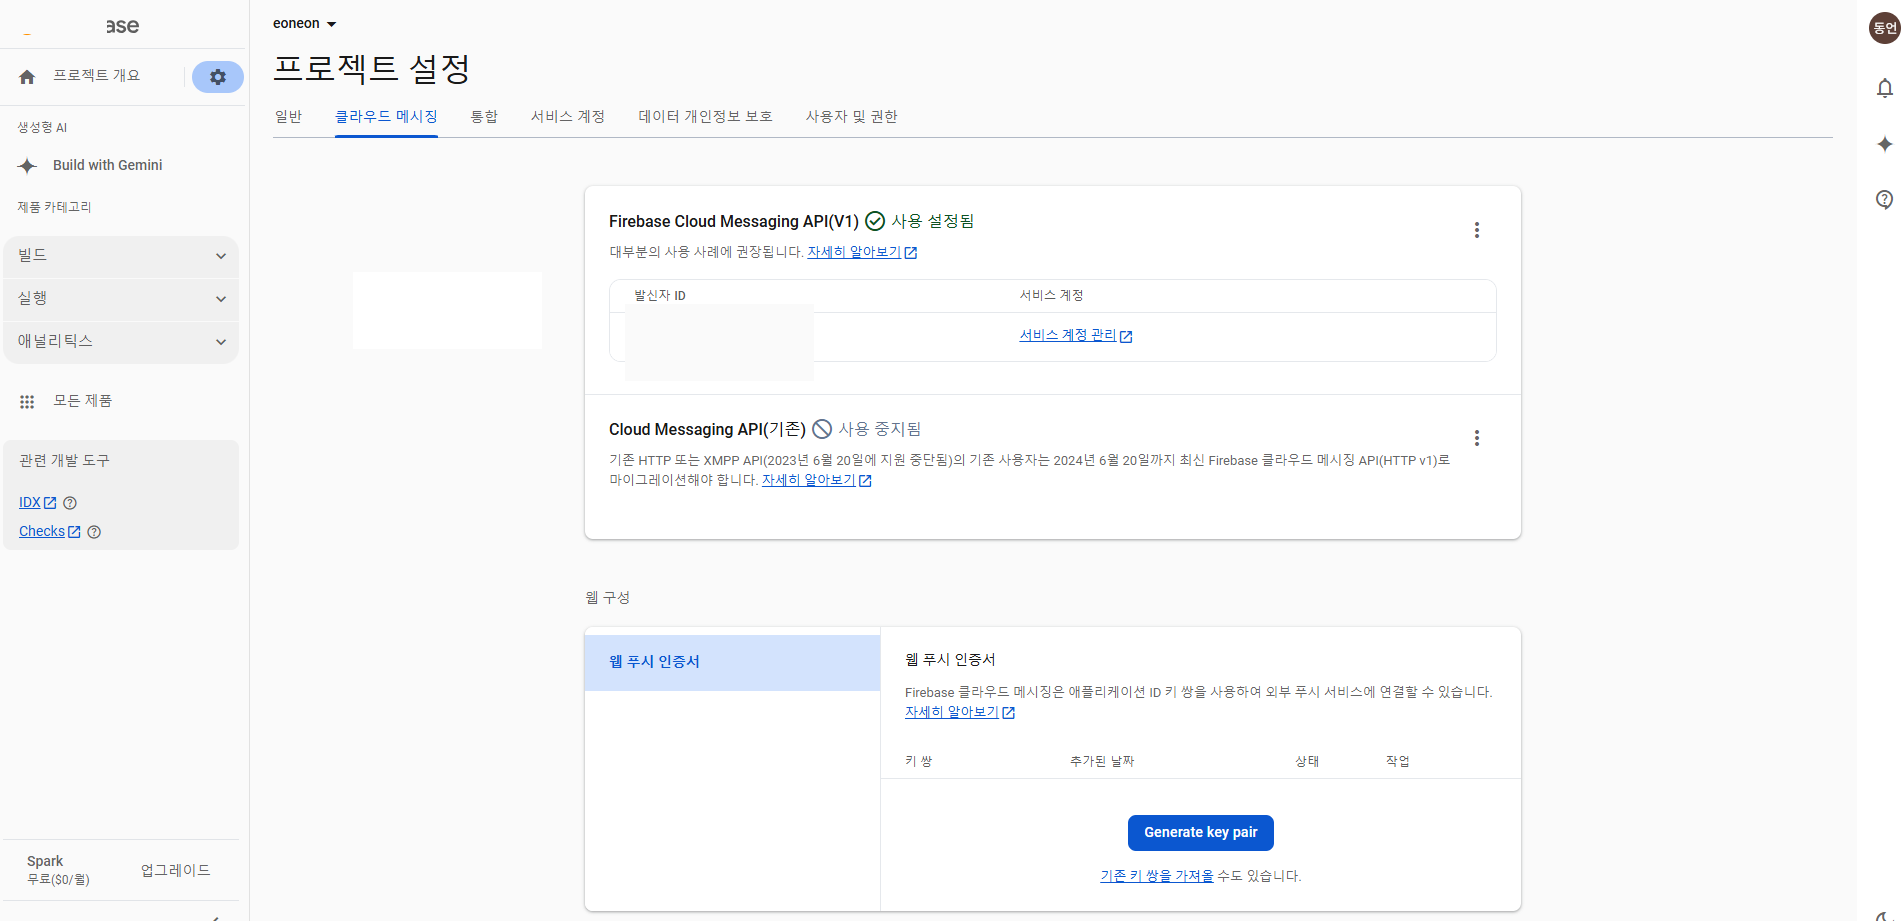
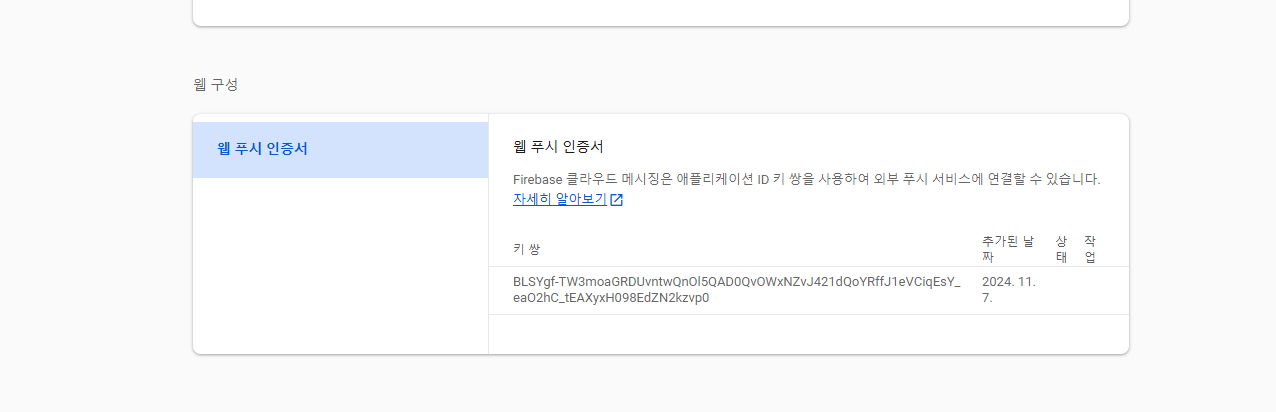
- 웹 푸시 인증서 잘 가지고있어야함. (나중에)
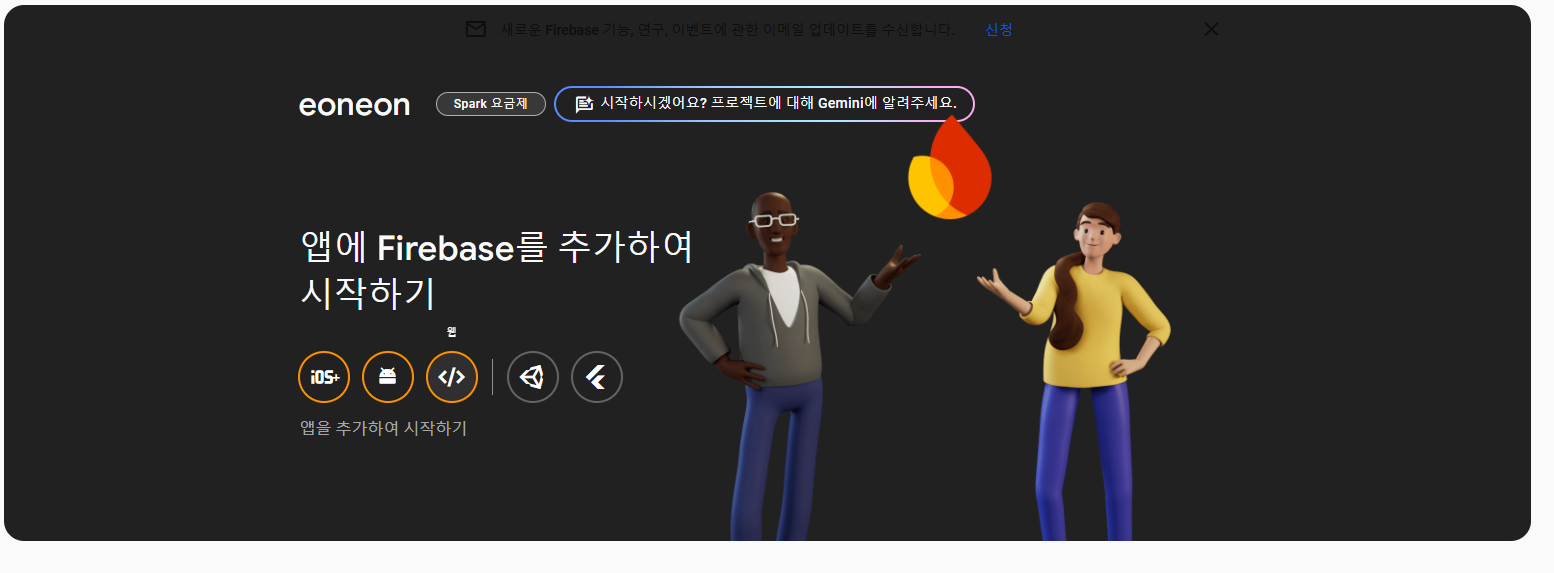
- 웹 눌러서 실행
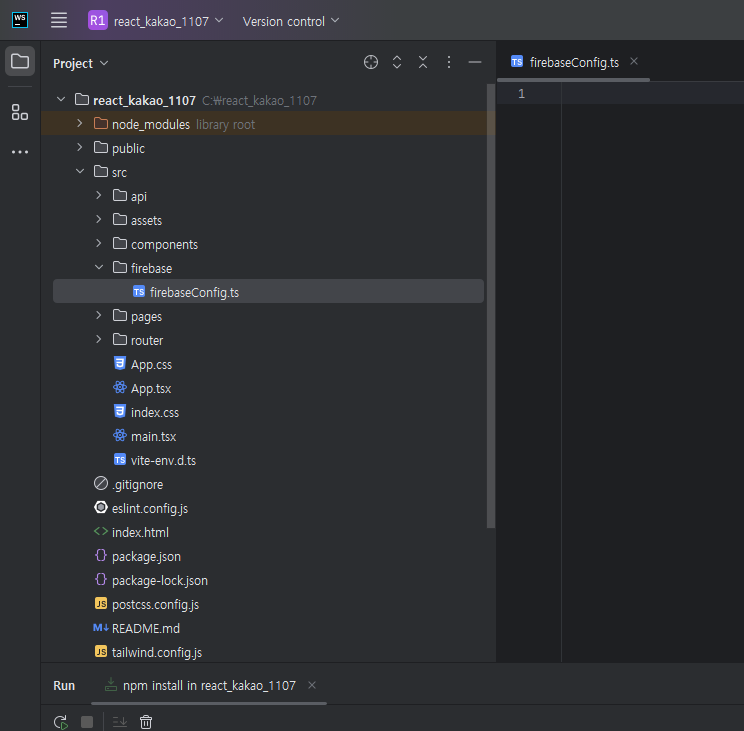
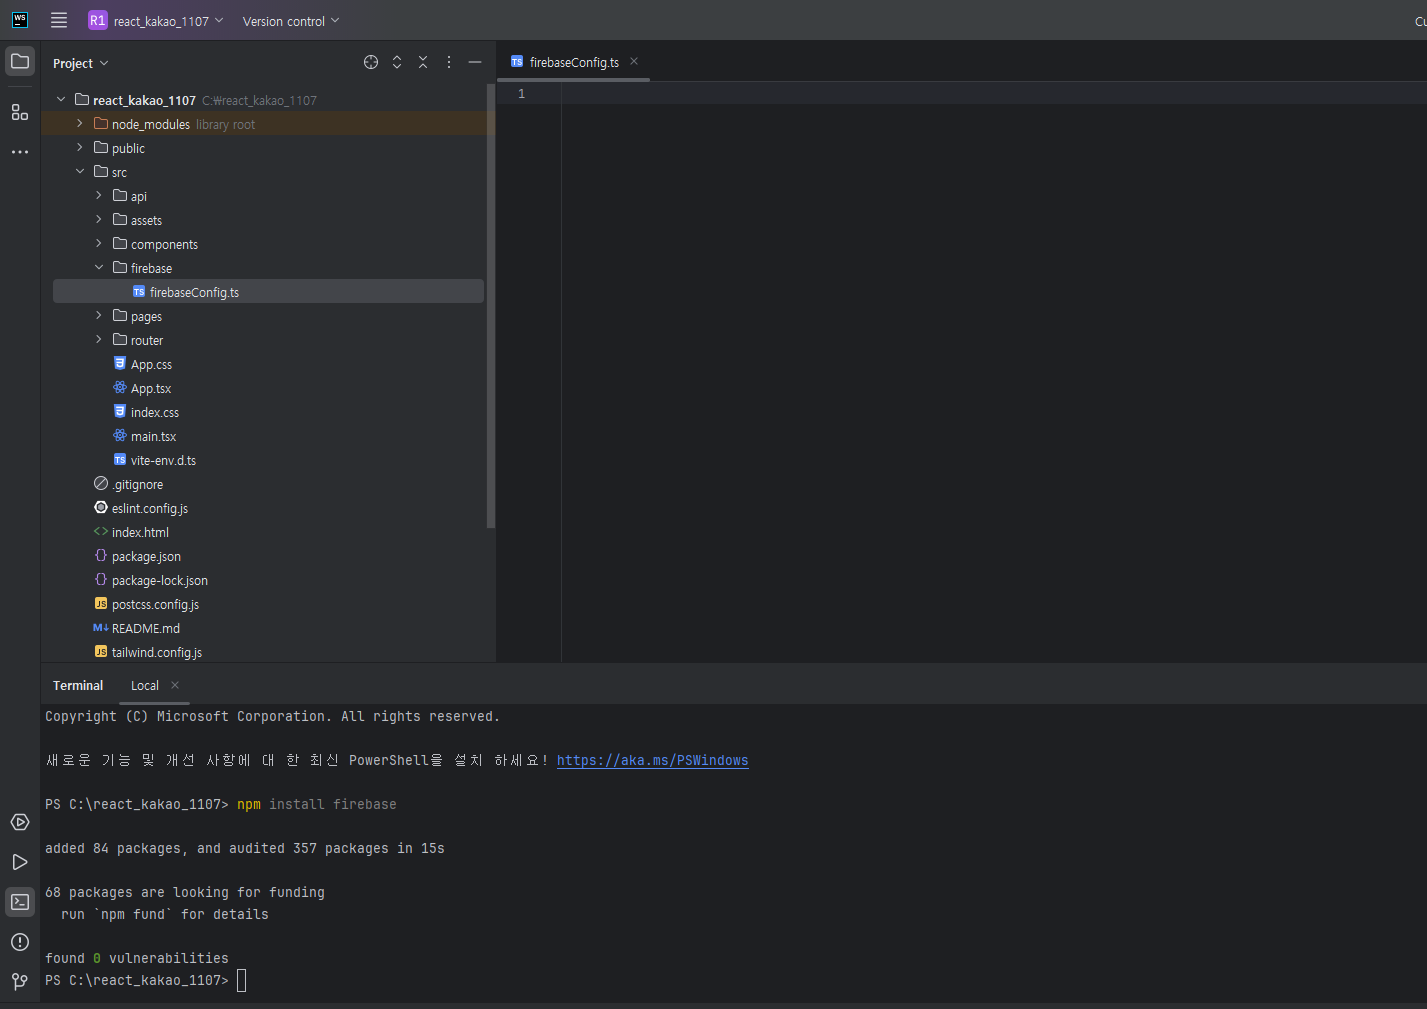
- 사용할 react에 firebaseconfig 코드 생성하기 위해서 ts로 만들어놓기, npm install 하기

-
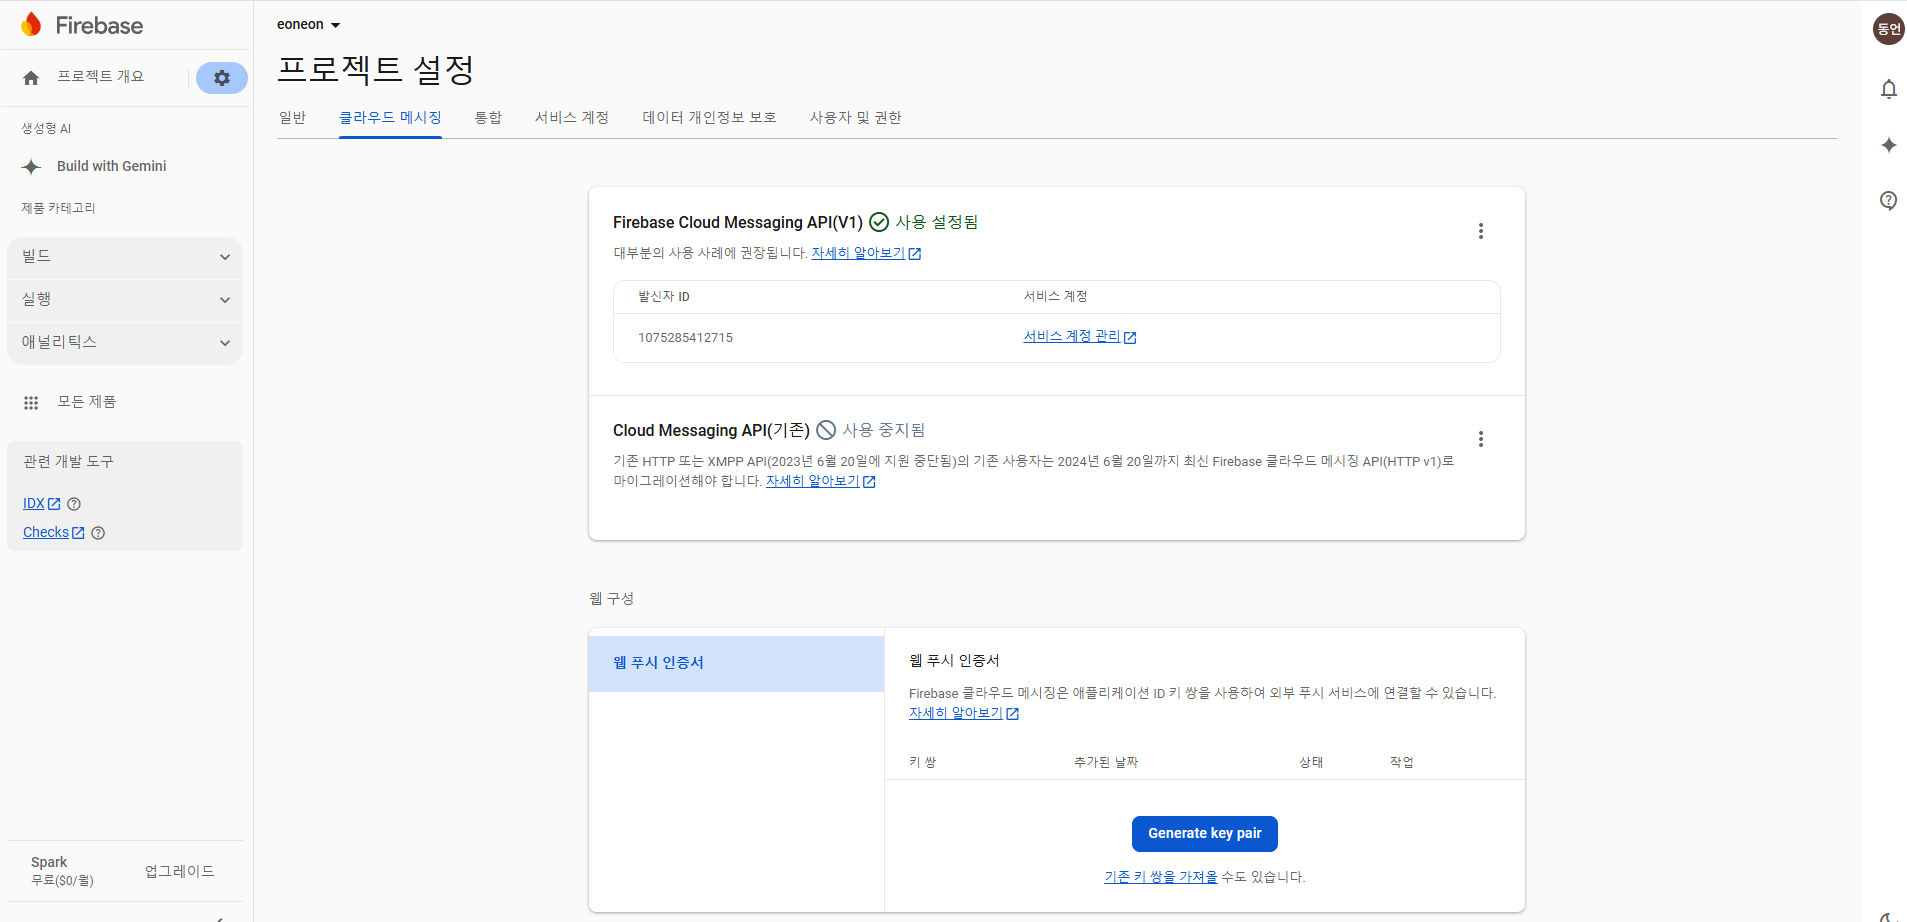
다시 fcm 홈페이지에서 안에 내용 가져와서 config내부에 넣기
-
뒤로가기 눌러서 웹 구성의 키 값을 생성하고 해당 키값을 저장해둔다.
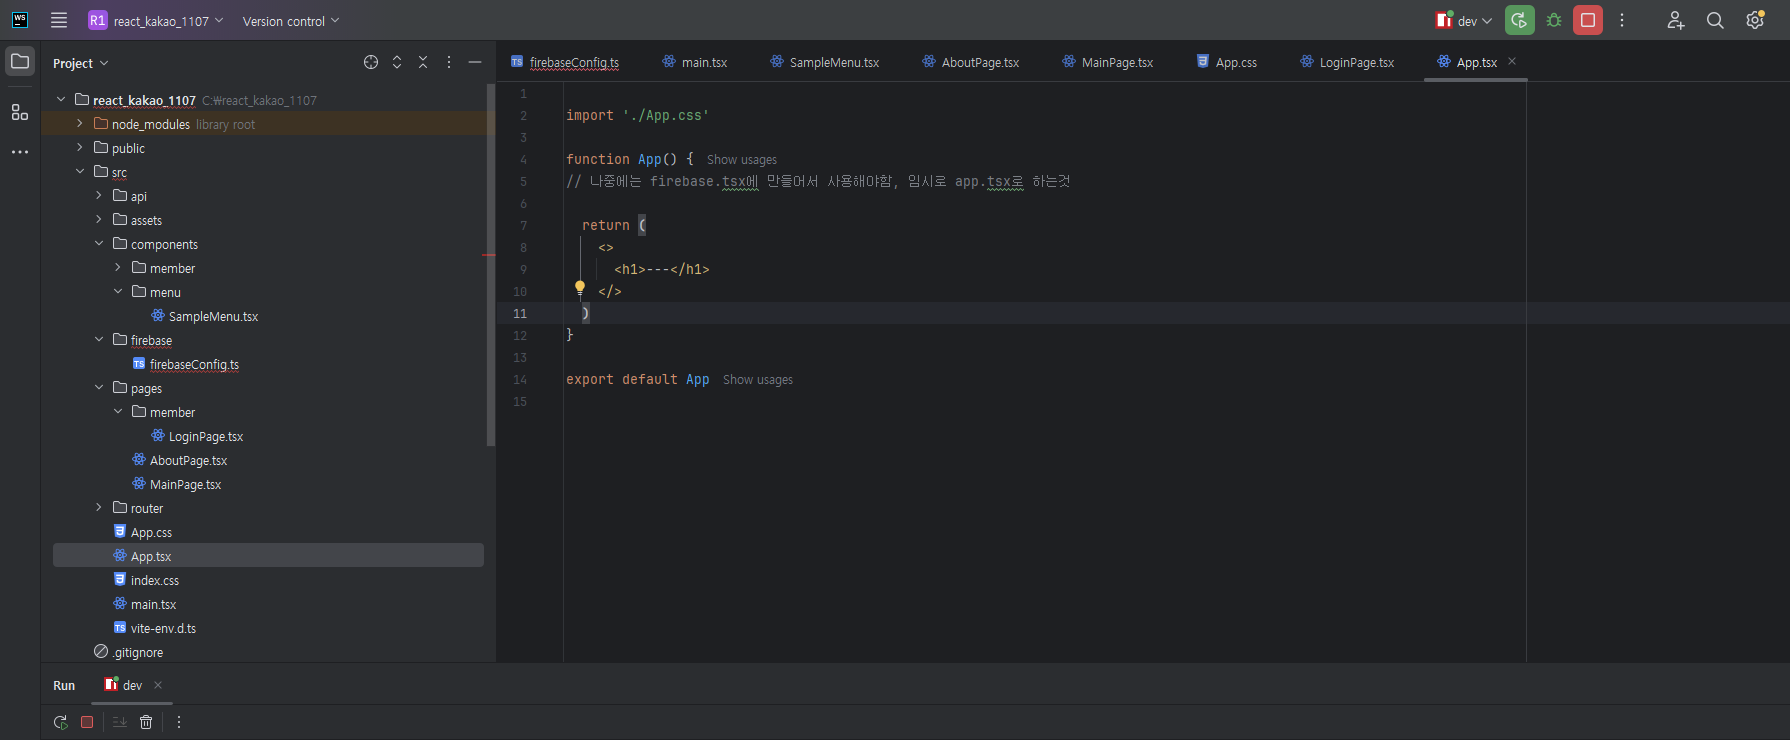
- 해당 app은 layout 가장위에 보이도록만 설정해둘 예정, 나중에 firebase관련해서 별도로 만들어야함. 지금은 간단하게 app.tsx로 사용하는것
- 우리는 라우터 설정 때문에 꼼수를 이용해서 basicLayout처럼 layout에 설정을 할 예정이다.
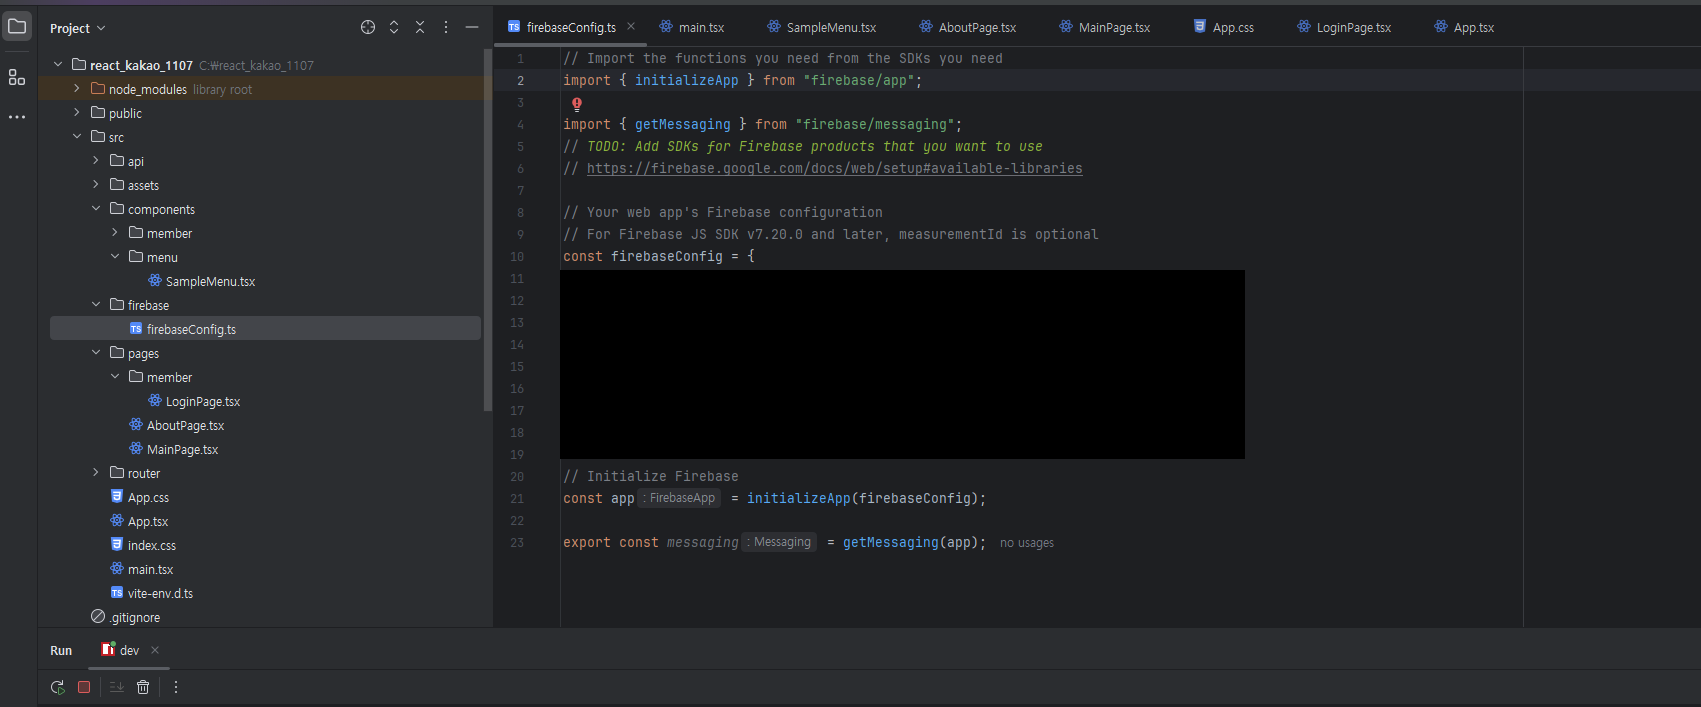
- config 코드가 약간 변경됨.
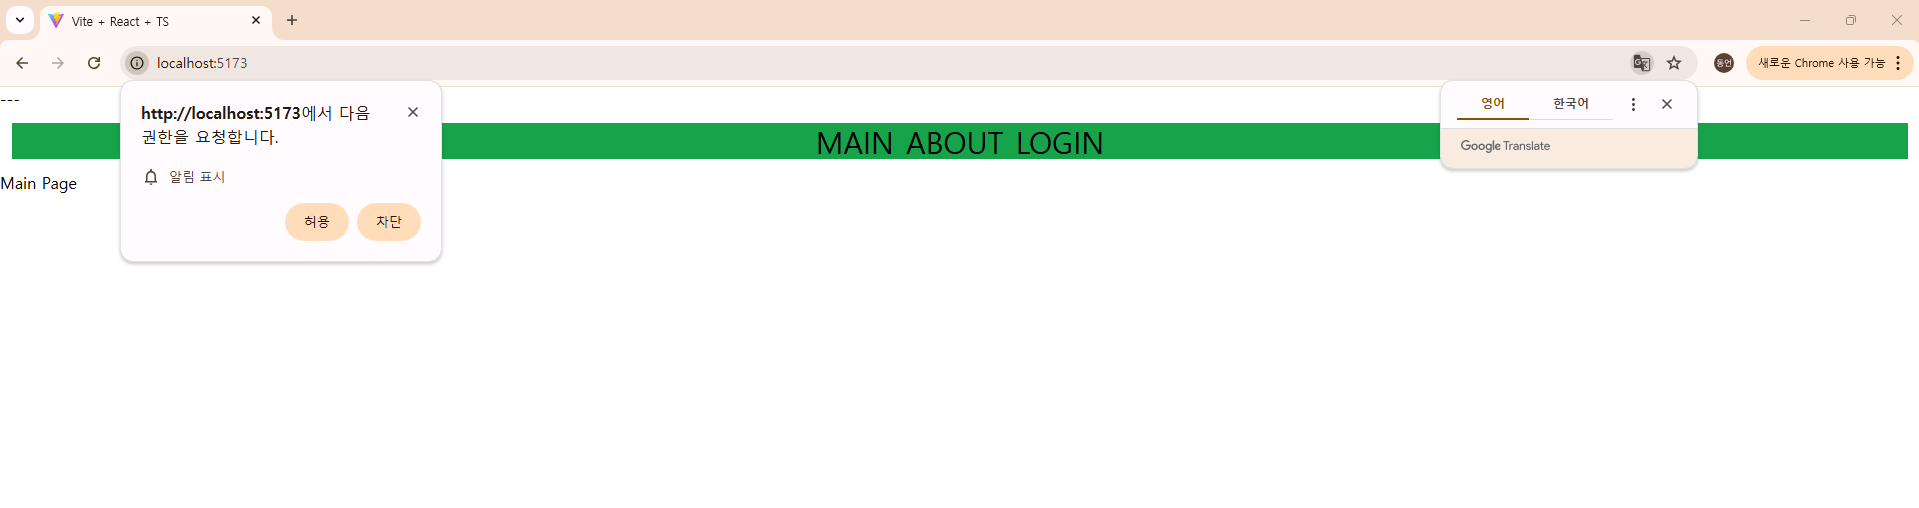
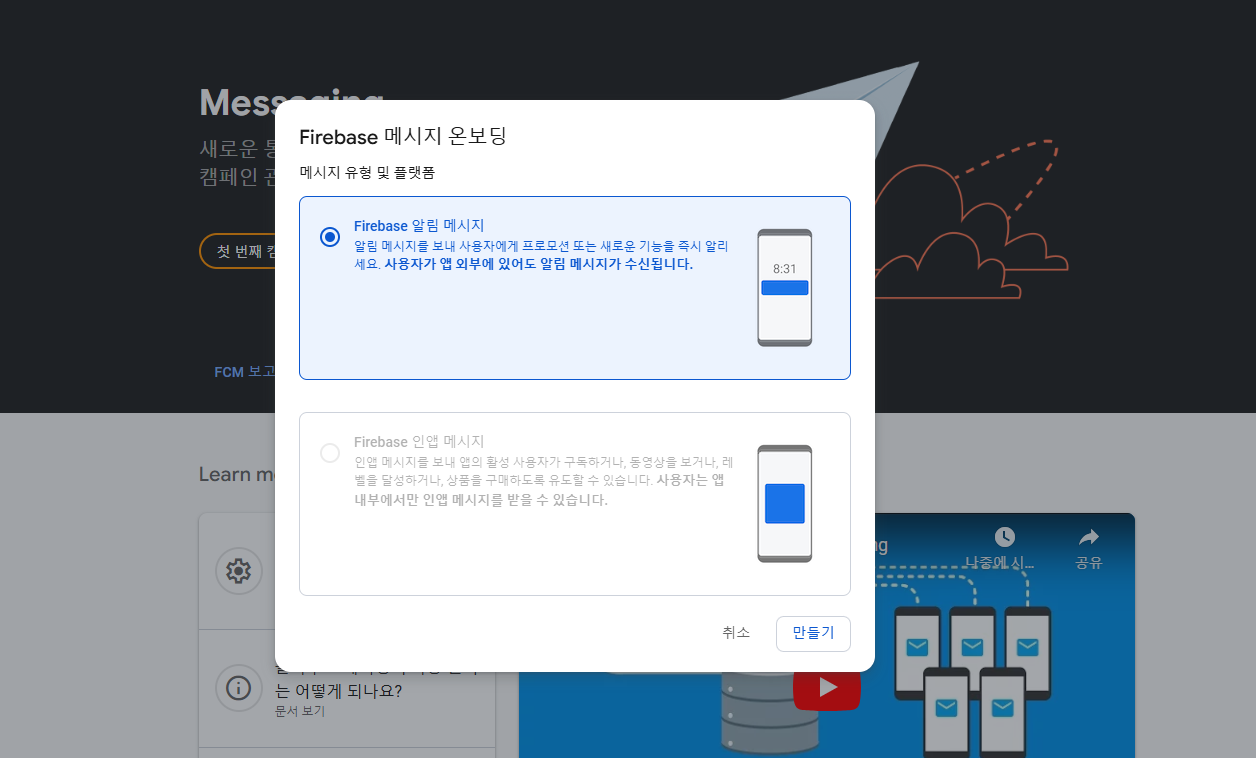
- 이제 vue에서는 알람 요청이 올건데 이건 허용눌러야함.
import {useEffect} from "react";


function App() {


    async function requestPermission() {
        //requesting permission using Notification API
        const permission = await Notification.requestPermission();


        if (permission === "granted") {

            alert("Notification granted!");

        } else if (permission === "denied") {
            //notifications are blocked
            alert("You denied for the notification");
        }
    }


    useEffect(() => {
        requestPermission();
    }, []);


  return (
    <>
      <h1>---</h1>
    </>
  )
}

export default App
- config 코드가 다시 수정됨. (단계단계마다 보여주기위해서 많이 절삭시킴)
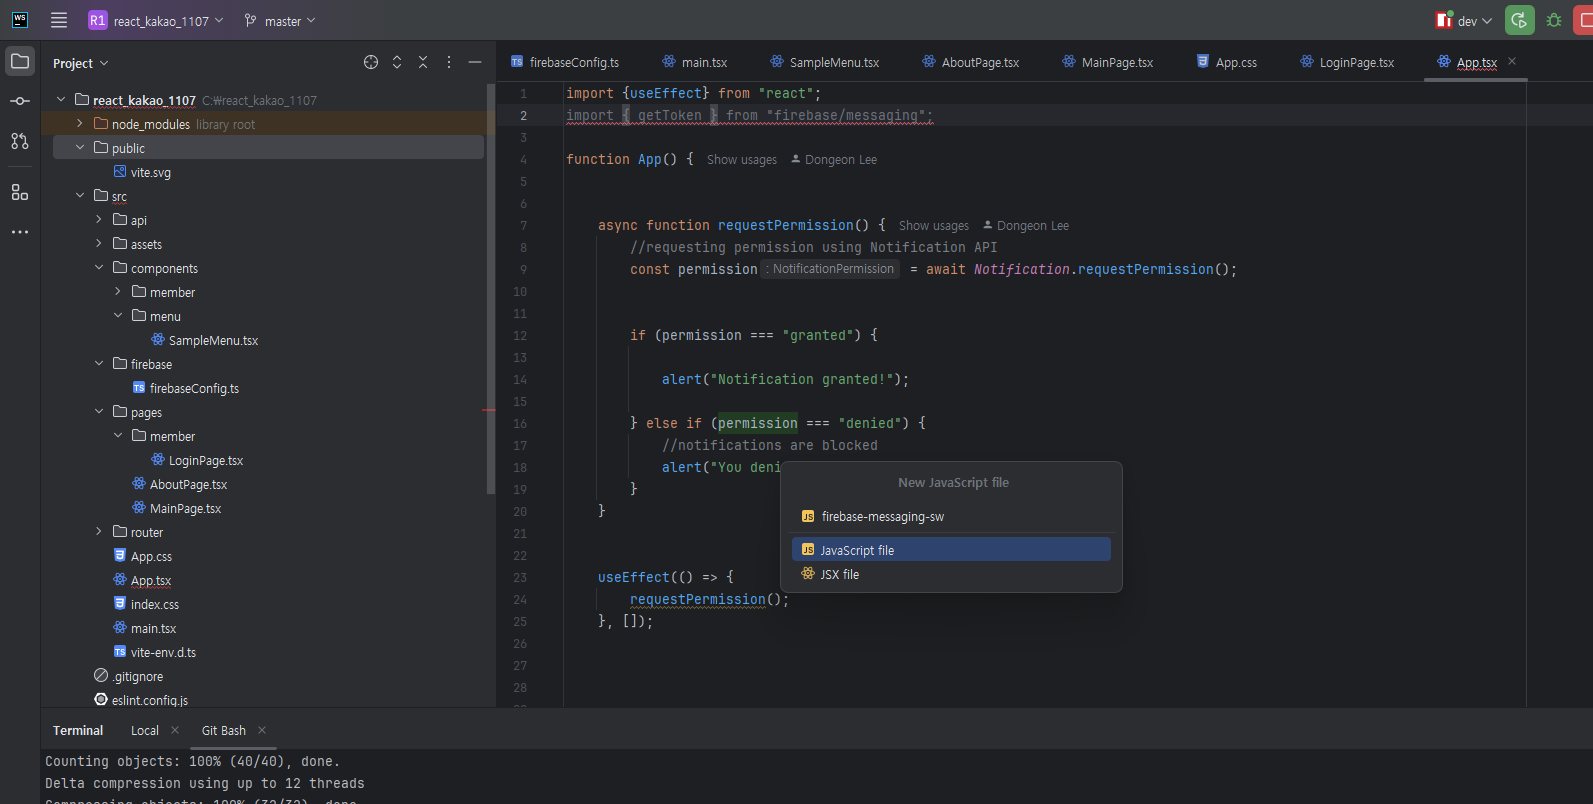
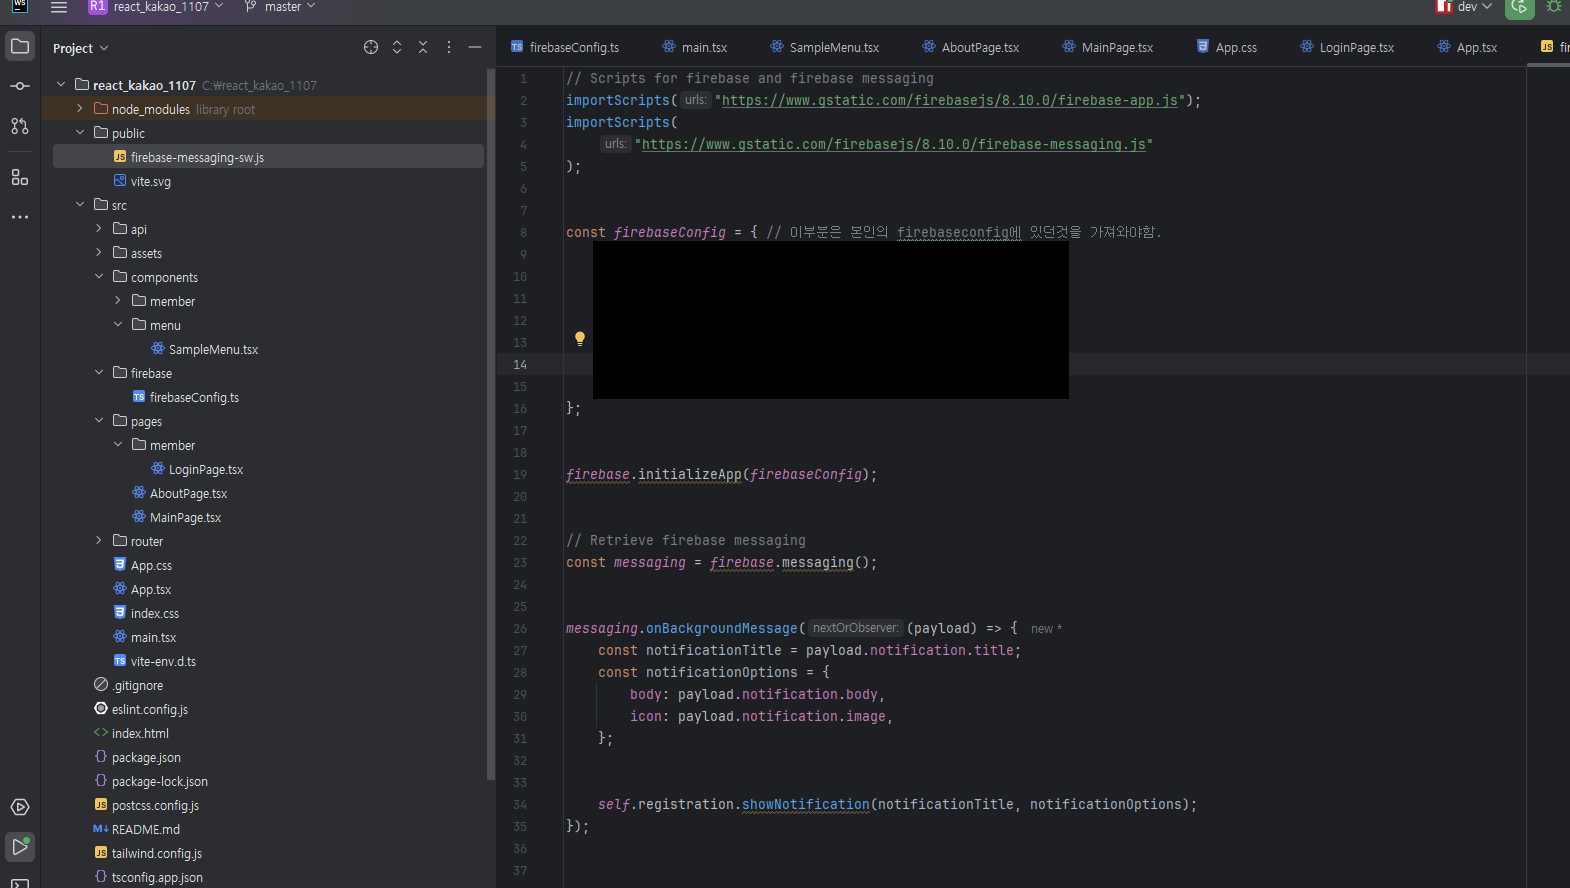
12. public에 생성해주면 기존에 콘솔창에 뜨던 에러가 발생하지 않음.
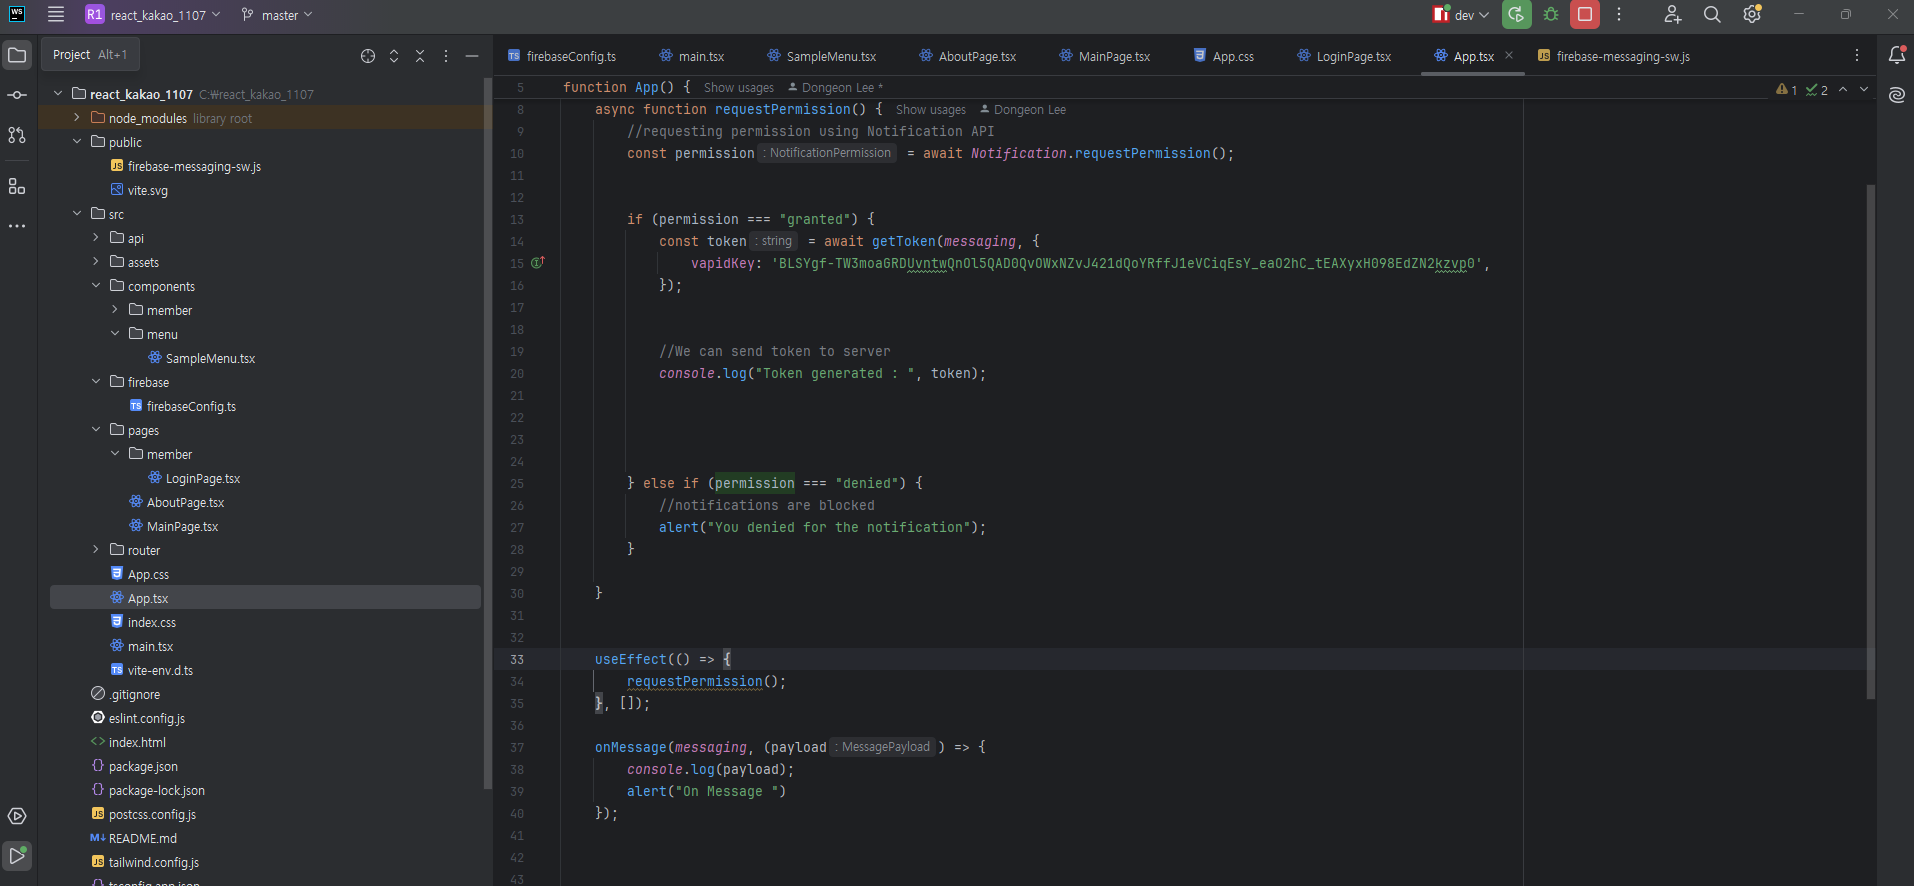
import {useEffect} from "react";
import { getToken } from "firebase/messaging";
import {messaging} from "./firebase/firebaseConfig.ts";

function App() {


    async function requestPermission() {
        //requesting permission using Notification API
        const permission = await Notification.requestPermission();


        if (permission === "granted") {
            const token = await getToken(messaging, {
                vapidKey: 'BLSYgf-TW3moaGRDUvntwQnOl5QAD0QvOWxNZvJ421dQoYRffJ1eVCiqEsY_eaO2hC_tEAXyxH098EdZN2kzvp0',
            });


            //We can send token to server
            console.log("Token generated : ", token);


        } else if (permission === "denied") {
            //notifications are blocked
            alert("You denied for the notification");
        }

    }


    useEffect(() => {
        requestPermission();
    }, []);


  return (
    <>
      <h1>---</h1>
    </>
  )
}

export default App
- app.tsx를 해당코드로 수정해주자. (if문 변경임)

- 그러면 consloe창에 토큰값이 기록됨, 해당 토큰값을 저장해두자.
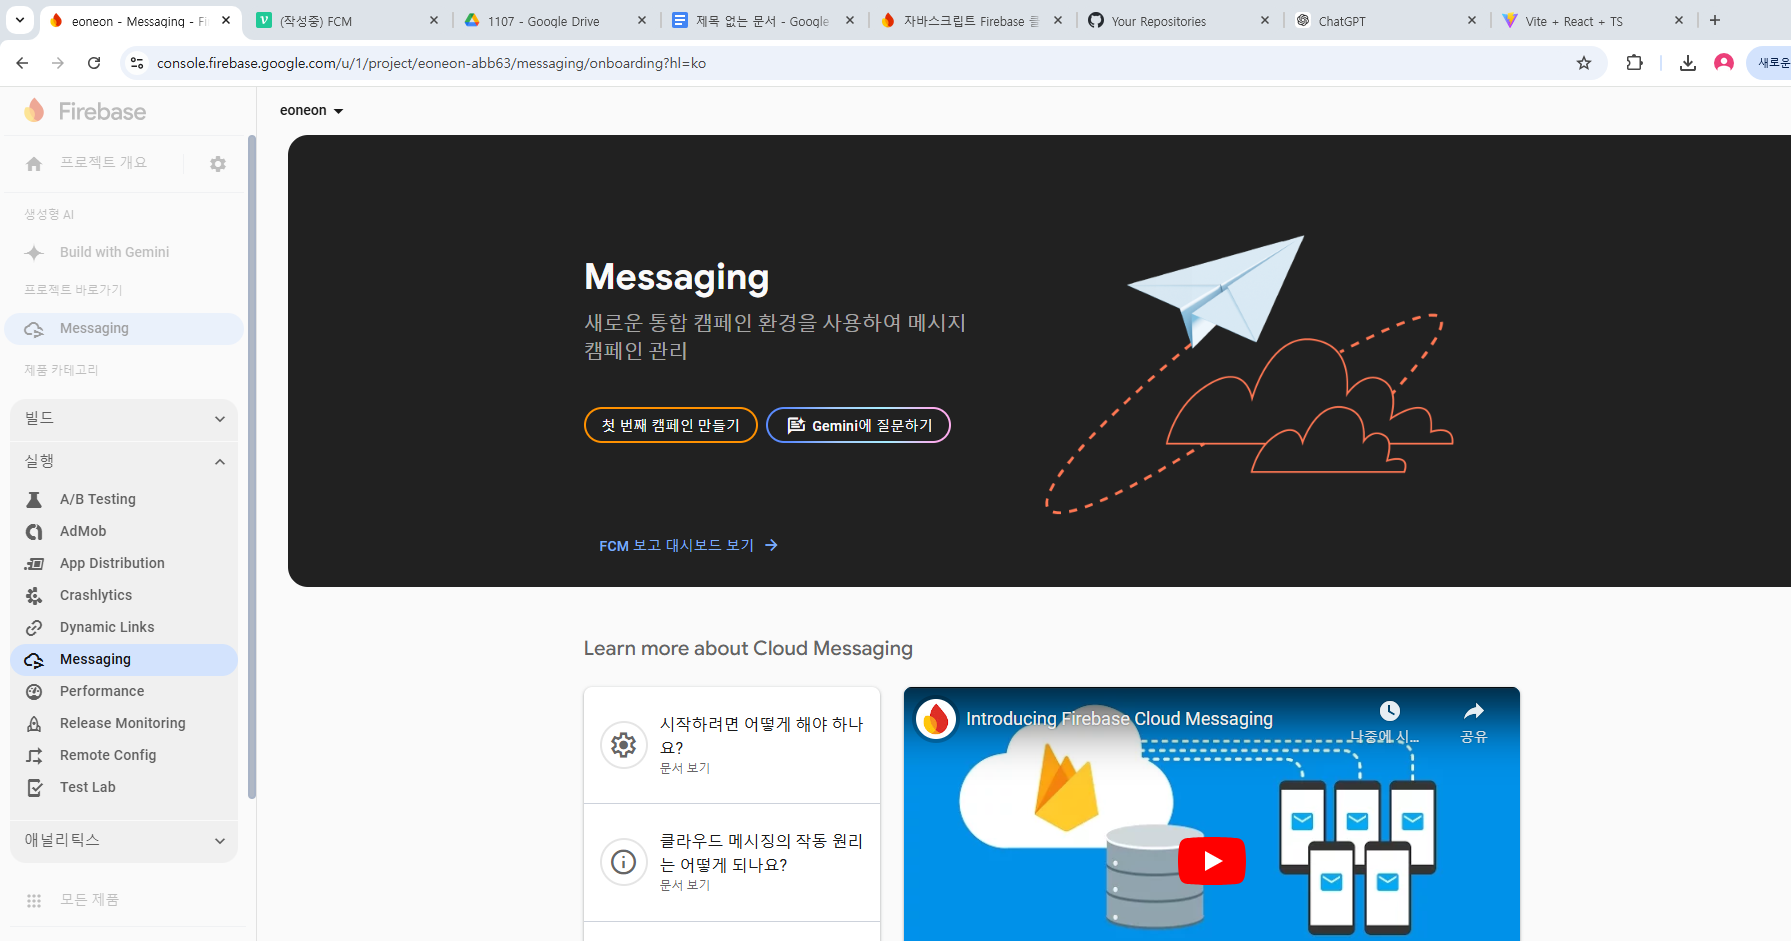
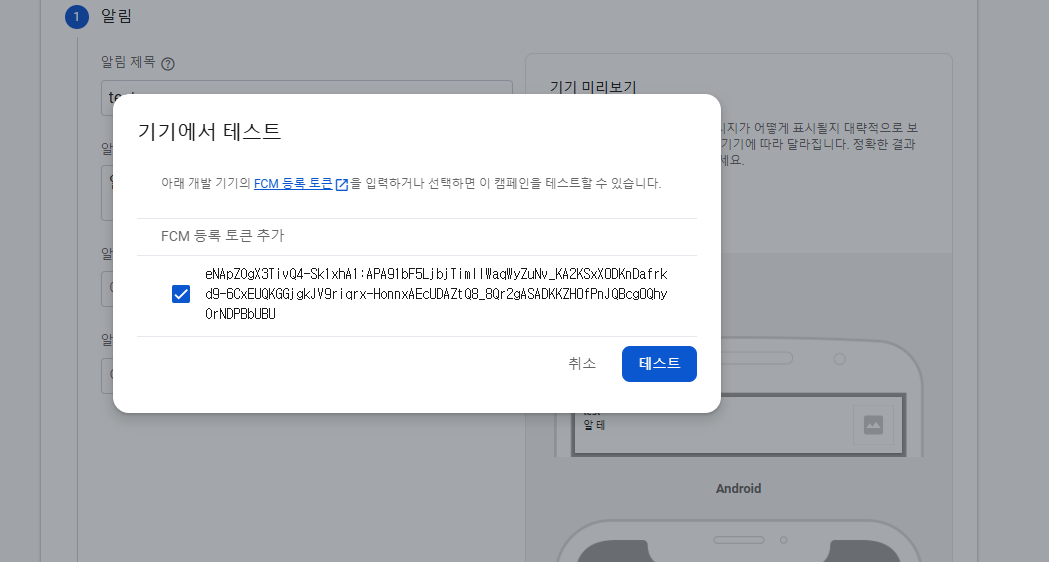
- 알람 테스트를 하는데, 14번에서 저장해둔 토큰값을 넣어주면됨.
- firebaseConfig 이부분은 본인의 firebaseconfig에 있던것을 가져와야함.
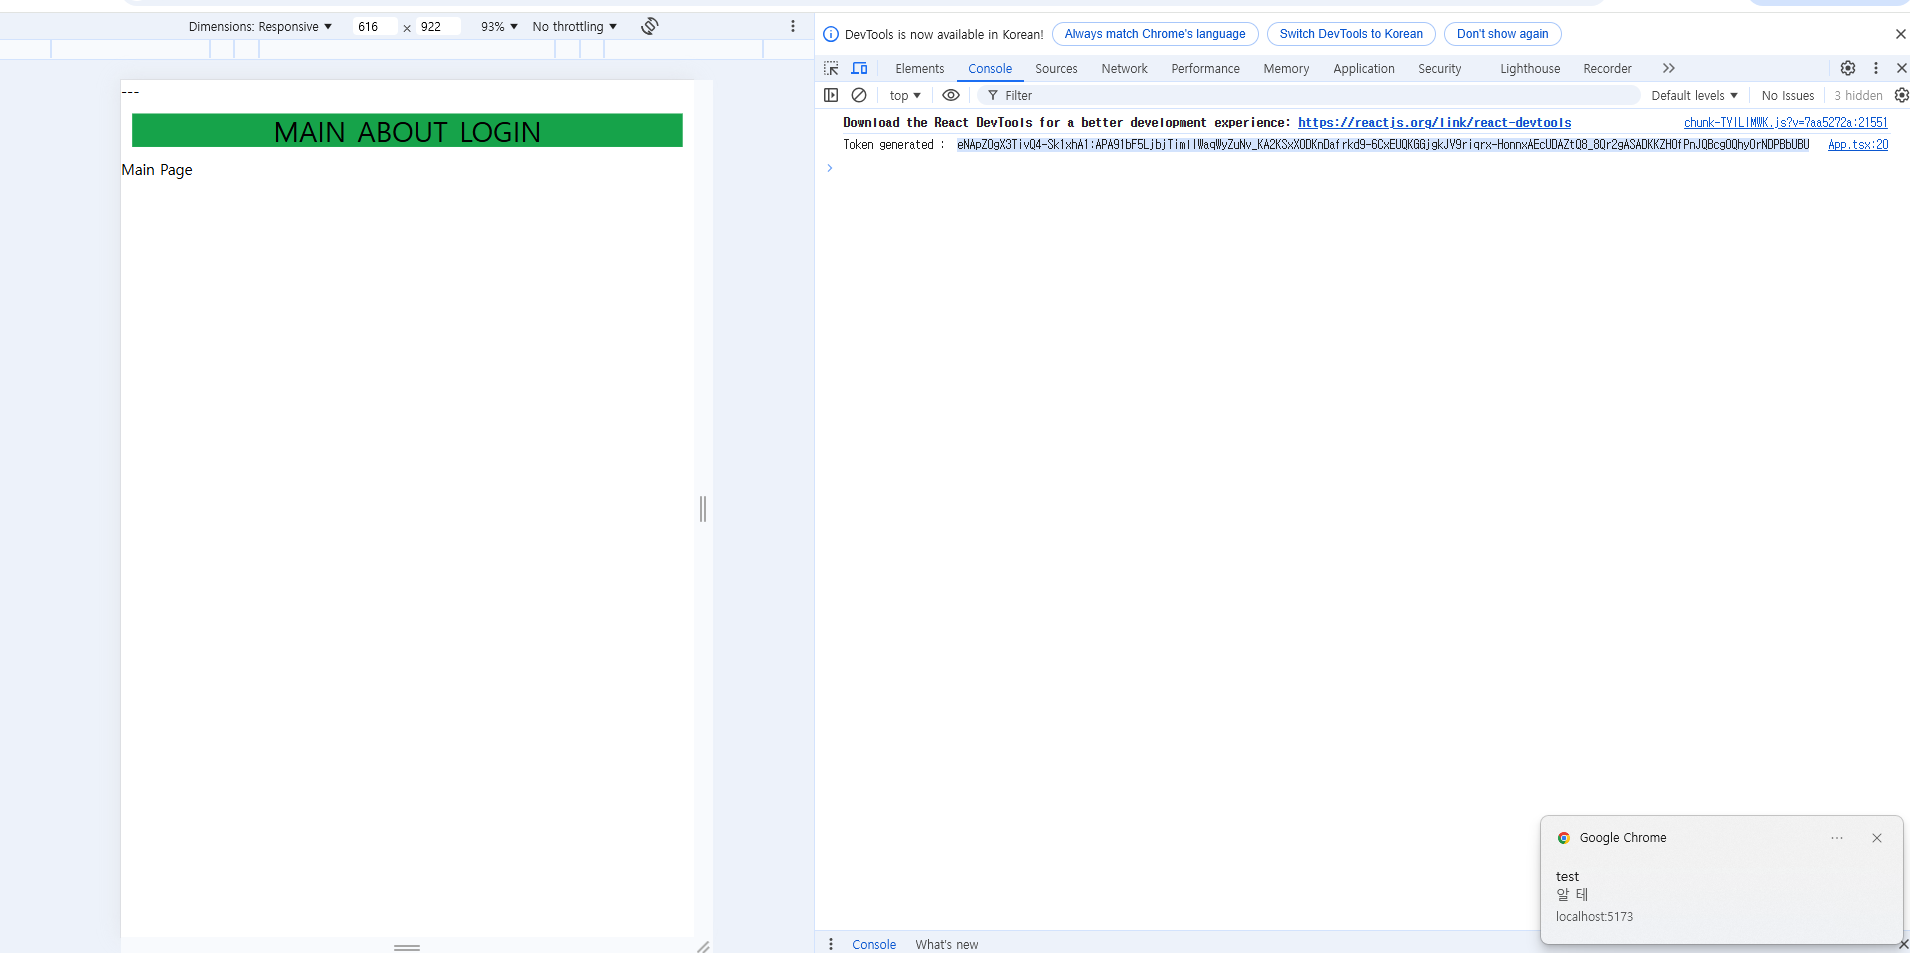
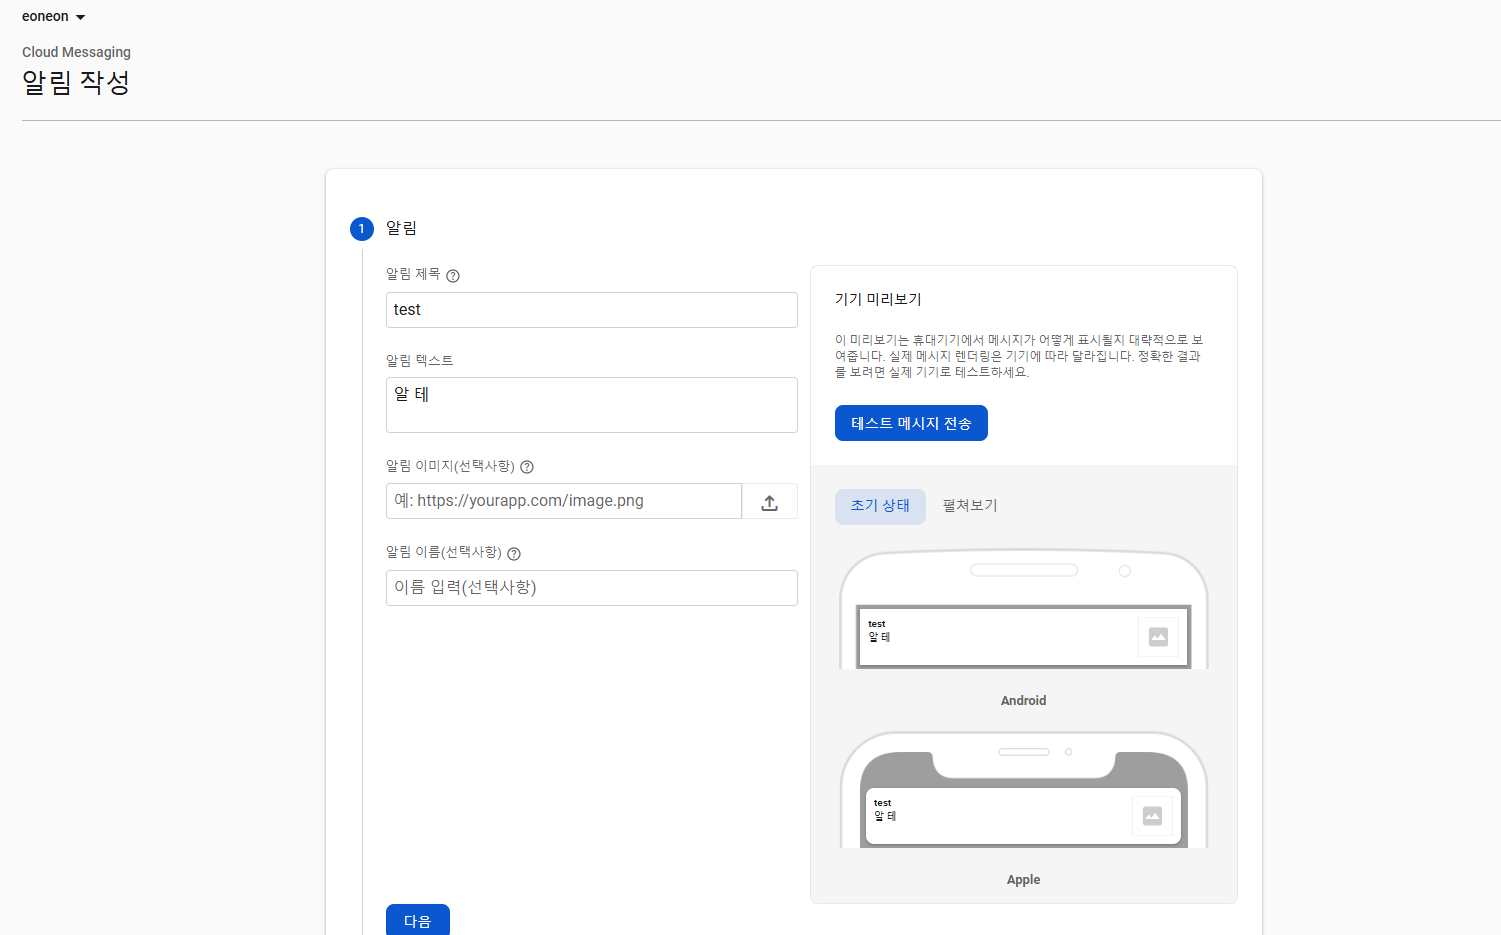
- 15번 알림설정에서 보내기를 누르면 알람이 오는것을 확인할수있음.
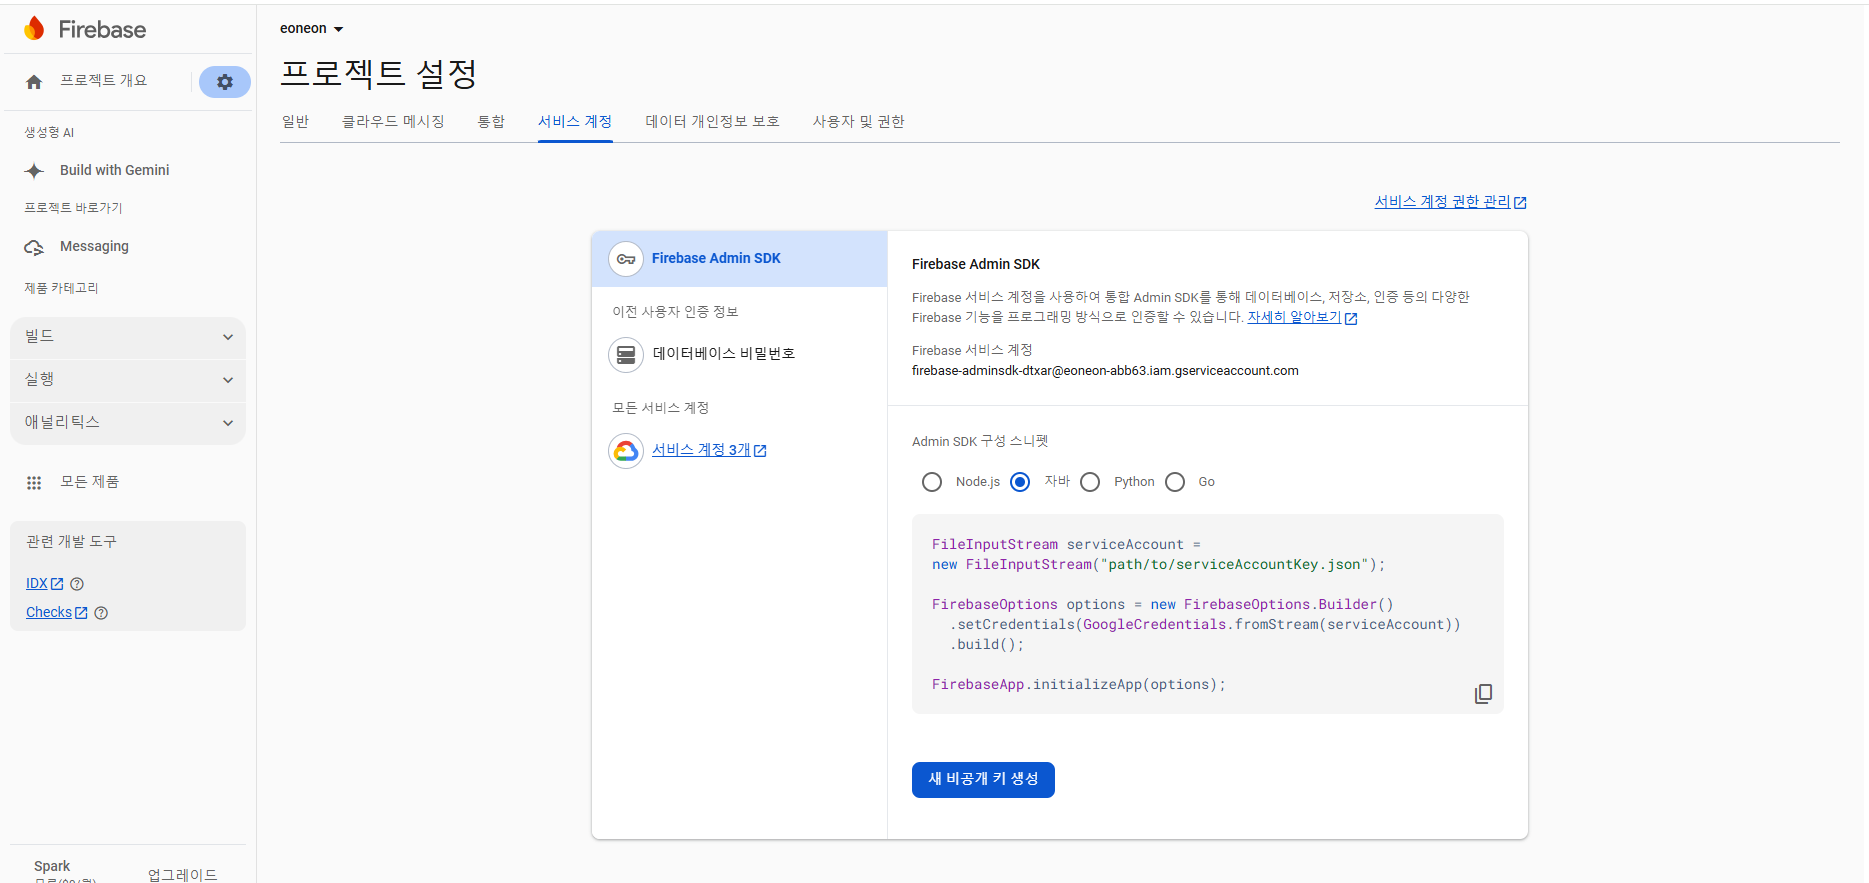
- 백엔드에서 실행하기 위해서 자바로 다운로드
-
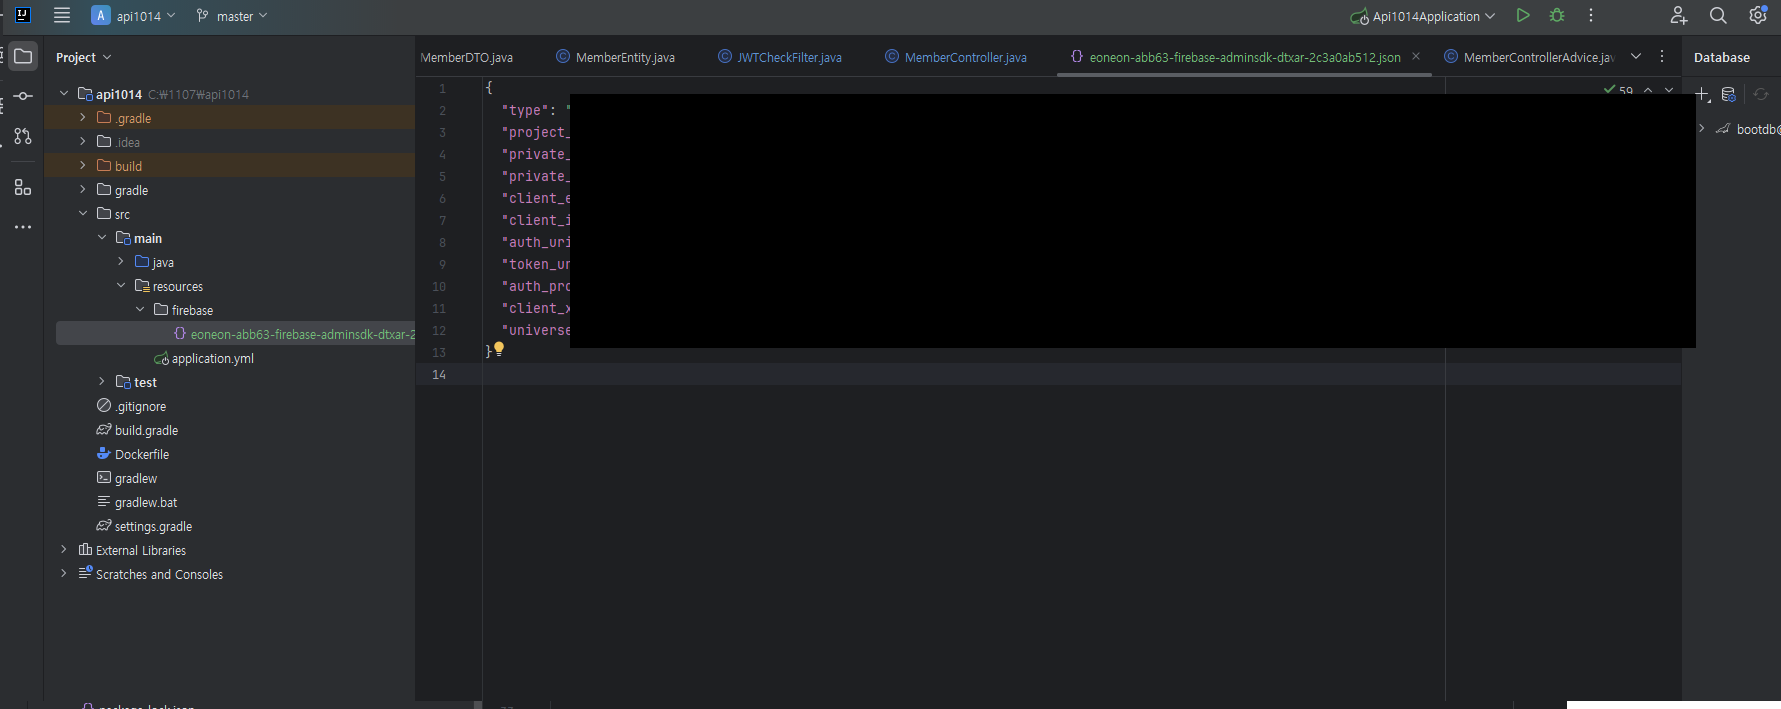
위에서 다운받은걸 spring의 resource firebase내부에 넣어준다.
-
gradle 추가
implementation 'com.google.firebase:firebase-admin:9.3.0'

- fcmconfig 추가

- 이부분은 아까 추가했던 본인의 json 파일의 파일명으로 변경해주자
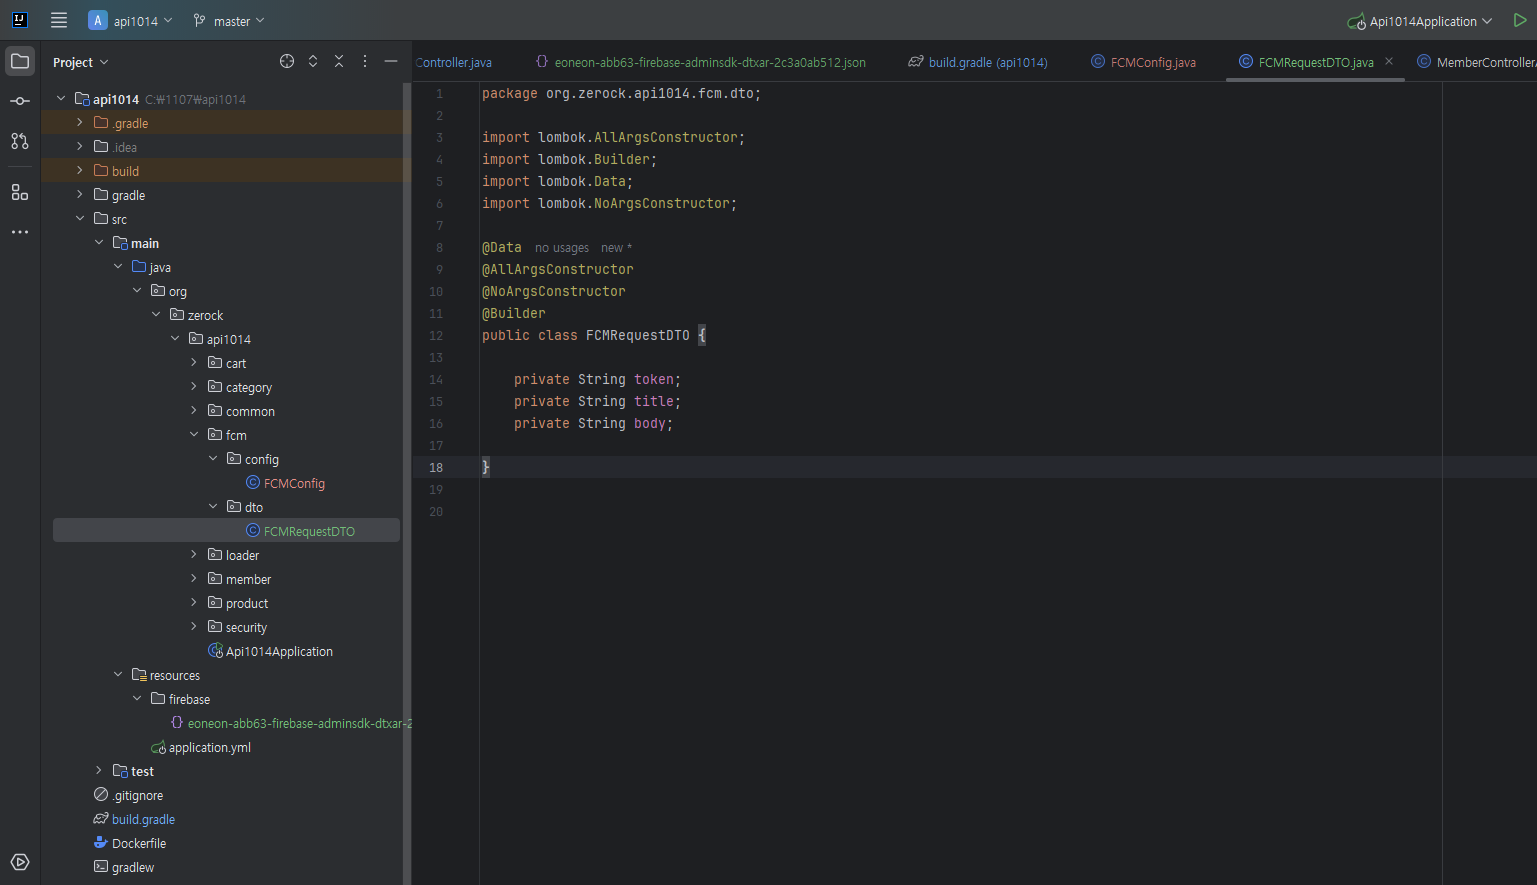
- DTO 추가하기
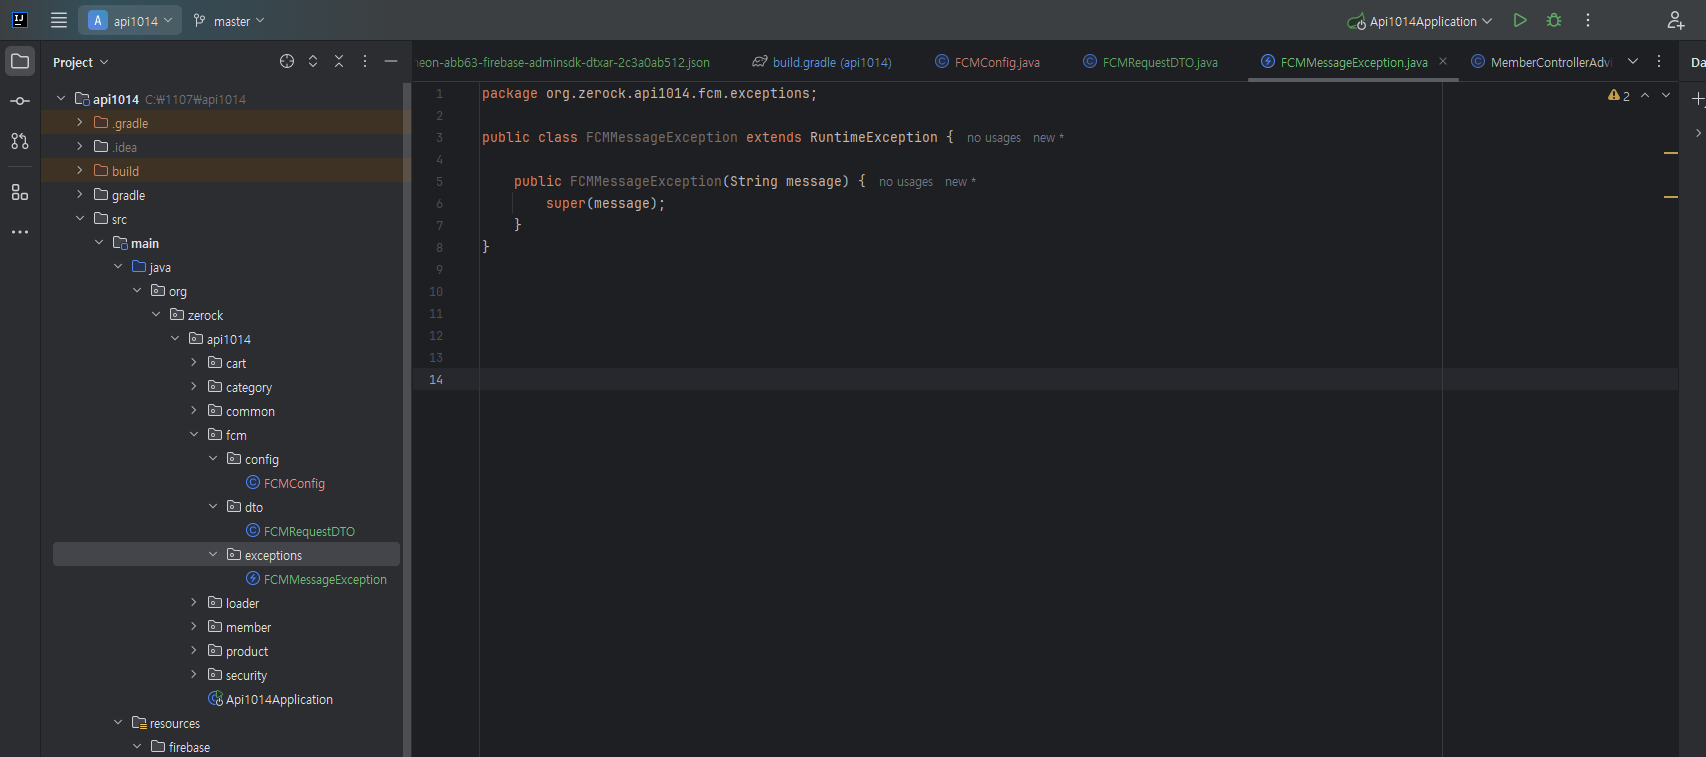
- exception 추가하기
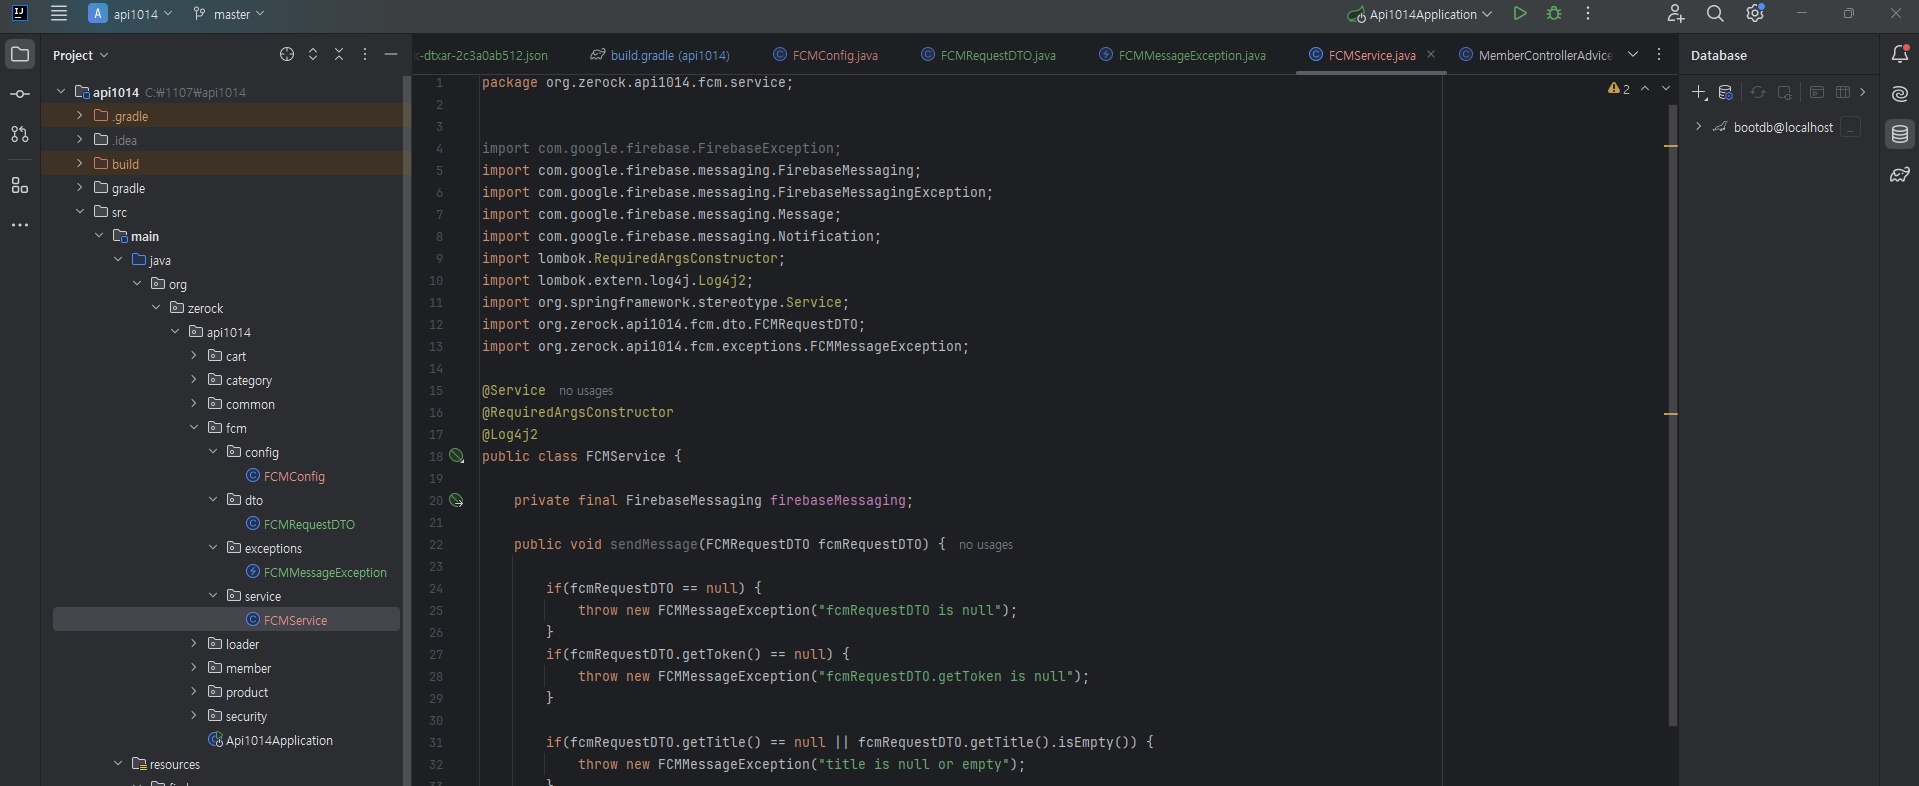
package org.zerock.api1014.fcm.service;


import com.google.firebase.FirebaseException;
import com.google.firebase.messaging.FirebaseMessaging;
import com.google.firebase.messaging.FirebaseMessagingException;
import com.google.firebase.messaging.Message;
import com.google.firebase.messaging.Notification;
import lombok.RequiredArgsConstructor;
import lombok.extern.log4j.Log4j2;
import org.springframework.stereotype.Service;
import org.zerock.api1014.fcm.dto.FCMRequestDTO;
import org.zerock.api1014.fcm.exceptions.FCMMessageException;

@Service
@RequiredArgsConstructor
@Log4j2
public class FCMService {

    private final FirebaseMessaging firebaseMessaging;

    public void sendMessage(FCMRequestDTO fcmRequestDTO) {

        if(fcmRequestDTO == null) {
            throw new FCMMessageException("fcmRequestDTO is null");
        }
        if(fcmRequestDTO.getToken() == null) {
            throw new FCMMessageException("fcmRequestDTO.getToken is null");
        }

        if(fcmRequestDTO.getTitle() == null || fcmRequestDTO.getTitle().isEmpty()) {
            throw new FCMMessageException("title is null or empty");
        }

        Notification notification = Notification.builder()
                .setBody(fcmRequestDTO.getBody())
                .setTitle(fcmRequestDTO.getTitle())
                .build();

        Message message = Message.builder()
                .setToken(fcmRequestDTO.getToken())
                .setNotification(notification)
                .build();


        try {
            firebaseMessaging.send(message);
        } catch (FirebaseMessagingException e) {
            throw new FCMMessageException(e.getMessage());
        }

    }
}
- service 추가하기

- api로 메시지 전송되는지 확인해보기