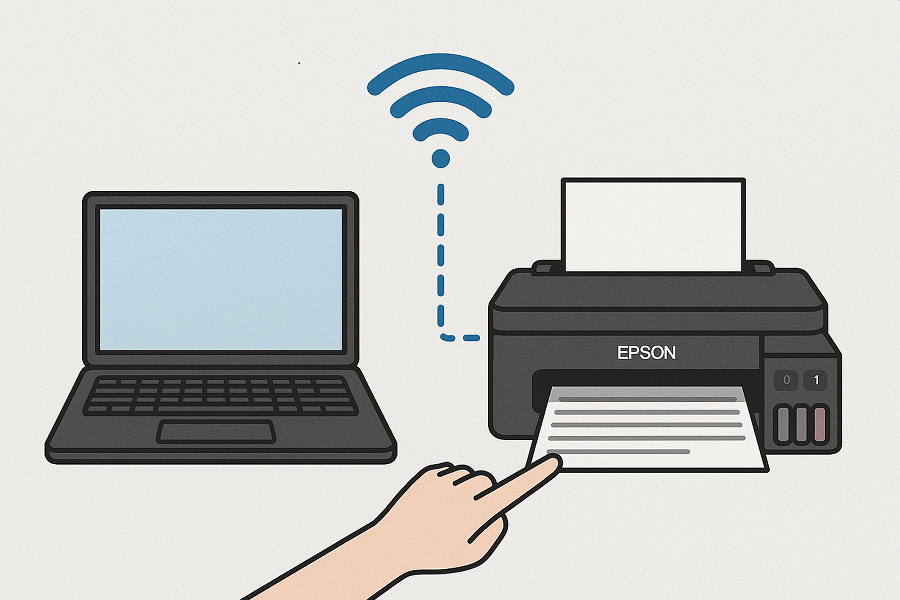
How to Set Up Wi-Fi Connection for Epson Printer on Laptop?
Printing is more convenient when you set up your Epson printer via Wi-Fi since there are no tangled cords or restricted mobility. This easy article will show you how to wirelessly connect Epson printer to laptop in a few easy steps.
Detailed Instructions
Open the printer and turn it on.
Verify that the power supply is connected to your Epson printer correctly.
Make that the Wi-Fi indicator light is flashing or operational after turning it on.
Link the printer to the wireless network.
Navigate to Settings → Wi-Fi Setup on the control panel of your printer.
Select the Wi-Fi Setup Wizard option.
After choosing your Wi-Fi network from the list, input your password.
Hold off until a stable connection light appears on the Wi-Fi indicator.
Set Up Your Laptop with the Epson Software
Get the most recent Epson Connect Printer Setup tool by going to the official Epson website.
Set it up on your Mac or Windows laptop.
To identify and register your printer on the same Wi-Fi network, adhere to the on-screen instructions.
Link the Epson printer to your laptop.
Launch the Epson Connect Printer Setup application.
From the list of recognized devices, choose your printer.
Registering your printer with your Epson Connect account (for cloud and remote printing) completes the setup.
Check the Connection
To verify a successful connection, print a test page from your laptop when setup is finished.
Advice for Easy Setup
Make that the printer and laptop are linked to the same wireless network.
During setup, temporarily turn off firewalls or VPNs.
Restart the printer and Wi-Fi router if your printer isn't detected.
These instructions make it simple to wirelessly connect an Epson printer to a laptop so you may print seamlessly from any location in your house or place of business. Every time, the Epson Connect Printer Setup tool guarantees a fast, dependable, and effective setup process. Visit our website to know more.