애플 공식 문서를 참고해보면
A notification dispatch mechanism that enables the broadcast of information to registered observers.
즉, 등록된 관찰자(옵저버)에게 정보를 동시에 알려줄 수 있는 전송 알림 장치라고 합니다.
1️⃣ Notification 쏘기
func post(name aName: NSNotification.Name,
     object anObject: Any?,
userInfo aUserInfo: [AnyHashable : Any]? = nil)- name
Notification의 이름을 작성합니다. - object
전송할 객체가 있다면 객체를 담습니다. 옵셔널이기 때문에 nil이어도 무관합니다. - userInfo
노티피케이션과 관련된 값 또는 객체의 저장소입니다.
NotificationCenter.default.post(name: .selectLocation, object: indexPath, userInfo: nil)
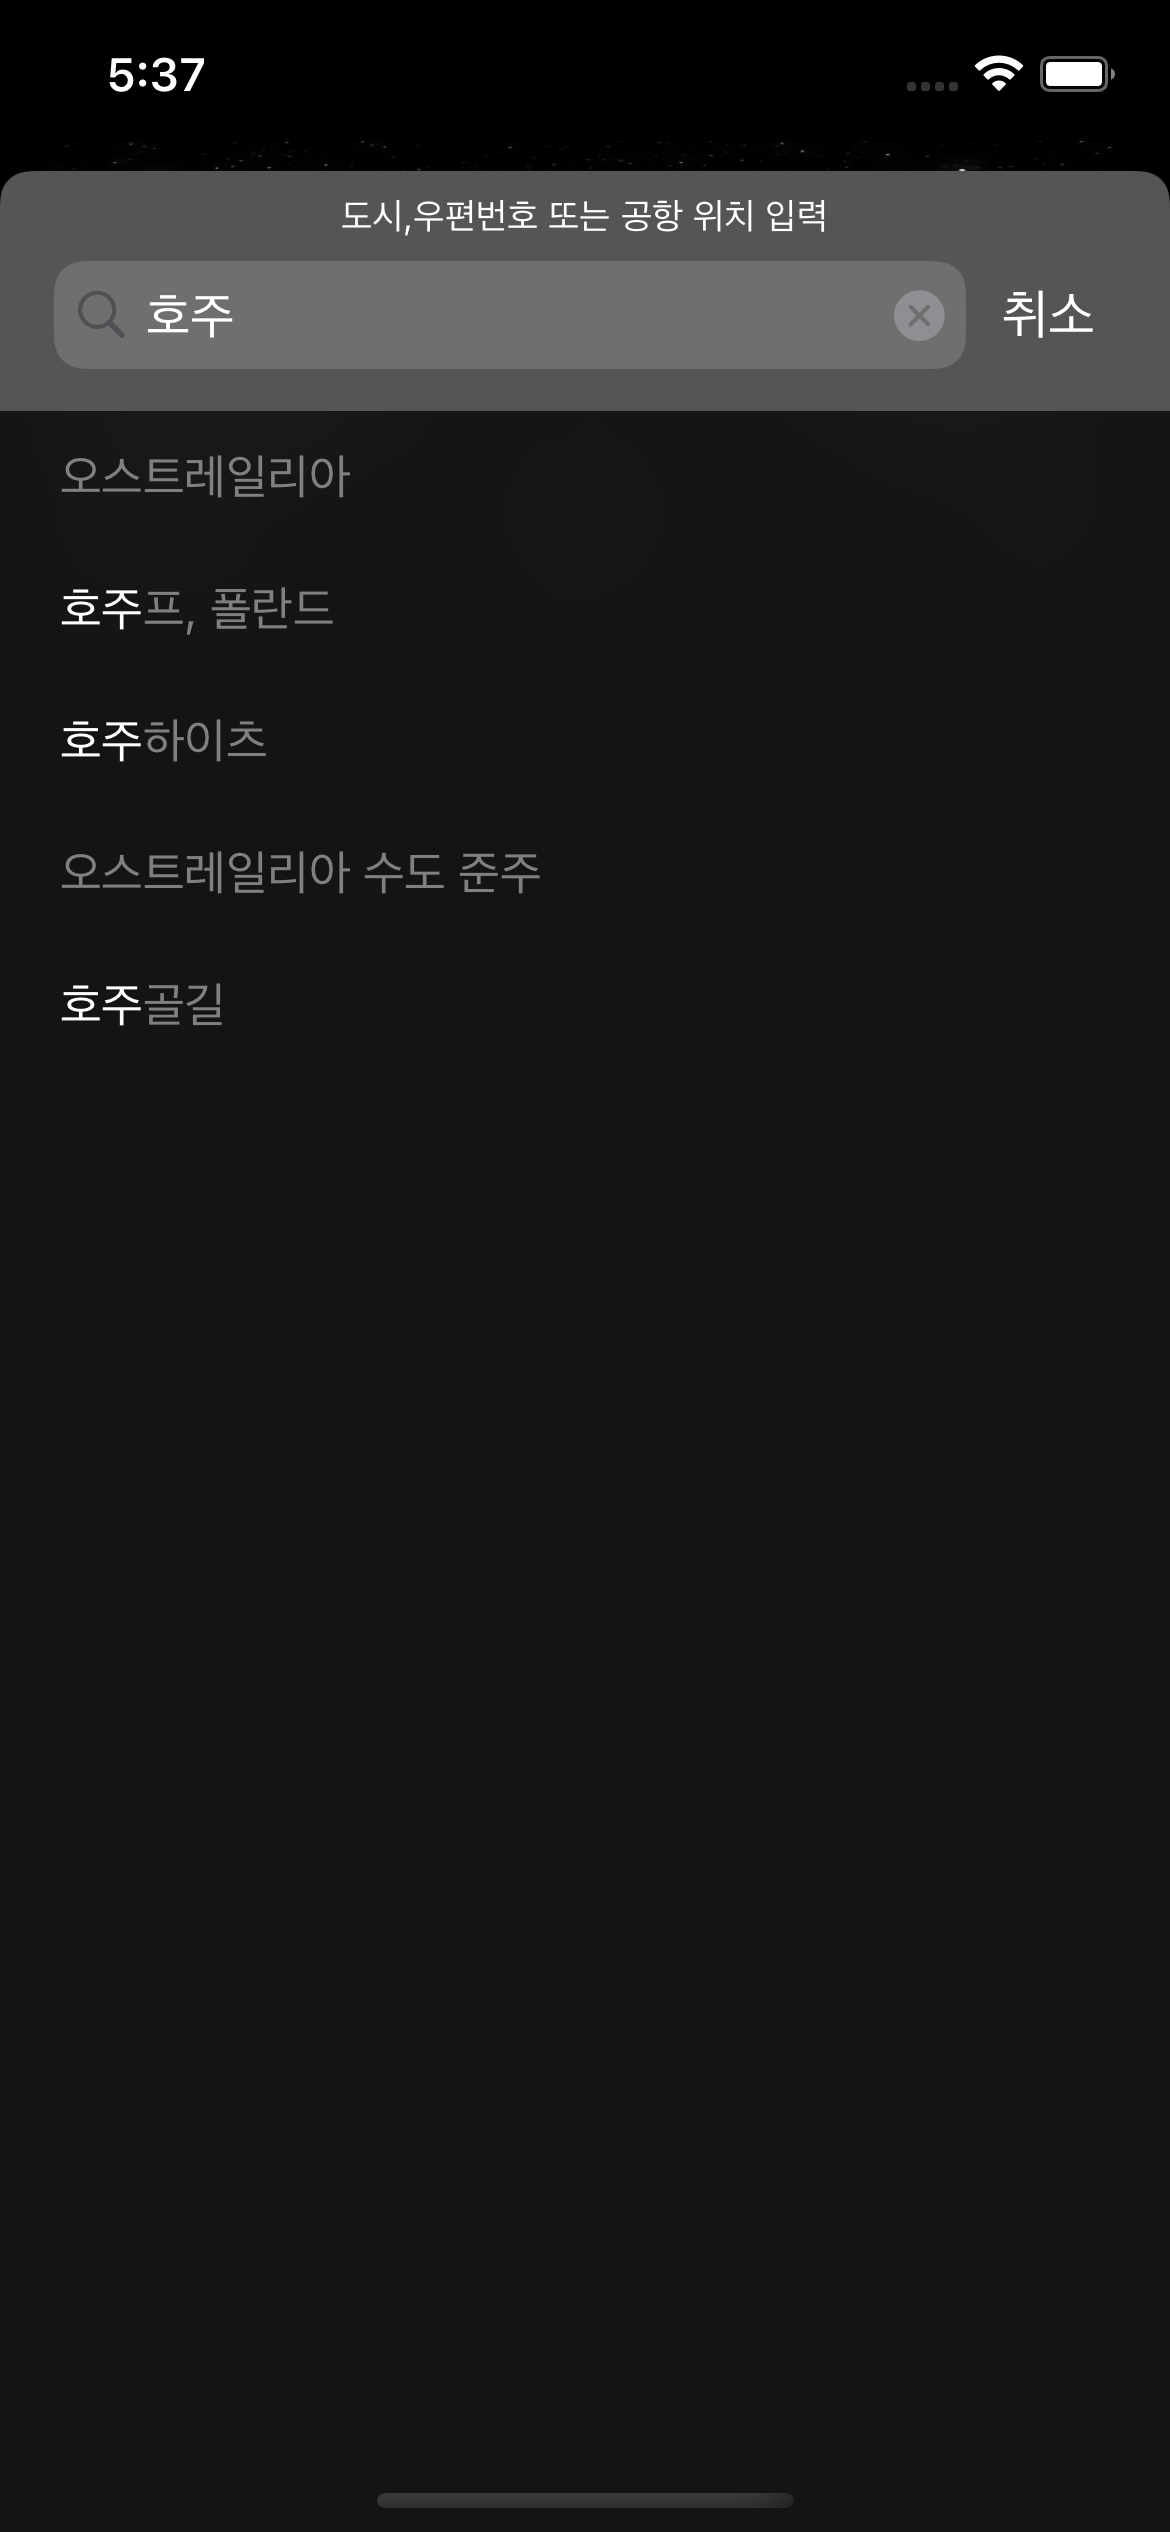
검색화면에서 지역이 나와있는 cell을 클릭시에 지역정보를 담은 object를 포함하여 Notification을 쏘아줍니다.
didSelectRowAt 부분에서 Notification을 전송해주었습니다.
물론 , 객체가 없었다면
NotificationCenter.default.post(name: .selectLocation, object: nil, userInfo: nil)이런식으로 사용해도 됩니다!
2️⃣ Notification 등록하기
func addObserver(_ observer: Any,
         selector aSelector: Selector,
                 name aName: NSNotification.Name?,
object anObject: Any?)- observer
옵저버로 등록할 개체입니다. - selector
함수를 직접 지정하는 기능을 가진 일종의 함수 선택자인 selector로 이후에 작동할 함수를 선택해줍니다. - name
등록된 Notificaion의 이름입니다.
이름이 동일하지 않을 경우 제대로 addObserver되지 않으므로 따로 Extension이나 클래스를 만들어 관리하는 것을 추천합니다! - object
registerNotification
private func registerNotification() {
    NotificationCenter.default.addObserver(self, selector: #selector(didRecieveNotification(_:)), name: .selectLocation, object: nil)
}
didRecieveNotification
Notification 을 받았을 때 어떻게 처리해줄지 구현해줍니다.
@objc
func didRecieveNotification(_ notification: Notification) {
    switch notification.name {
    case .selectLocation:
	//구현
    default:
        break
    }

}
Notification.Name Extension
Notification.Name Extension으로 관리하면 더 편해요!
extension Notification.Name {
    static let addLocation = Notification.Name("addLocation")
}
3️⃣ Notification을 사용한 이유?
데이터 전달방식에는 NotificationCenter를 이용한 방법 뿐만아니라
Delegate 패턴이나 직접 파라미터를 넘겨주는 등의 방법이 존재합니다.
평소에 Delegate를 더 많이 쓰기도 하구요!
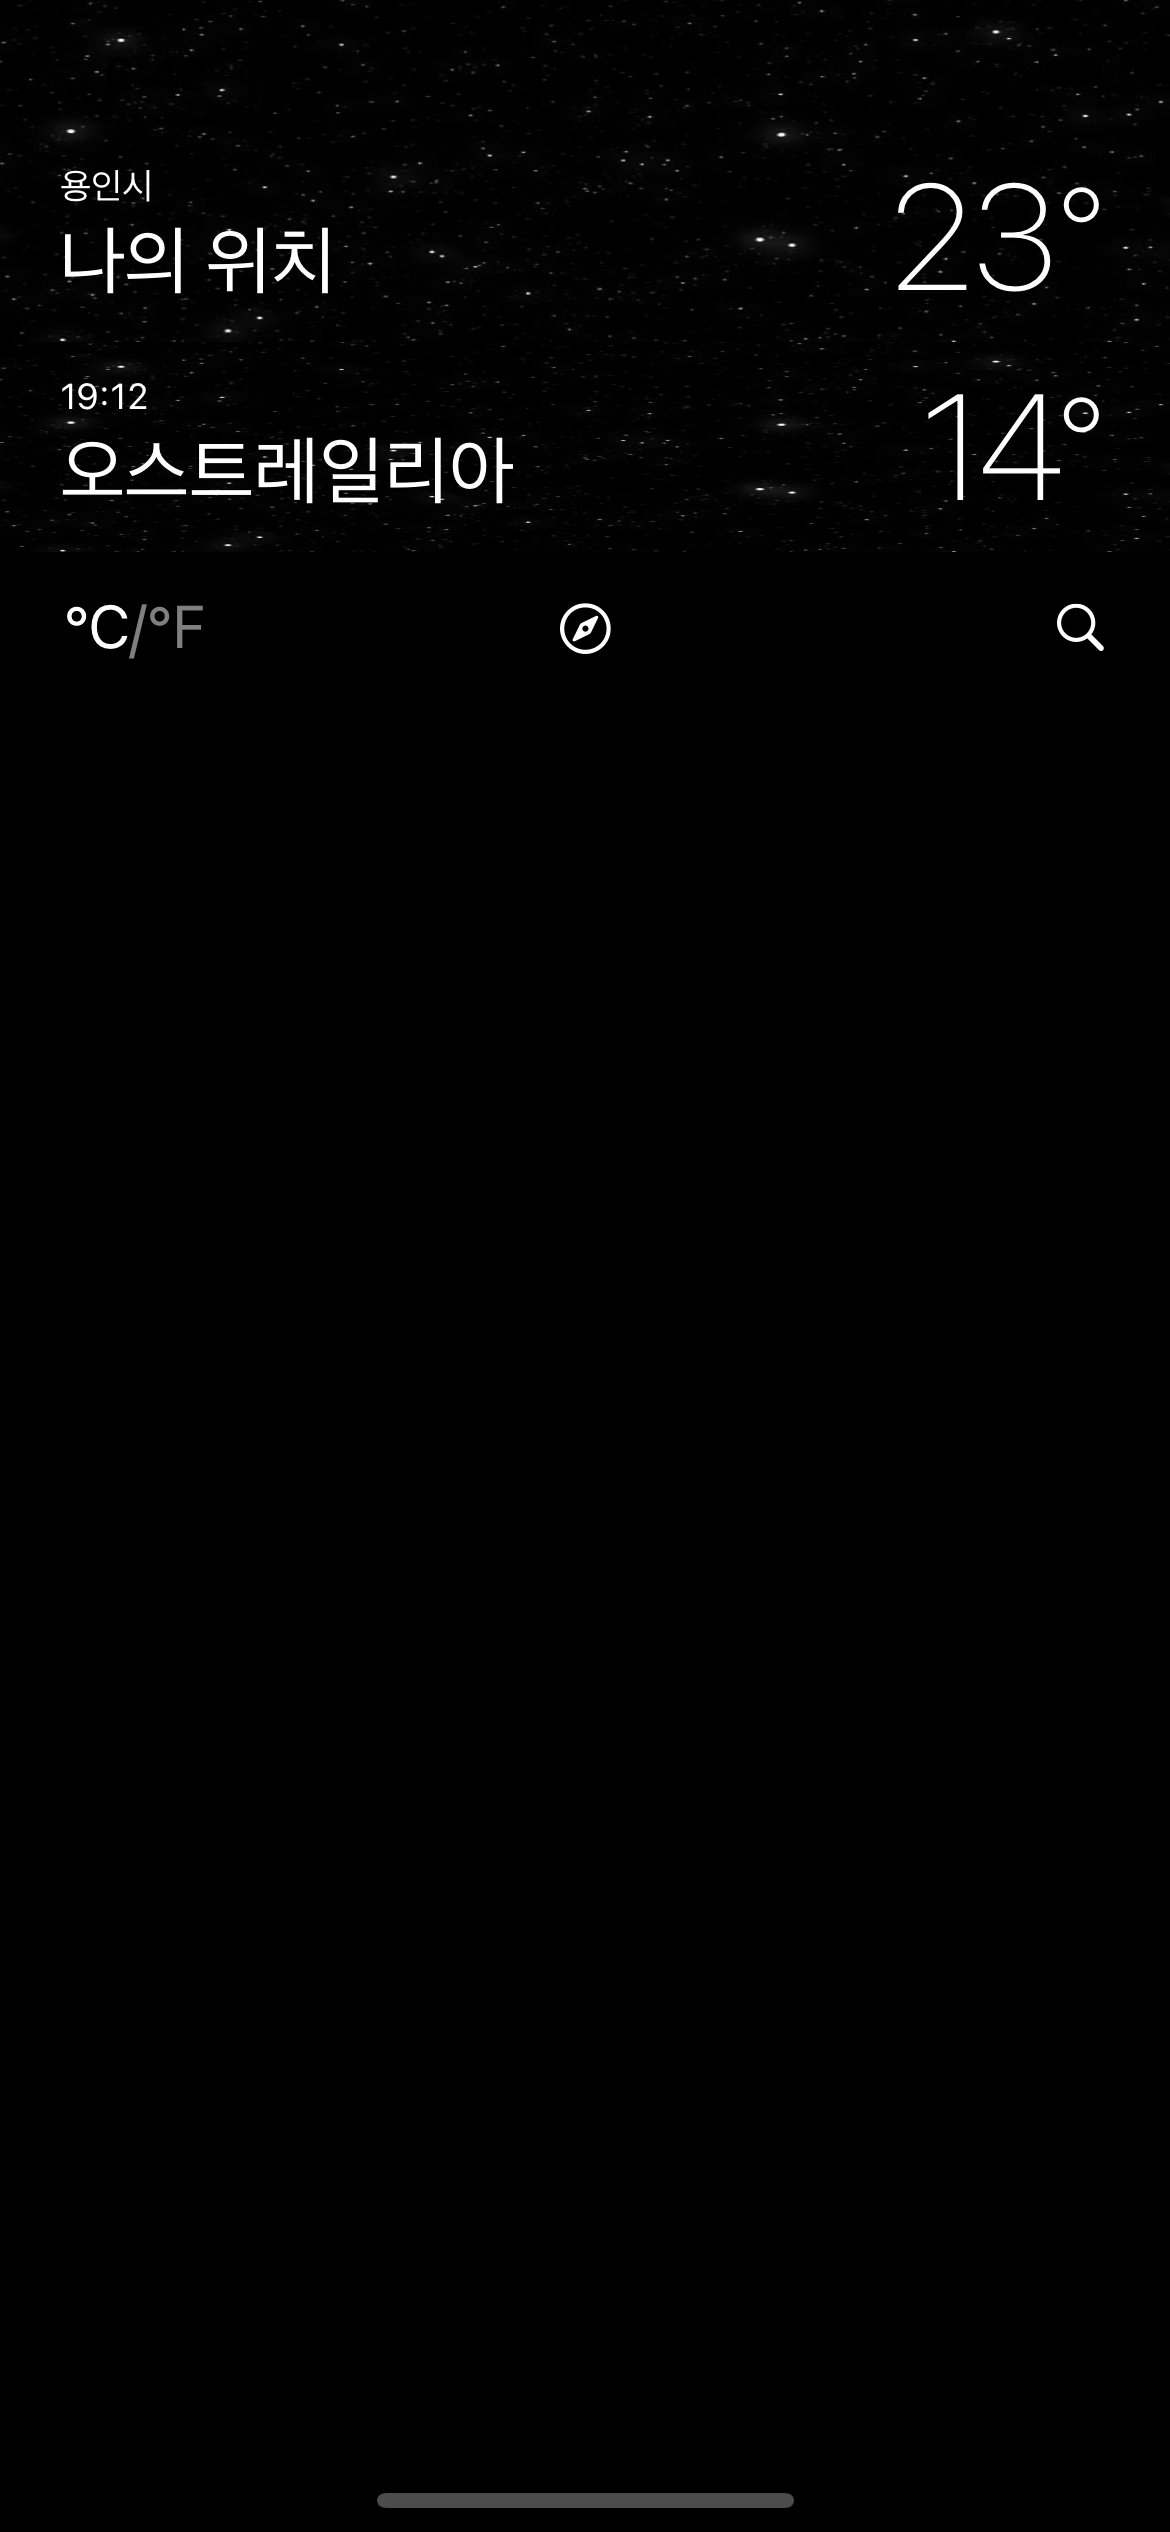
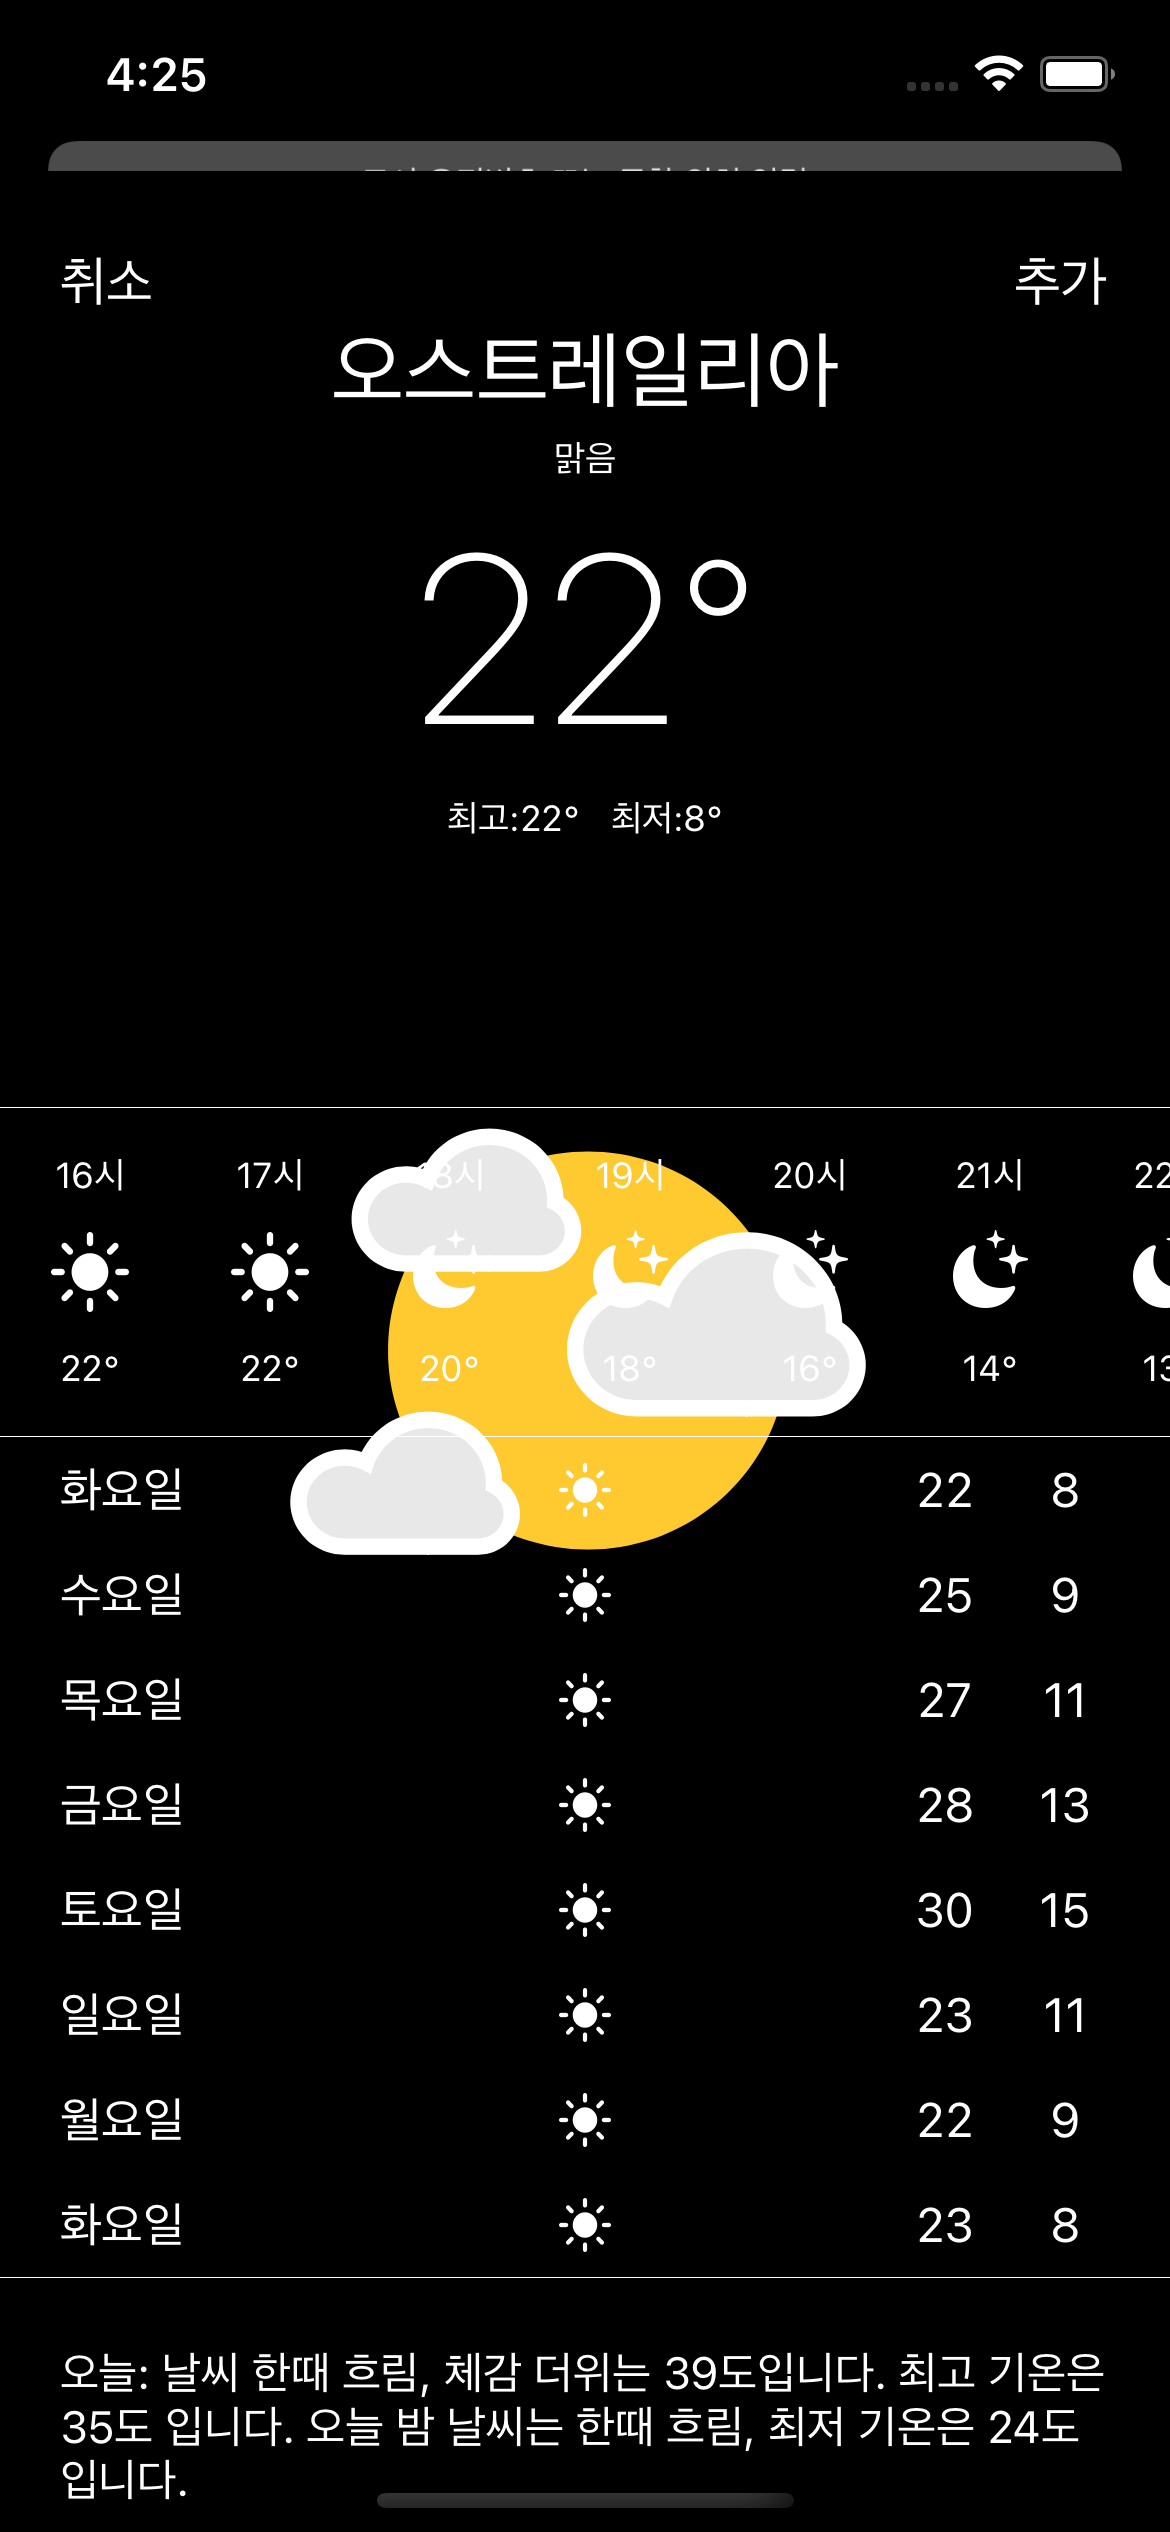
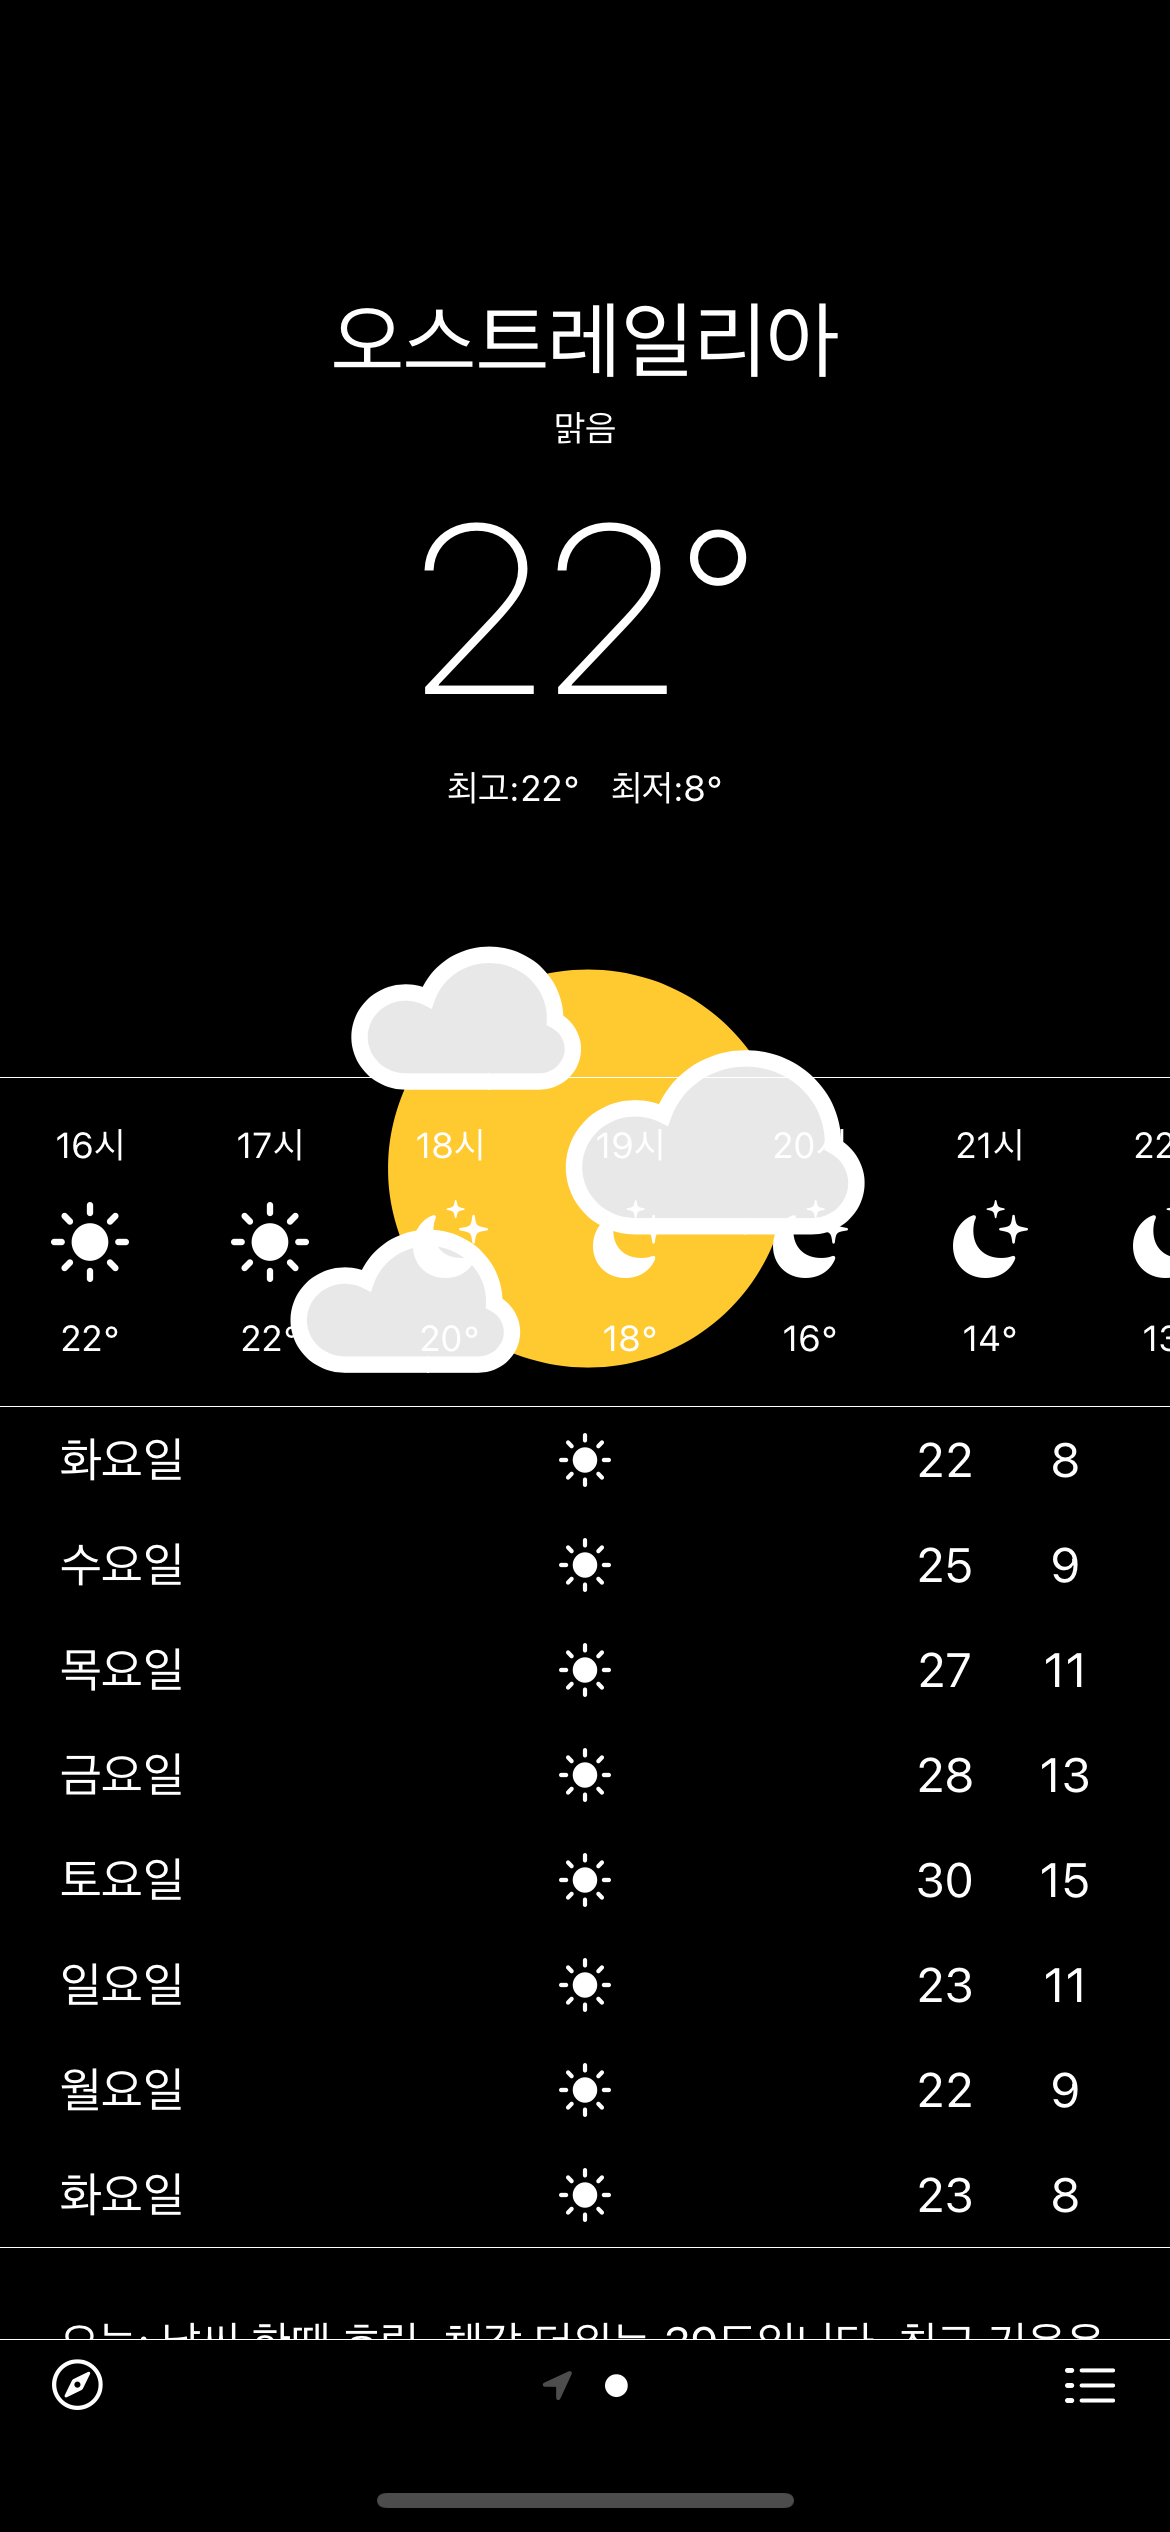
검색화면에서 도시가 추가되는 부분에서 NotificationCenter를 사용한 이유는
도시가 추가되는 이 하나의 동작만으로 다양한 곳에서 이를 반영해야하기 때문입니다.
도시 목록화면, 메인 화면 등등 다양한 화면에서 한가지의 변화만으로 여러 부분에서 반영을 해주어야하기 때문에 NotificationCenter를 이용했습니다!
4️⃣ 구현 화면


