Detail페이지에 이어 Login페이지를 만들자
Login.js를 만들고 Detail과 동일하게 기본코드를 작성한 뒤 App.js에 Route로 감싸서 Routes태그 안에 넣자
...
import Login from "./components/Login";
...

function App() {
  			...
          <Route path="/login" element={<Login/>} />
  			...
        </Routes>
      </Router>
    </div>
  );
}

export default App;
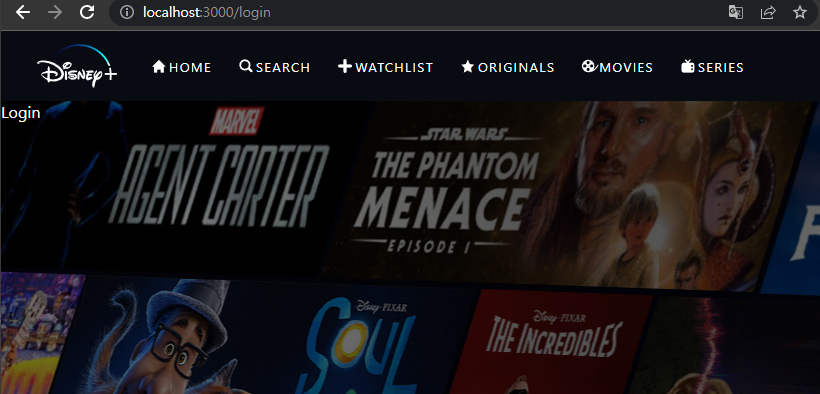
/login으로 가보면 작성한 Login.js가 보인다.
배경 이미지 부터 적용해보자
import React from "react";
import styled from "styled-components";

function Login() {
  return <Container>Login</Container>;
}

export default Login;

const Container = styled.div`
  position: relative;
  height: calc(100vh - 70px);

  &:before {
    position: absolute;
    content: "";
    top: 0;
    left: 0;
    bottom: 0;
    right: 0;
    background-image: url("/images/login-background.jpg");
    background-position: top;
    background-size: cover;
    background-repeat: no-repeat;
    z-index: -1;
  }
`;
이것 역시 Detail과 유사하다.
배경이 잘 적용되었으니 내부를 채우면 되겠다.
function Login() {
  return (
    <Container>
      <CTA>
        <CTALogoOne src="/images/cta-logo-one.svg" />
        <SignUp>GET ALL THERE</SignUp>
      </CTA>
    </Container>
  );
}

export default Login;

...

const CTA = styled.div`
  max-width: 650px;
  padding: 80px 40px;
  width: 80%;
  display: flex;
  flex-direction: column;
`;

const CTALogoOne = styled.img``;

const SignUp = styled.a`
  width: 100%;
  background-color: #0063e5;
  font-weight: bold;
  padding: 17px 0;
  color: #f9f9f9;
  border-radius: 7px;
  text-align: center;
  font-size: 18px;
  cursor: pointer;
  transition: all 250ms;
  letter-spacing: 1.5px;
  margin-top: 8px;
  margin-bottom: 12px;

  &:hover {
    background: #0483ee;
  }
`;
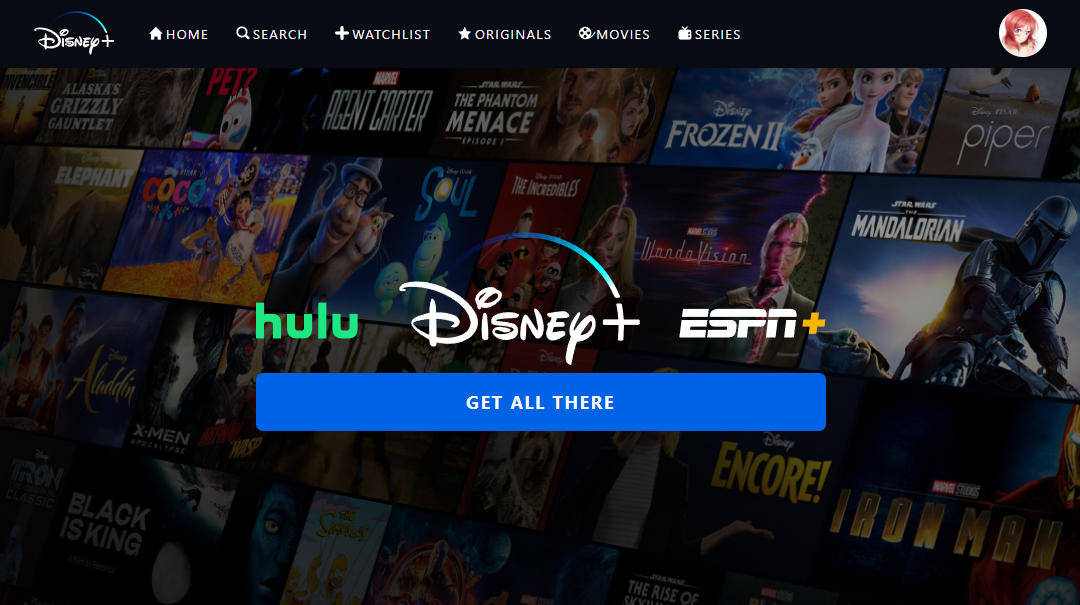
중앙에 위치할 로고들과 버튼을 배치하고 css디자인을 적용하였다.
이제 설명부분과 하단 로고를 배치하자
		...
        <SignUp>GET ALL THERE</SignUp>
        <Description>
          Disney+ is the home for your favorite movies and TV shows from Disney,
          Pixar, Marvel, Star Wars, and National Geographic. Sign up for Disney+
          and start ...
        </Description>
        <CTALogoTwo src="/images/cta-logo-two.png" />
      </CTA>
    </Container>
    ...
const Description = styled.p`
  font-size: 11px;
  letter-spacing: 1.5px;
  text-align: center;
  line-height: 1.5;
`;

const CTALogoTwo = styled.img`
  width: 90%;
`;
텍스트는 그럴싸한 텍스트를 쓰고 이미지를 넣고 css를 적용하면
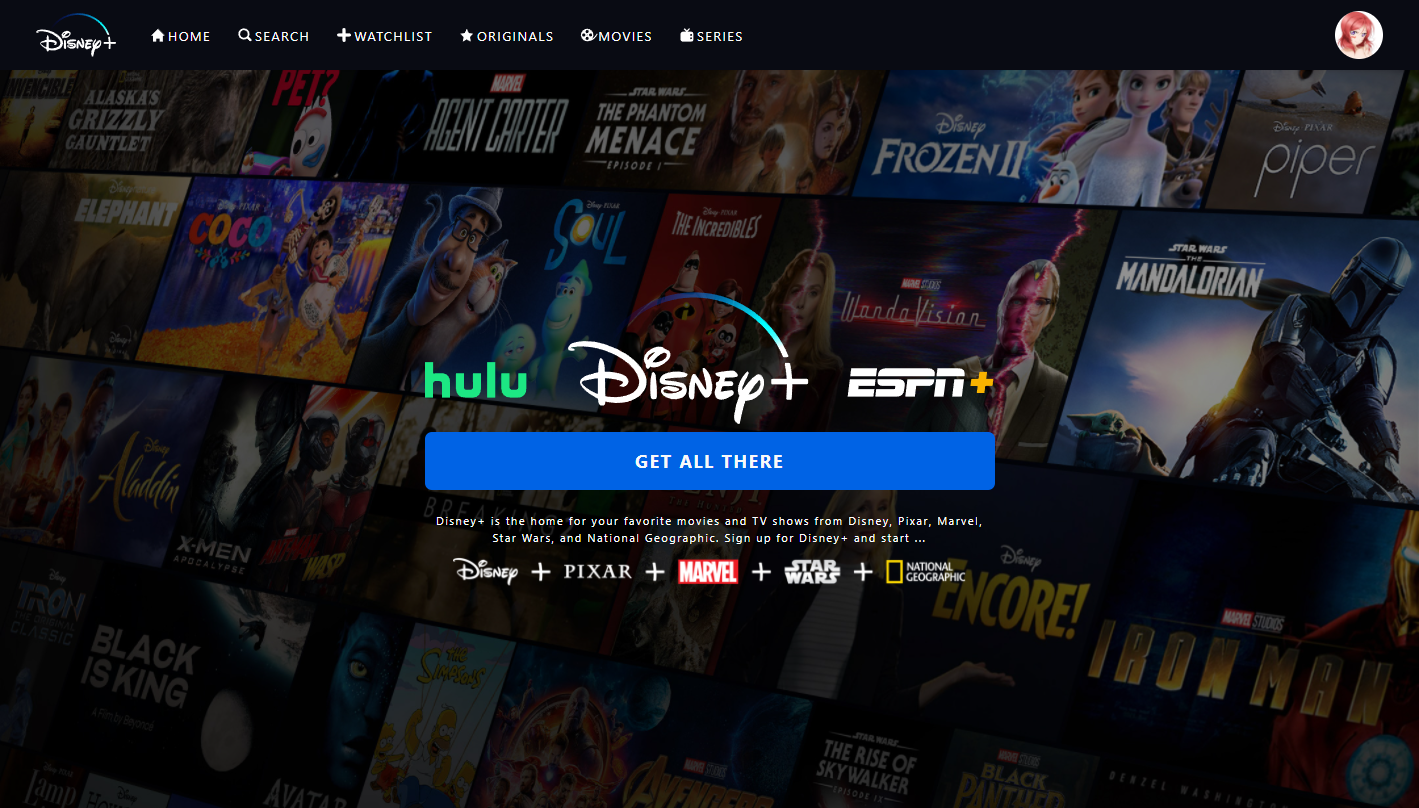
이것으로 로그인 페이지까지 완성되었다.

풀스택 개발자를 목표로 성장중입니다!