Protoc
배치파일 만들기
이전 시간에서 GenPacket.bat을 만든 것처럼 GenProto.bat을 만들어 줄 것이다.
이전에 PDL를 만들어준 것처럼 Protocol.proto를 protoc.exe가 있는 폴더에 넣어줘야 한다.
구글 문서에 안내한대로 다음과 같이 example 코드를 작성했다.
GenProto.bat
Protocol.proto를 작성하고 protoc.exe를 바로 실행하는게 아닌 GenProto.bat을 만들어 줄 것이다.
protoc.exe -I=./ --csharp_out=./ ./Protocol.proto
IF ERRORLEVEL 1 PAUSE

START ../../../Server/PacketGenerator/bin/PacketGenerator.exe ./Protocol.proto
XCOPY /Y Protocol.cs "../../../Client/Assets/Scripts/Packet"
XCOPY /Y Protocol.cs "../../../Server/Server/Packet"
XCOPY /Y ClientPacketManager.cs "../../../Client/Assets/Scripts/Packet"
XCOPY /Y ServerPacketManager.cs "../../../Server/Server/Packet"
protoc.exe -I=$SRC_DIR --csharp_out=$DST_DIR $SRC_DIR/addressbook.protoprotoc.exe 파일을 실행할 것인데 -I는 Input Directory, 즉 어떤 디렉토리에서 작업할 것인지 설정해준다. 같은 디렉토리에서 작업할 것이기 때문에 ./로 설정해주자.
--csharp_out : 어느 디렉토리에 출력할 것인지
결과적으로 다음과 같이 작성해주도록 한다.
protoc.exe -I=./ --csharp_out=./ ./Protocol.proto 그리고 GenProto.bat을 실행하면 Protocol.cs 파일이 만들어지는데 이 파일이 이전 강의에서 GenPacket.cs라고 생각하면 된다.
빌드를 위한 작업
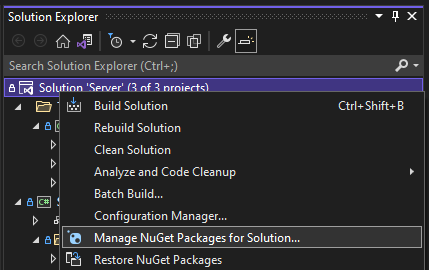
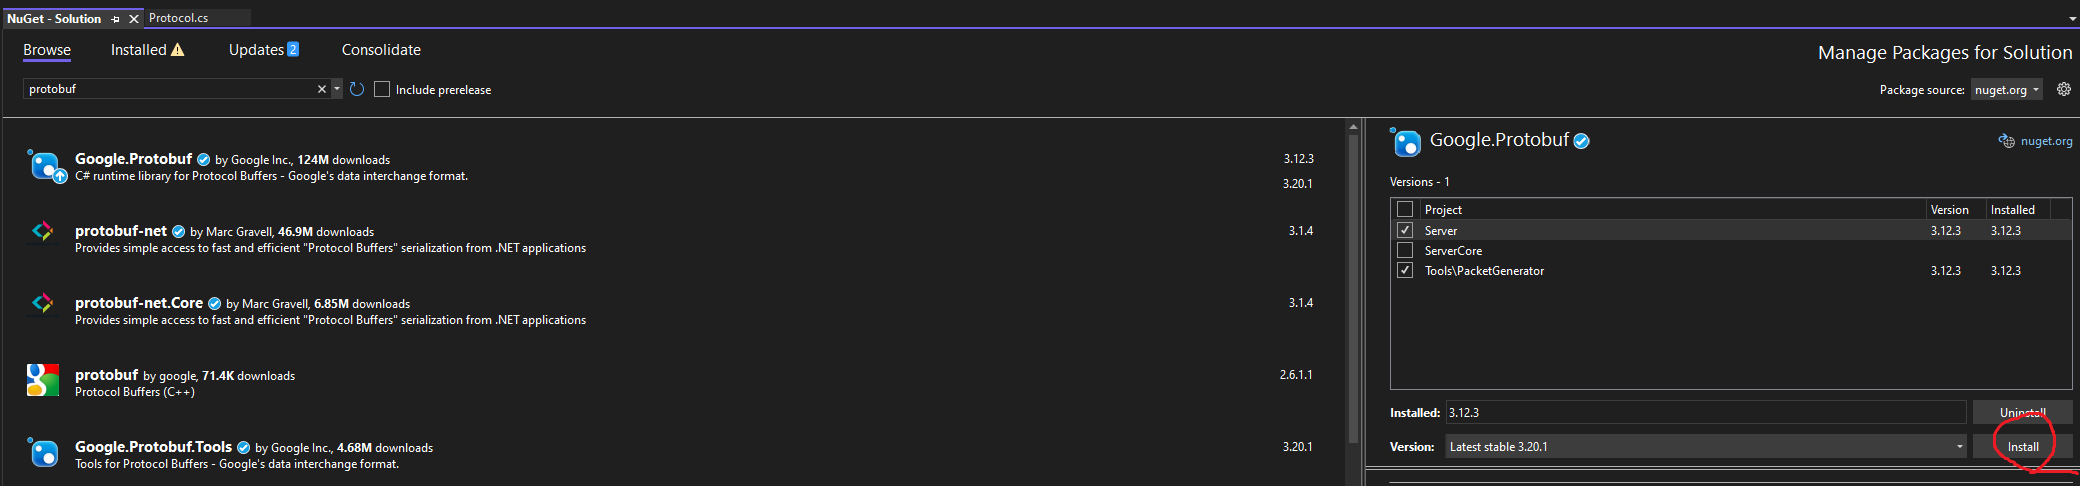
빌드하기 전에 아래의 과정을 거쳐 Google.Protobuf을 설치하도록 한다.
Protocol.proto
syntax = "proto3";
package tutorial;

import "google/protobuf/timestamp.proto";

option csharp_namespace = "Google.Protobuf.Examples.AddressBook";

message Person {
  string name = 1;
  int32 id = 2;  // Unique ID number for this person.
  string email = 3;

  enum PhoneType {
    MOBILE = 0;
    HOME = 1;
    WORK = 2;
  }

  message PhoneNumber {
    string number = 1;
    PhoneType type = 2;
  }

  repeated PhoneNumber phones = 4;

  google.protobuf.Timestamp last_updated = 5;
}

// Our address book file is just one of these.
message AddressBook {
  repeated Person people = 1;
}
ClientSession::OnConnected()
			Person person = new Person()
			{
				Id = 1234,
				Name = "John Doe",
				Email = "jdoe@example.com",
				Phones = { new PhoneNumber { Number = "555-4321", Type = Person.Types.PhoneType.Home } } // C# 6부터는 Person.Types.PhoneNumber 대신 PhoneNumber로 using static ...으로 처리 가능
			};

			ushort size = (ushort)person.CalculateSize();
			byte[] sendBuffer = new byte[size + 4]; // 사이즈, 프로토콜 각각 2+2
			Array.Copy(BitConverter.GetBytes(size + 4), 0, sendBuffer, 0, sizeof(ushort));
			ushort protocolId = 1;
			Array.Copy(BitConverter.GetBytes(protocolId), 0, sendBuffer, 2, sizeof(ushort));
			Array.Copy(person.ToByteArray(), 0, sendBuffer, 4, size);

			Send(new ArraySegment<byte>(sendBuffer));
Protocol.proto가 위와 같을 경우 실제 코드 상에서 위와 같이 직렬화 시킨다음 Send() 함수로 보낼 수 있다.
Protocol.proto
syntax = "proto3";

package Protocol;
import "google/protobuf/timestamp.proto";
option csharp_namespace = "Google.Protobuf.Protocol";

enum MsgId {
  PERSON = 0; // x
  C_CHAT = 1;
  S_CHAT = 2;
  S_ENTER_GAME = 3;
}

message C_Chat {
  string context = 1;
}

message S_Chat {
  string context = 1;
}

message S_EnterGame {
  string context = 1;
}

message Person {
  int32 packetHeader = 1;
  string name = 2;
  int32 id = 3;  // Unique ID number for this person.
  string email = 4;

  enum PhoneType {
    MOBILE = 0;
    HOME = 1;
    WORK = 2;
  }

  message PhoneNumber {
    string number = 1;
    PhoneType type = 2;
  }

  repeated PhoneNumber phones = 5;
  google.protobuf.Timestamp last_updated = 6;
}

// Our address book file is just one of these.
message AddressBook {
  repeated Person people = 1;
}
ClientSession::OnConnected()
public override void OnConnected(EndPoint endPoint)
		{
			Console.WriteLine($"OnConnected : {endPoint}");

			// PROTO Test
			S_Chat chat = new S_Chat()
			{
				Context = "안녕하세요"
			};

			ushort size = (ushort)chat.CalculateSize();
			byte[] sendBuffer = new byte[size + 4];
			Array.Copy(BitConverter.GetBytes(size + 4), 0, sendBuffer, 0, sizeof(ushort));
			ushort protocolId = (ushort)MsgId.SChat;
			Array.Copy(BitConverter.GetBytes(protocolId), 0, sendBuffer, 2, sizeof(ushort));
			Array.Copy(chat.ToByteArray(), 0, sendBuffer, 4, size);

			Send(new ArraySegment<byte>(sendBuffer));
		}
유니티 설정
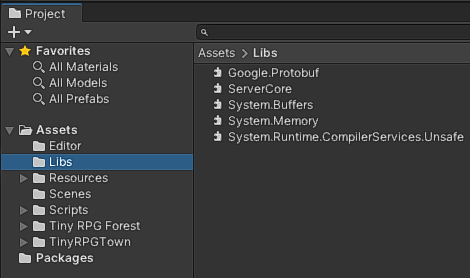
Google.Protobuf : protobuf nuGet으로 설치 후 C:\Users\HOME.nuget\packages\google.protobuf\3.20.1\lib\net45에서 복사 후 붙여넣기
ServerCore : \Server\ServerCore\bin\Release\netcoreapp3.1에서 복사 후 붙여넣기
나머지 3개 System.으로 시작하는 파일은 Protobuf을 추가할 때 나는 에러 방지용
