U-GAT-IT
Unsupervised Generative Attentional Networks with Adaptive Layer-Instance Normalization for Image-to-Image Translation
새로운 Attention Module과 Adaptive Layer-Instance를 이용한 이미지 변경 기술
Create by Junho Kim, Minjae Kim, Hyeonwoo Kang, Kwanghee Lee
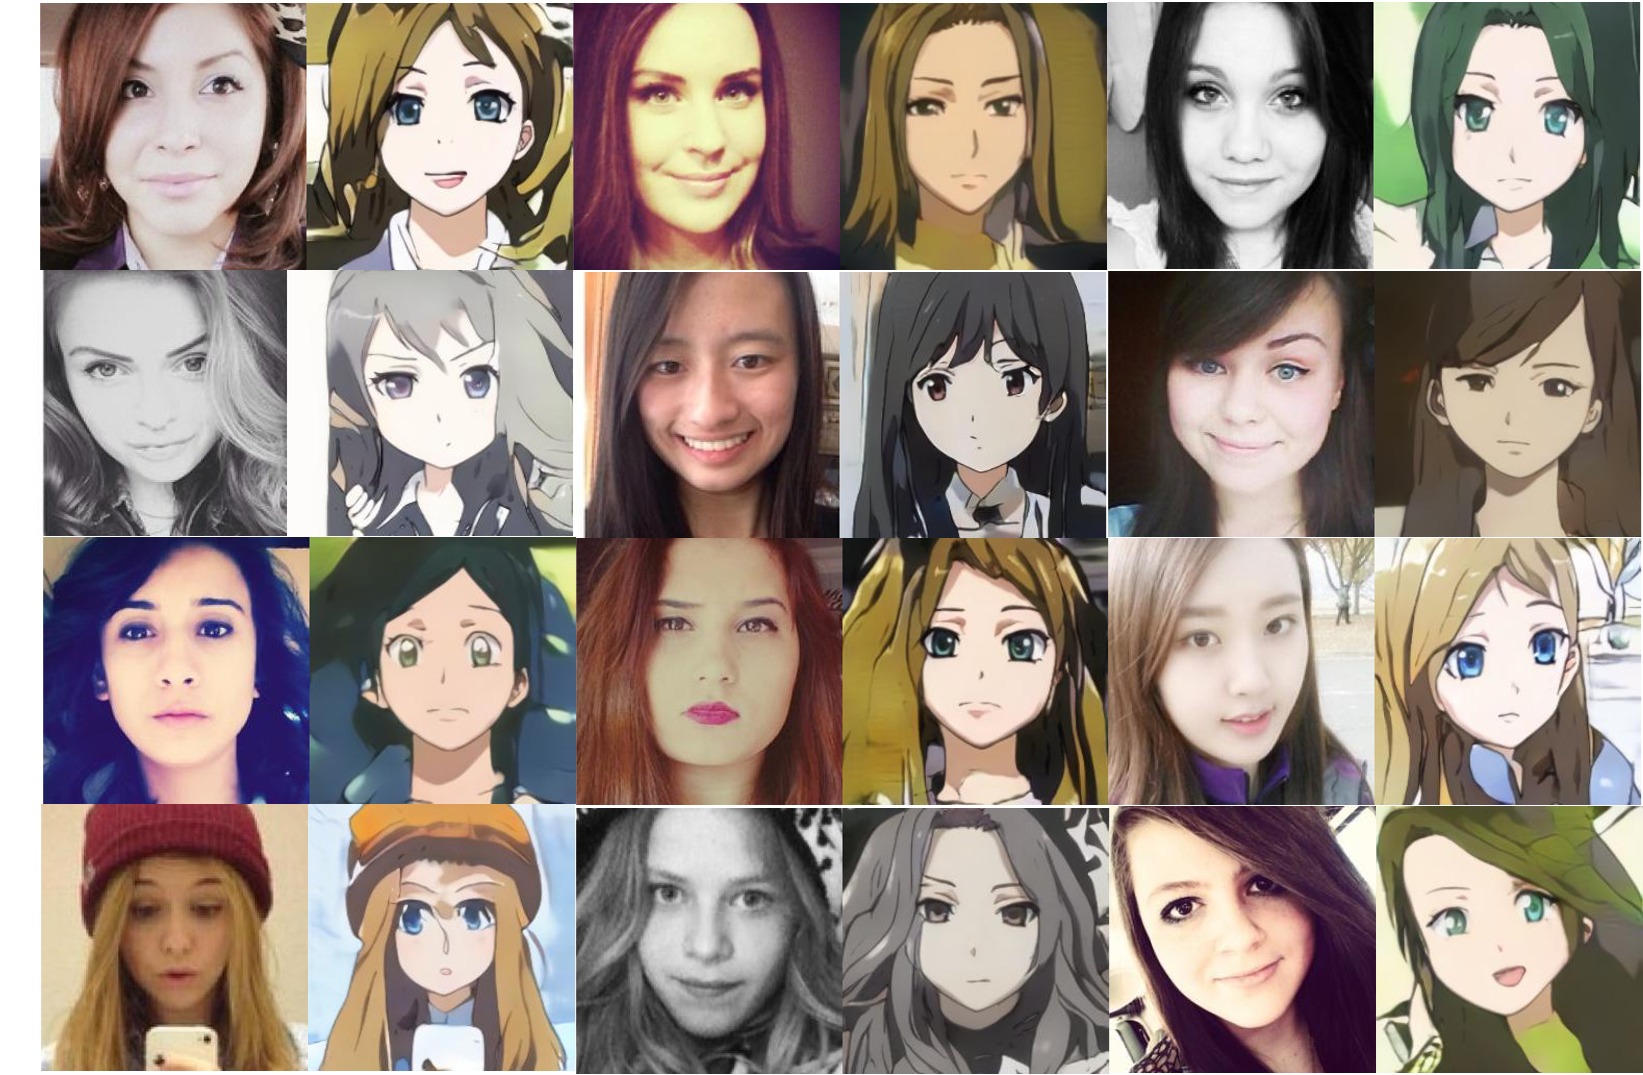
V 목표 : 이미지를 넣고 동작하면 애니메이션 캐릭터로 바꿔주는 Selfie2Anime 동작[ 예시 ]
블랙핑크 로제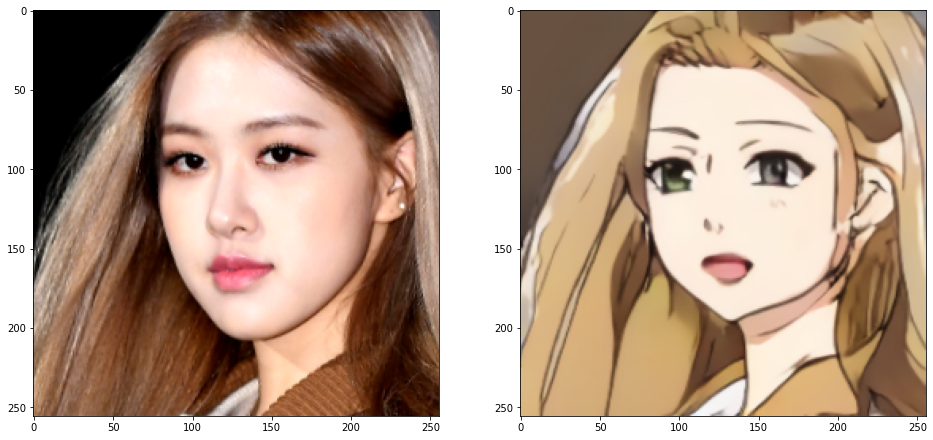
[ 사전 준비 ]
- selfie2anime checkpoint (50 epoch) 작은 용량
or selfie2anime checkpoint (100 epoch) 큰 용량 (V) - Official Pytorch code (V)
[ Version ]
Python : 3.6.8 64-bit
Tensorflow : 1.14.0

! Tensorflow v2 이상부터 라이브러리 부재로 에러 발생
[ 설치 라이브러리 ]
pip install tensorflow==1.14.0
pip install numpy
pip install matplotlib
pip install cmake
pip install dlib
pip install opencv-python
pip install ipykernel
실습
[ 소스코드 ]
- test.ipynb
1. 라이브러리 호출
import tensorflow as tf # 머신러닝 라이브러리 ( 훈련/학습 )
import cv2 # 이미지를 처리해주는 라이브러리 open-source computer vision lib ( Intel )
import dlib # C++로 작성된 범용 소스 플랫폼 라이브러리 ( 데이터 구조, 선형 대수학, 이미지 처리, 데이터 마이닝 등 ) 최근 몇년 동안은 기계 학습 라이브러리로 사용
import numpy as np # 행렬이나 대규모 다차원 배열을 쉽게 처리 할 수 있도록 지원하는 라이브러리
import matplotlib.pyplot as plt # numpy용 plot 라이브러리 ( 그래프, 차트 등 데이터 시각화 )
import os
from glob import glob

from UGATIT_noargs import UGATIT

tf.logging.set_verbosity(tf.logging.ERROR)
2. 설치한 epoch를 압축해제 후 checkpoint 폴더에 삽입 후 모델 로드
checkpoint_path = 'checkpoint/UGATIT.model-1000000'

sess = tf.Session(config=tf.ConfigProto(allow_soft_placement=True))

gan = UGATIT()
gan.build_model()

saver = tf.train.Saver()
saver.restore(sess, checkpoint_path)

print('Model loaded!')
3. 테스트 이미지 로드 ( 블랙핑크 로제 이미지 )
img_path = 'imgs/bp_rose.jpg'

img = cv2.imread(img_path, flags=cv2.IMREAD_COLOR)
img = cv2.cvtColor(img, cv2.COLOR_BGR2RGB)

brightness = 0
contrast = 30
img = np.int16(img)
img = img * (contrast / 127 + 1) - contrast + brightness
img = np.clip(img, 0, 255)
img = np.uint8(img)

fig, ax = plt.subplots(1, 1, figsize=(16, 8))
ax.imshow(img)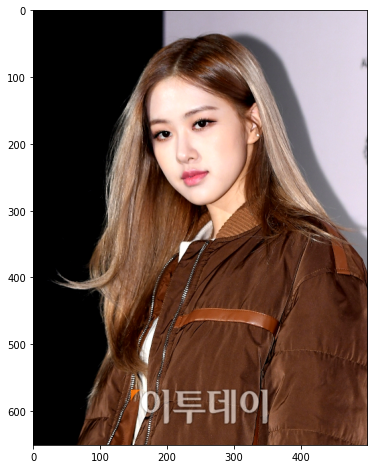
4. 얼굴 부분만 남도록 crop 진행
detector = dlib.get_frontal_face_detector()
sp = dlib.shape_predictor('checkpoint/shape_predictor_5_face_landmarks.dat')

dets = detector(img)
s = sp(img, dets[0])
img = dlib.get_face_chip(img, s, size=256, padding=0.65)

plt.figure(figsize=(6, 6))
plt.imshow(img)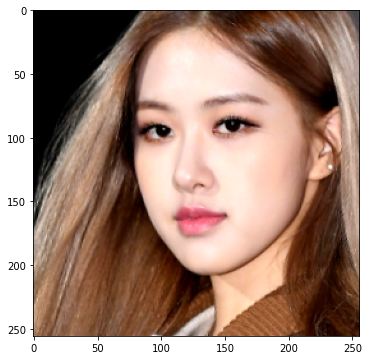
5. 이미지 적용
# preprocessing
img_input = cv2.resize(img, dsize=(256, 256), interpolation=cv2.INTER_NEAREST)
img_input = np.expand_dims(img_input, axis=0)
img_input = img_input / 127.5 - 1

# inference
img_output = sess.run(gan.test_fake_B, feed_dict={gan.test_domain_A: img_input})

# postprocessing
img_output = (img_output + 1) * 127.5
img_output = img_output.astype(np.uint8).squeeze()

fig, ax = plt.subplots(1, 2, figsize=(16, 8))
ax[0].imshow(img)
ax[1].imshow(img_output)
이미지가 변경된 것을 확인할 수 있습니다🎉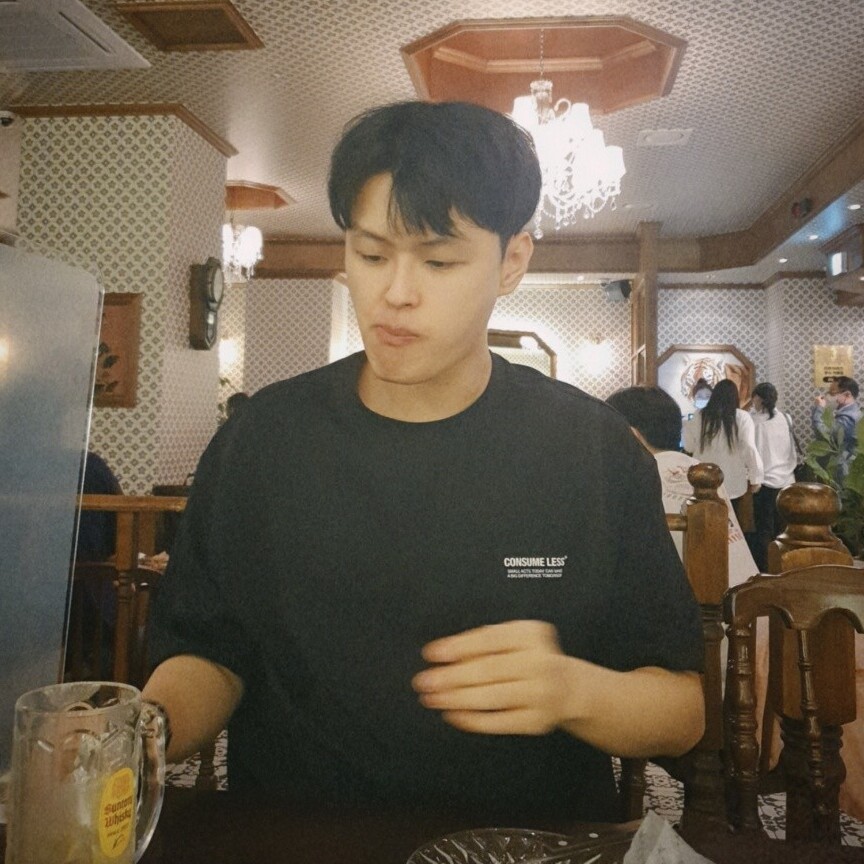
For me better than yesterday