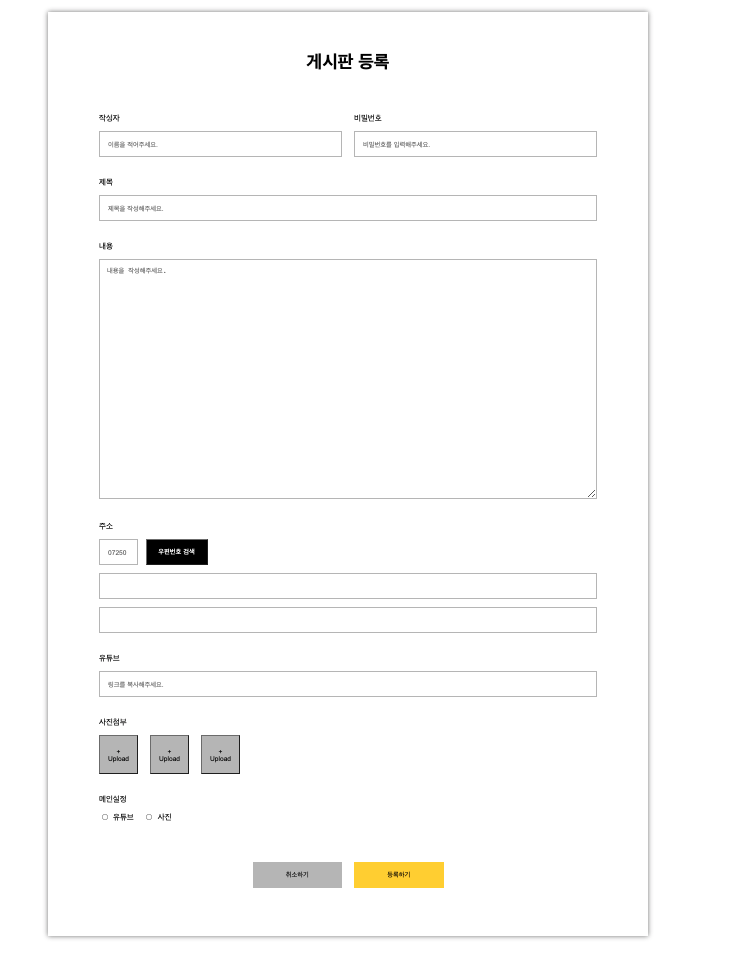
게시물 입력

css리펙토링이 반드시 필요


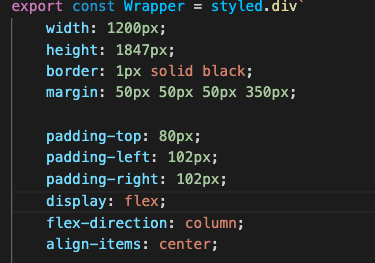
여태까지 max-width 도 안주고 width 의 픽셀을 고정시켜서 작성해 나갔는데 이는 반응형으로 나중에 바꿀때 매우 많은 고칠점이 생겨 나갈것같다.
mutation
const postContentGql = gql`
  mutation aaa ($writer: String, $password: String, $title: String!, $contents: String!){
    createBoard(createBoardInput: {
      writer:$writer
      password:$password
      title:$title
      contents:$contents
    })
    {
    _id
    }
  }
  `;
...

const router = useRouter();

...

const [postRequest] = useMutation(postContentGql)

...

  const[inputs, setInputs] = useState({
    writer:'',
    password: '',
    title: '',
    contents: '',
  })

...
async function hadleClickOnPost(){
      const result = await postRequest({
        variables:{...inputs}
      });
      console.log('This is Mutation Function');
      router.push(`/board/${result.data.createBoard._id}`);
뭐든 순차적으로 생각하면 쉽다
-
mutation할gql문 생성. 필요한 변수들과 가져올 값을을 잘 넣어준다. 그리고route하기 위해
const router = useRouter();선언 -
gql문을postContentGql로 명명하고 그것을useMutation에 넣어 준 후useMutation을 담당할 변수의 이름을postRequest라 명명한다. -
입력받은 값들을
useState를 통해inputs란 객체에 잘 담을 수 있도록 해준다.
4.handleClickOnPost라는 함수를 만들어 gql의 mutation에 inputs값들을 Spread Operator을 통해 가져온다.
5.해당 gql의 리턴값인 ld을 통해 동적라우팅으로 route시킨다

뭐든 순차적으로 생각하면 쉽다
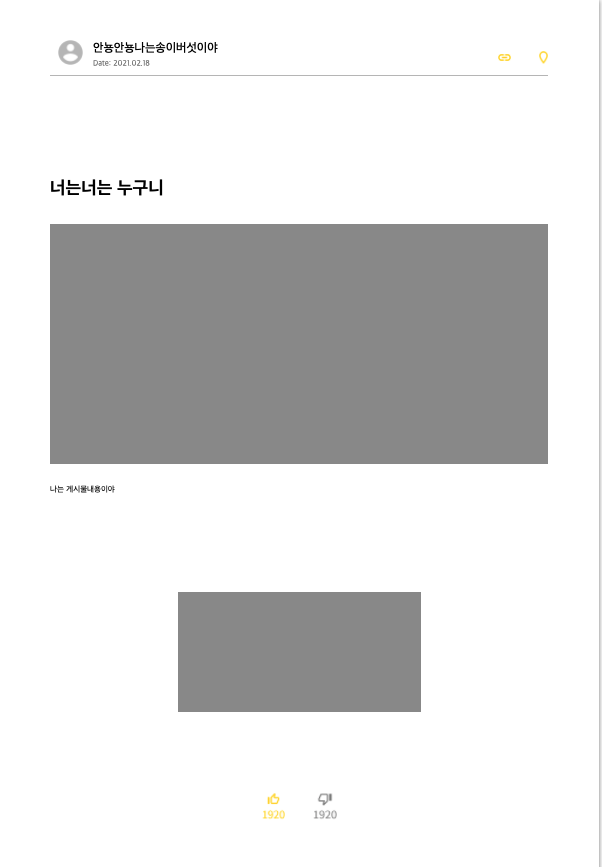
하지만 여기서 끝이 아니고 이제 값을 불러와봐야 한다.

게시물 불러오기

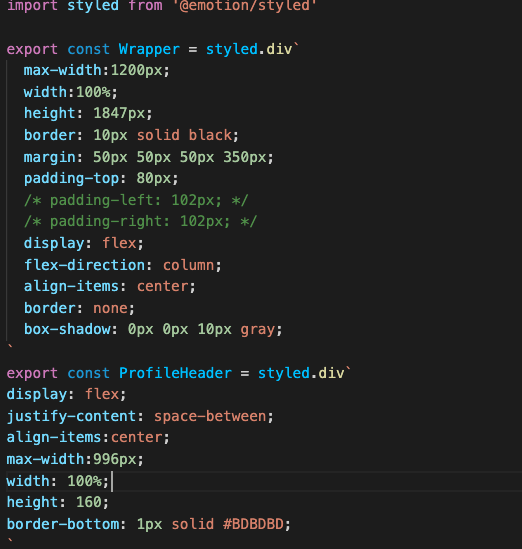
이번 css는 리펙토링이 유용하게

max-width와 width에 %를 줘서 나중에 리펙토링 할때 유용하고 또 padding들을 따로 주지 않아도 알아서 띄어지게 justify-content: space-around를 팍팍팍 넣어줫다
근데 css에서도 리펙토링이라고 말하는지 모르겠다. 뭐 어떠한가 뜻은 비슷하니
Query
const router = useRouter();

...

  const postLoadGql = gql`
    query loadingPost($boardId: ID!){
      fetchBoard(boardId: $boardId){
        writer
        title
        contents
        _id
      }
    }
    `
...

const{data,loading,error} = useQuery(postLoadGql, {
      variables: {boardId: router.query.id}
    })
 if(loading)
    return <p>loading</p>


  return (
  <Wrapper>
    ....
 </Wrapper>
받는 부분은 조금 이해하기가 편햇는데
게시물 작성의 Route를 통해 받은 id를 boardId: router.query.id를 통해 저장 한 후 쿼리 문에 저장한 변수에 해당 값을 넣어 원하는 데이터를 가져 온 후
data.fetchBoard.writer로 화면에 랜더링 시켜주었다.

조금씩 하지만 더 빠르고 깊게 공부해보자
