캡틴판교 장기효님의 Vue.js시작하기 인프런 강의를 수강하고 내용을 정리했다.
매일 20분 야금야금 Vue.js 화이팅.
IDE: Visual Studio Code
크롬 뷰 개발자 도구: Vue.js devtools
환경
Mac M1
visual studio code
visual studio code plugin
Vetur
Night Owl
Material Icon Theme
Live Server
ESLint
Prettier
Auto Close Tag
Atom Keymap
event emit
하위 컴포넌트가 상위 컴포넌트로 이벤트를 올려주는 것이다.
버튼을 클릭했을 때 상위 컴포넌트로 이벤트를 올려주는 event emit을 만들어보자.
버튼을 클릭하면 루트 컴포넌트에 log가 출력되게 한다.
1. 버튼 만들기
일단 버튼을 만들자.
뷰 인스턴스에 app-header라는 컴포넌트를 만든다.
appHeader의 템플릿은 버튼을 가진다.
<!DOCTYPE html>
<html lang="en">
<head>
    <meta charset="UTF-8">
    <meta http-equiv="X-UA-Compatible" content="IE=edge">
    <meta name="viewport" content="width=device-width, initial-scale=1.0">
    <title>Document</title>
</head>
<body>
    <div id="app">
        <app-header></app-header>
    </div>
    <script src="https://cdn.jsdelivr.net/npm/vue/dist/vue.js"></script>
    <script>

        var appHeader = {
            template: '<button>click me</button>'
        }

        new Vue({
            el: '#app',
            components: {
                'app-header': appHeader
            }
        });
    </script>
</body>
</html>
2. emit methods 작성하기
버튼을 클릭했을 때, 동작하는 함수 passEvent를 정의하자.
appHeader에 methods를 추가하면 된다.
button 태그에 v-on 디렉티브를 사용하여 이벤트를 기다리도록 한다.
        var appHeader = {
            template: '<button v-on:click="passEvent">click me</button>',
            methods: {
                passEvent: function(){
                    this.$emit('pass');
                }
            }
        }
3. 버튼을 클릭하면 'event'에서 로그가 출력된다.
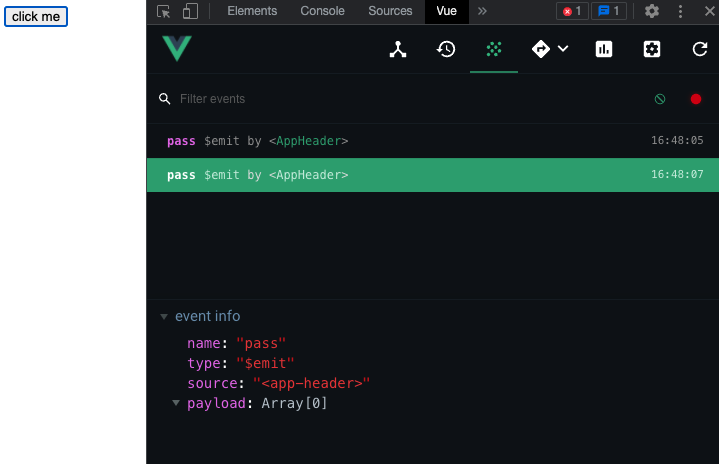
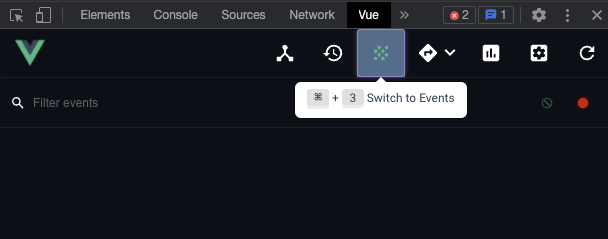
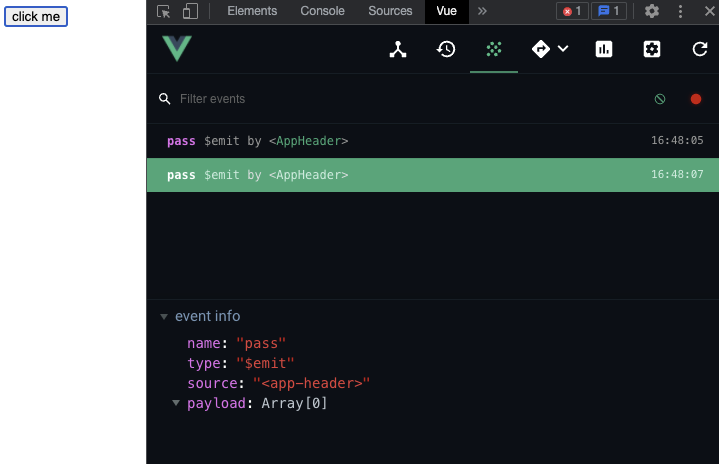
개발자 도구에서 3번째 탭이 'Event'이다. emit의 로그를 확인할 수 있다.

버튼을 클릭하면 emit의 로그가 출력된다.

다음 시간에는 event emit으로 콘솔 출력을 해본다.
