캡틴판교 장기효님의 Vue.js시작하기 인프런 강의를 수강하고 내용을 정리했다.
매일 20분 야금야금 Vue.js 화이팅.
IDE: Visual Studio Code
크롬 뷰 개발자 도구: Vue.js devtools
지난시간에는 싱글 파일 컴포넌트를 배웠다.
앞서 배운 것들을 App.vue 싱글파일 컴포넌트에 적용해보자.
App.vue에 컴포넌트 등록도 해보자.
데이터 정의하고 데이터 바인딩
1. App.vue 초기화 하고 vue명령어로 틀 만들기
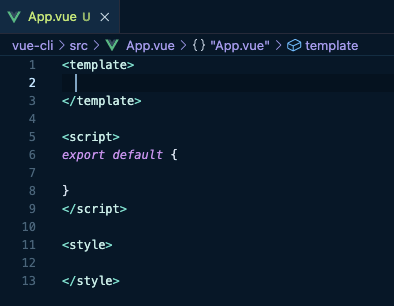
App.vue의 내용을 삭제하고 vue 명령으로 template, script, style로 구성된 구성을 만든다.
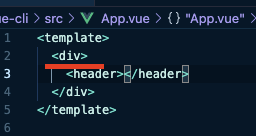
2. template 내부에 '최상위' HTML 엘리먼트는 딱 하나만 가질 수 있다.
template 내부에 div태그 하나만 만들자.
<template>
  <div>
    app
  </div>
</template>

<script>
export default {

}
</script>

<style>

</style>
[가능] div 태그 1개만 최상위 레벨이다.
[불가능] div태그 2개가 최상위 레벨이다.
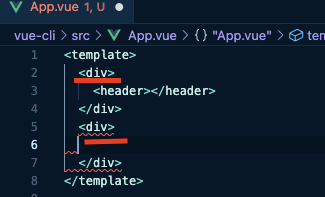
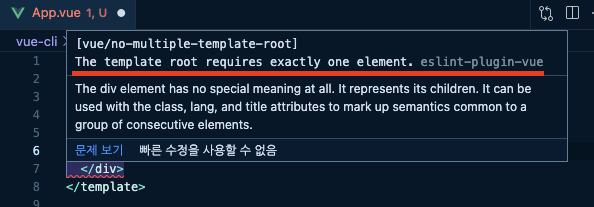
eslint가 표시한 빨간 줄에 hover 해보면,
The template root requires exactly one element.
템플릿 루트가 딱 하나의 엘리먼트를 요구한다고 설명이 뜬다.
3. npm run serve 로 실행하고 개발자도구 뷰 컴포넌트 확인
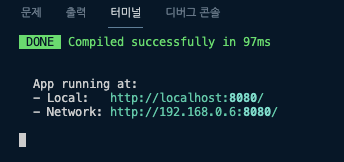
npm run serve뷰를 실행하면 터미널에 아래처럼 실행된 주소가 뜬다. 포트가 8080이다.
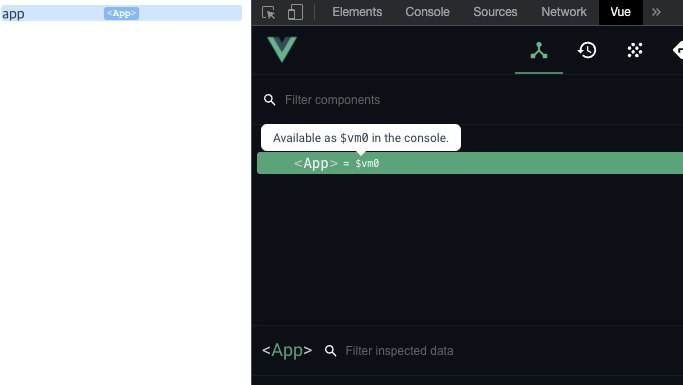
개발자도구를 켜보면 Root 컴포넌트가 보이는걸 확인할 수 있다.
4. 인스턴스 속성 정의하기
기존에는 data 정의를 아래와 같이 했었다.
new Vue({
data:{
str: 'hi'
}
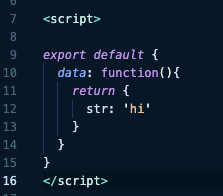
})이제는 export default 내에 data를 선언할 때,
function() return {} 형식으로 새 객체를 반환해야 한다.
여러 컴포넌트에서 동일한 값을 공유하면 안되기 때문이다.
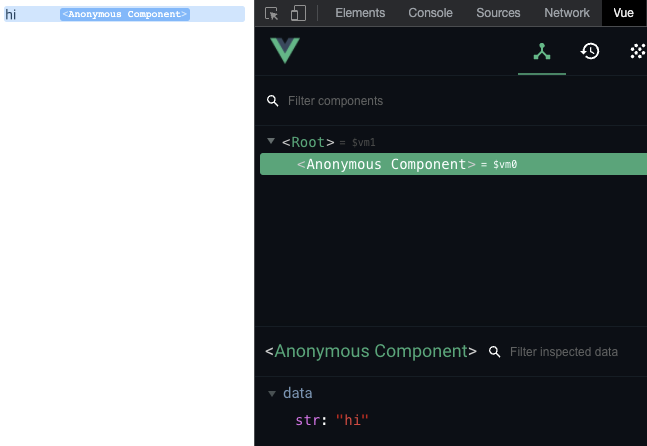
5. 콧수염 괄호로 데이터 바인딩
<template>
  <div>
    {{ str }}
  </div>
</template>

<script>

export default {
  data: function(){
    return {
      str: 'hi'
    }
  }
}
</script>

<style>

</style>
App.vue에 컴포넌트 등록하기
AppHeader라는 컴포넌트를 만들고, App.vue에 컴포넌트를 등록해보자.
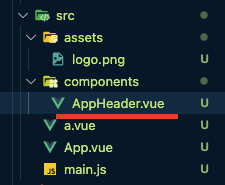
1. AppHeader 컴포넌트를 components 디렉토리에 추가
AppHeader.vue 뷰 파일을 만들고, vue명령어로 틀을 만든다.
h1 태그를 추가하자.
<template>
  <header>
      <h1>Header</h1>
  </header>
</template>

<script>
export default {

}
</script>

<style>

</style>
2. App.vue에 AppHeader 컴포넌트 Import를 작성
script 태그 내에 컴포넌트 명과 경로를 Import 문을 작성한다.
import 컴포넌트 이름 from './상대경로 작성'
import 하면, AppHeader 컴포넌트를 변수처럼 쓸 수 있다.
<script>
import AppHeader from './components/AppHeader.vue'

export default {
  data: function(){
    return {
      str: 'hi'
    }
  }
}
</script>
3. App.vue의 components에 AppHeader 컴포넌트를 등록하자.
components 속성 안에 AppHeader 컴포넌트를 'app-header'라는 이름으로 등록했다.
<script>
import AppHeader from './components/AppHeader.vue'
export default {
data: function(){
return {
str: 'hi'
}
},
components: {
'app-header': AppHeader
}
}
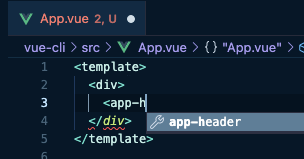
</script>4. template에 컴포넌트 등록해보기
template에 컴포넌트 태그를 등록하려면 자동완성으로 app-header가 보인다.
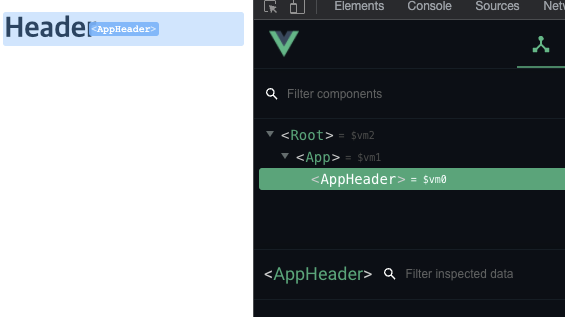
5. 저장하고 개발자도구에서 컴포넌트가 등록되었는지 확인하자
실습한 전체 코드
<template>
  <div>
    <app-header></app-header>
  </div>
</template>

<script>
import AppHeader from './components/AppHeader.vue'

export default {
  data: function(){
    return {
      str: 'hi'
    }
  },
  components: {
    'app-header': AppHeader
  }
}
</script>

<style>

</style>
다음 시간에는 싱글 파일 컴포넌트에서 props 속성을 사용해보자