step4. flexbox 파뤼타임
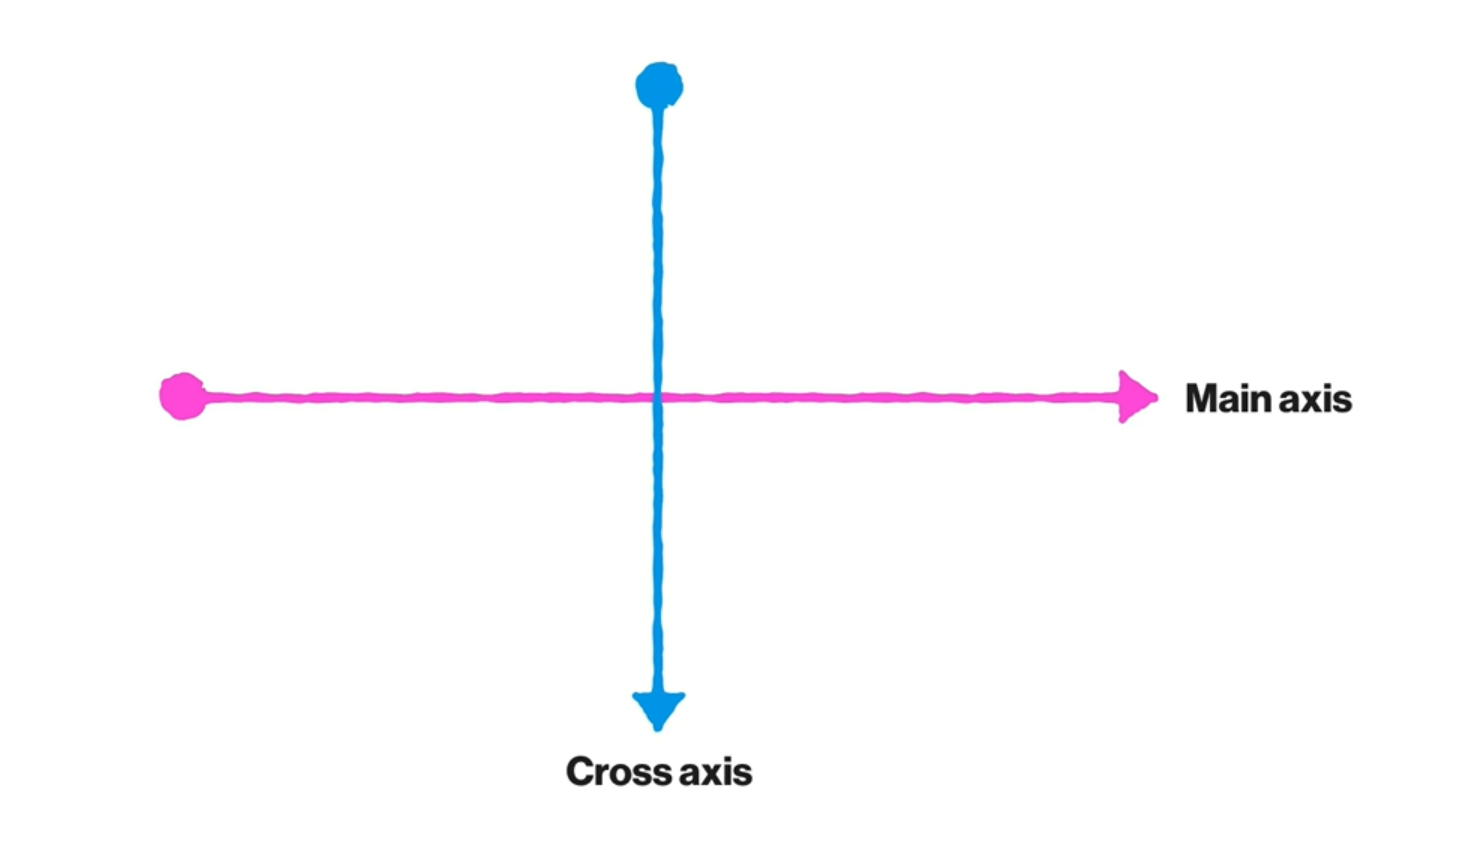
정렬을 할 때,
Main axis를 기준으로 정렬 -> justify-content,
Cross axis를 기준으로 정렬 -> align-items, align-content를 사용하면 된다.
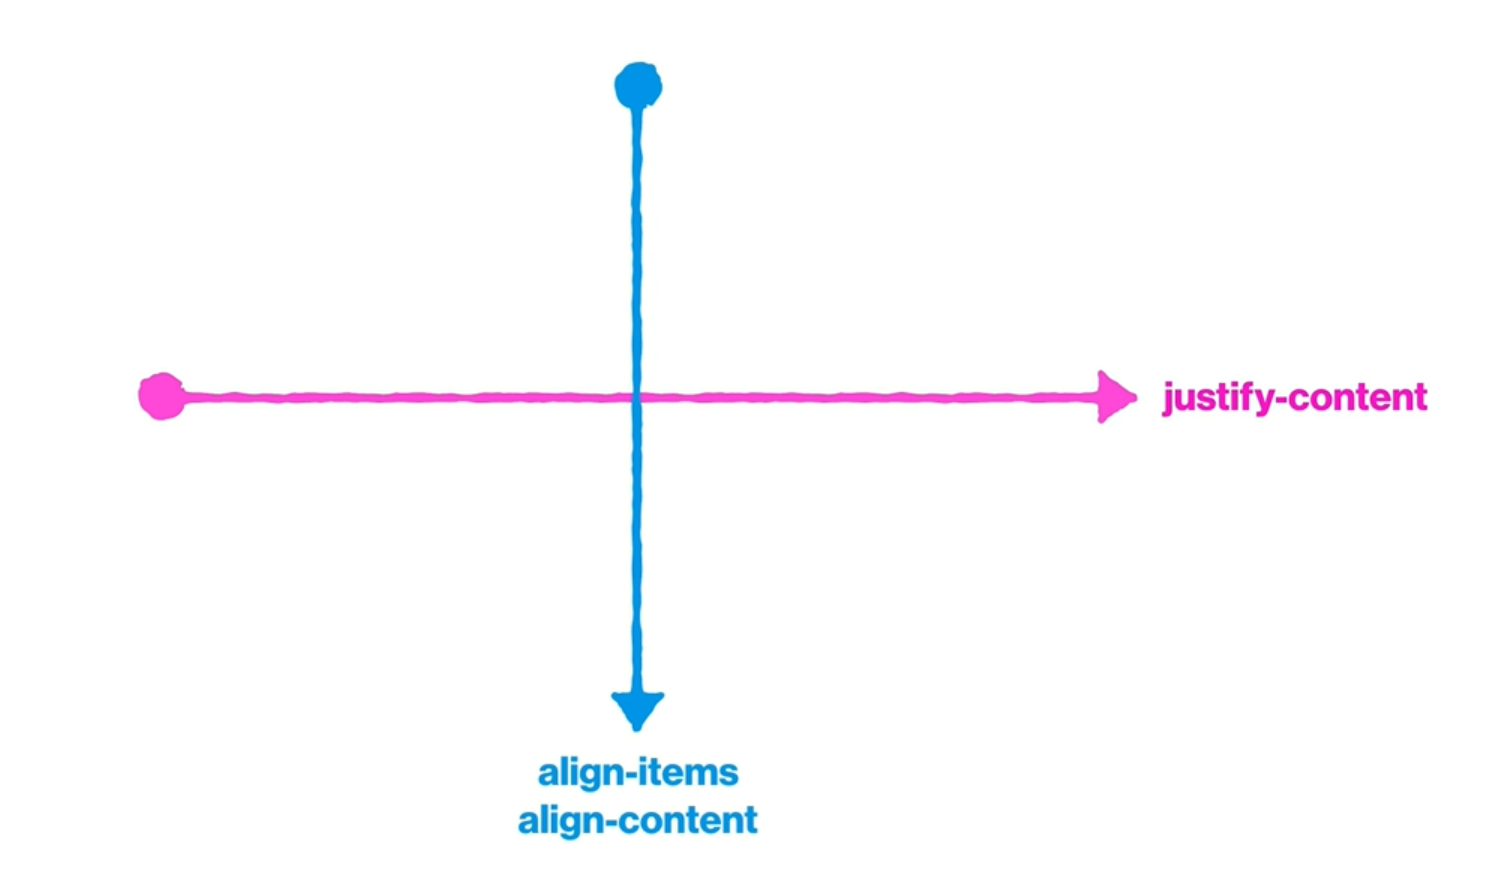
예시로 확인해보자
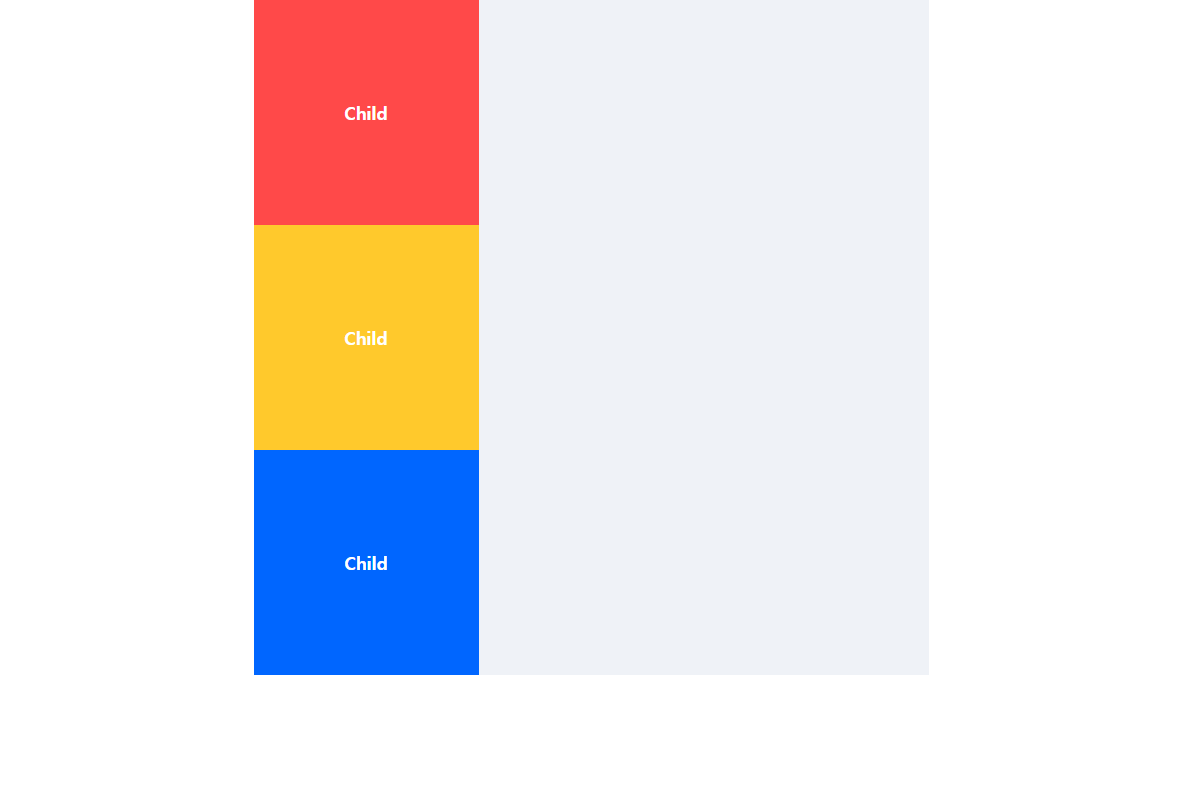
수정 전 코드
index.html
<!DOCTYPE html>
<html lang="en">
  <head>
    <meta charset="UTF-8" />
    <meta name="viewport" content="width=device-width, initial-scale=1.0" />
    <title>Position</title>
    <link rel="stylesheet" href="./style.css" />
  </head>
  <body>
    <div class="parent">
      <div class="child red">Child</div>
      <div class="child yellow">Child</div>
      <div class="child blue">Child</div>
    </div>
  </body>
</html>
styles.css
* {
  box-sizing: border-box;
  margin: 0;
}

body {
  font-family: 'Poppins', sans-serif;
  color: #212529;
}

.parent {
  width: 600px;
  margin: 0 auto;
  background-color: #eff2f7;
}

.child {
  width: 300px;
  height: 200px;
  line-height: 200px;
  text-align: center;
  color: #fff;
  font-weight: 600;
}

.red {
  background-color: #ff4949;
}

.yellow {
  background-color: #ffc92c;
}

.blue {
  background-color: #0066ff;
}
flex를 주면?
.parent {
  display: flex;
  flex-direction: row;
  flex-wrap: nowrap;
  width: 600px;
  margin: 0 auto;
  background-color: #eff2f7;
}빨강이, 노랑이, 파랑이 셋을 감싸고 있는 부모에게 flex 속성을 준다.
parent의 width가 600px이다.
근데 child들의 width는 300px이지만,
한 줄에 욱여넣기 위해 nowrap 속성을 줘보도록 하자.
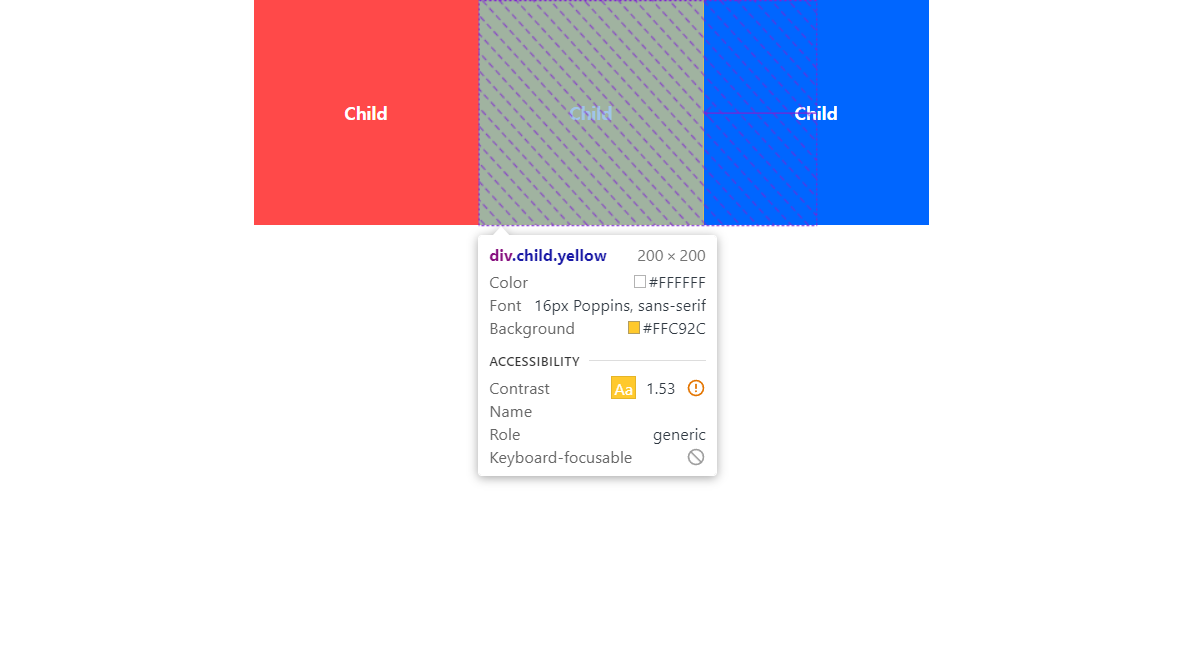
600px에 맞추기 위해 child들의 width가 200px로 맞추어진 것을 확인할 수 있다!
row로 flex 정렬을 연습해보자 (justify-content)
다시, parent와 child에 width를 각각 1000px, 200px을 줘 보았다.
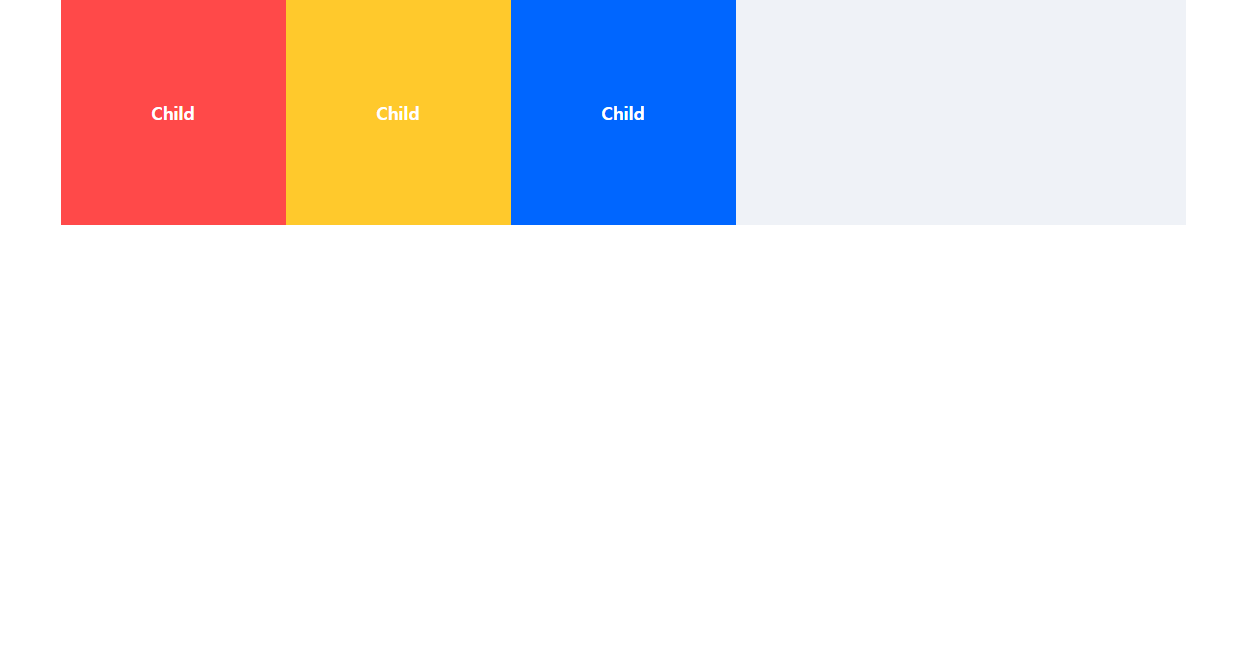
flex-direction: row 이므로 main-axis가 왼쪽에서 오른쪽 방향으로 흐르고 있을 것이다.
.parent {
  display: flex;
  flex-direction: row;
  flex-wrap: nowrap;
  justify-content: center;
  width: 1000px;
  margin: 0 auto;
  background-color: #eff2f7;
}부모에게 Main axis를 따라 정렬할 수 있도록, justify-content: center; 값을 주었다.
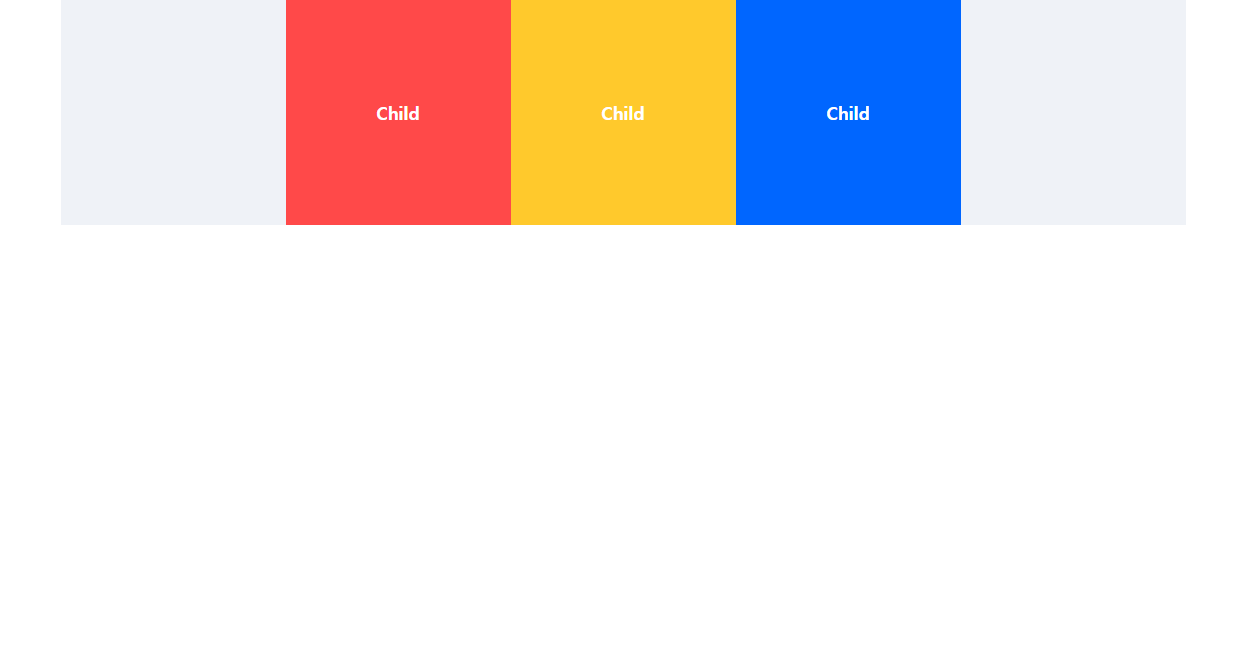
그랬더니 중앙 정렬이 되었다.
이번에는 center 말고 flex-start를 줘 보도록 하자.
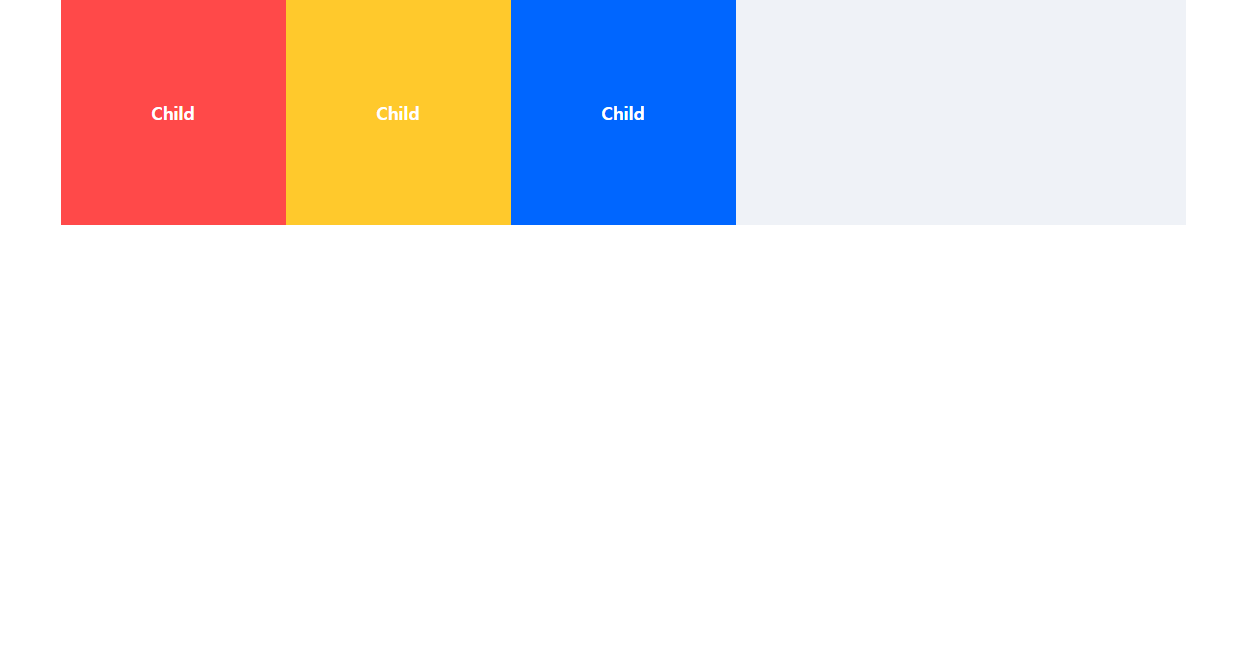
시작점인 왼쪽이 된 것을 볼 수 있다.
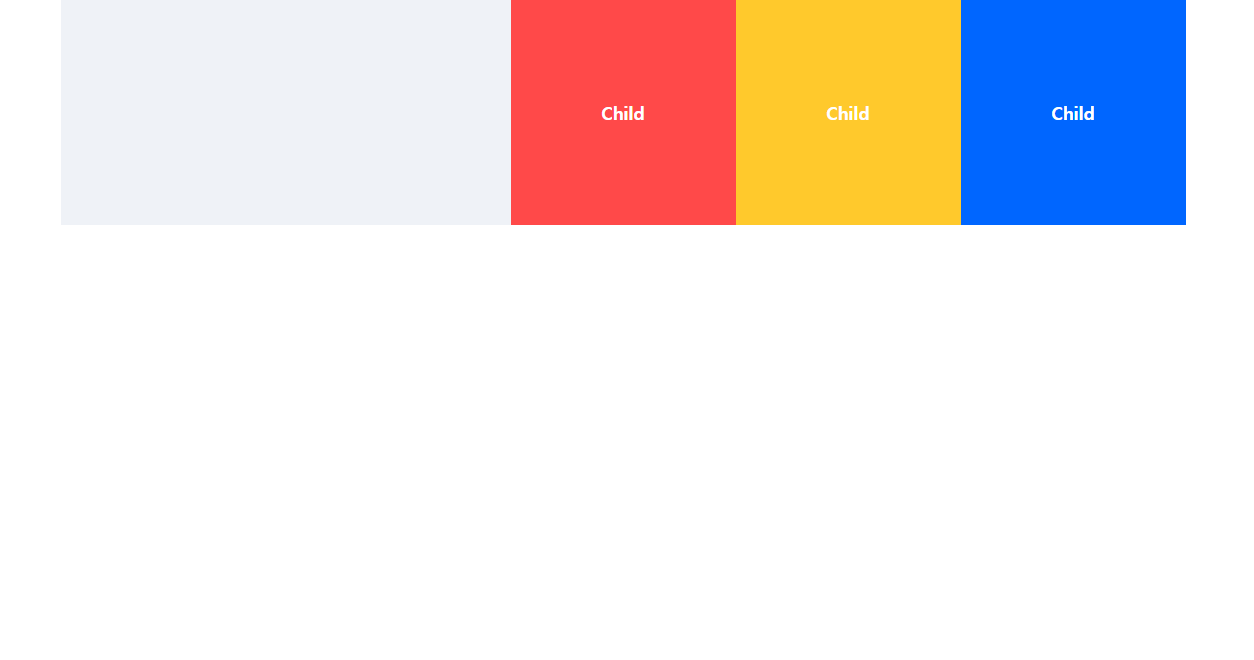
flex-end를 주면 당연히 오른쪽에 맞추어 정렬이 된다.
만약 row가 아닌 row-reverse 였다면,
오른쪽이 start 지점이므로, 오른쪽에서부터 정렬이 될 것이다!
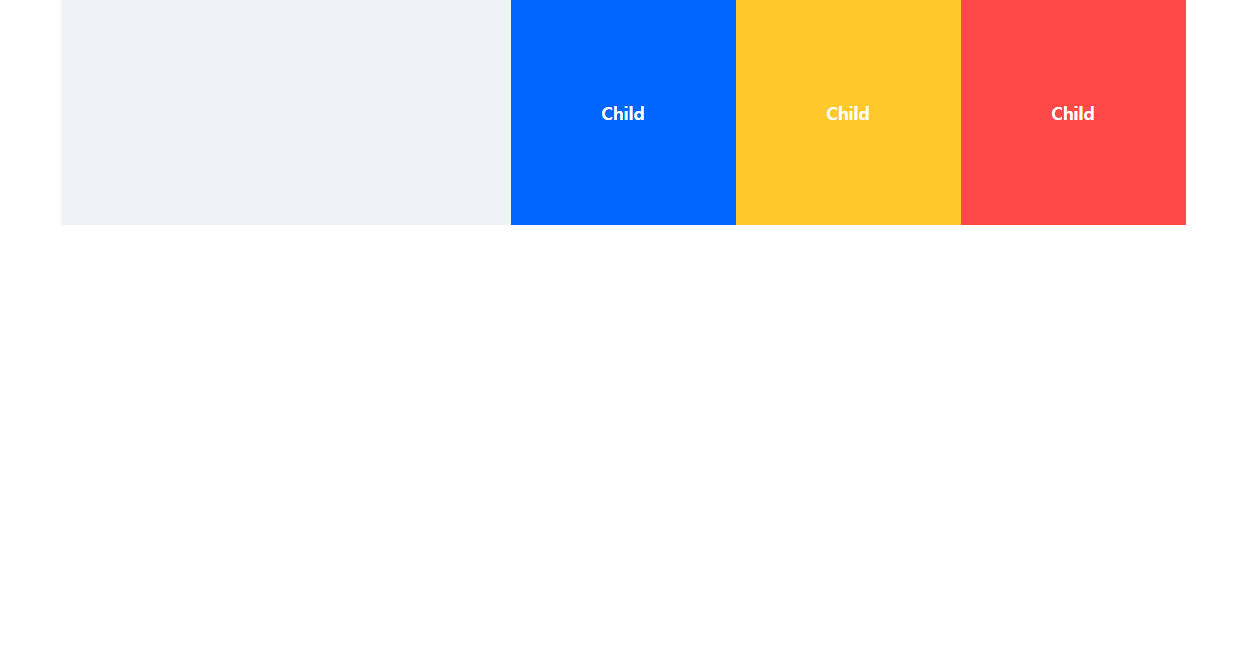
float의 경우 왼쪽 혹은 오른쪽 정렬 밖에 되지 않았다!
개쩌는 기능이라는 것을 한 번 느끼자..!!
justify-content 그 외 쩌는 기능들
justify-center: space-between; 을 사용하는 경우,
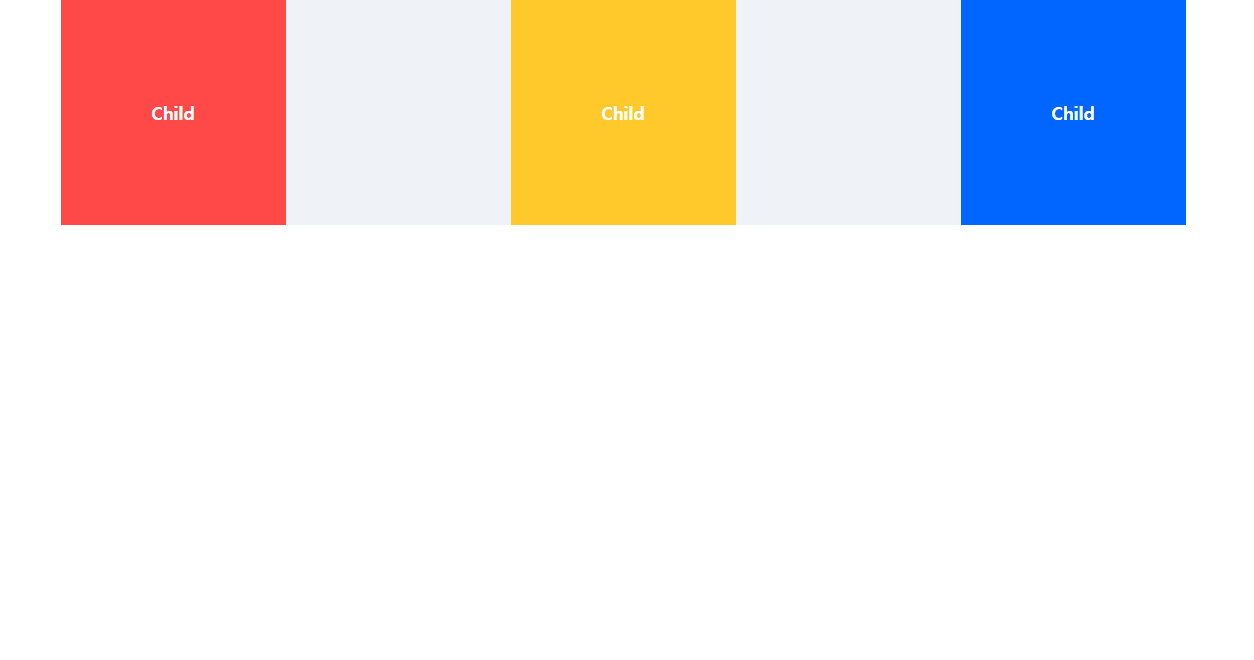
이렇게 일정한 간격으로 자식들이 띄어진다.
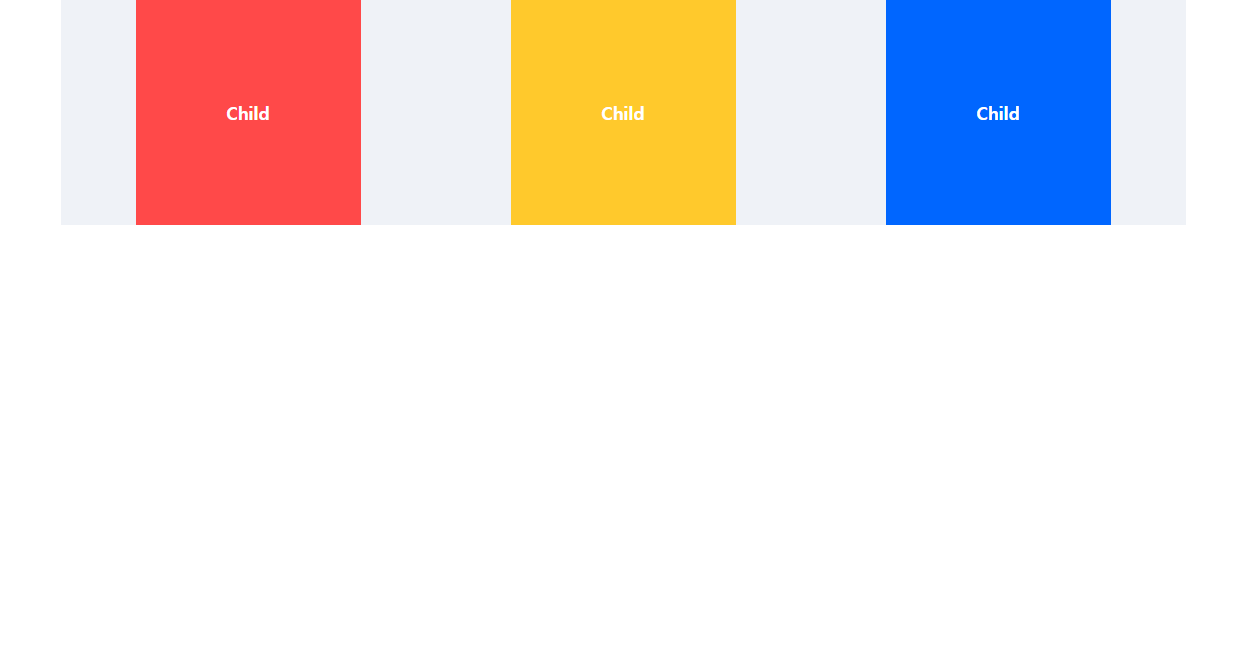
justify-center: space-around;를 하면,
각 요소의 좌/우 공백이 일정하게 생긴다.
이번엔 column으로 정렬을 연습해보자
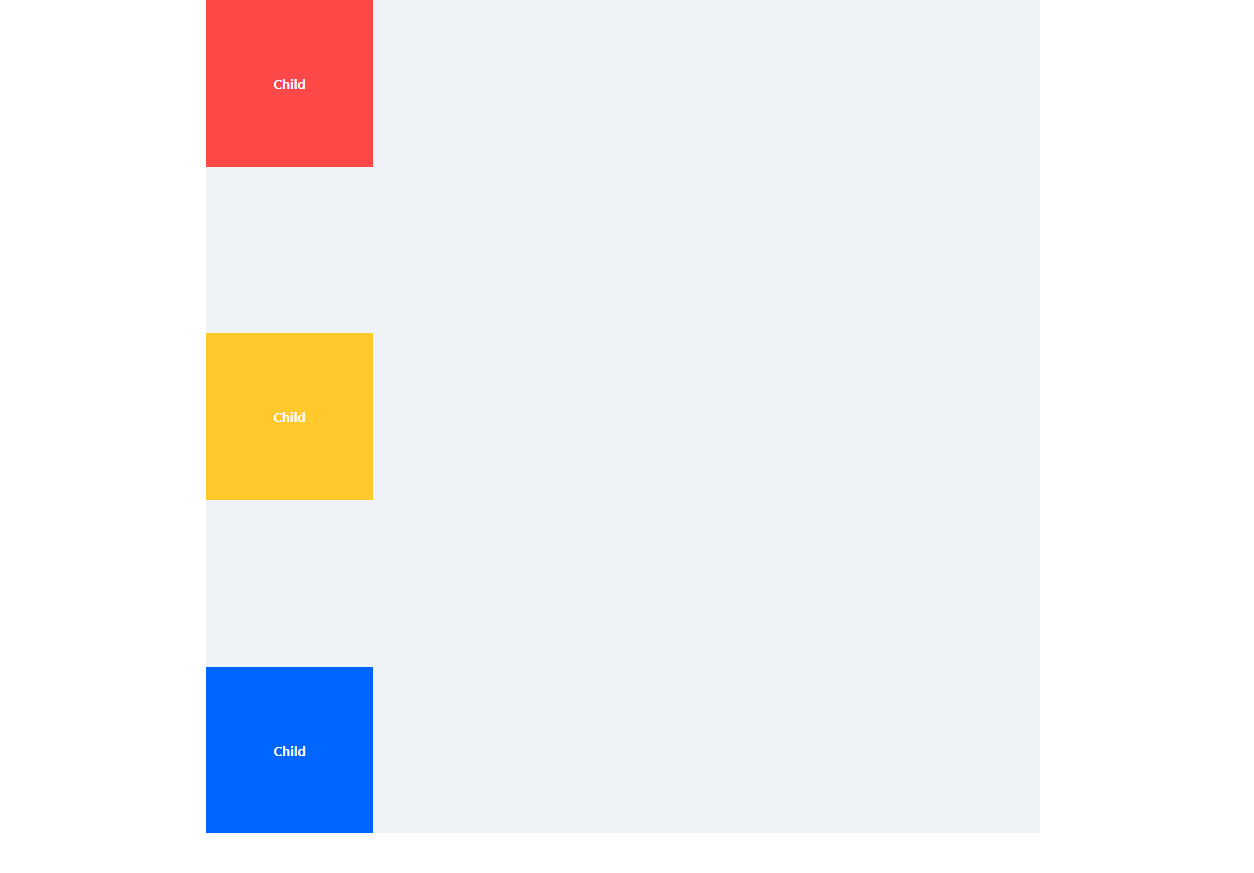
parent의 height를 1000px로 주었다.
justify-conent: center; 를 하는 경우
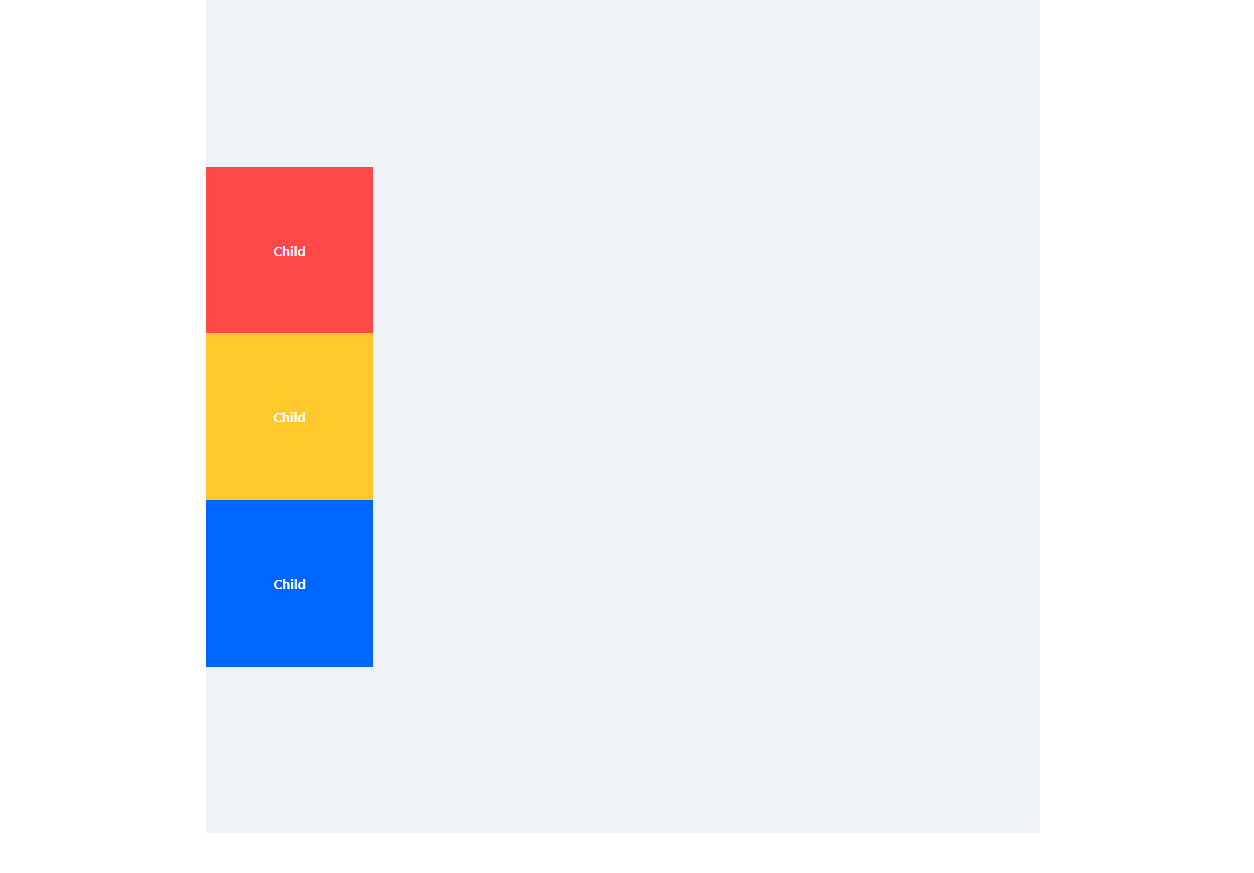
당연하게도 중앙 정렬이 된다.
space-between의 경우,
space-around의 경우
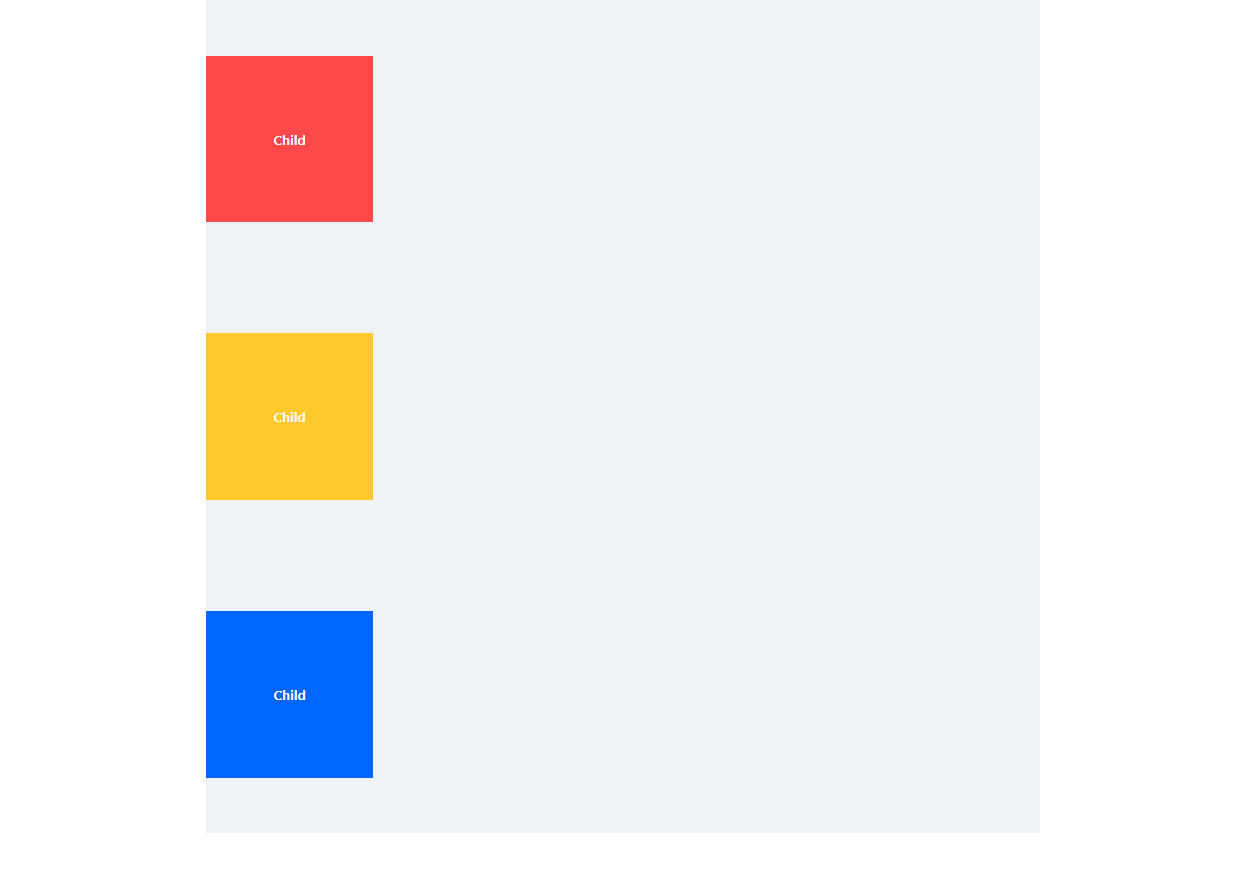
row 때와 동일하게 Main axis를 기준으로 정렬이 된다.
cross-axis 방향으로 정렬해보자! (align-items)
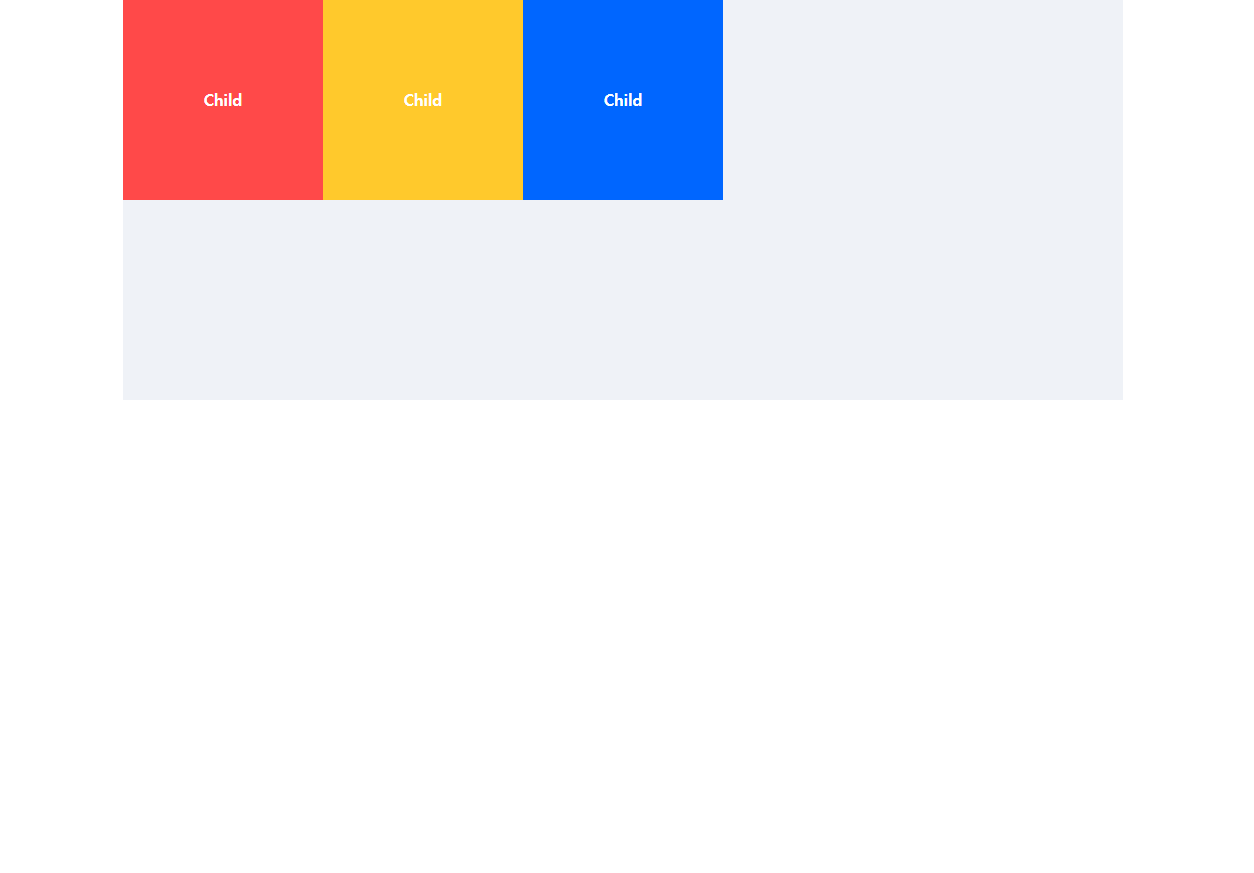
이 상태에서 align-items: center 속성을 주게 되면,
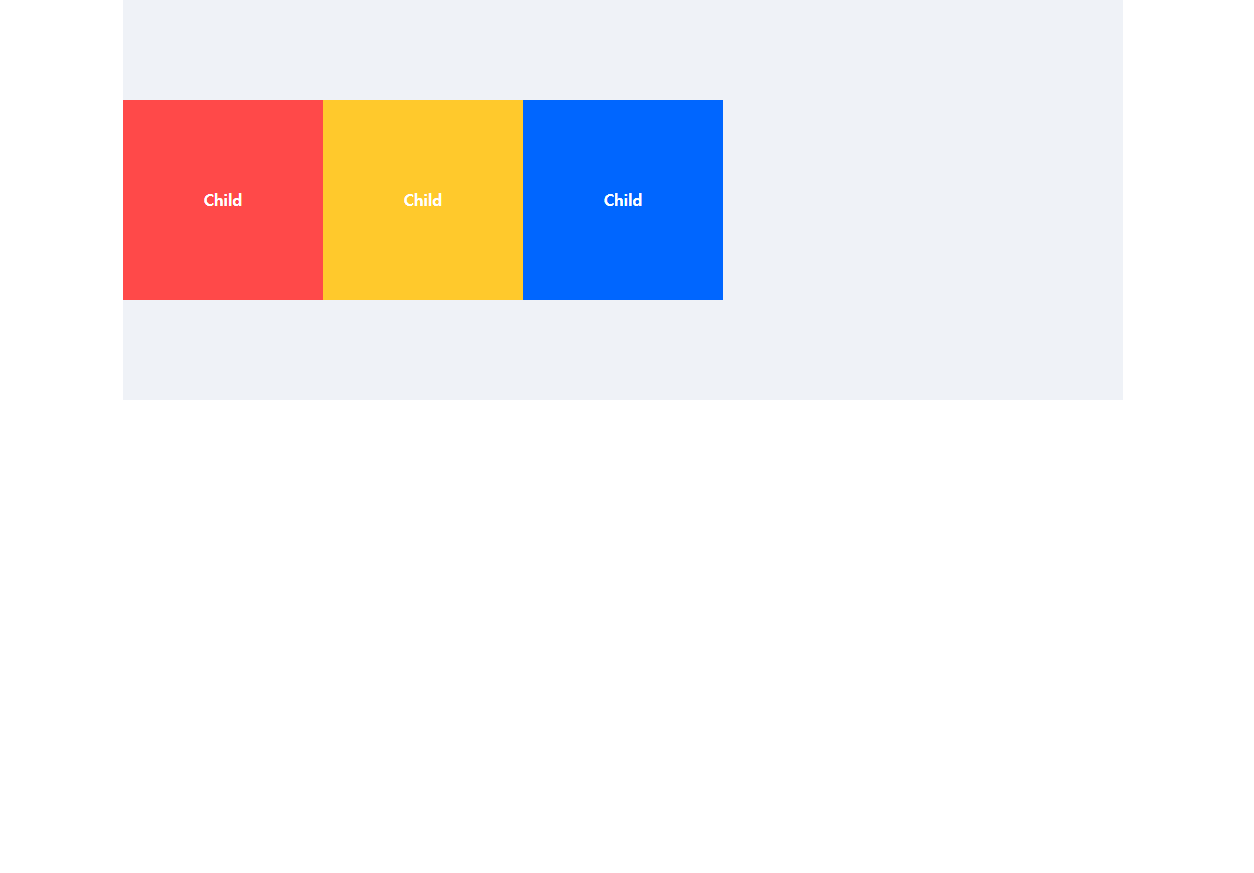
세로로 중앙 정렬이 된다!
flex-end 속성을 주게 되면,
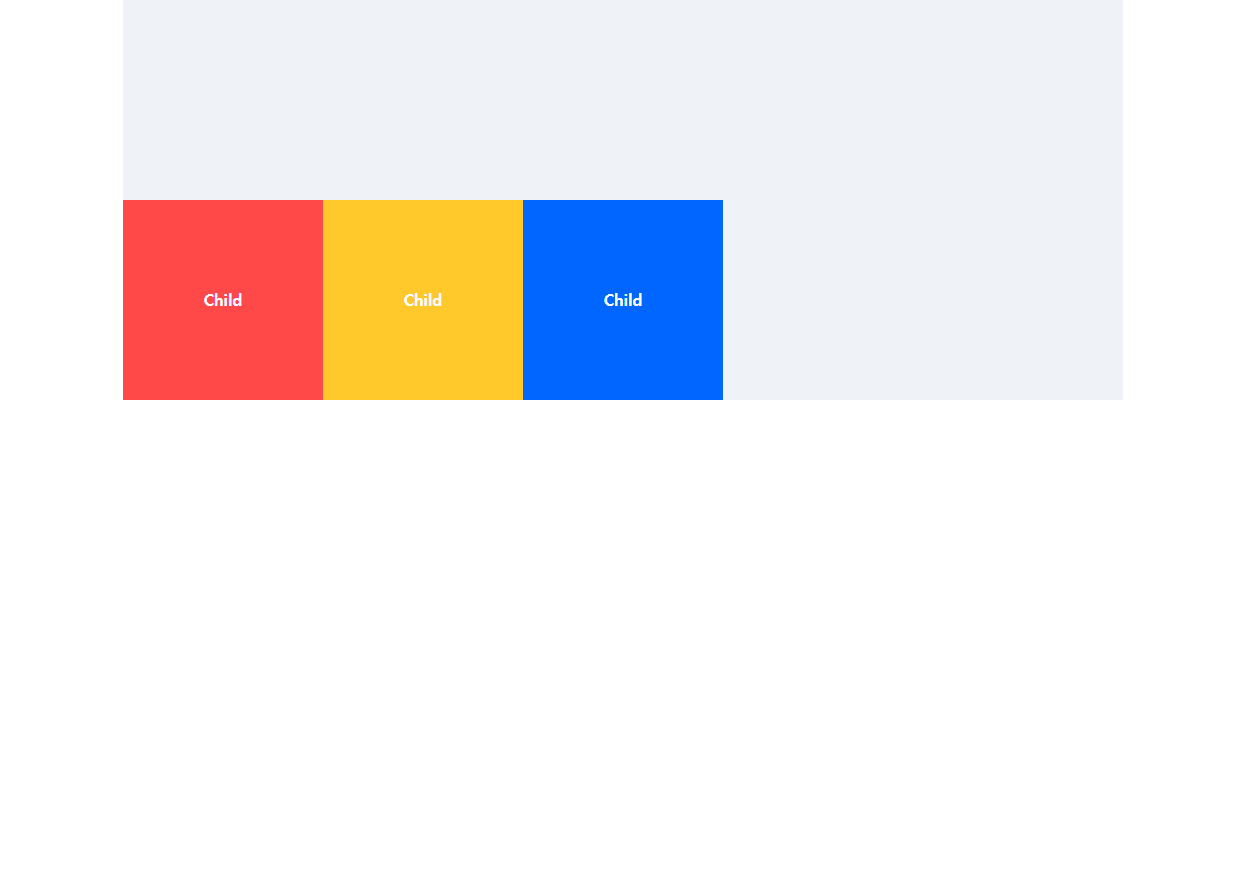
위에서 아래로 흐르므로 아래에 배치가 된다.
space-between과, space-around 같은 경우 요소와 요소 사이에 대한 속성이므로 Cross axis 방향으로는 적합하지 않다!
column 방향인 경우에도 동일하다!
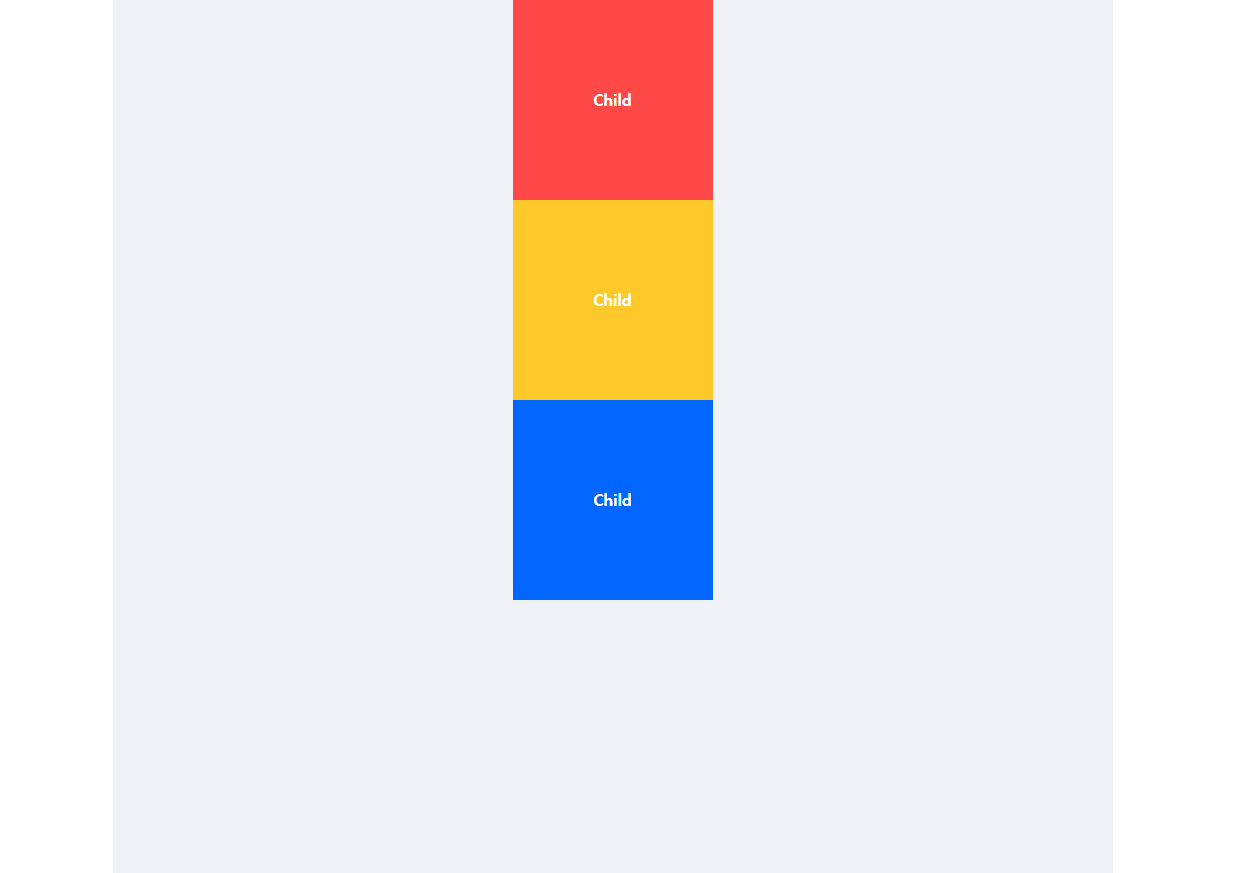
justify-content: center와 align-items: center 두 속성을 모두 주게 되면
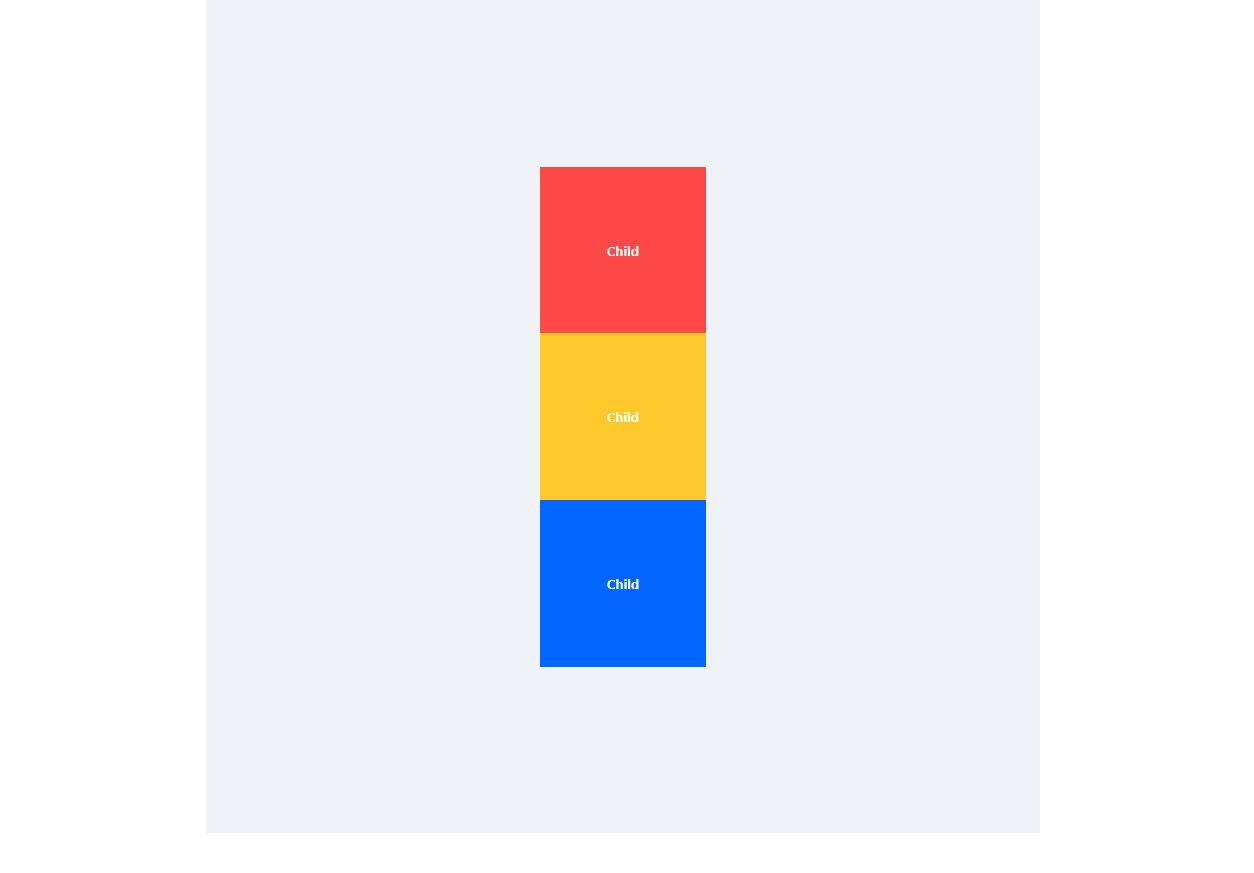
이렇게 Main axis와 Cross axis 두 방향 모두에서 가운데 정렬이 된다.
align-content
align-contents를 사용하기 위해서는 wrap을 사용하여야 한다!
.parent {
  display: flex;
  flex-direction: row;
  flex-wrap: wrap;
  width: 600px;
  height: 1000px;
  margin: 0 auto;
  background-color: #eff2f7;
}

.child {
  width: 300px;
  height: 200px;
  line-height: 200px;
  text-align: center;
  color: #fff;
  font-weight: 600;
}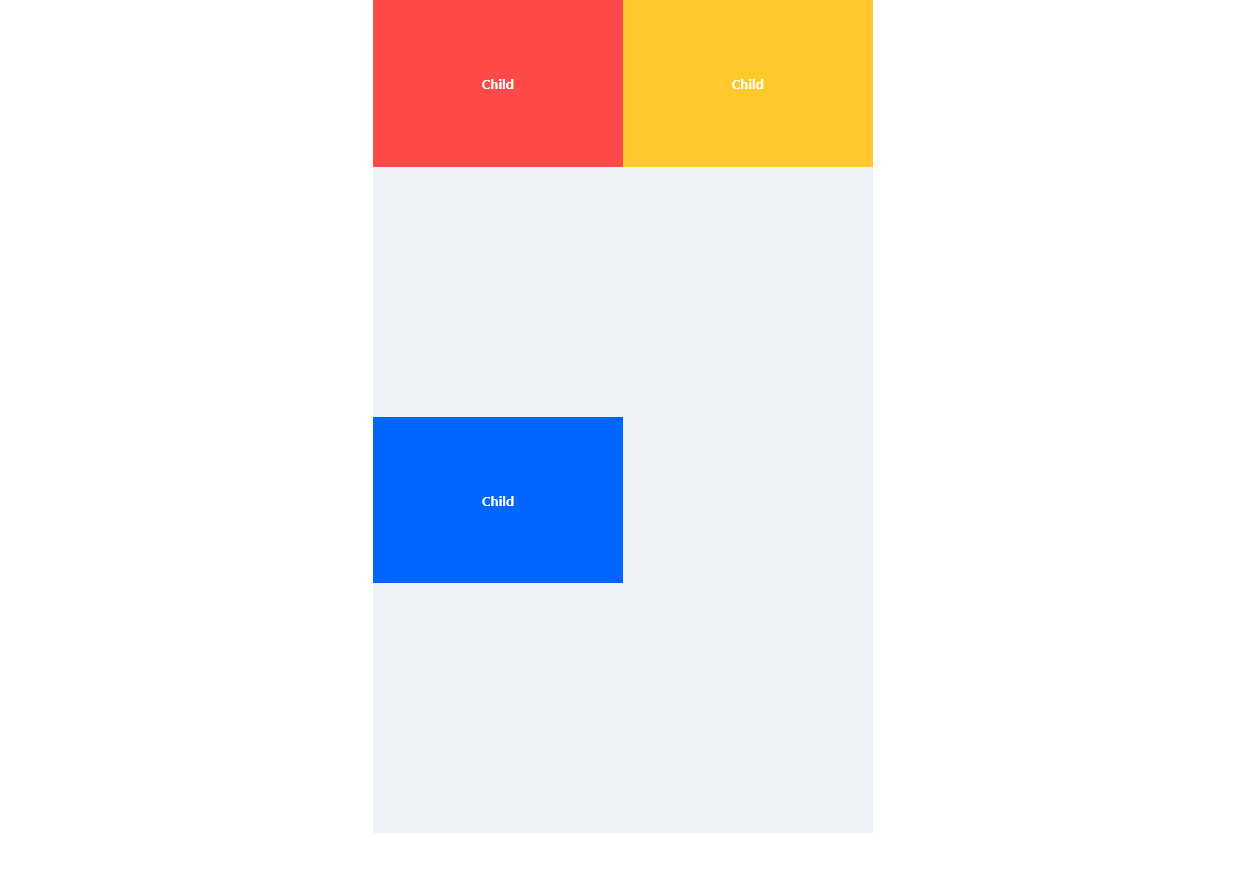
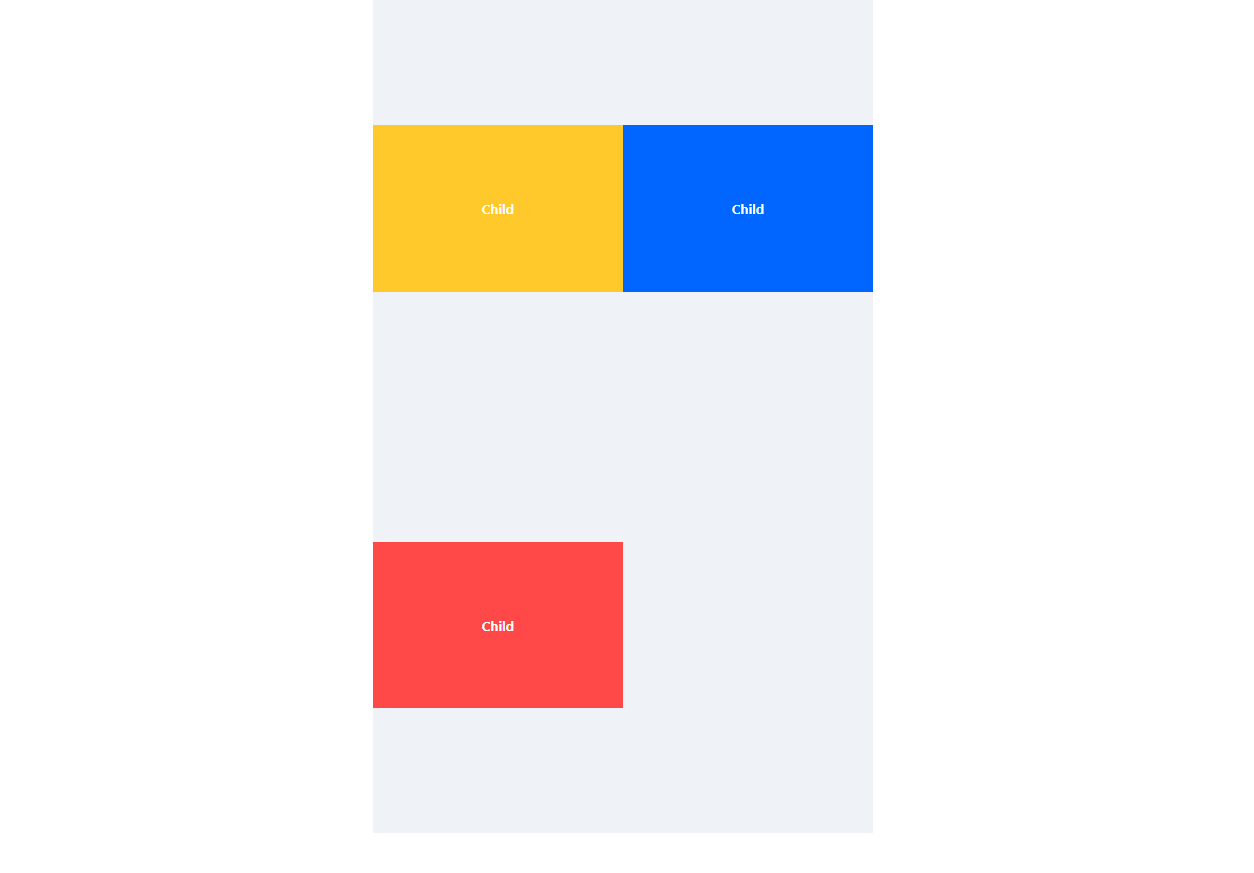
child가 300px, parents가 600px 이므로 한칸이 밀린다.
위에서와 같이 align-items: center;을 주게 되면
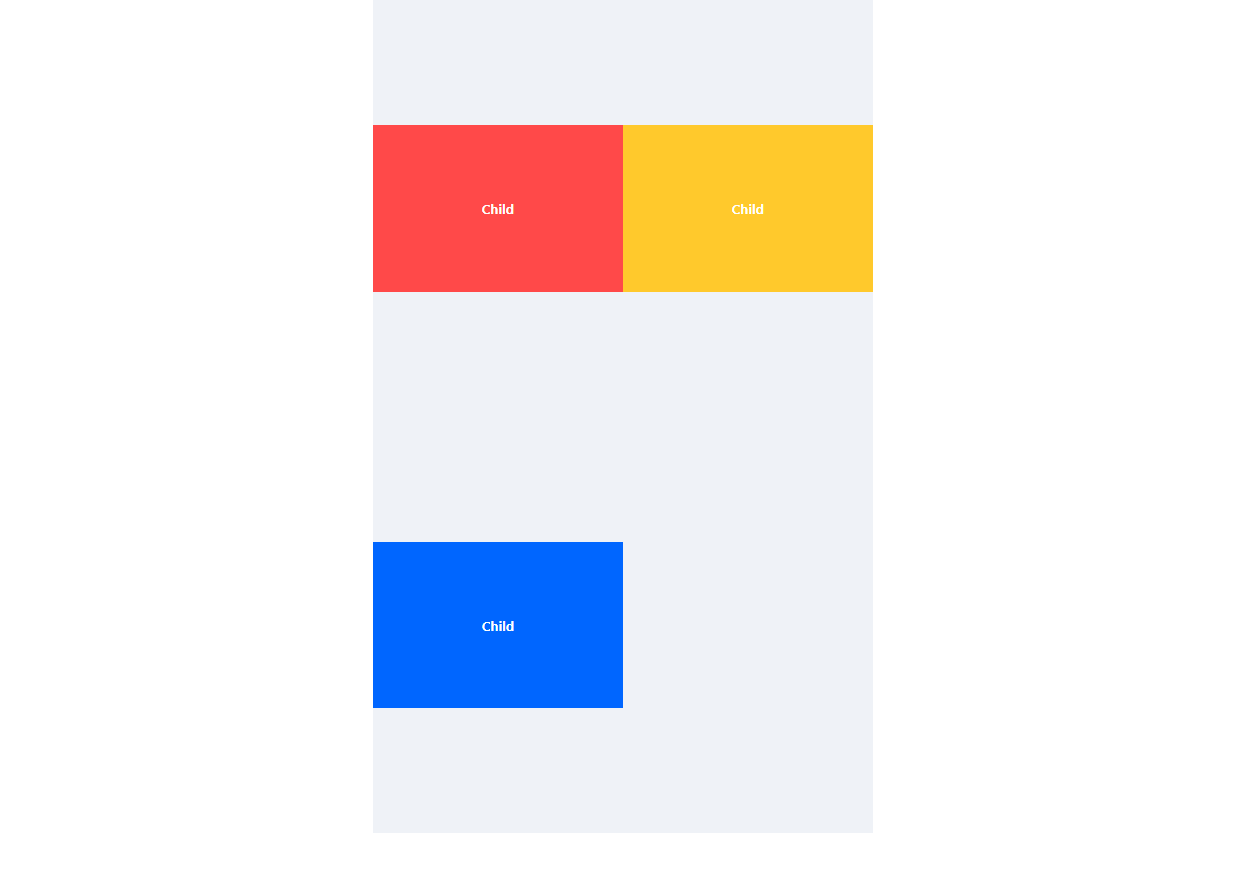
뭔가 탐탁지 않게 이동이 된다.
align-items: flex-end; 설정을 해주면,
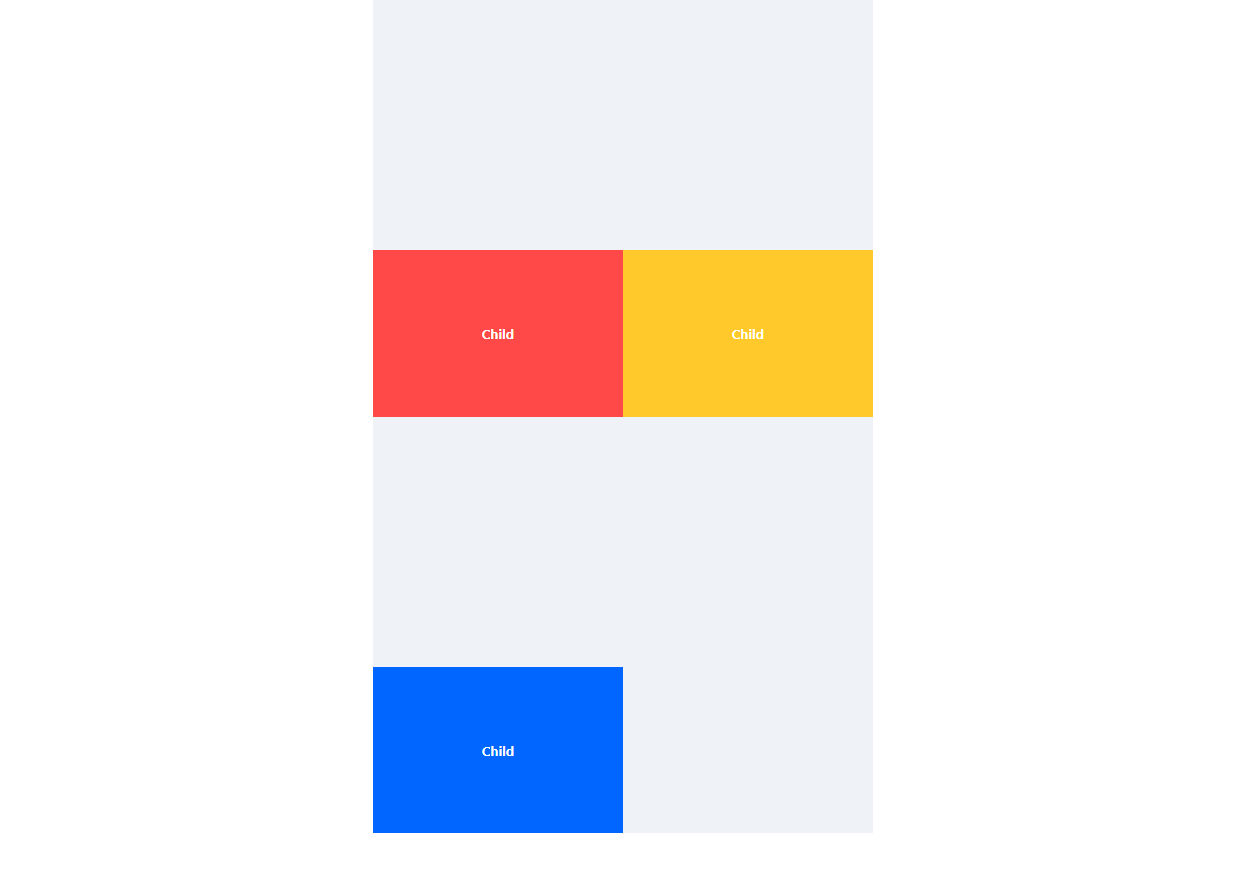
이제 보니, Cross axis가 2개가 생기게 된다.
하지만 전체 흐름에서 정렬을 하고싶다면,
align-content를 사용하면 된다.
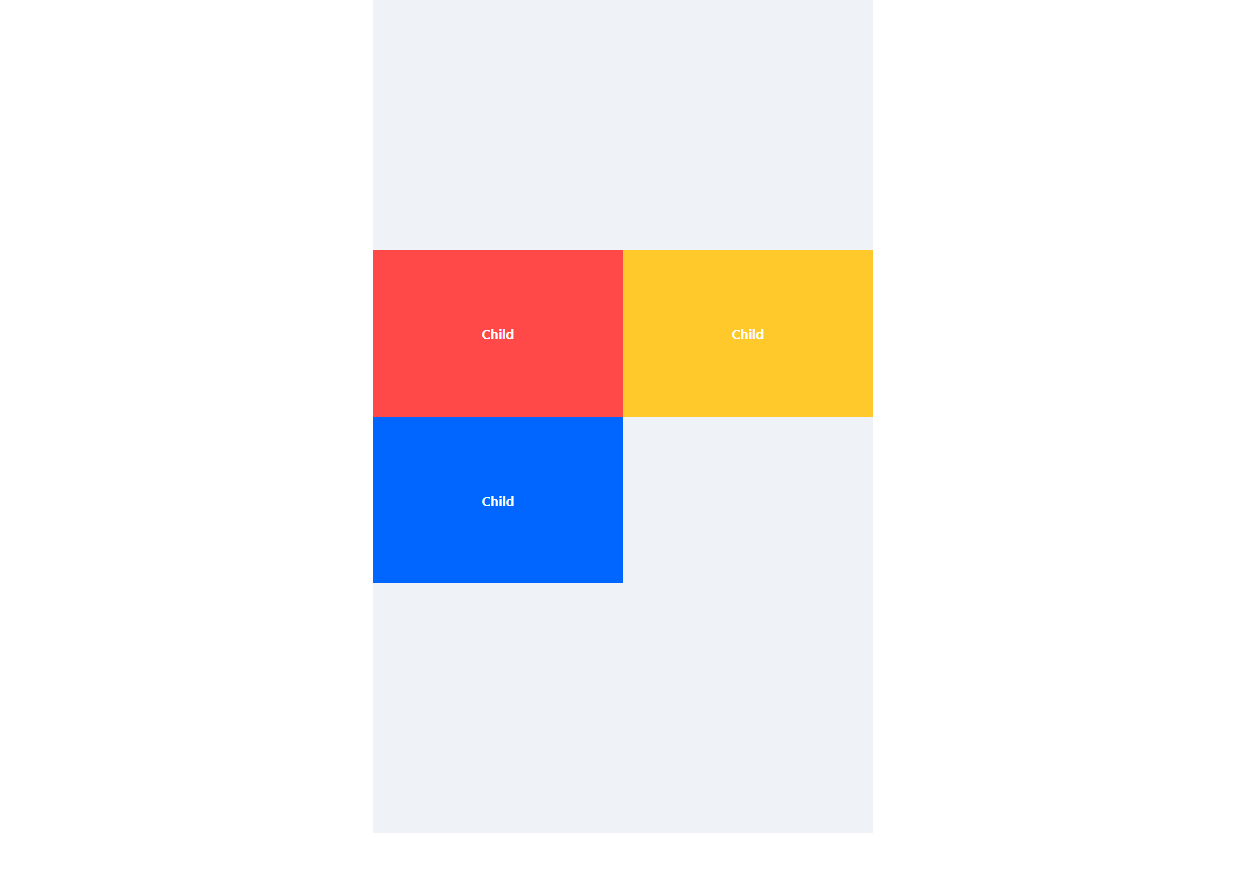
flex-end인 경우,
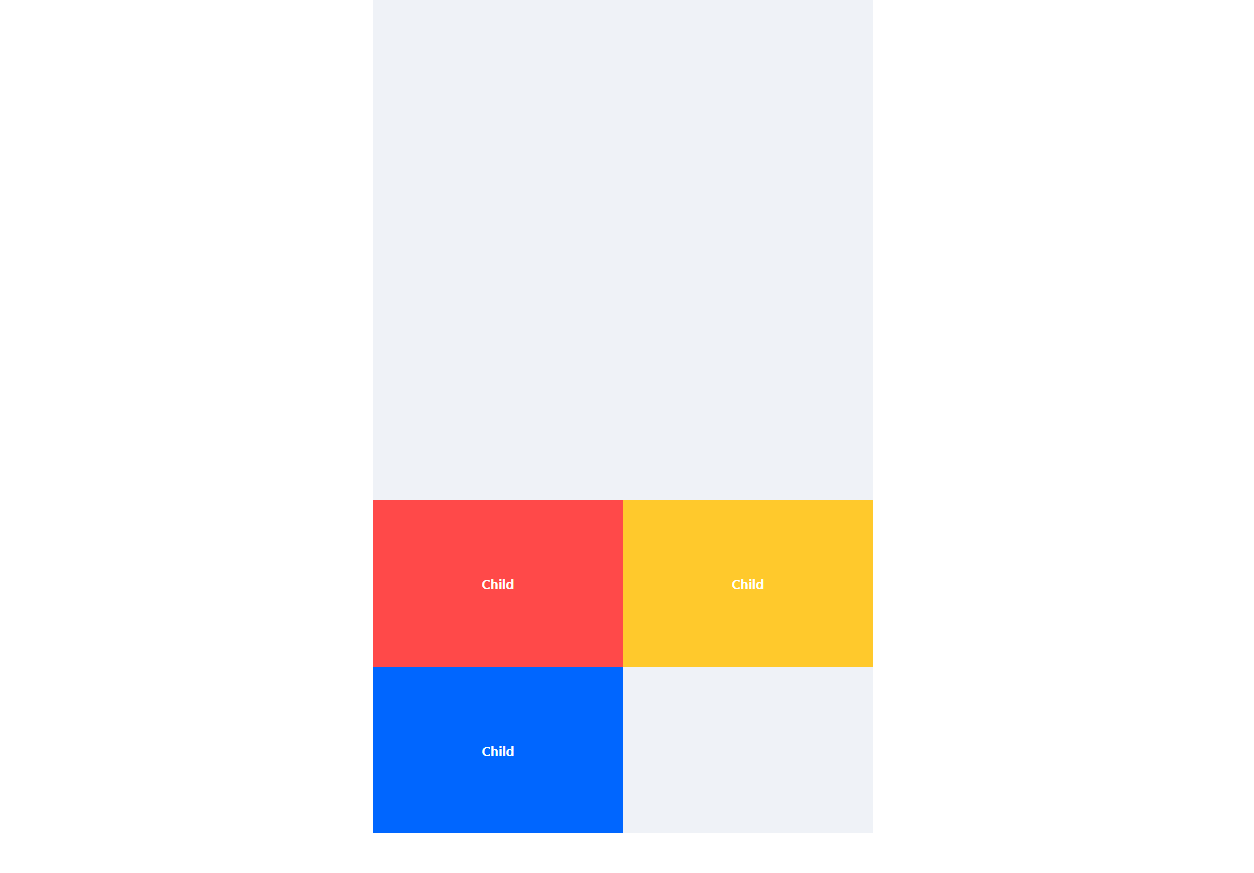
축이 2개이므로, 요소 사이의 간격도 조절이 가능함!
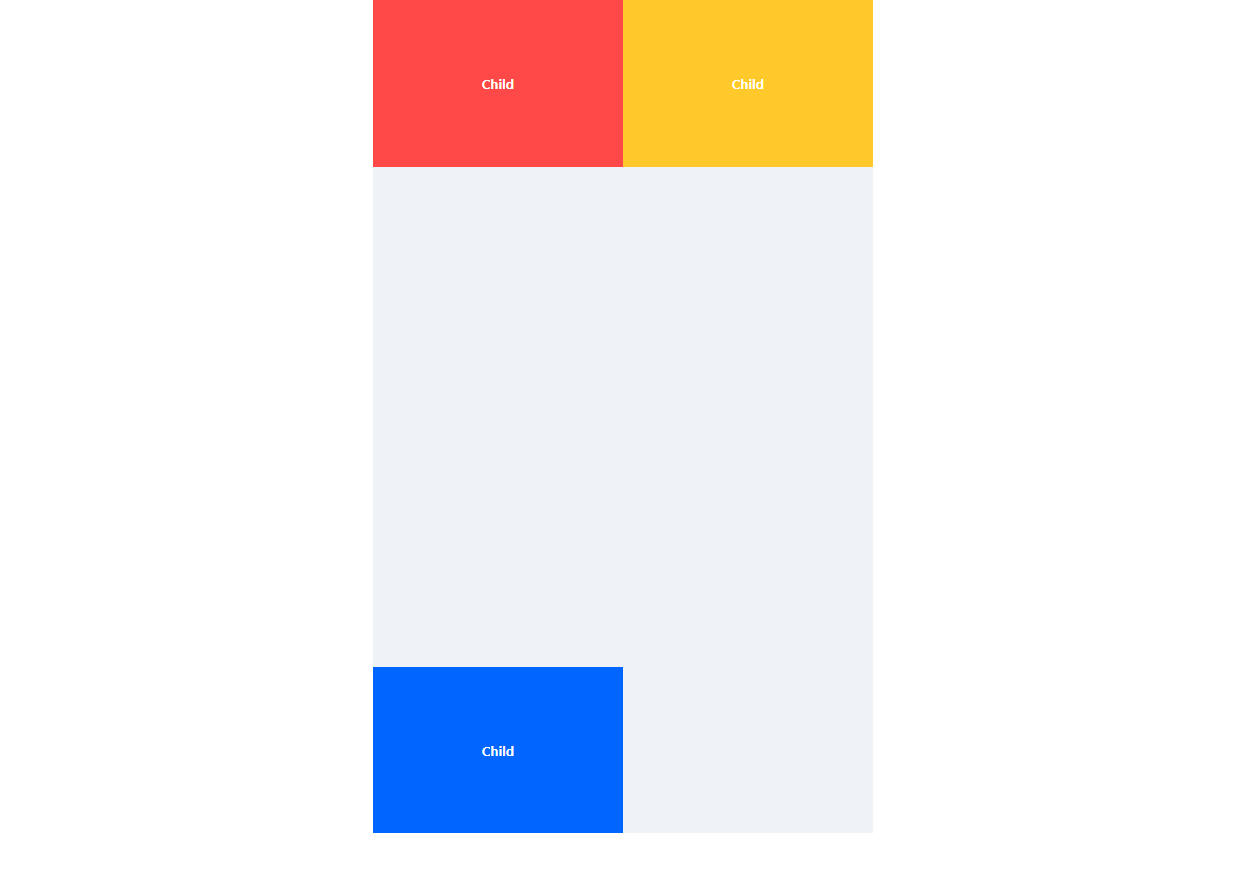
전체의 cross axis를 따라 흐르는 요소들 사이의 간격을
space-between 혹은 space-around를 사용하여 조절할 수 있다!
space-between을 쓰는 경우,
space-around를 쓰는 경우,
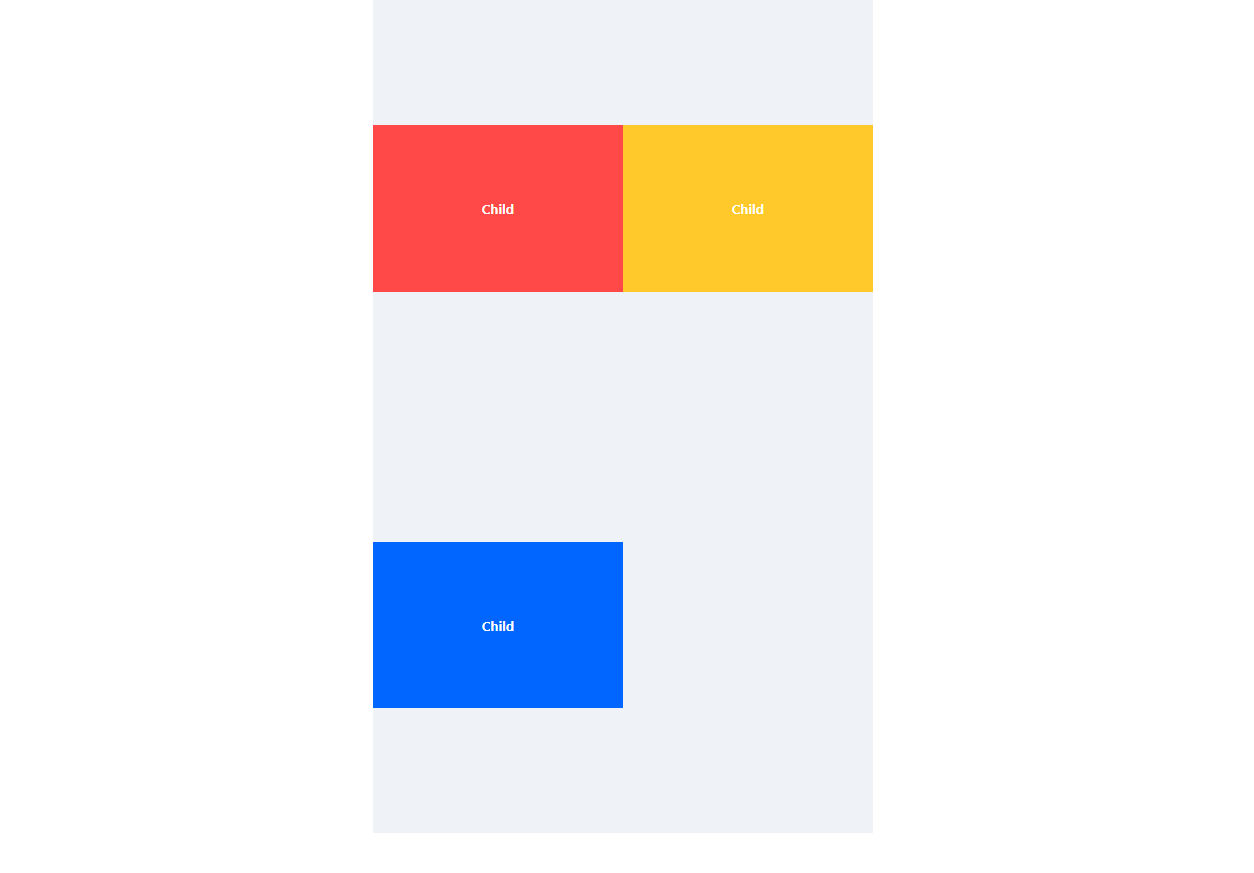
이렇게 Main axis뿐 아니라, Cross axis에 대해서도 간격 조절이 가능하다.
(nowrap인 경우에는 불가능)
헷갈려 ㅠ.ㅠ

일단 align-items를 쓰고 뭔가 탐탁치 않으면 align-content를 사용하도록 하자!
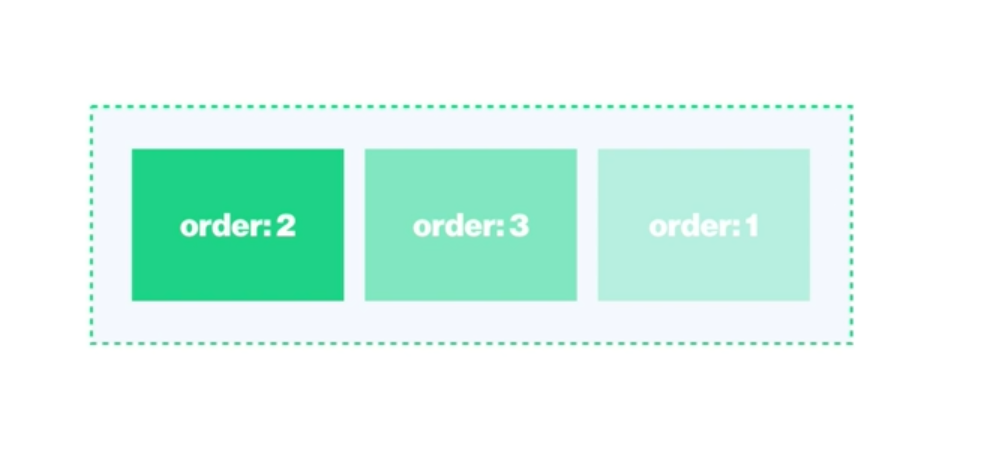
order를 쓰면 마크업 순서를 뒤집을 수 있다!
.red {
  order: 3;
  background-color: #ff4949;
}

.yellow {
  order: 1;
  background-color: #ffc92c;
}

.blue {
  order: 2;
  background-color: #0066ff;
}
마크업 순서와 완전히 바뀐 것을 확인할 수 있다!!
float를 쓸 때에는 상상도 못할 기능!!
