form 태그 정리
form 태그
form 태그 형식
browser에게 form을 쓰겠다고 알려주는 태그!
form태그 안에 들어가는 다양한 field들을 알아두자!
<form action="API 주소" method="GET / POST"> </form>1. input 태그
입력창, input field (인풋 필드) 라고도 한다
⚠ Syntax Alert : 반드시 type 속성을 넣어 주어야 한다!
<input type="text" />type="text"
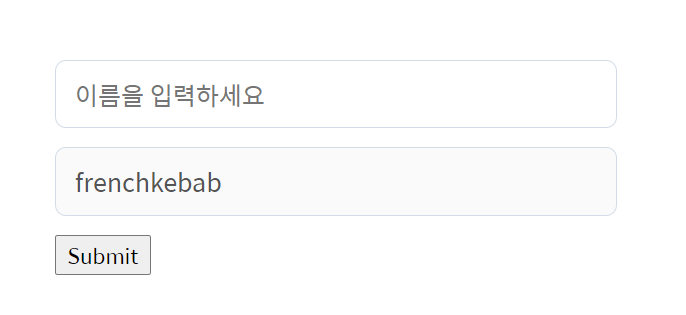
<form action="" method="GET">
  <input type="text"
         placeholder="이름을 입력하세요"
         minlength="5"
         maxlength="13"
         required />

  <input type="text"
         placeholder="아이디을 입력하세요"
         value="frenchkebab"
         disabled />
  <button>Submit</button>
</form>
<사용된 속성>
- type
- placeholder
- minlength, maxlength
- required / disabled
- value
type="email"
<form action="" method="GET">
  <input type="email" placeholder="이메일을 입력하세요" />
  <button>Submit</button>
</form>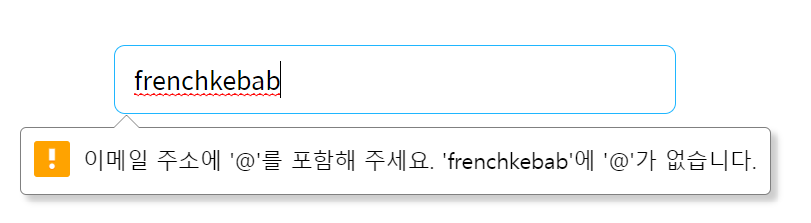
전송하기 전에 이메일 형식에 맞는지를 검사해 준다
type="password"
<form action="" method="GET">
  <input type="password" placeholder="비밀번호를 입력하세요" minlength="6" />
  <button>Submit</button>
</form>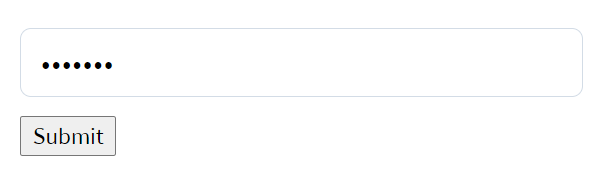
type="url"
<form action="" method="GET">
  <input type="url" placeholder="url을 입력하세요" minlength="6" />
  <button>Submit</button>
</form>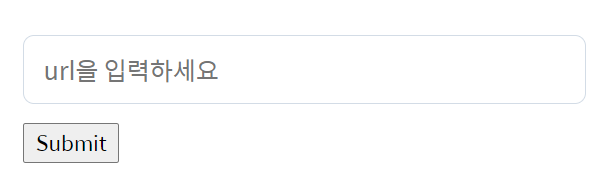
type="number"
<form action="" method="GET">
  <input type="number" min="12" max="122" placeholder="나이를 입력하세요" />
  <button>Submit</button>
</form>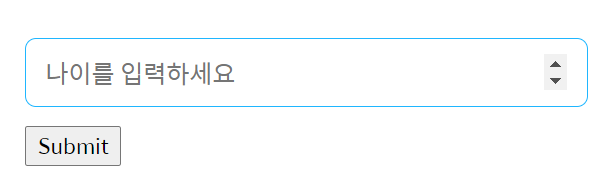
문자는 입력이 되지 않는다.
또한, max와 min 속성으로 값의 범위를 제한할 수 있다.
type="file"
<form action="" method="GET">
  <input type="file" accept=".png, .jpg" />
  <button>Submit</button>
</form>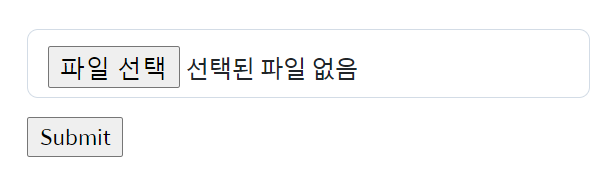
원하는 확장자만 제한하여 파일을 업로드하도록 할 수 있다
2. label 태그
label 태그
form의 각 필드들에 이름을 달아주는 것이라고 알면 된다!
<label for="input필드 id">이름</label>
<input type="text" placeholder="이름을 입력하세요" />
Syntax Alert
틀린 코드
<label>라벨</label>
<input type="text" />
<input type="email" />
어떤 필드에 대한 라벨인지를 명확히 할 수 있도록 input필드의 id 값을 넣어주어야 한다!
<form action="" method="GET">
  <label for="user-name">이름</label>
  <input type="text" id="user-name" />
</form>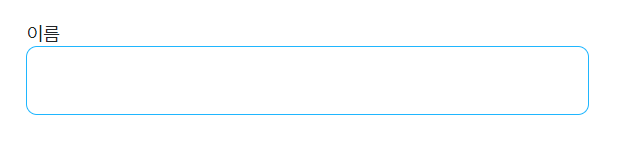
이름 라벨을 클릭하면 해당 input 필드에 커서가 이동한다!
예시 코드
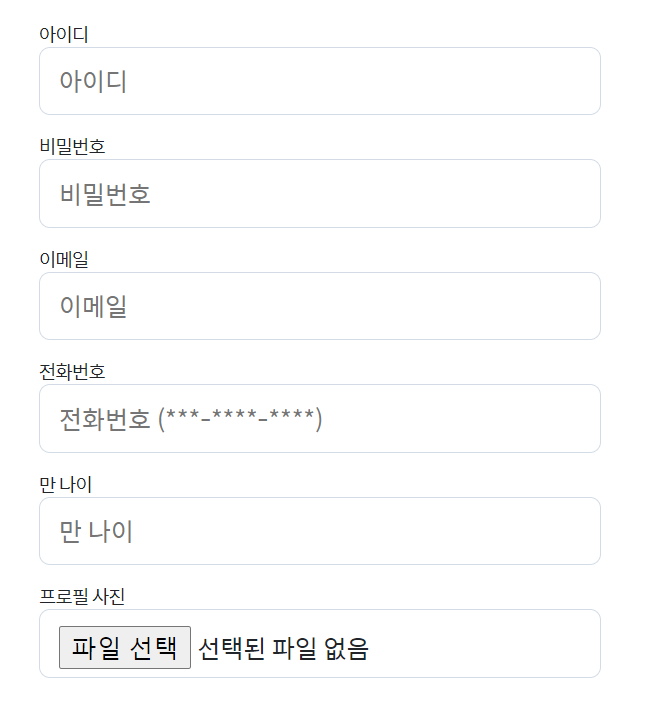
<form action="#" method="POST">
  <label for="user-id">아이디</label>
  <input type="text" id="user-name" required placeholder="아이디" minlength="5" maxlength="10" />

  <label for="user-password">비밀번호</label>
  <input type="password" id="user-password" required placeholder="비밀번호" minlength="6" maxlength="12" />

  <label for="user-email">이메일</label>
  <input type="email" id="user-email" required placeholder="이메일" />

  <label for="user-tel">전화번호</label>
  <input type="tel" id="user-tel" placeholder="전화번호 (***-****-****)" pattern="[0-9]{3}-[0-9]{4}-[0-9]{4}" />

  <label for="user-age">만 나이</label>
  <input type="number" id="user-age" placeholder="만 나이" min="12" max="122" />

  <label for="user-profile-picture">프로필 사진</label>
  <input type="file" id="user-profile-picture" accept="image/*, audio/*, video/*" />
</form>
type="radio", type="checkbox"
type="radio"
<input type="radio" id="subscribed" />
<label for="subscribed">구독중</label>
<input type="radio" id="unsubscribed" />
<label for="unsubscribed">미구독</label>
name 속성을 넣어 주지 않으면, 두 radio가 하나의 주제에 대한 것인지 알 수가 없다.
<input type="radio" name="subscription" id="subscribed" />
<label for="subscribed">구독중</label>
<input type="radio" name="subscription" id="unsubscribed" />
<label for="unsubscribed">미구독</label>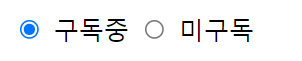
위와 같이 동일한 name 속성을 넣어주면 둘 중에 하나만 선택이 가능하다
<form action="" method="GET">
  <input type="radio" name="subscription" id="subscribed" />
  <label for="subscribed">구독중</label>
  <input type="radio" name="subscription" id="unsubscribed" />
  <label for="unsubscribed">미구독</label>
  <button type="submit">Submit</button>
</form>
위와 같이 form태그로 묶어준 다음 submit을 해 주면,

이렇게 뒤에 ?subscription=on 하고 문자열이 붙는다.
근데 어쩐지 이상하게 구독중과 미구독 어떤 것을 선택해도 모두 on이다.
value 값을 통해 어떤 것을 선택했는지 구분한다.
<form action="" method="GET">
  <input type="radio" name="subscription" value="subscribed" id="subscribed" />
  <label for="subscribed">구독중</label>
  <input type="radio" name="subscription" value="unsubscribed" id="unsubscribed" />
  <label for="unsubscribed">미구독</label>
  <button type="submit">Submit</button>
</form>
위와 같이 value속성을 넣어주면 미구독을 선택한 경우 다음과 같이 나타난다.
(subscription=unsubscribed)

<form action="" method="GET">
  <input type="radio" name="subscription" value="subscribed" id="subscribed" />
  <label for="subscribed">구독중</label>
  <input type="radio" name="subscription" value="unsubscribed" id="unsubscribed" />
  <label for="unsubscribed">미구독</label>

  <hr />

  <input type="radio" name="apple" value="subscribed" id="apple" />
  <label for="apple">사과</label>
  <input type="radio" name="apple" value="unsubscribed" id="unapple" />
  <label for="unapple">안사과</label>
  <button type="submit">Submit</button>
</form>
이렇게 subscription과 apple 2개의 name에 대해 작성을 해주고,
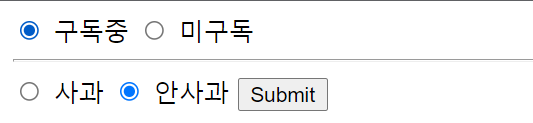
이렇게 선택후 submit버튼을 눌러주면

이렇게 각 name에 대해 선택된 value값을 보여주게 된다.
type="checkbox"
<h1> 사용 가능 언어 </h1>

<form action="">
  <input type="checkbox" name="skills" value="html" id="html" />
  <label for="html">HTML</label>
  <input type="checkbox" name="skills" value="css" id="css" />
  <label for="css">CSS</label>
  <input type="checkbox" name="skills" value="javascript" id="js" />
  <label for="js">Javascript</label>
  <button type="submit">submit</button>
</form>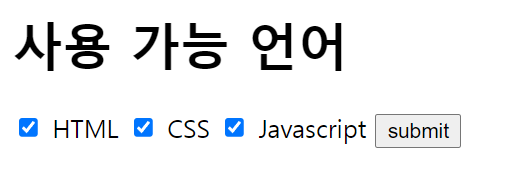
위와 같이 모든 항목을 체크하여 submit을 눌러주면,

이렇게 각 항목에 대한 value값이 url로 나타나게 된다.
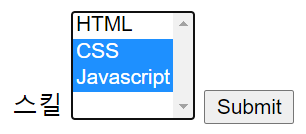
3. select
<form>
  <label for="skill">스킬</label>
  <select name="skill" id="skill">
    <option value="html">HTML</option>
    <option value="css">CSS</option>
    <option value="javascript">Javascript</option>
  </select>
  <button type="submit">Submit</button>
</form>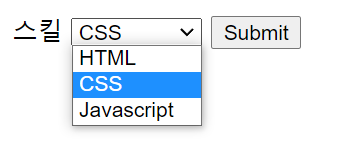
여기서 CSS를 선택해주면,

select태그에 multiple 속성을 추가해주면, 다음과 같이 ctrl로 여러 개의 속성을 선택할 수 있다.
4. textarea
<label for="field">자기소개:</label>
<textarea id="field" placeholder="자기소개를 입력하세요"></textarea>
rows, cols 속성으로 세로길이 / 가로너비를 조절할 수 있지만, 이것은 css로도 조절할 수 있다.
5. button
Syntax Alert
button 태그는 반드시 type 속성을 넣어 주어야 한다!
- button : javascript로 활용할 수 있다.
- submit
- reset : 필드 내의 내용을 모두 지워버린다 (거의 안쓰인다고 한다)