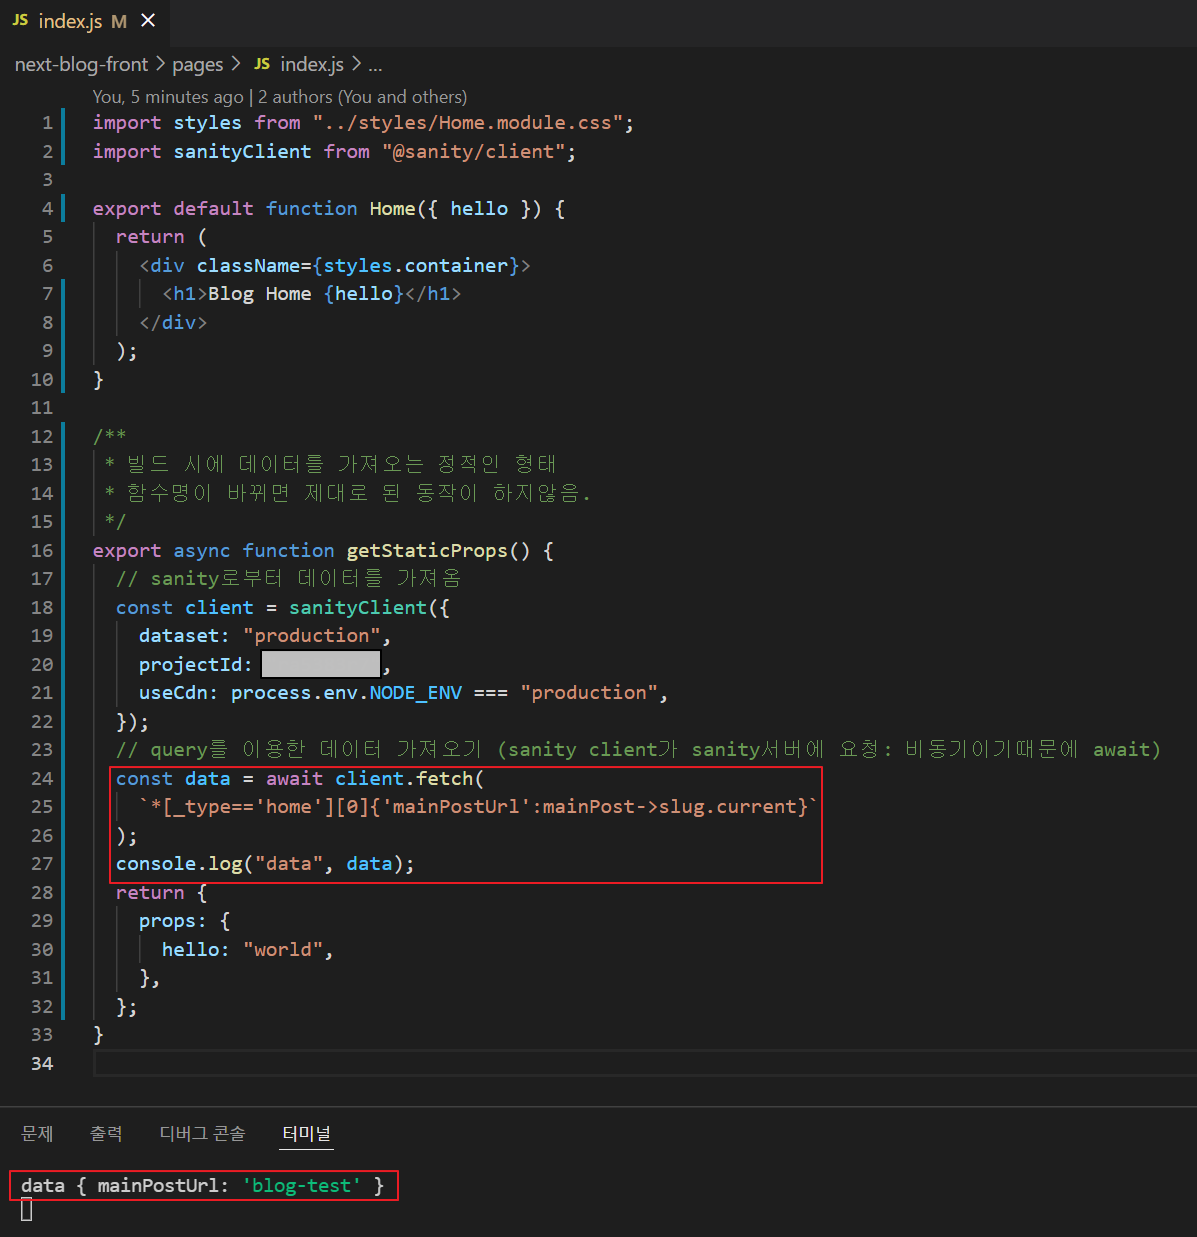
외부데이터 가져오기
/*
Sanity가 제공하는 client라이브러리 설치
: Sanity에 연결해서 query로 데이터를 가져올 수 있게 함
*/
npm i @sanity/client
1) SSG=Static Generation
= 빌드때 html 생성 + 데이터
- getStaticProps
:Fetch data at build time.
- getStaticPaths
:Specify dynamic routes to pre-render pages based on data

2) SSR=Server-side Rendering
= 요청때마다 html생성 + 데이터 업데이트
- getServerSideProps
: Fetch data on each request
Styling
npm i antd @ant-design/icons
Step 1) antd설치 및 전체 적용
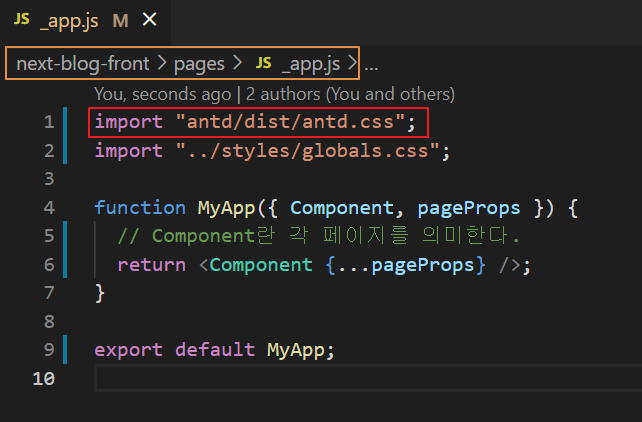
antd를 설치 하고 antd의 css를 적용하기 위해서 react에서는 index.js에 적용했지만, next에서는 pages 내의 _app.js파일에 적용하면 전체에 적용된다.
Step 2) 특정 폰트 적용
: next.js에는 외부 폰트적용 등을 위해 document에 링크를 default로 적용시킬 html이 없기 때문에
pages에 _document.js를 생성하고 추가해주어야 한다.
https://nextjs.org/docs/advanced-features/custom-document
next.config.js 설정
Root 디렉토리에 next.config.js파일을 생성해서 next의 설정값들을 변경할 수 있다.
module.exports에 선언되는 함수의 인자로 현재 next서버가 어떤 환경에서 돌아가고 있는 지 알 수 있다.
module.exports = (phase, { defaultConfig }) => {
  /**
   * @type {import('next').NextConfig}
   */
  const nextConfig = {
    // url 마지막에 '/'가 자동으로 붙을지에 대한 옵션
    trailingSlash: true,
    env: {
      SANITY_PROJECT_ID: "abcdefg",
    },
  };
  return nextConfig;
};
참고: https://nextjs.org/docs/api-reference/next.config.js/introduction
Next.js 배포
1) 서버사이드랜더링
2) static site generate
서버사이드랜더링 이용
npm run build // production 모드로 빌드
npm start // build된 프로젝트 실행
node서버로 이용가능한 활용법이기 때문에
api폴더에서 api response에 대해 설정해놓으면 json으로 받을 수 있음.
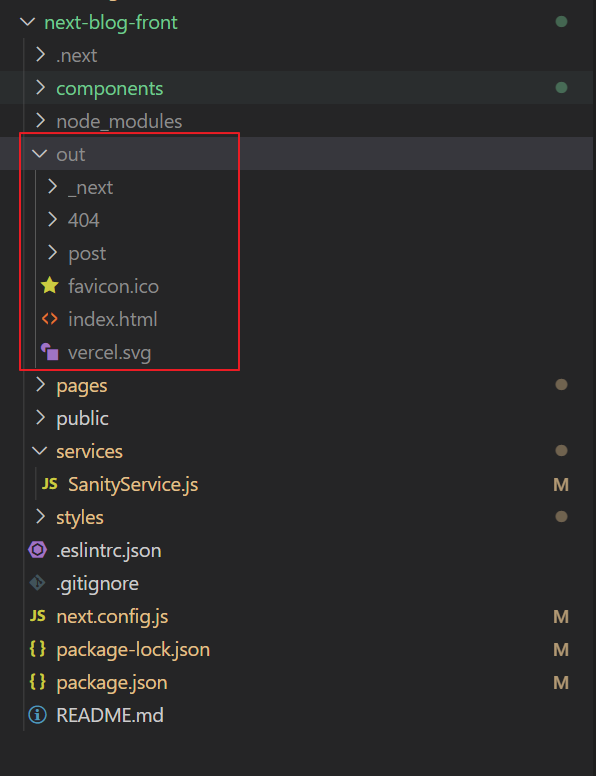
Static site generate 이용
package.json > scripts > build에 'next export' 추가

"build": "next build && next export",

npm serve out
해당 명령어 이후 static site로 만들어진 out이라는 폴더 생성된다.

티끌모아 찐개발자되기