
1. form tag
- html
formtag는 정보를 제출하기 위한 웹페이지에서의입력 양식을 의미한다. 예를 들어 로그인, 회원가입 - 글씨를 입력하거나 '제출' 버튼을 누르면 백엔드 서버에 양식이 전달되어 정보를 처리하게 된다.
2. input
-
self-closing
-
form 양식 중에 제일 중요한 태그는 input 태그이다.
form태그는 큰 틀의 양식이기 때문에 화면에 보이지 않는 추상적인 태그이므로 실제로 사용자 화면에 양식이 보이기 위해서는input태그를 사용해야한다.
1) name - 데이터 이름
2) value - 기본 값
3) type - 종류
- text : 일반 문자
- password : 비밀번호
- button : 버튼
- submit : 양식 제출용 버튼
- reset : 양식 초기화용 버튼
- radio : 여러개 선택지 중 하나만 선택할 수 있음 ex) 성별
- checkbox : 여러개 선택지 중 여러개 선택할 수 있음 ex) 응시과목
- file : 파일 업로드 가능, 형식자 지정 가능
<body>
    <form>
        <p>
        	<strong>가능한 파일 형식자</strong>
        	<input type="file" accept=".png"/> <!--png 타입의 파일을 업로드 할 수 있다.-->
        	<input type="file" accept=".image"/>
        	<input type="file" accept=".pdf"/>
       	 	<input type="file" accept=".png,.image,.pdf"/> <!--이 코드로 위의 세 줄을 한꺼번에 표현할 수 있다.-->
        </p>
        <p>
        	<strong>색 지정</strong>
        	<input type="color"> <!--색 고를 수 있다.-->

        	<input required placeholder="Name" type="text"> <!--name, placeholder는 input의 또다른 attribute-->
        	<input required placeholder="Last Name" type="text">
        	<input required placeholder="Username" minlength="10" type="text"> <!--user name,길이가 최소한 10이상은 되어야함-->
        	<input required placeholder="Password"type="password">
      # required는 필수로 작성해야하는 칸을, placeholder는 사용자에게 무엇을 쓰기 위한 칸인지를 알려준다.
        </p>

        <p>
        	<strong>이름,성,유저네임,비밀번호</strong>
        </p>

        <p>
            <strong>성별</strong>
            <input type="radio" name="gender" value="M">남자
            <input type="radio" name="gender" value="F">여자
        </p>
        <p>
            <strong>응시분야</strong>
            <input type="checkbox" name="part" value="English">영어
            <input type="checkbox" name="part" value="Math">수학
        </p>

        <p>
            <strong>제출 버튼</strong>
        	<input type="submit" /> <!--'제출'버튼-->
        	<input type="submit" disabled /> <!--disabled를 쓰면 '제출'버튼을 클릭할 수 없도록 비활성화 시킴-->
        	<input type="submit" value="Creat Account"/> <!--vaule라는 속성을 써서 적혀있는 'submit'이라는 글자를 'Creat Account'로 변경할 수 있다.-->
        </p>

      # '제출' 버튼을 누르면 사용자가 작성한 사용자 정보 양식을 백엔드 서버로 보내준다.
	  # input 태그의 required 속성은 (submit에 추가 불가능) validation(검증)을 할 수 있도록 해준다. 쉽게 말해, 필수란.

    </form>
</body>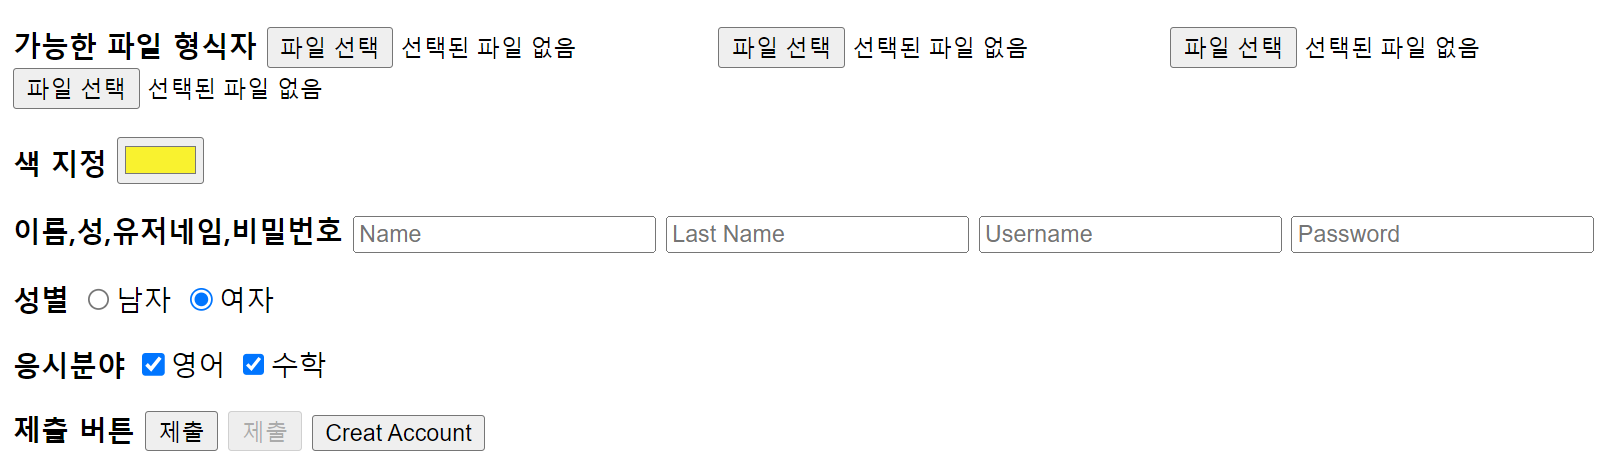
3. 🎃코드 하나씩 뜯어보기
<input type="color"> # 버튼 색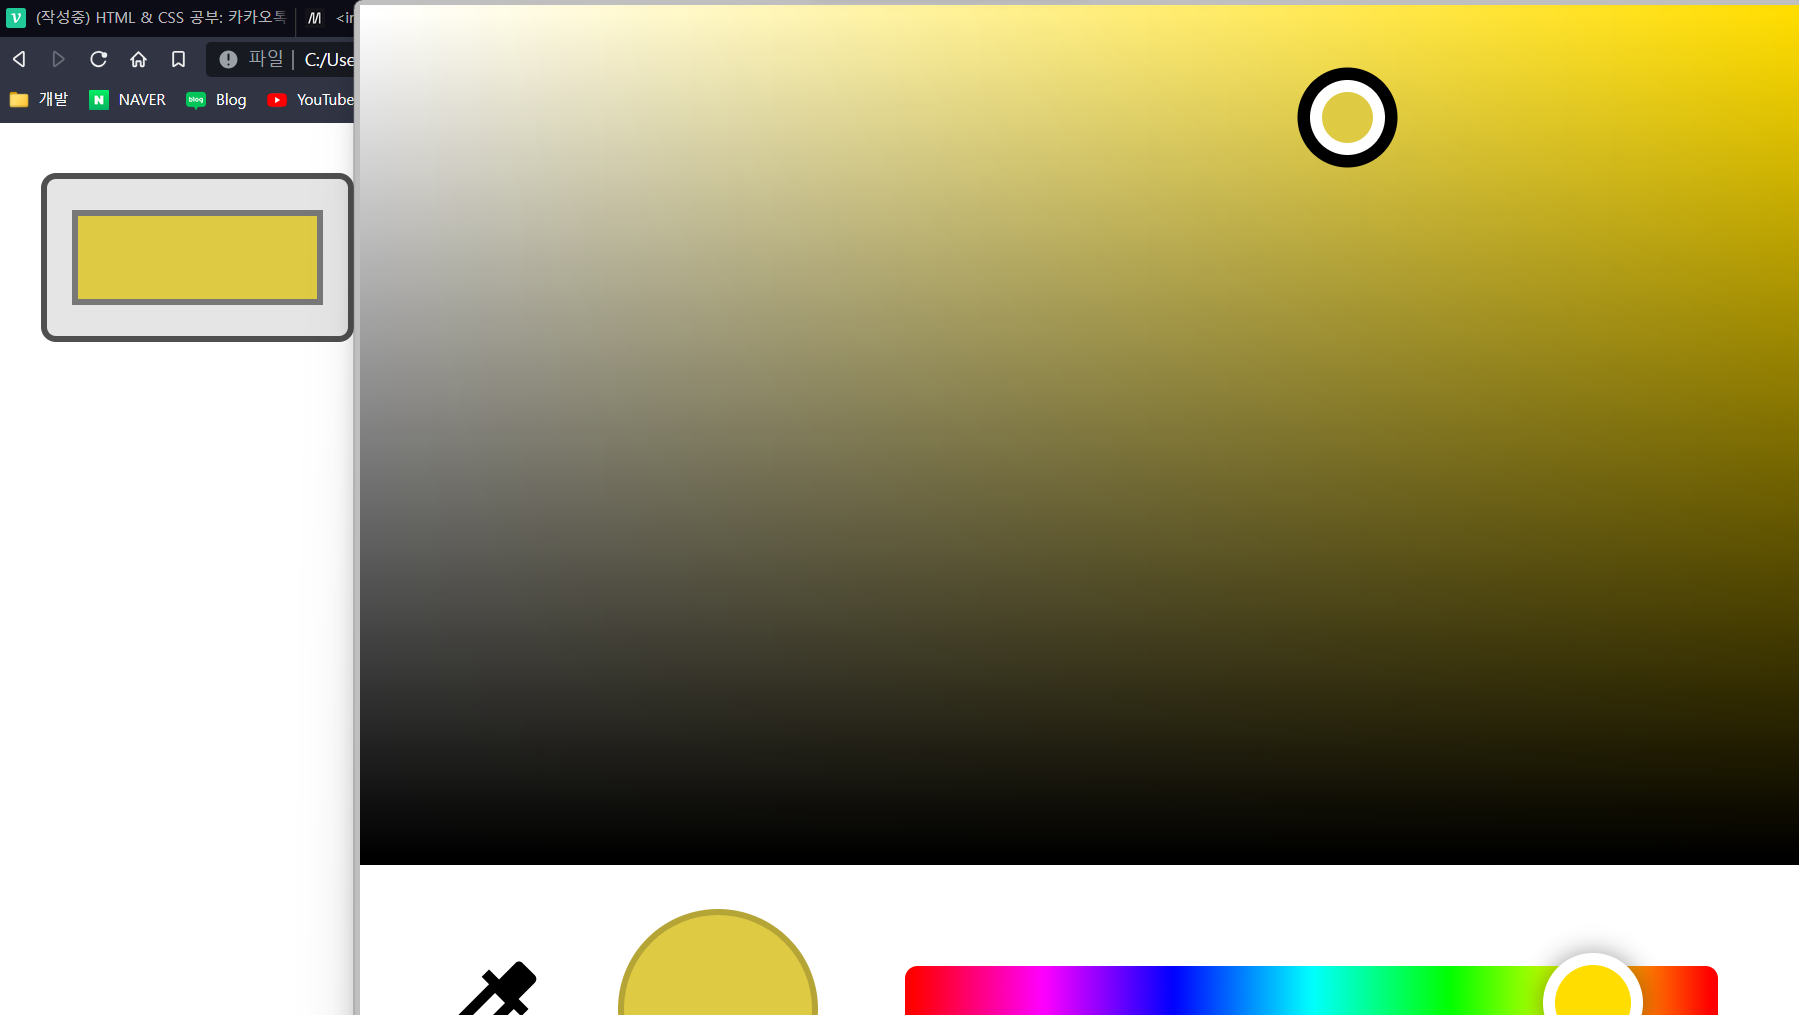
<input placeholder="Name" type="text">
<input placeholder="Last Name" type="text">
<input placeholder="Username" type="text">
<input placeholder="Password" type="password">
<input required placeholder="Username" type="text">
# 필수란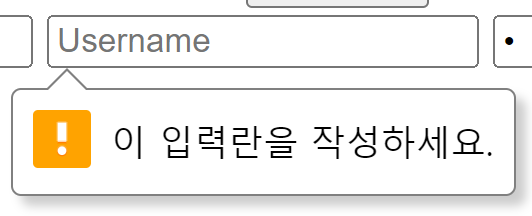
<input required placeholder="Username" minlength="10" type="text">
<p>
            <strong>성별</strong>
            <input type="radio" name="gender" value="M">남자
            <input type="radio" name="gender" value="F">여자
        </p>
        <p>
            <strong>응시분야</strong>
            <input type="checkbox" name="part" value="English">영어
            <input type="checkbox" name="part" value="Math">수학
        </p>
<p>
            <strong>제출 버튼</strong>
        	<input type="submit" />
        	<input type="submit" disabled />
        	<input type="submit" value="Creat Account"/>
        </p>

개발은 즐거워🪇