⭐오늘의 핵심
div, h1와 같이 tag name 사용 ⇒getElementByTagName
id 사용 ⇒getElementById
class name 사용 ⇒getElementByClassName
위의 세가지 능력을 합친게 ⇒querySelector
해당 조건의 모든 element를 가져오고 싶을 때 ⇒querySelectorAll
element 내부를 보고 싶을 때는console.log대신console.dir사용하기
브라우저에서 사용할 수 있는 'document'라는 object를 배웠다.
console에서 html 접근하기
VS code 상에서 html
<!DOCTYPE html>
<html lang="en">
<head>
    <meta charset="UTF-8">
    <meta name="viewport" content="width=device-width, initial-scale=1.0">
    <link rel="stylesheet" href="style.css">
    <title>Momentum App</title>
</head>
<body>
    <h1 id="Title">Grab me!</h1>
    <script src="app.js"></script>
</body>
</html>
웹 사이트의 console 창에서 html에 접근한다.

getElementById = "title"에 해당 하는 html의 일부가 반환된다.
getElementById
document의 함수 중에는 getElementById라는 함수가 있는데, 이 함수는 html에서 id를 통해 element를 찾아준다. element를 찾고나면 js로 해당 html의 무엇이든 바꿀 수 있다.
JS에서 html 접근하기
사이트의 console 창 말고 JS(app.js)에서 html(document)에 접근해서 element를 변경 할 수 있다.
JS를 이용한 다는 것은 app.js에 코드를 적는 것 ("Got you!)이고, js에 작성한 내용이 웹 상의 html에도 적용된다. 이는 t
const title = document.getElementById("Title");

title.innerText = "Got you!";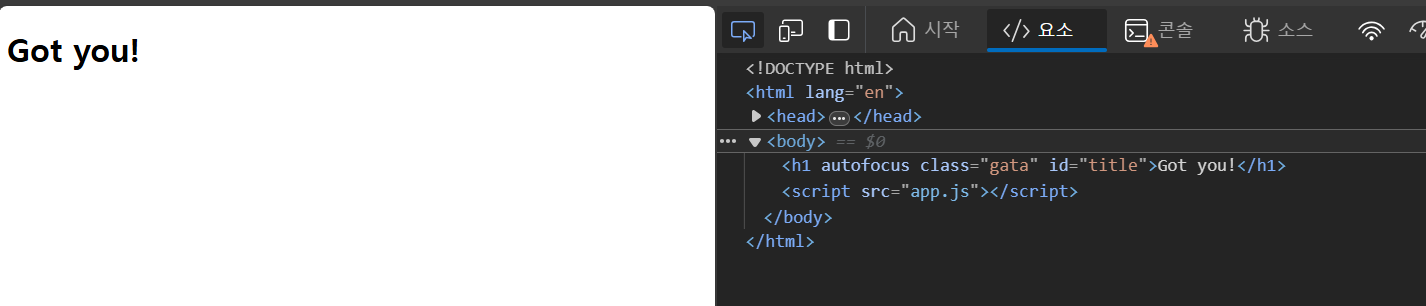
웹 상의 autofocus
autofocus: false를 true로 바꾸기
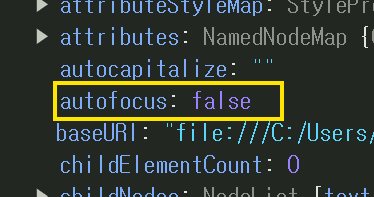
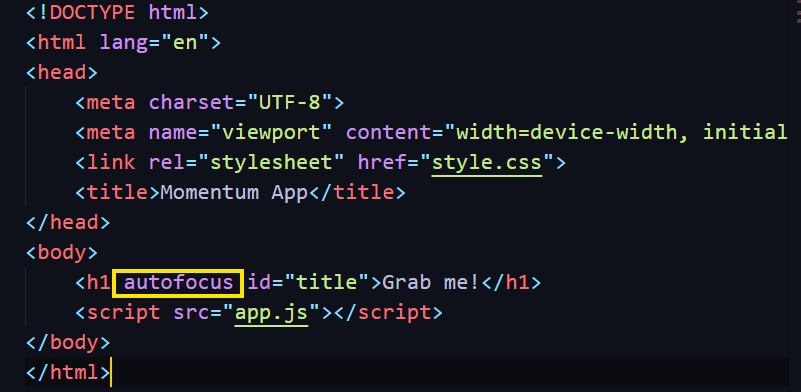
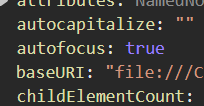
html에서 autofocus를 추가하면 웹상에서 autofocus가 true로 바뀐다.
className
<body>
    <h1 autofocus class="gata" id="title">Grab me!</h1>
    <script src="app.js"></script>
</body>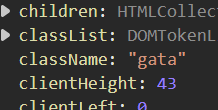
결론
<!DOCTYPE html>
<html lang="en">
<head>
    <meta charset="UTF-8">
    <meta name="viewport" content="width=device-width, initial-scale=1.0">
    <link rel="stylesheet" href="style.css">
    <title>Momentum App</title>
</head>
<body>
    <h1 class="hello!!" id="tle">Grab me!</h1>
    <script src="app.js"></script>
</body>
</html>
const title = document.getElementById("tle");
title.innerText = "Got you!"
console.log(title.id);
console.log(title.className);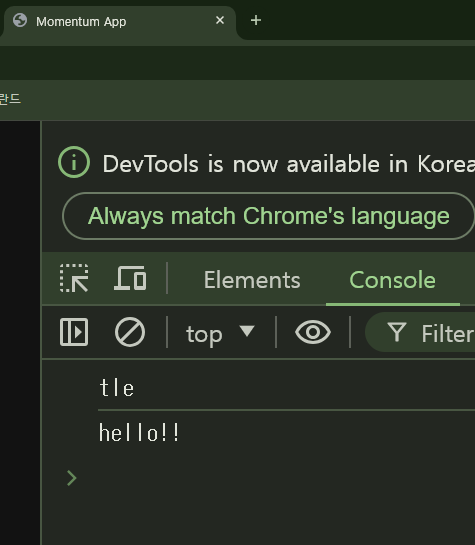
getElementById에 의해서 document(html)의 h1에 id를 부여한다. id 이름은 "tle"이다.
JS(add.js)를 통해
tle의 내용을 Grab me에서 Got you로 수정 할 수 있고,
id나 class의 이름도 console.log를 통해 출력할 수 있다.