출처) 스프링 입문 - 코드로 배우는 스프링 부트, 웹 MVC, DB 접근 기술
Spring Boot 공식 문서 확인
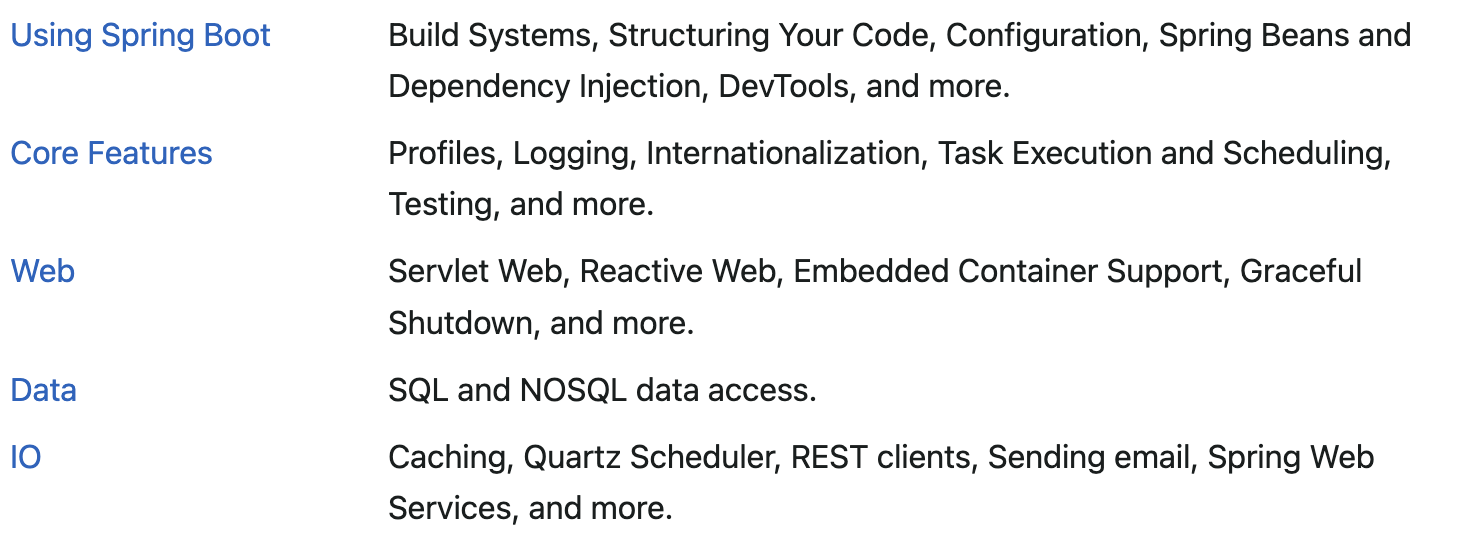
공식 문서
spring.io > projects > spring-boot > learn > Referecne Doc. > 각 문서에 들어가서 검색하기
Welcome page 생성
이전 프로젝트 설정에서 아무것도 넣지 않아서 에러페이지가 보였다
안에 뭘 넣어서 welcome Page를 만들어보자!
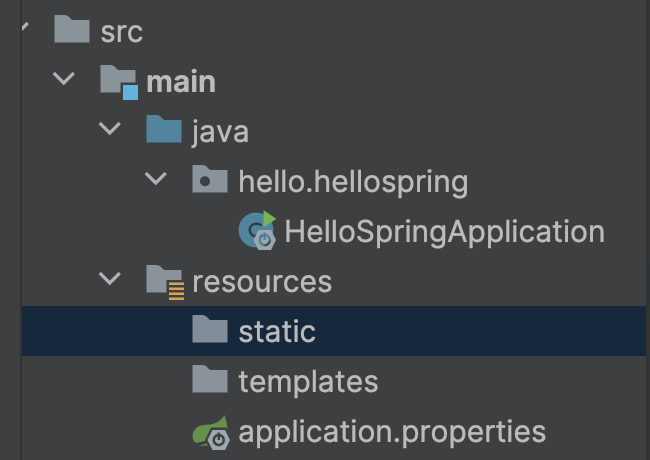
src/main/resources/static/index.html 경로에
index.html 파일 생성 후 서버를 껐다가 켜기
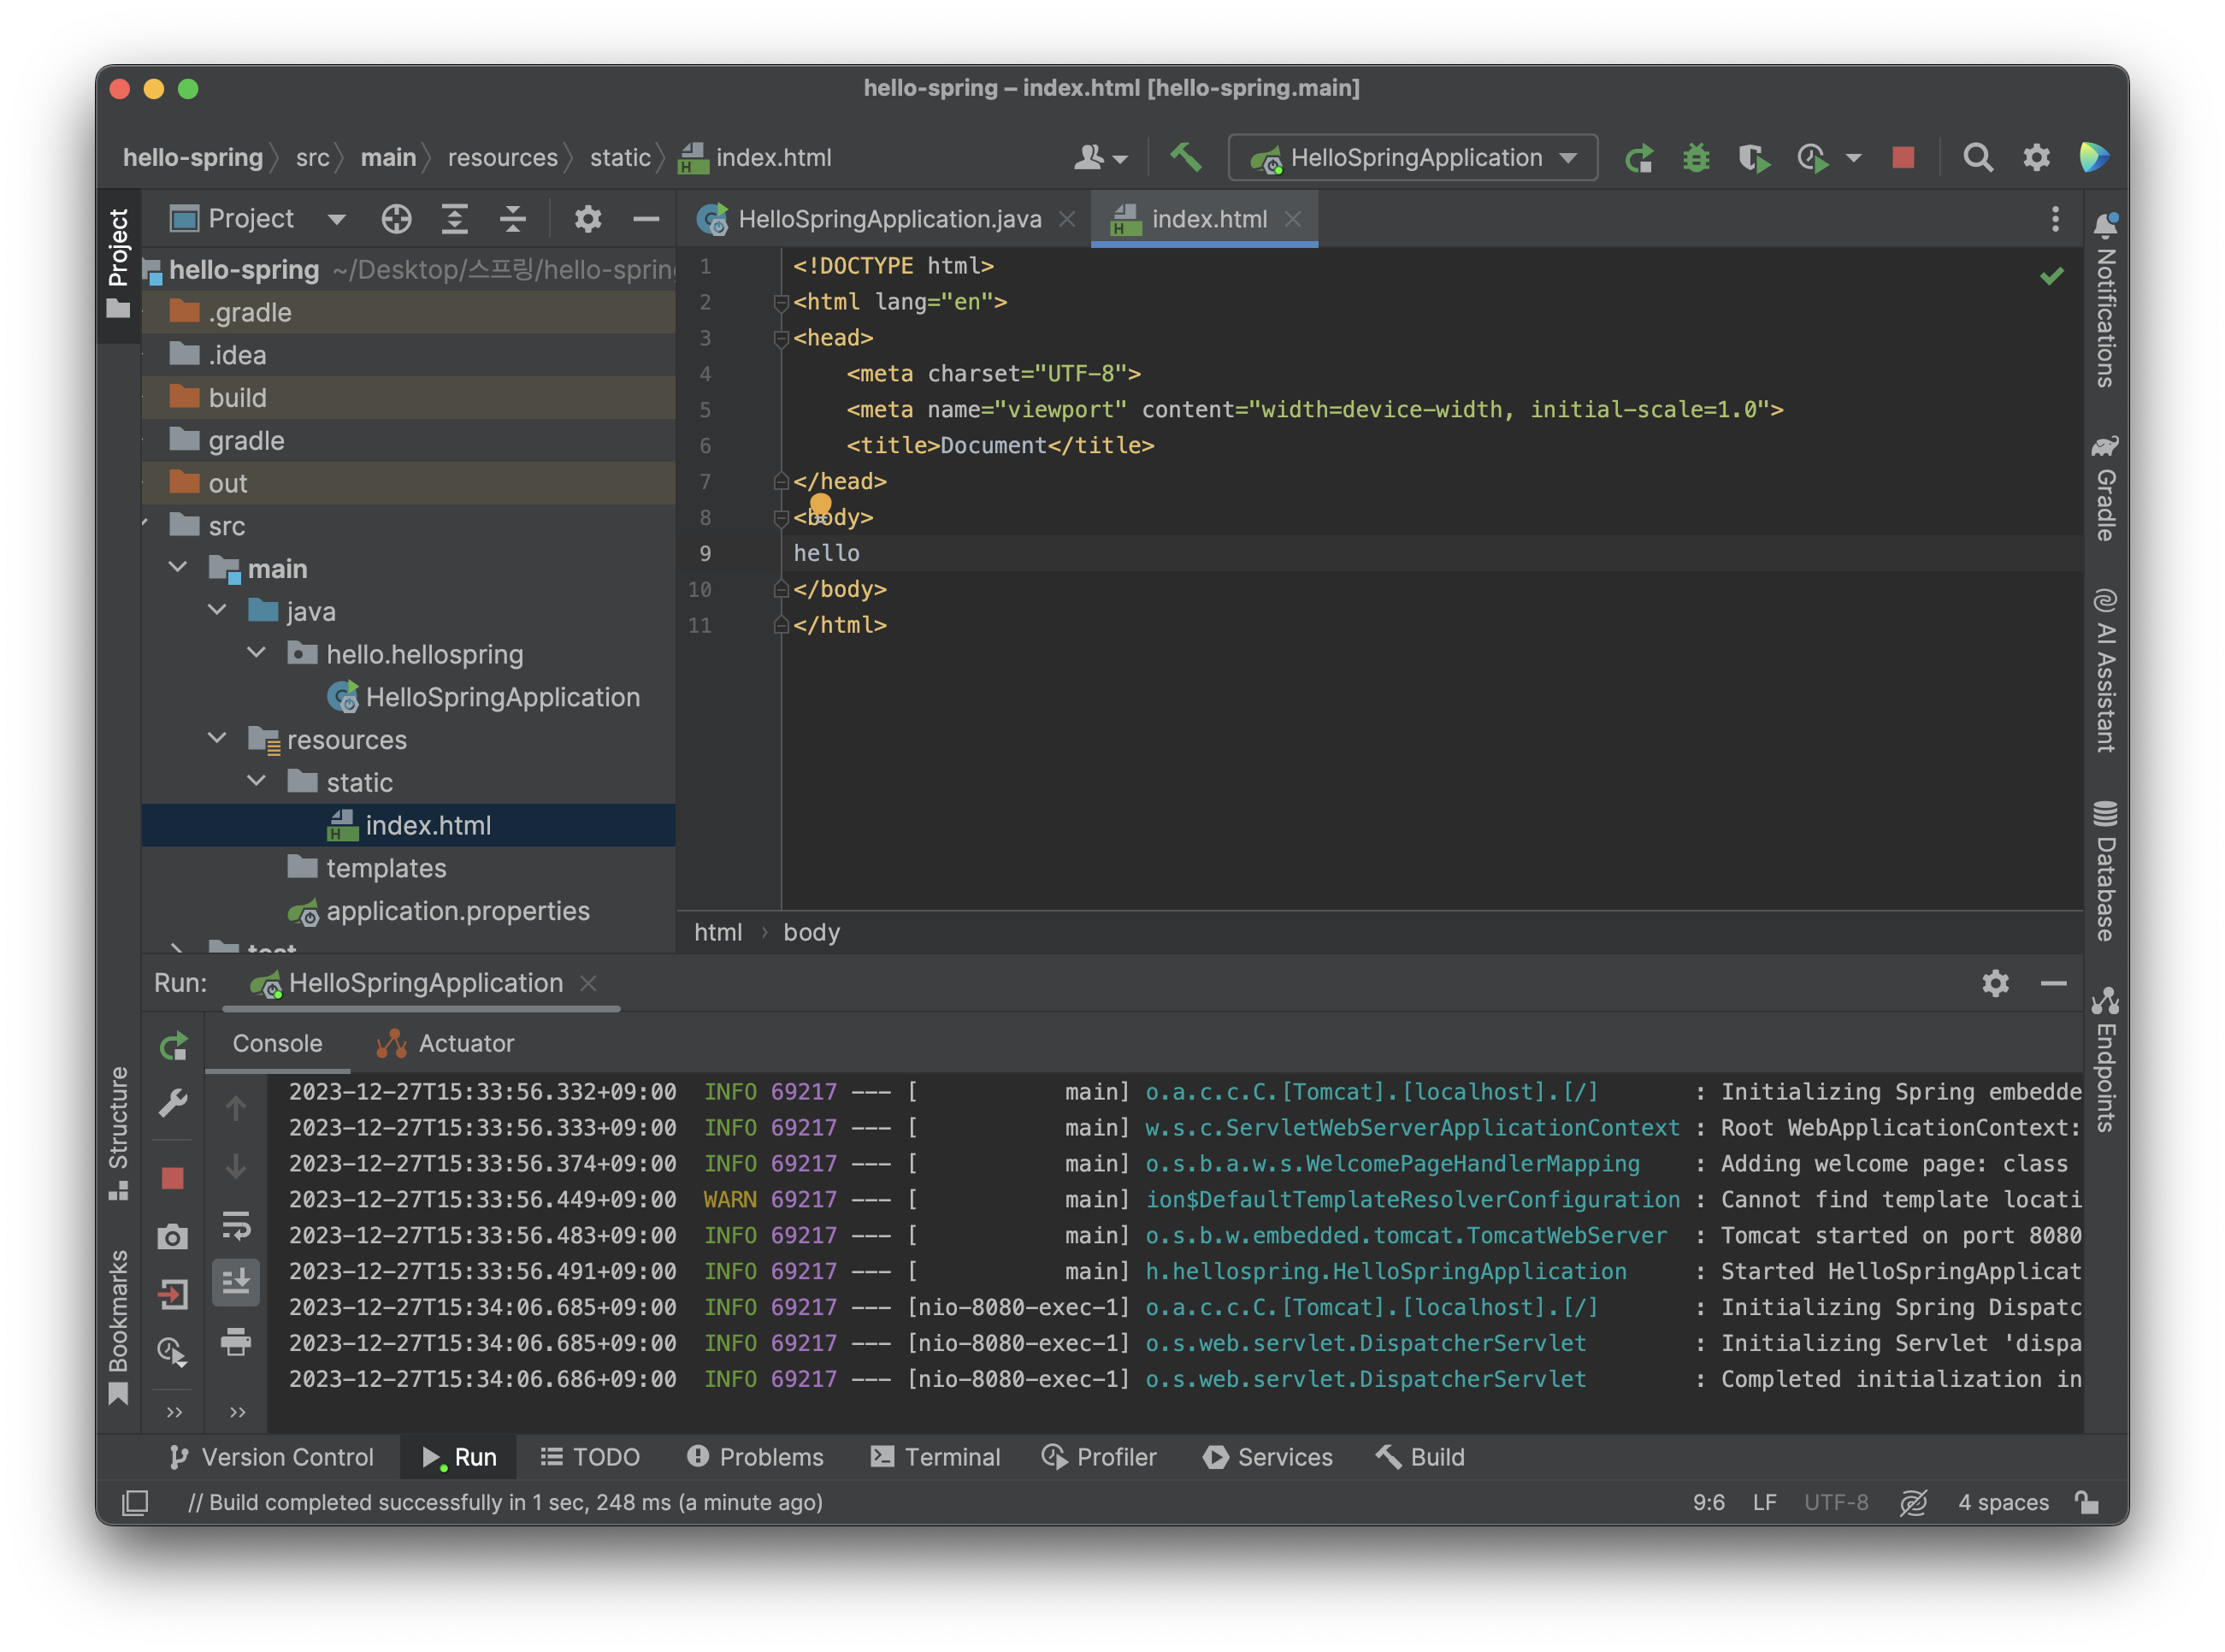
localhost:8080 접속하면
아래와 같이 잘 생성된 것을 확인할 수 있다

Thymeleaf 이용한 페이지 생성
위에서 생성한 페이지는 단순한 static 페이지임
템플릿 엔진 Thymeleaf를 이용해서 데이터를 받아오는 페이지를 만들어보자
conroller 생성
MVC에서 model - view - controller 중 바로 이 controller임
src/main/java/hello.hellospring/ 아래에
controller 패키지 생성 후 HelloController 클래스 생성
Controller, GetMapping, Model 불러올 것!
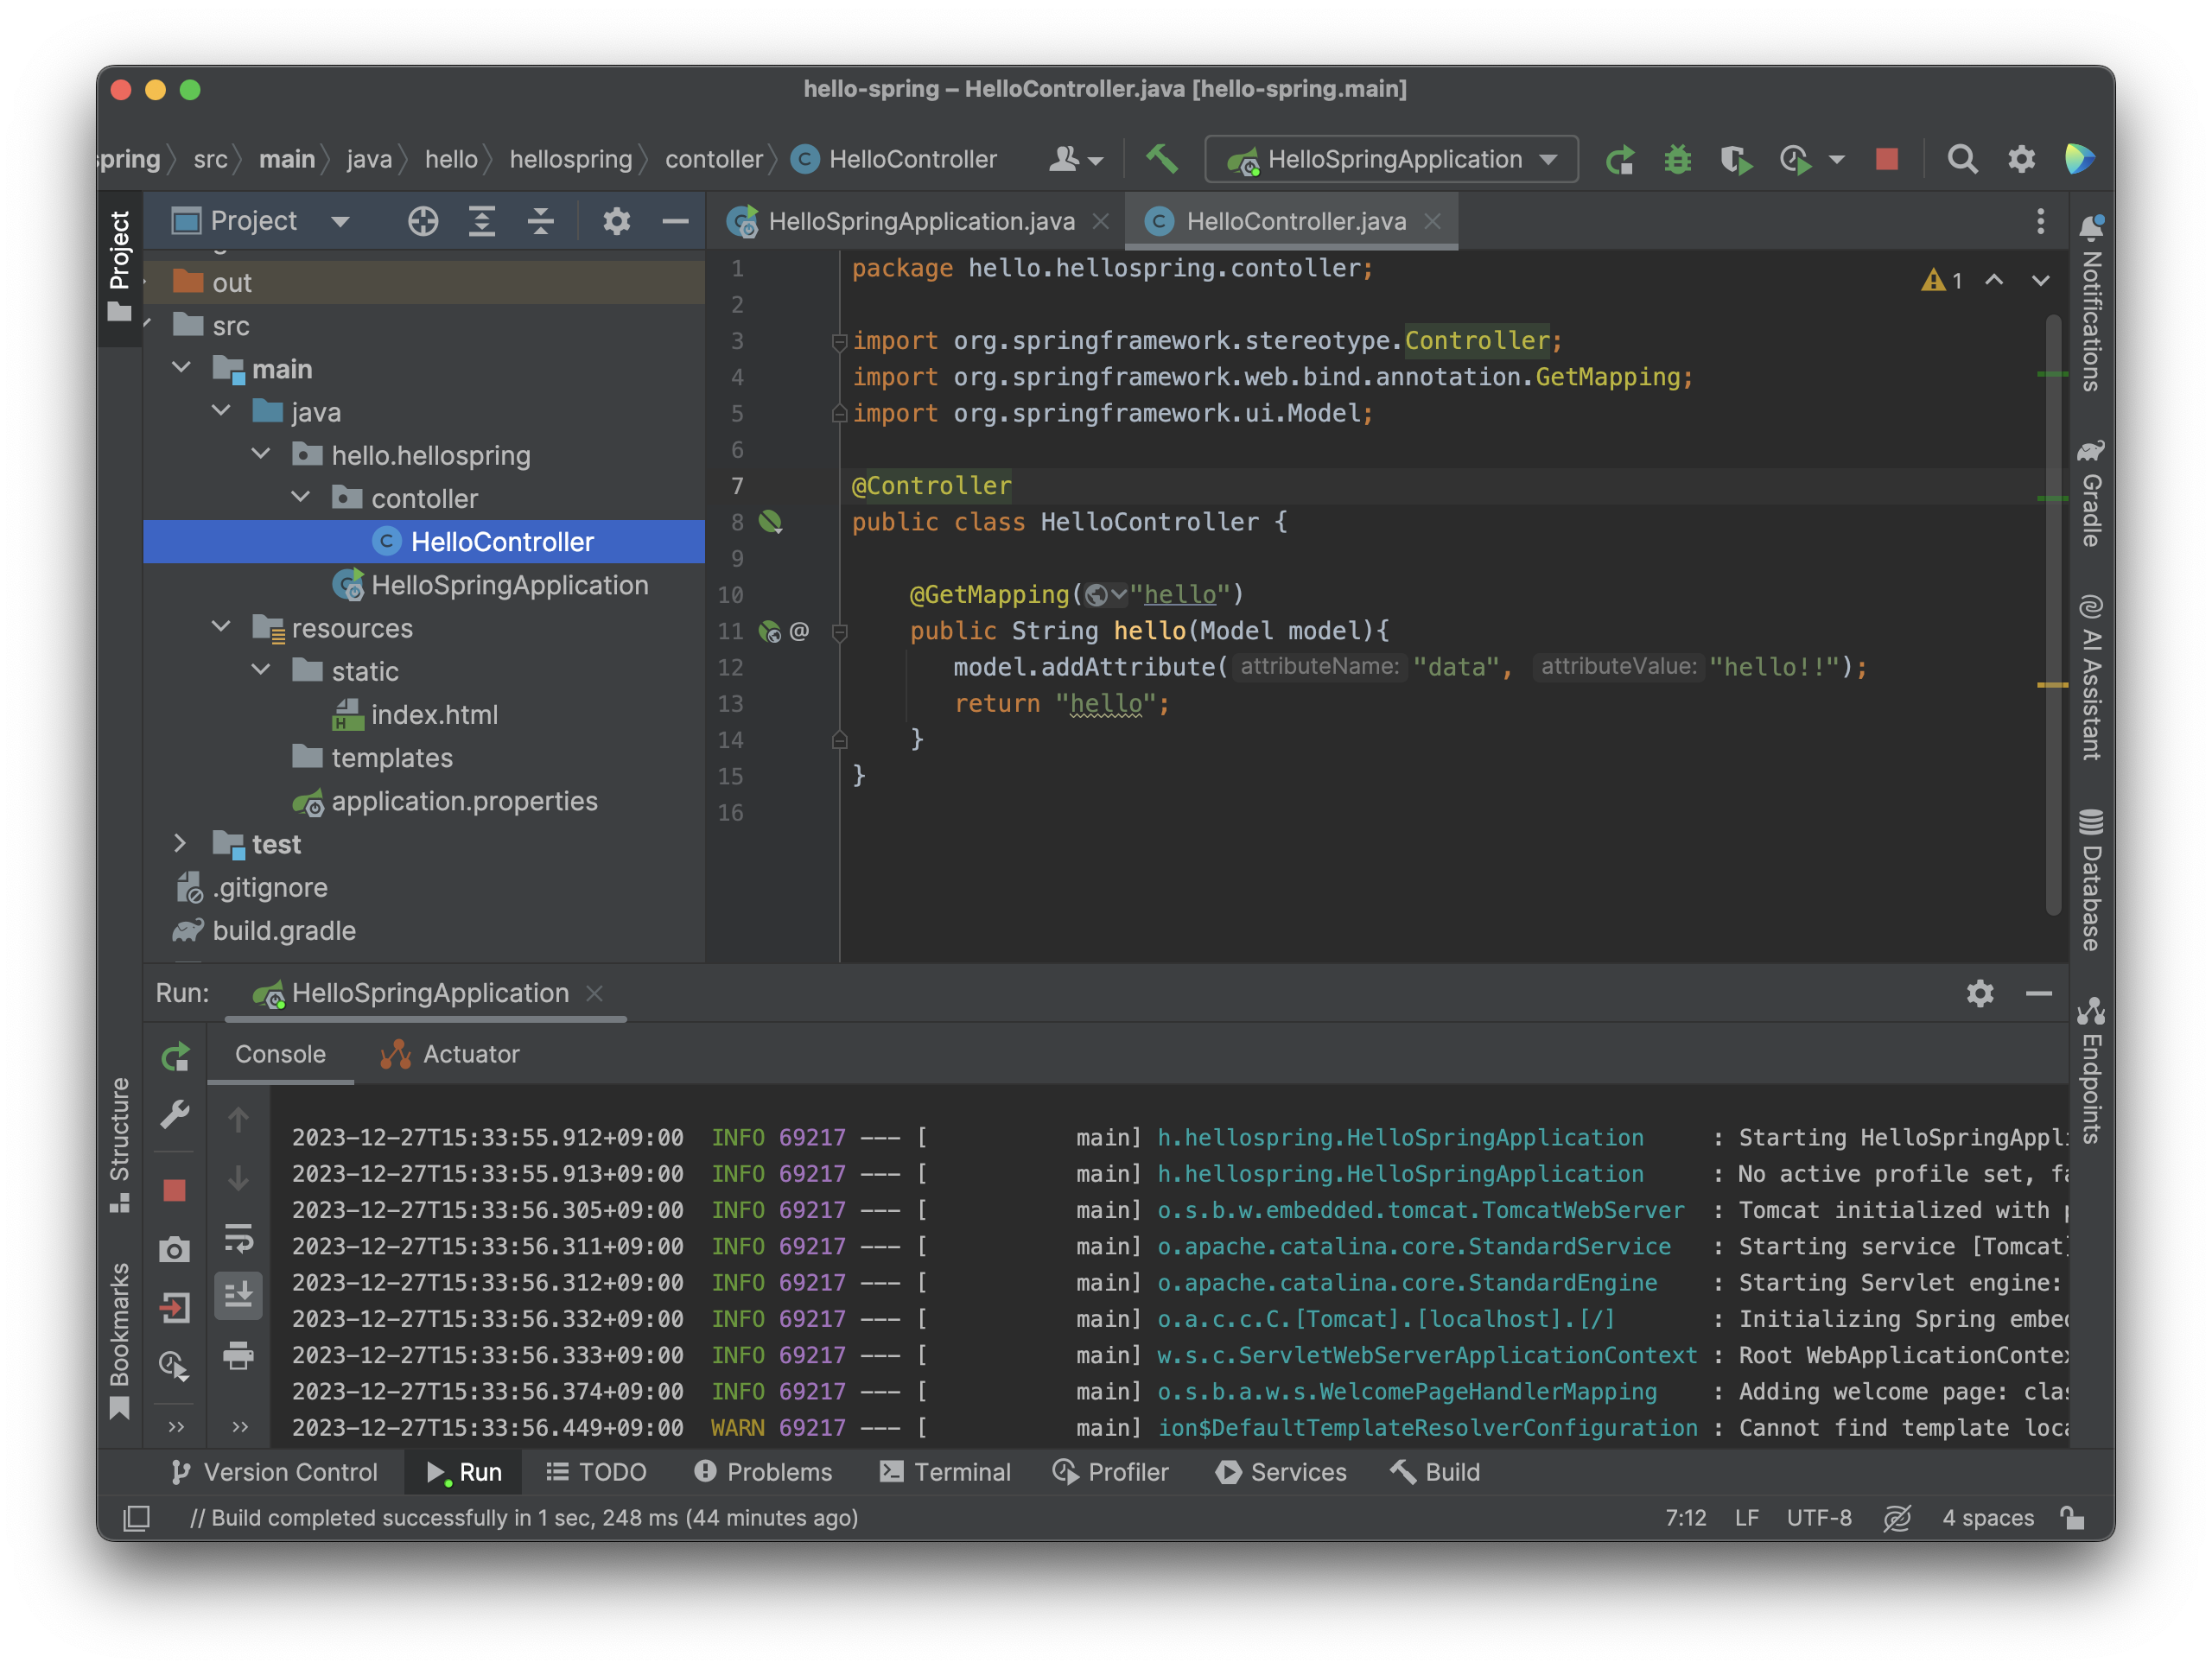
package hello.hellospring.contoller;

import org.springframework.stereotype.Controller;
import org.springframework.web.bind.annotation.GetMapping;
import org.springframework.ui.Model;

@Controller
public class HelloController {

    @GetMapping("hello")
    public String hello(Model model){
       model.addAttribute("data", "hello!!");
       return "hello";
    }
}
model.addAttribute("애트리뷰트명", "값) 형태로 넘겨줌
애트리뷰트명은 일종의 key 값
아래 html에서 data라는 이름으로 사용이 가능
resources/templates 폴더에 hello.html 생성
<!DOCTYPE html>
<html xmlns:th="http://www.thymeleaf.org">
<head>
    <title>Hello</title>
    <meta charset="UTF-8">
</head>
<body>
<p th:text="'안녕하세요. ' + ${data}"> 안녕하세요. 손님</p>
</body>
</html>
동작 환경
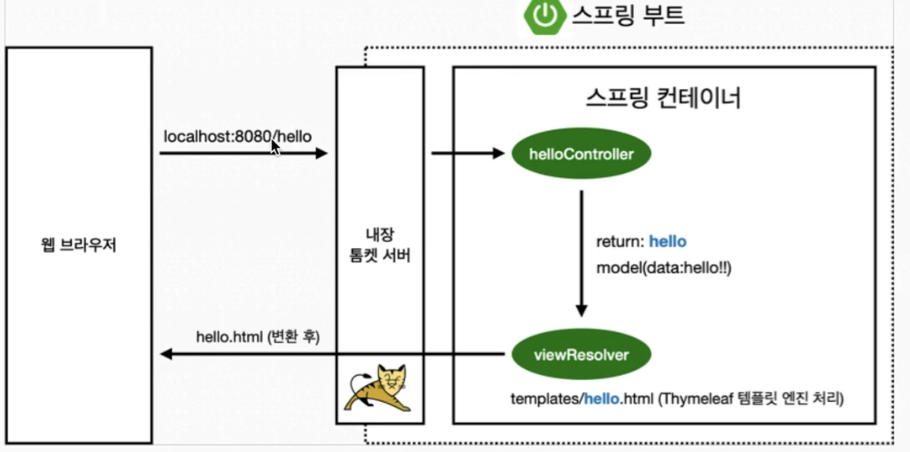
  1. url 입력
  http url (localhost:8080/hello) 을 그냥 입력 = get 방식
  이렇게 입력을 하면, contoller의 GetMapping("hello") 와 일치하여 매핑됨

  2. controller 실행
  controller 파일 내부에 모델 생성 메서드가 실행됨
  모델이 생성되고, 모델에서 애트리뷰트로 준 값을 넘겨줌
  return "hello"

  3. viewResolver가 화면 찾아 처리
  컨트롤러에서 반환된 문자 값을 기반으로 resources/templates 아래에서 문자 값과 파일명이 일치하는 html 을 찾아서 매핑
spring-boot-devtools 라이브러리 추가
html 컴파일만하면 서버 재시작 없이 View 파일 변경이 가능함
build.gradle 의 dependencies에 코드 추가해주기
  dependencies {
	...
	testImplementation 'org.springframework.boot:spring-boot-starter-test'
빌드 및 실행하기
빌드
위에서 실행시켰던 서버는 일단 끄기 (같은 포트로 열 수 없음)
그리고 terminal 켜고
cd 스프링 프로젝트 폴더
./gradlew build
하면 build 완료
cd build/libs
ls -arlth
20M 정도의 파일이 생성됨

+) 빌드 폴더 삭제
./gradlew clean
만약에 build 후 실행이 잘 안된다면
./gradlew clean build 사용하여 빌드 파일 삭제 후 재 빌드 및 실행하기
실행
위에서 생성된 hello-spring-0.0.1-SNAPSHOT.jar 파일을 실행
java -jar hello-spring-0.0.1-SNAPSHOT.jar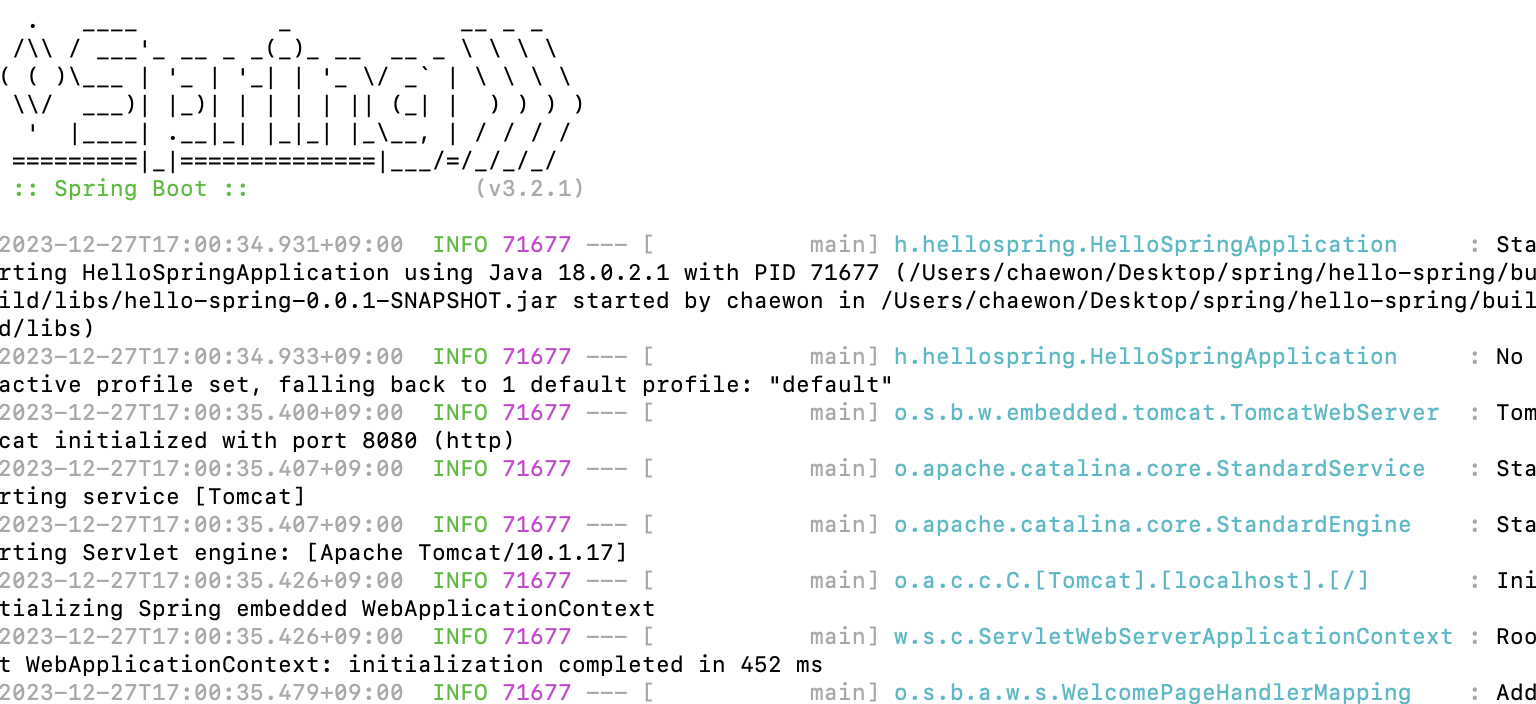

이렇게 잘 뜨는 것을 확인할 수 있음