🙆♂️ import 🙇♂️
Spring Boot에 Swagger 적용하기[기록하고 성장하기]
27. Spring - Swagger 기본사용법 및 API 문서자동화[kimjonghuyn]
Swagger
Swagger란 서버로 요청되는 URL 리스트를 HTML화면으로 문서화 및 테스트 할 수 있는 라이브러리이다.
간단하게 설명하면 Swagger는 API Spec 문서이다.
API를 엑셀이나 가이드 문서를 통해 관리하는 방법은 주기적인 업데이트가 필요하기 때문에 관리가 쉽지 않고 시간이 오래 걸린다.
그래서 Swagger를 사용해 API Spec 문서를 자동화해주어 간편하게 API문서를 관리하면서 테스트할 수 있다.
Annotations
Swagger 설정을 먼저 하고싶다면 여기글을 먼저 읽고 오면 된다.
Swagger에서 API 설명을 위한 Annotation 들을 아래에 정리한다.
@ApiOperation = Method 설명
@ApiOperation으로 해당 Controller 안의 method의 설명을 추가할 수 있다.
    @ApiOperation(
        value = "사용자 정보 조회"
        , notes = "사용자의 ID를 통해 사용자의 정보를 조회한다.")
    @GetMapping("/user/{id}")
    @ResponseBody
    public UserDTO getUser(@PathVariable(name = "id") String id) {
        return userService.findUserInfoById(id);
    }
@ApiImplicitParam = Request Parameter 설명
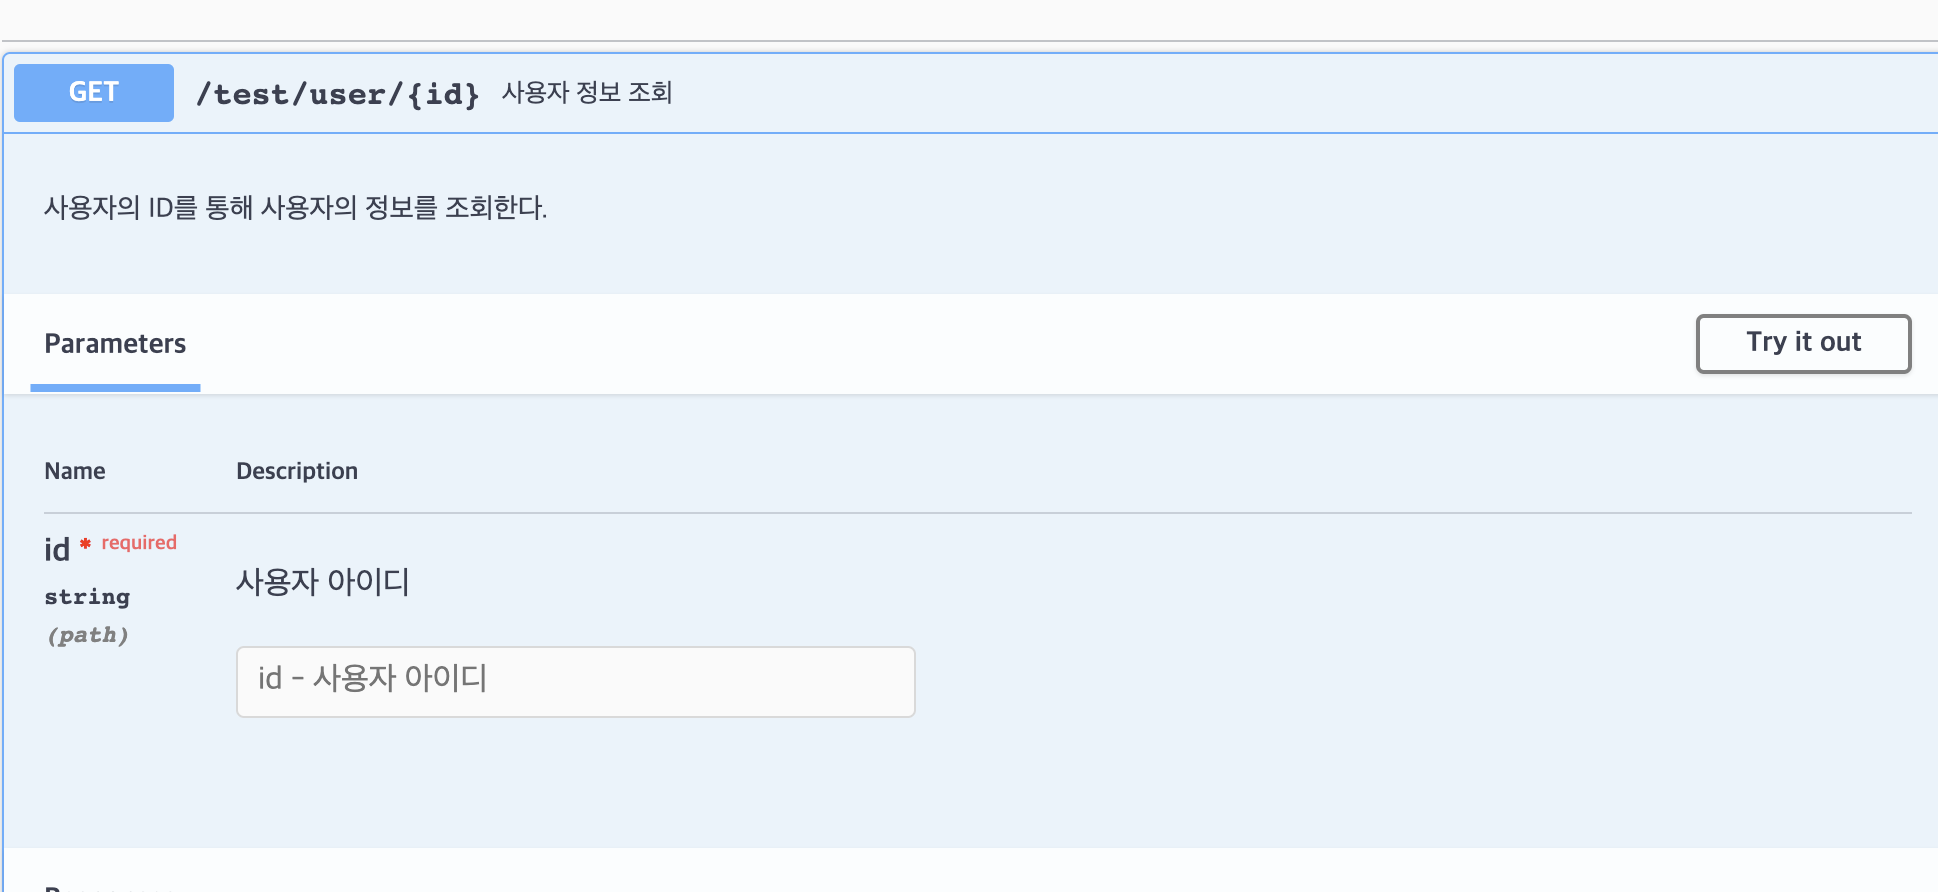
@ApiImplicitParam Annotation으로 해당 API Method 호출에 필요한 Parameter들의 설명을 추가할 수 있다.
    @ApiOperation(
        value = "사용자 정보 조회"
        , notes = "사용자의 ID를 통해 사용자의 정보를 조회한다.")
    @ApiImplicitParam(
        name = "id"
        , value = "사용자 아이디"
        , required = true
        , dataType = "string"
        , paramType = "path"
        , defaultValue = "None")
    @GetMapping("/user/{id}")
    @ResponseBody
    public UserDTO getUser(@PathVariable(name = "id") String id) {
        return userService.findUserInfoById(id);
    }
dataType, paramType, required의 경우 해당 name의 정보가 자동으로 채워지므로 생략 할 수 있다.
paramType의 경우 @RequestParam은 query를,
@PathVariable은 path를 명시해주면 된다.
만약 해당 Method의 Parameter가 복수일 경우,
@ApiImplictParams로 @ApiImplictParam을 복수개 사용할 수 있다.
    @ApiOperation(
        value = "자격증 정보 조회"
        , notes = "자격증의 ID를 통해 자격증의 정보를 조회한다.")
    @ApiImplicitParams(
        {
            @ApiImplicitParam(
                name = "id"
                , value = "자격증 아이디"
                , required = true
                , dataType = "string"
                , paramType = "path"
                , defaultValue = "None"
            )
        ,
            @ApiImplicitParam(
                name = "fields"
                , value = "응답 필드 종류"
                , required = false
                , dataType = "string"
                , paramType = "query"
                , defaultValue = ""
            )
        })
    @GetMapping("/licenses/{id}")
    @ResponseBody
    public UserDTO getLicense(@PathVariable(name = "id") String id, @RequestParam(name = "fields", required = false) String fields) {
        return userService.findUserInfoById(id);
    }
@ApiResponse = Reponse 설명
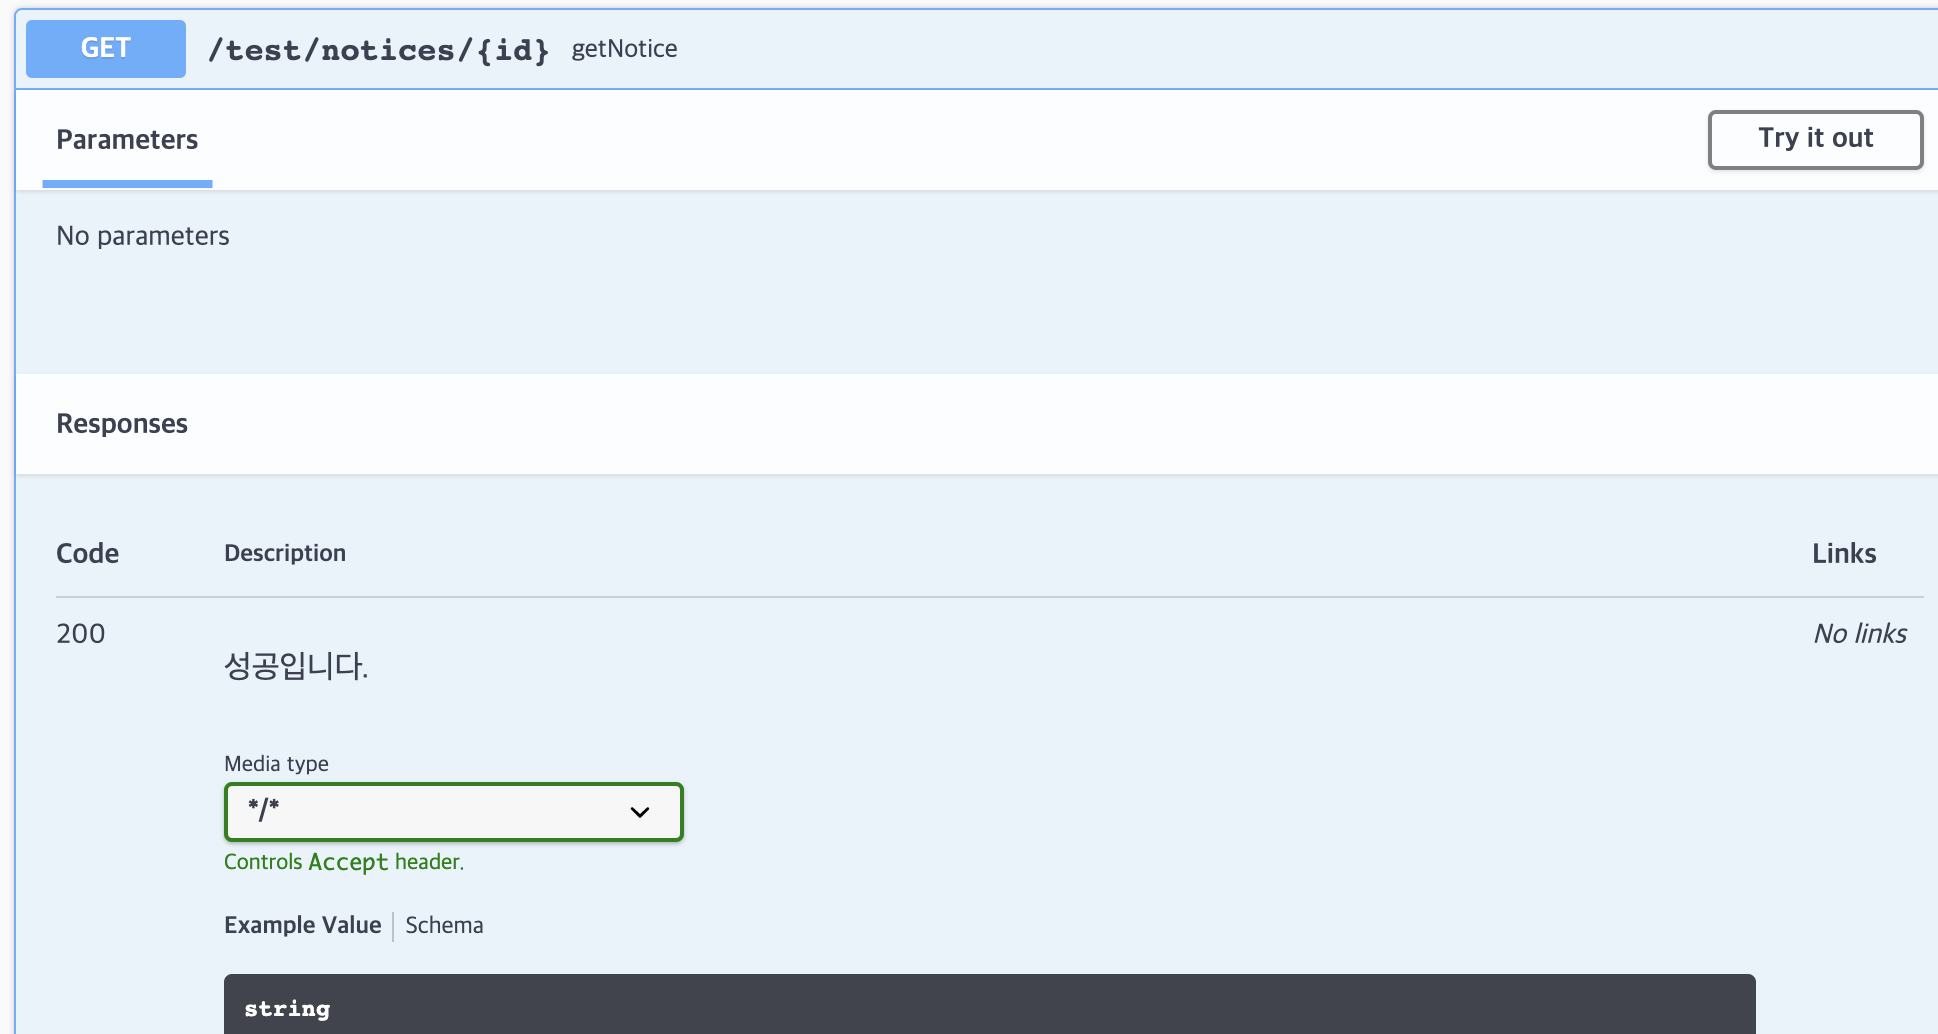
@ApiResponse Annotation으로 해당 method의 Response에 대한 설명을 작성할 수 있다.
    @ApiResponse(
        code = 200
        , message = "성공입니다."
    )
    @GetMapping("/notices/{id}")
    public String getNotice() {
        return "notice";
    }
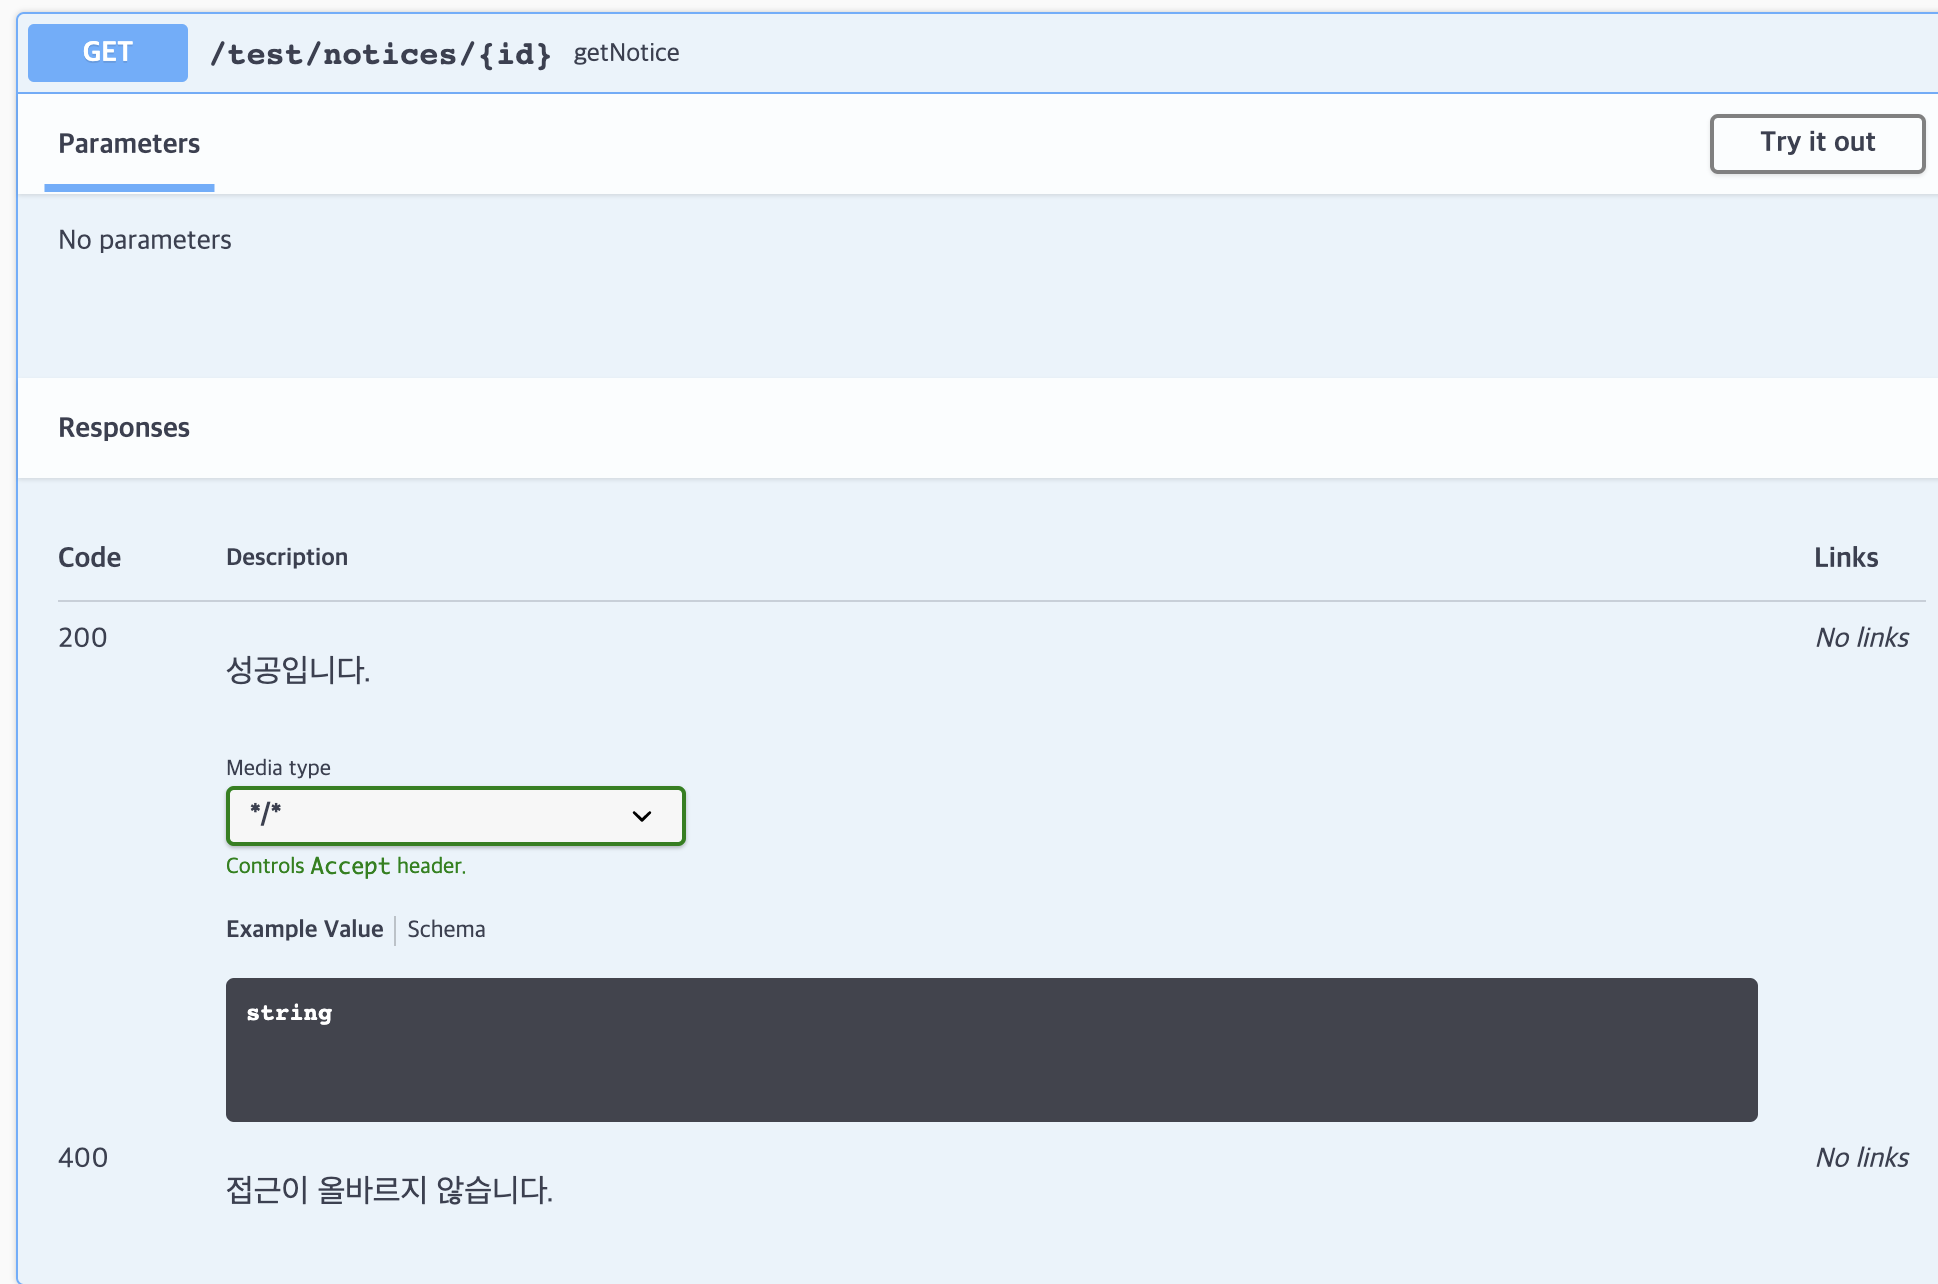
복수개의 Response에 대한 설명을 추가 하고 싶다면,
@ApiResponses를 사용하면 된다.
    @ApiResponses({
        @ApiResponse(code = 200, message = "성공입니다.")
        , @ApiResponse(code = 400, message = "접근이 올바르지 않습니다.")
    })
    @GetMapping("/notices/{id}")
    public String getNotice() {
        return "notice";
    }
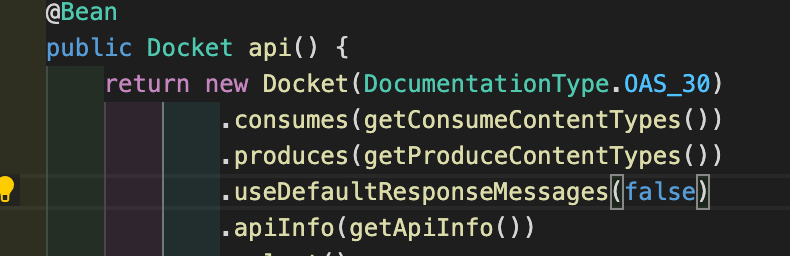
Default Response Message 삭제
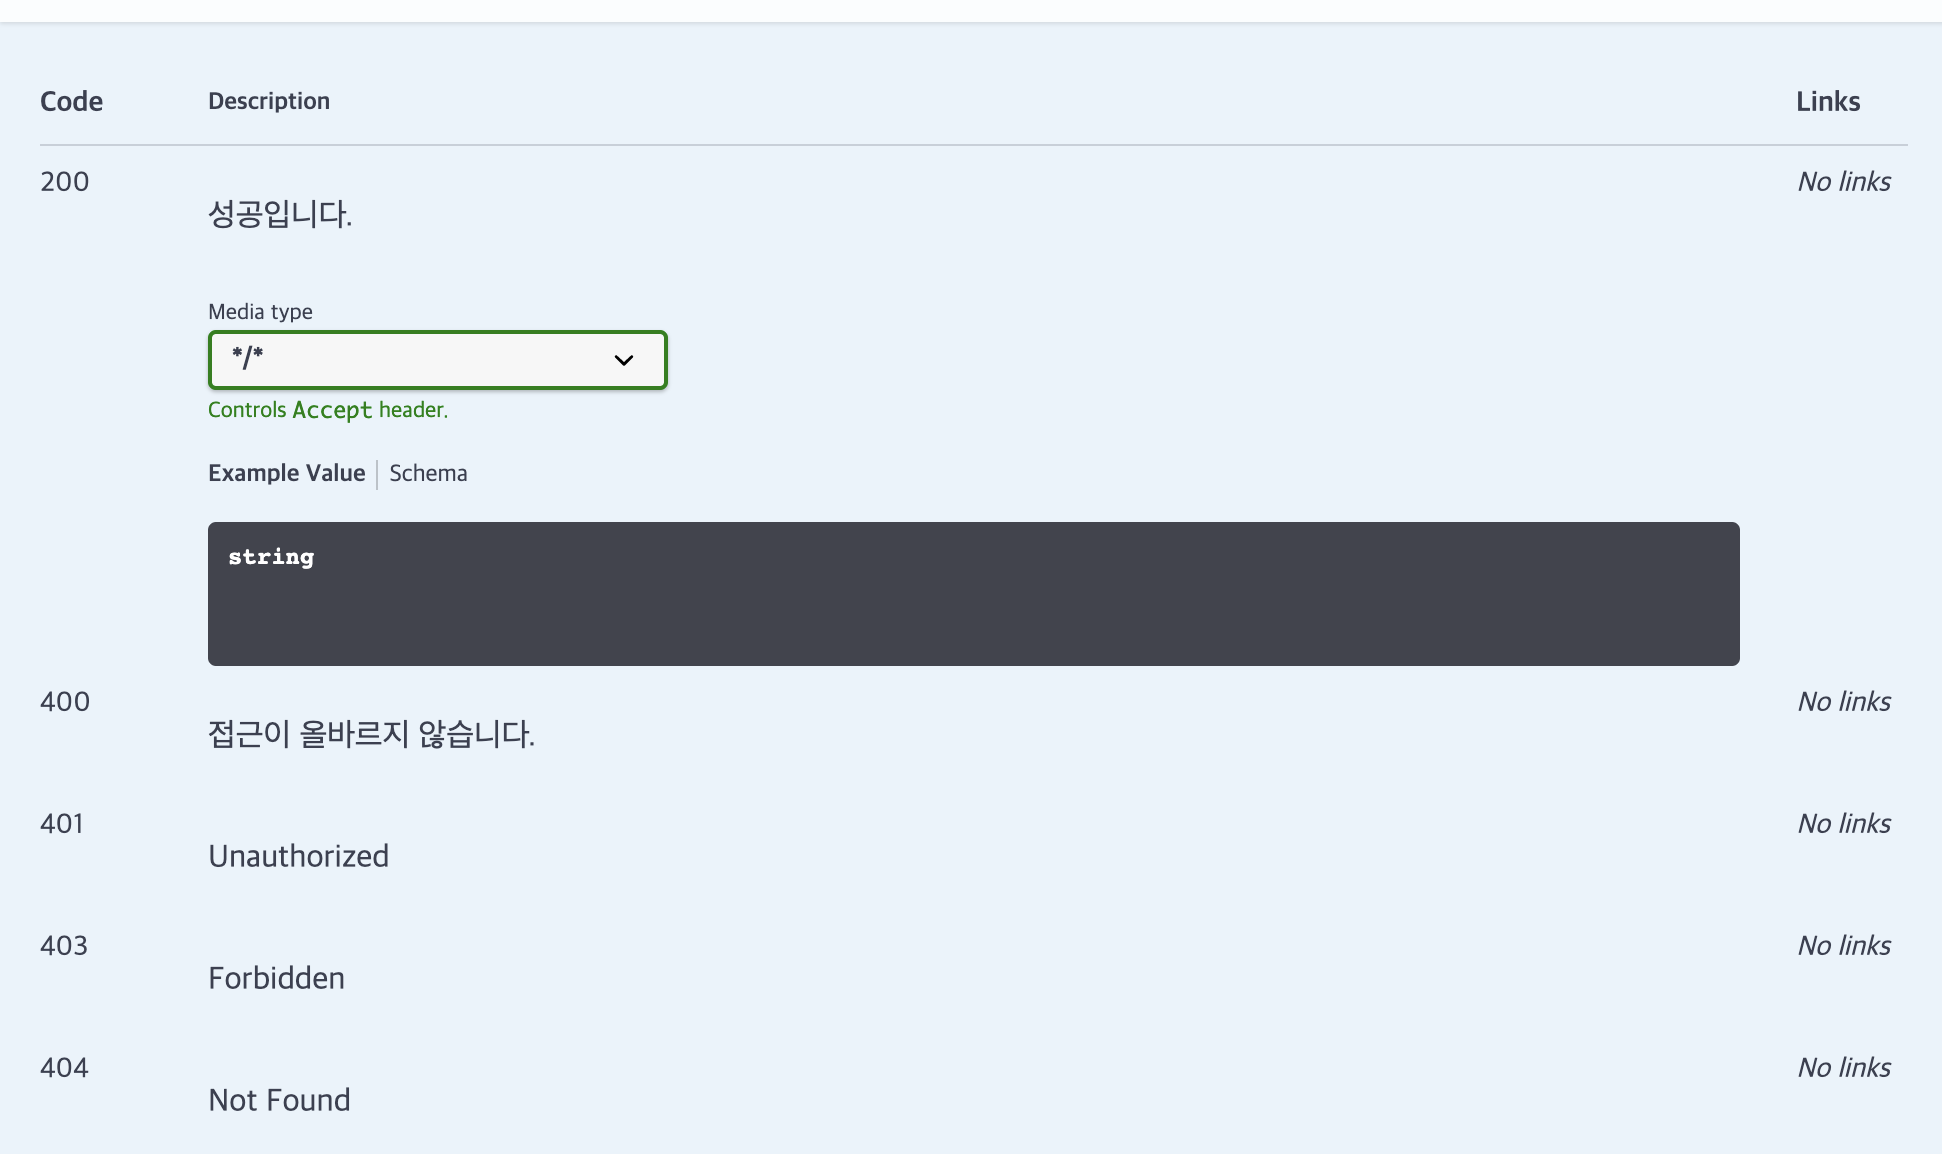
만약 위 사진에서 보이는 Default Response Message들을 삭제하고 싶다면,
Swagger Config에 Docket에 useDefaultResponseMessages(false)를 설정해주면 된다.
    @Bean
    public Docket api() {
        return new Docket(DocumentationType.OAS_30)
                .consumes(getConsumeContentTypes())
                .produces(getProduceContentTypes())
                .useDefaultResponseMessages(false)
                .apiInfo(getApiInfo())
                .select()
                .apis(RequestHandlerSelectors.basePackage("com.bng.ddaja"))
                .paths(PathSelectors.ant("/**"))
                .build();
}useDefaultResponseMessages(false)를 설정해주면,
@ApiResponse로 설명하지 않은401, 403, 404 응답들이 사라진다.
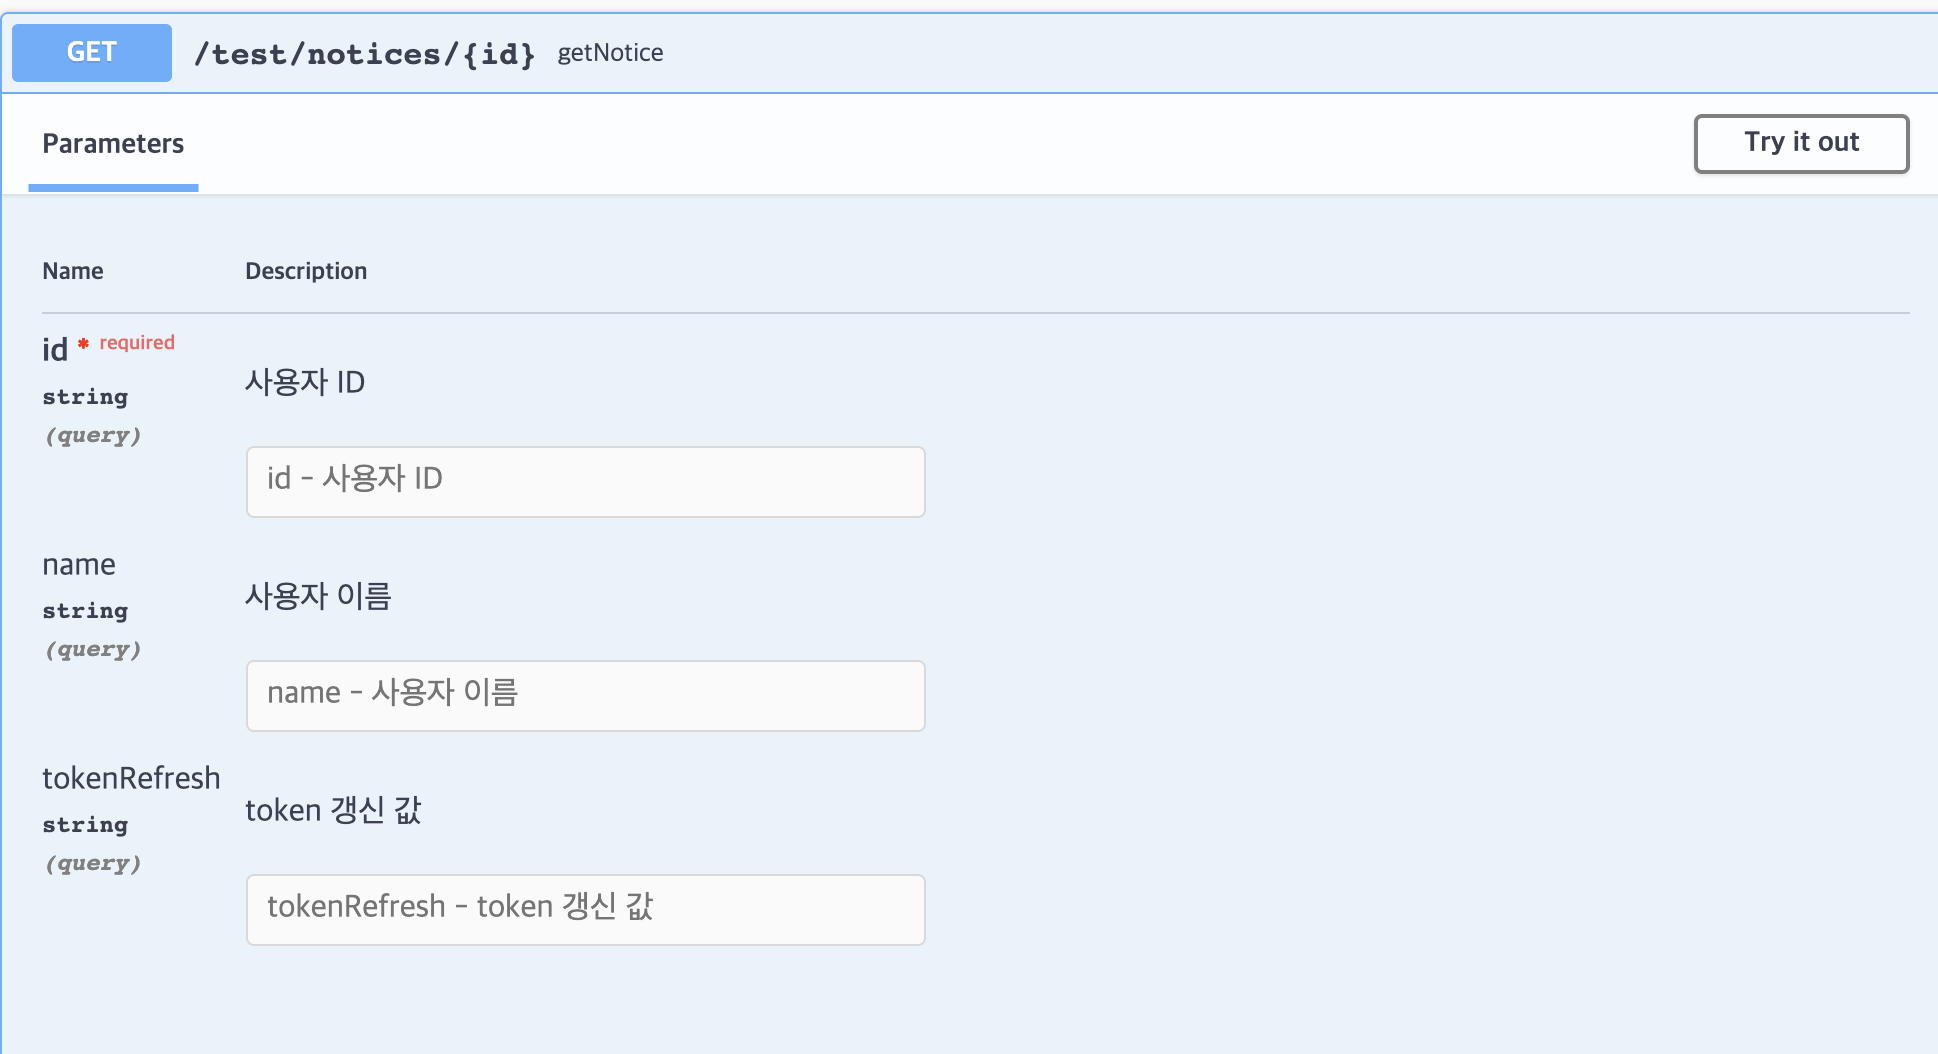
@ApiParam = DTO field 설명
@ApiParam Annotation으로 DTO의 field에 대한 설명을 추가할 수 있다.
    @ApiResponses({
        @ApiResponse(code = 200, message = "성공입니다.")
        , @ApiResponse(code = 400, message = "접근이 올바르지 않습니다.")
    })
    @GetMapping("/notices/{id}")
    public String getNotice(UserDTO userDTO) {
        return "notice";
    }


@Getter
@Setter
@NoArgsConstructor
public class UserDTO {

    @ApiModelProperty(
        name = "id"
        , example = "gillog"
    )
    @ApiParam(value = "사용자 ID", required = true)
    private String id;

    @ApiParam(value = "사용자 이름")
    private String name;

    @ApiParam(value = "token 갱신 값")
    private String tokenRefresh;
}
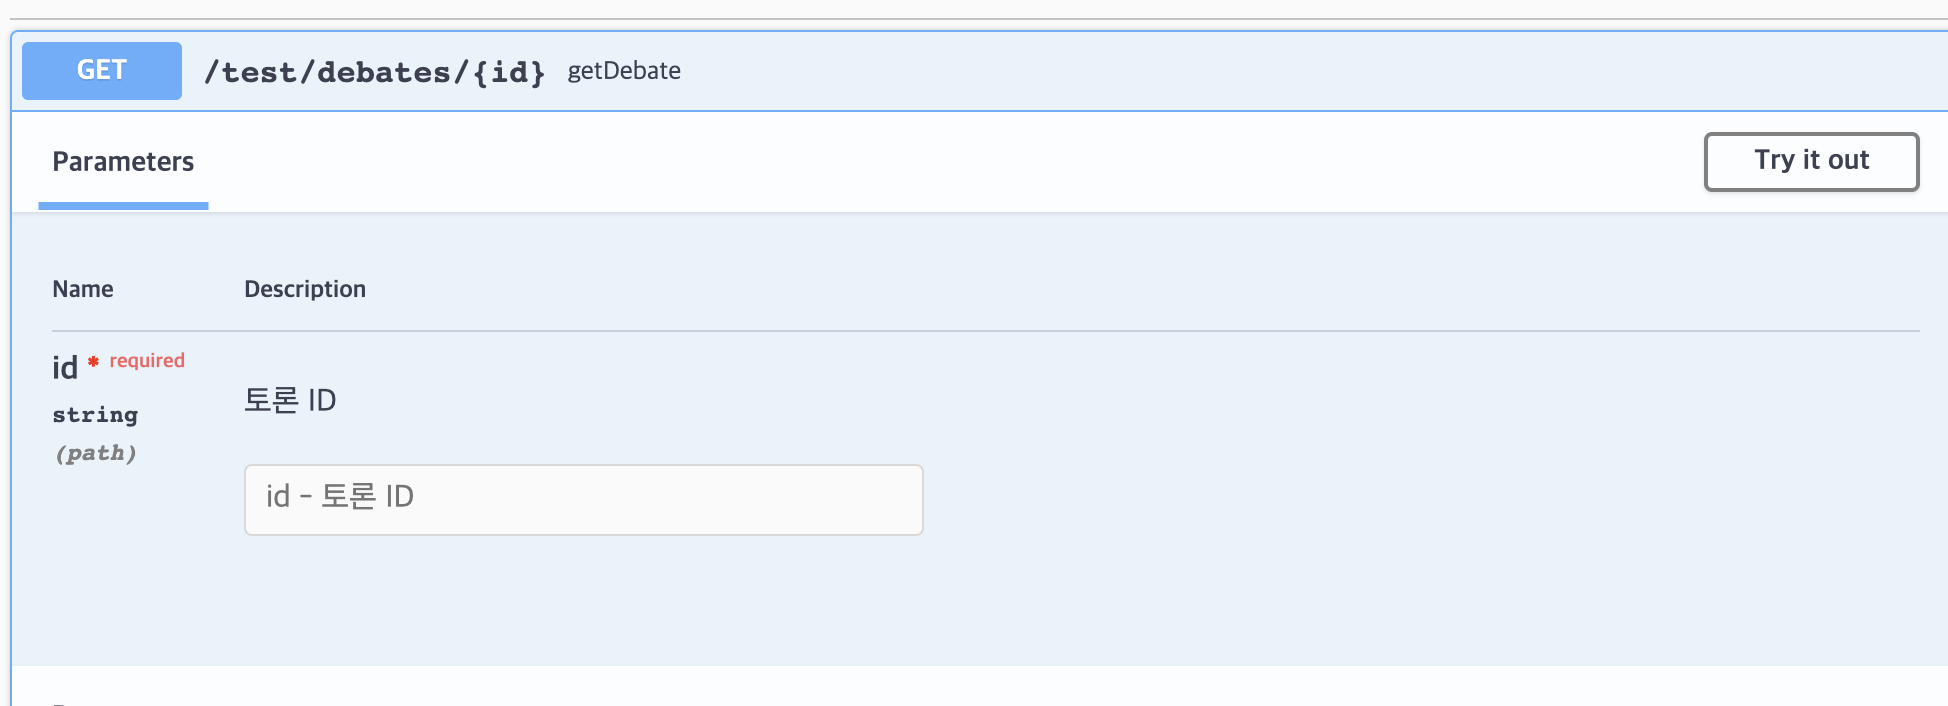
아래와 같이 Controller에서 Parameter들에 바로 적용도 가능하다.
추천하지는 않는다.
    @GetMapping("/debates/{id}")
    public String getDebate(@ApiParam(value = "토론 ID") @PathVariable(name = "id") String id) {
        return "debate";
    }
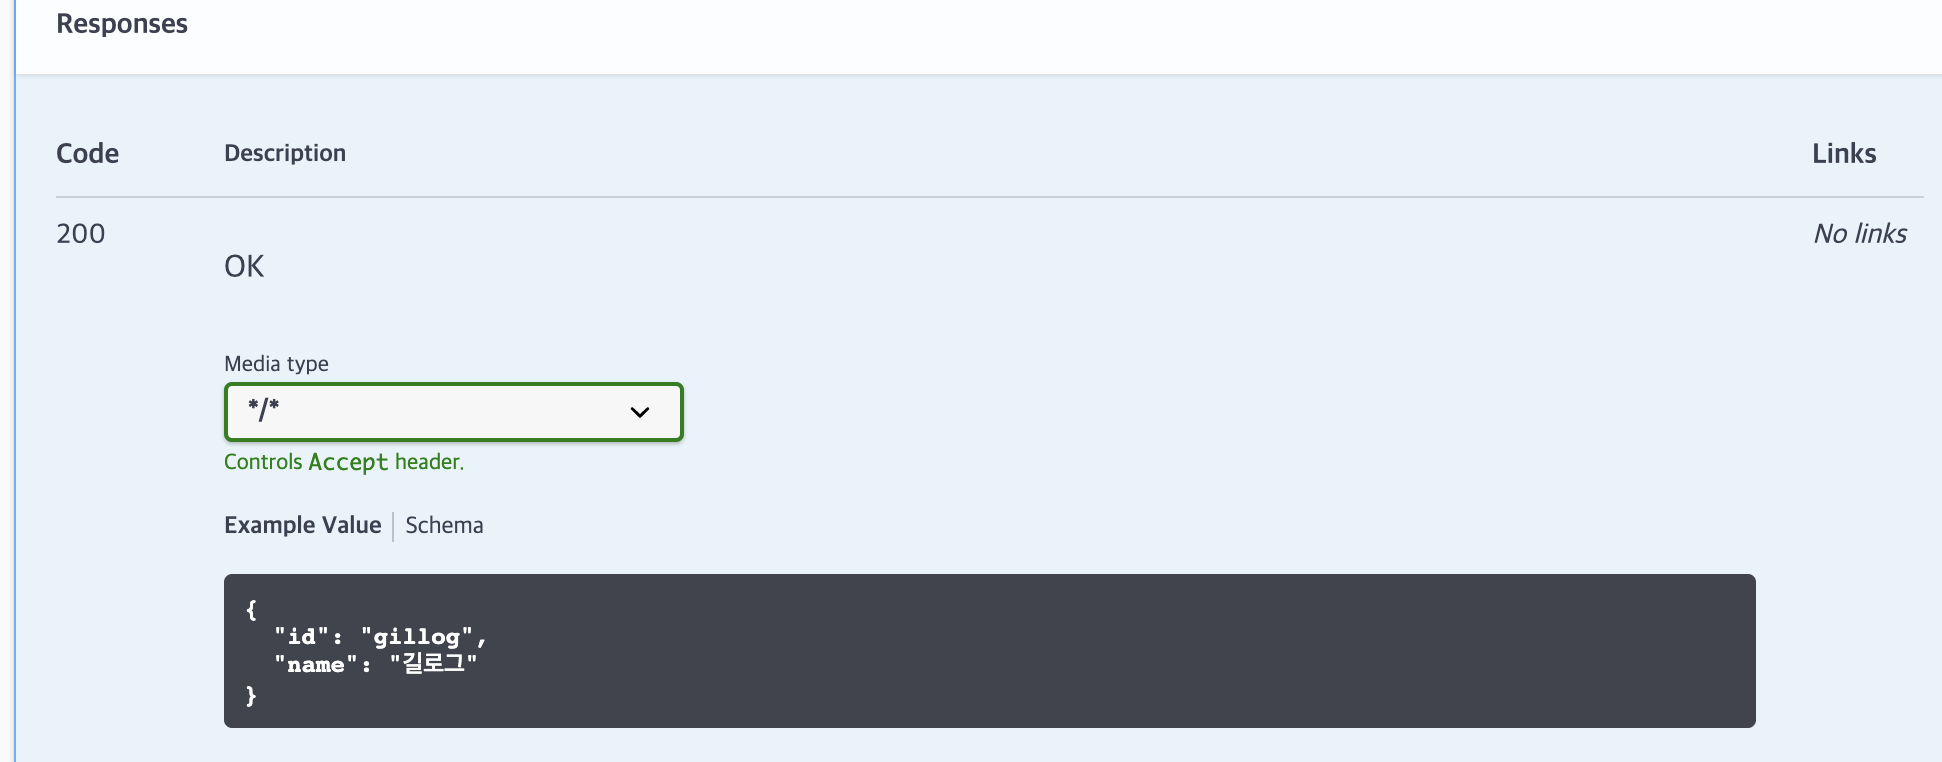
@ApiModelProperty = DTO 예제 설명
@ApiModelProperty Annotation을 사용하는 DTO Class Field에 추가하면,
해당 DTO Field의 예제 Data를 추가할 수 있다.
@Getter
@Setter
@NoArgsConstructor
public class UserDTO {

    @ApiModelProperty(
        name = "id"
        , example = "gillog"
    )
    @ApiParam(value = "사용자 ID", required = true)
    private String id;

    @ApiModelProperty(example = "길로그")
    @ApiParam(value = "사용자 이름")
    private String name;
}
여기서 name은 생략할 수 있다.
@ApiIgnore = Swagger UI 상 무시
    @ApiResponses({
        @ApiResponse(code = 200, message = "성공입니다.")
        , @ApiResponse(code = 400, message = "접근이 올바르지 않습니다.")
    })
    @ApiImplicitParam(
        name = "id"
        , value = "사용자 아이디"
        , required = true
        , dataType = "string"
        , paramType = "path"
        , defaultValue = "None")
    @GetMapping("/notices/{id}")
    public String getNotice(UserDTO userDTO) {
        return "notice";
    }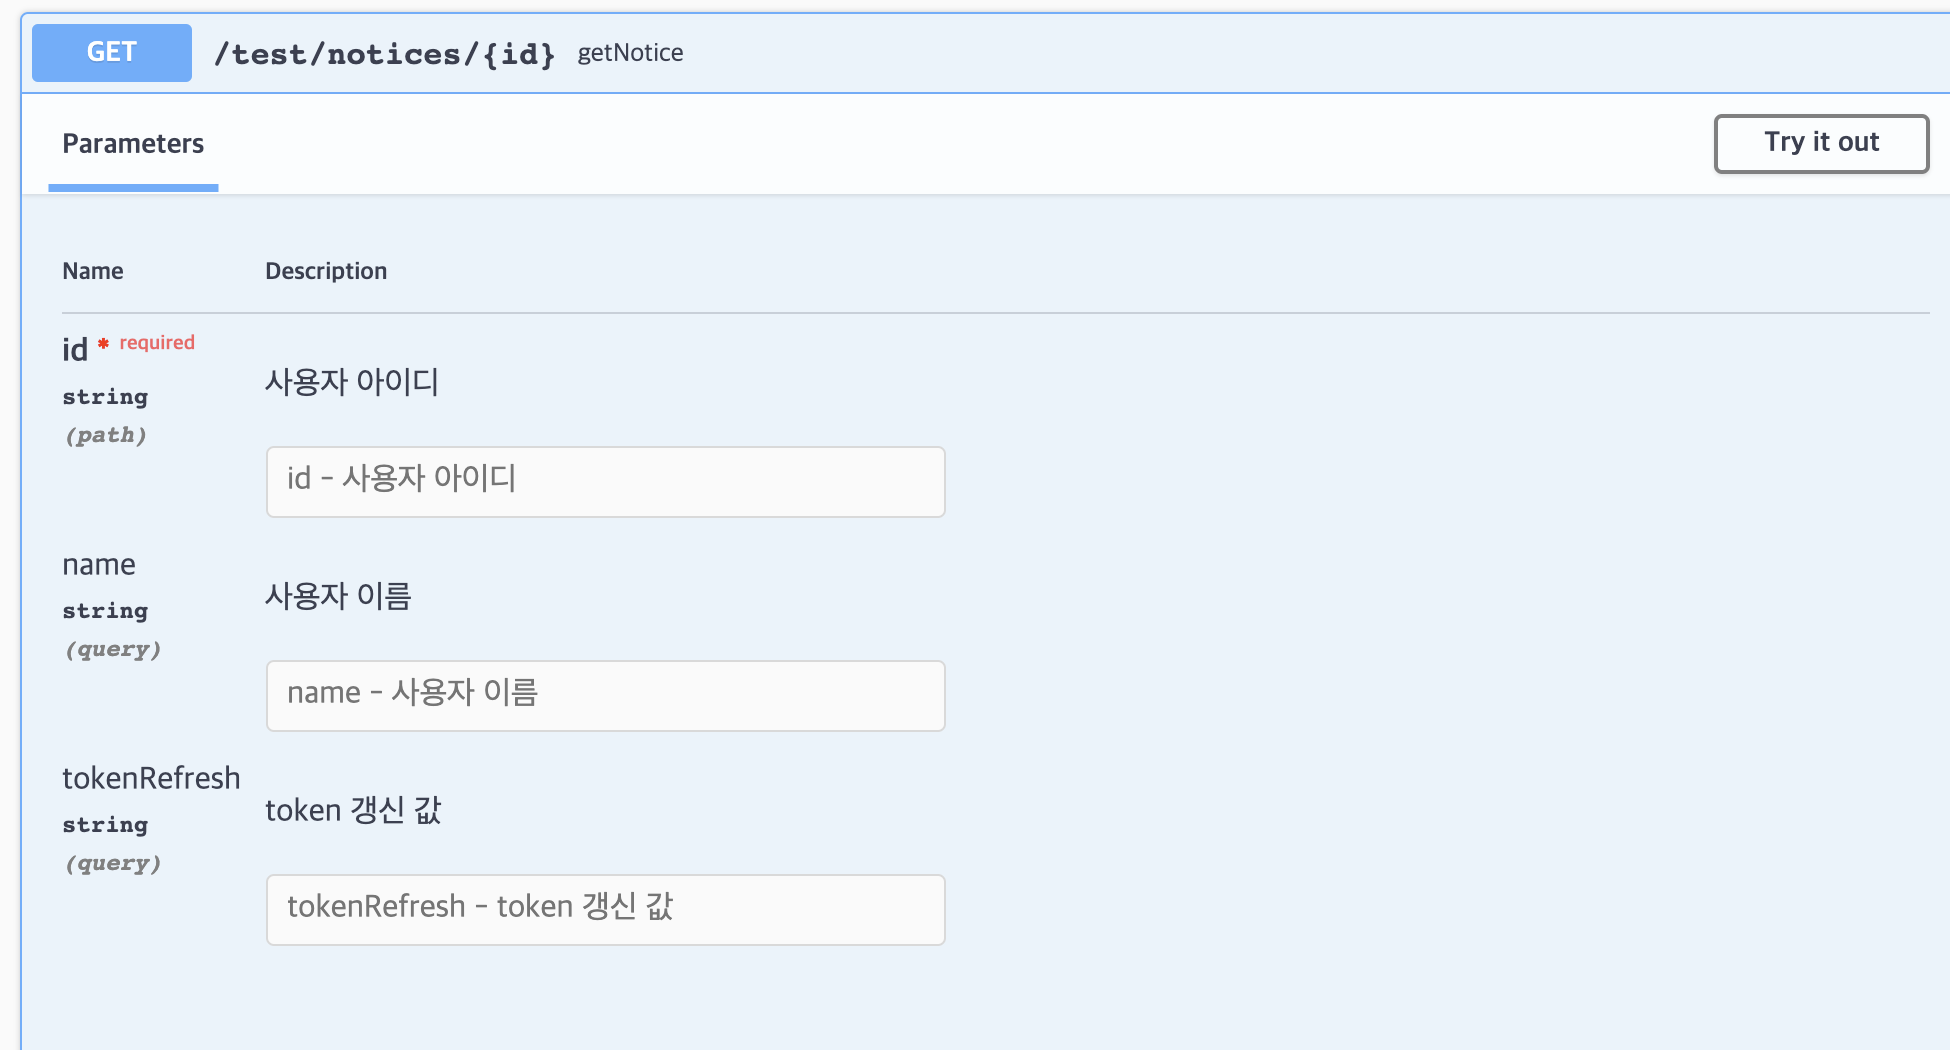
위 같은 코드에서 해당 method getNotice에서는 UserDTO의 id 만 필요한 상황인데,
Parameter에 DTO를 삽입하여 모든 Parameter 정보가 노출되었다.
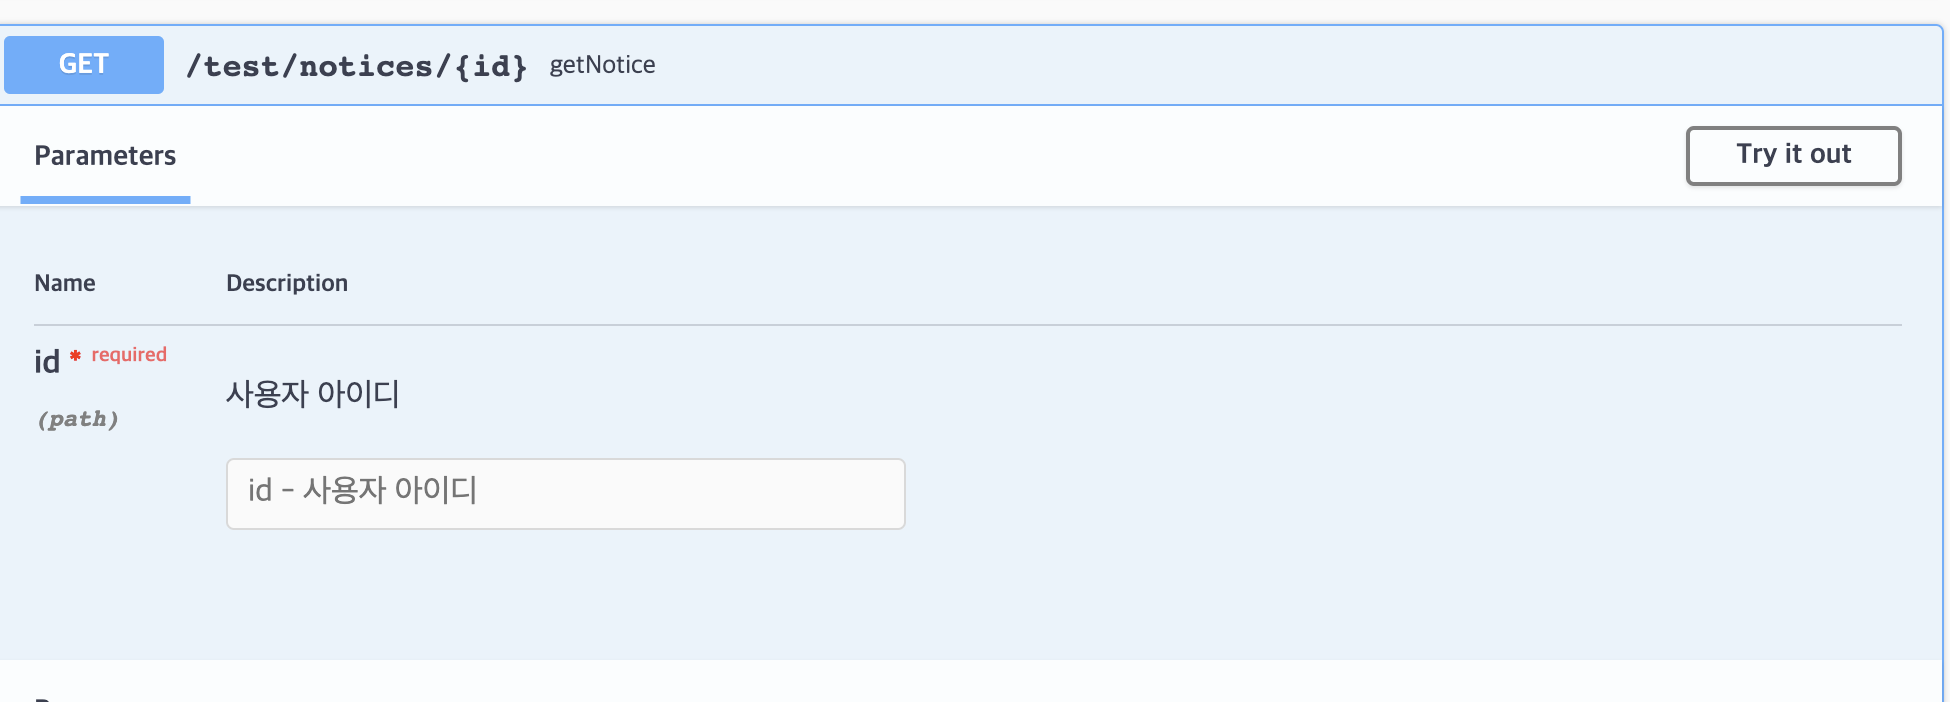
@ApiIgnore을 추가함으로써, @ApiImplictParam으로 선언하지않은 parameter 정보들을 무시할 수 있다.
    @ApiResponses({
        @ApiResponse(code = 200, message = "성공입니다.")
        , @ApiResponse(code = 400, message = "접근이 올바르지 않습니다.")
    })
    @ApiImplicitParam(
        name = "id"
        , value = "사용자 아이디"
        , required = true
        , dataType = "string"
        , paramType = "path"
        , defaultValue = "None")
    @GetMapping("/notices/{id}")
    public String getNotice(@ApiIgnore UserDTO userDTO) {
        return "notice";
    }
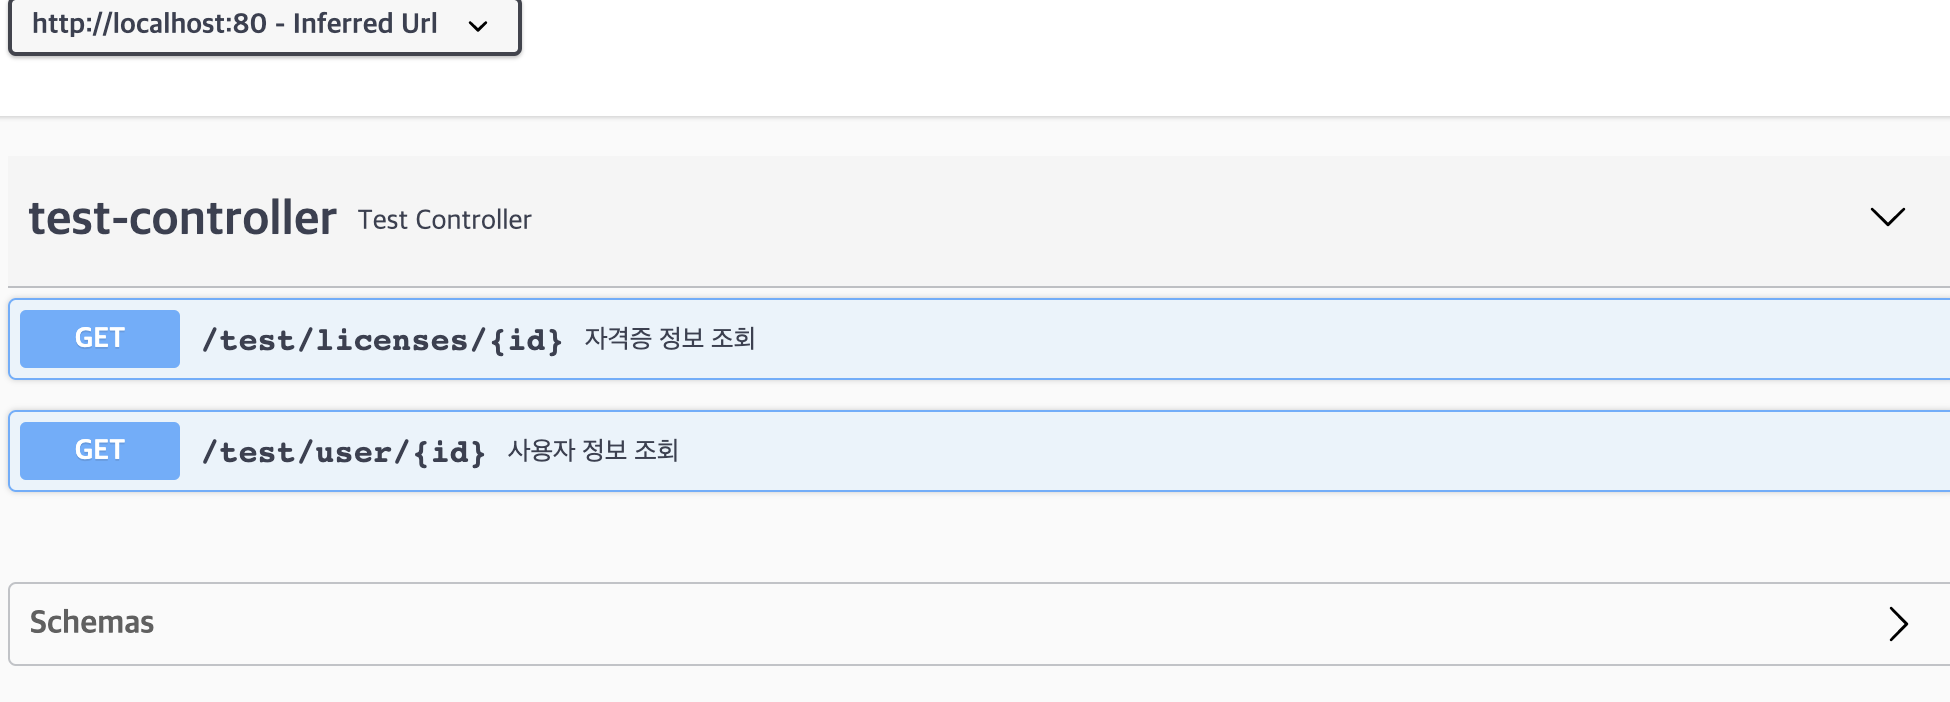
또한 method의 return type 앞에 명시해 해당 method를 아예 Swagger UI 에서 노출되지 않게 바꿀 수도 있다.
    @ApiResponses({
        @ApiResponse(code = 200, message = "성공입니다.")
        , @ApiResponse(code = 400, message = "접근이 올바르지 않습니다.")
    })
    @ApiImplicitParam(
        name = "id"
        , value = "사용자 아이디"
        , required = true
        , dataType = "string"
        , paramType = "path"
        , defaultValue = "None")
    @GetMapping("/notices/{id}")
    public @ApiIgnore String getNotice(UserDTO userDTO) {
        return "notice";
    }
Swagger UI API 화면 커스텀
Swagger Config Class에서 .apiInfo(ApiInfo Type)을 작성하면,
Swagger UI 기본 화면의 API 설명 문구등을 커스텀할 수 있다.
@Configuration
@EnableSwagger2
public class SwaggerConfig{
    @Bean
    public Docket api() {
        return new Docket(DocumentationType.OAS_30)
                .consumes(getConsumeContentTypes())
                .produces(getProduceContentTypes())
                .useDefaultResponseMessages(false)
                .apiInfo(getApiInfo())
                .select()
                .apis(RequestHandlerSelectors.basePackage("com.bng.ddaja"))
                .paths(PathSelectors.ant("/**"))
                .build();
    }

    private Set<String> getConsumeContentTypes() {
        Set<String> consumes = new HashSet<>();
        consumes.add("application/json;charset=UTF-8");
        consumes.add("application/x-www-form-urlencoded");
        return consumes;
    }

    private Set<String> getProduceContentTypes() {
        Set<String> produces = new HashSet<>();
        produces.add("application/json;charset=UTF-8");
        return produces;
    }

    private ApiInfo getApiInfo() {
        return new ApiInfoBuilder()
                .title("[DDaJa] REST API")
                .description("[DDaJa] BackEnd REST API Details")
                .contact(new Contact("[DDaja Swagger]", "https://github.com/swgil007/DDaJa", "BNG"))
                .version("1.0")
                .build();
    }
}


재미있는 글이 계속해서 올라오네요! Bitlife