
금일 포스팅할 내용은 Node Project를 기반으로 Nexus Private Repository에 업로드하는 과정을 Jenkins Pipeline을 이용하여 진행하는 모습을 포스팅 하려고 합니다.
사전 준비 사항
1) github Token
Git Repository에서 클론을 받기 위해서는 GitHub 토큰 생성이 필요합니다.
-
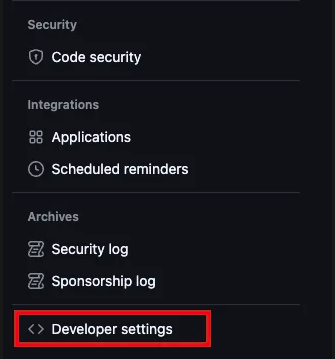
github 사이트 접근 → 오른쪽 매뉴 → Setting 클릭

-
왼쪽 하단에 ‘Developer Setting’ 클릭
-
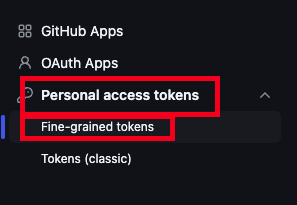
Personal access tokens → Fine-grained tokens 클릭
-
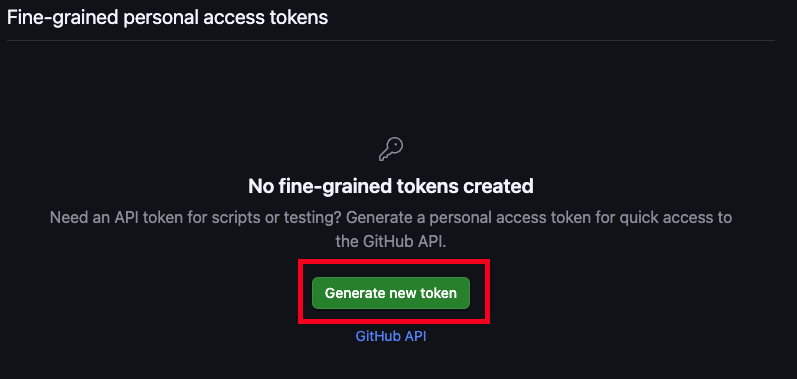
Generate new token 클릭
-
token name, expiration, Repository access 선택후 생성
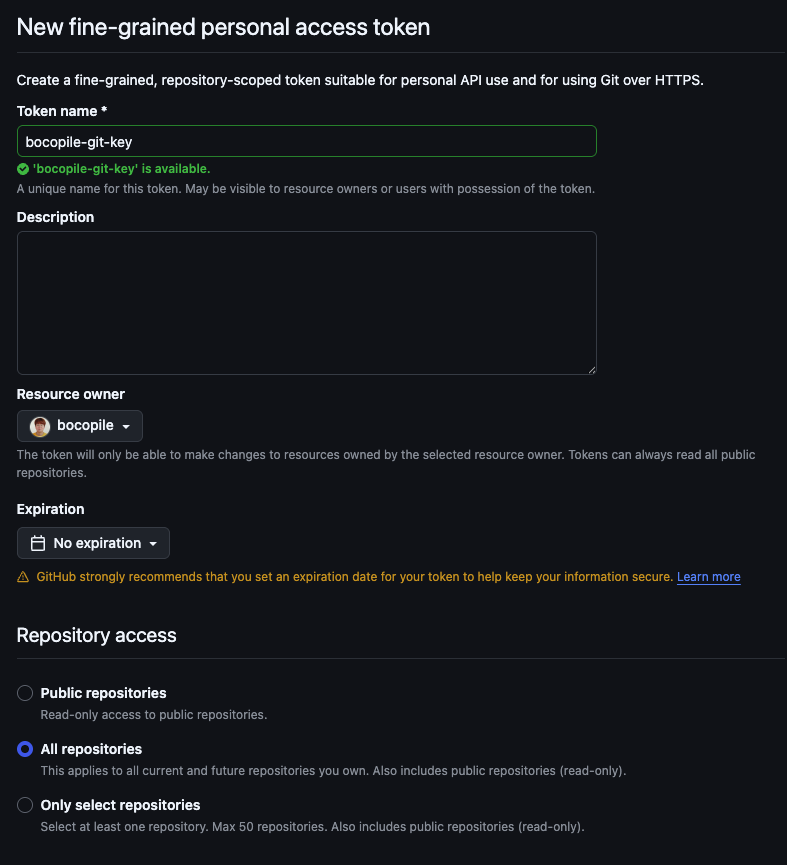
- 생성된 Token를 복사
2) Jenkins Plugin 설치
-
jenkins 관리 → Plugins 클릭
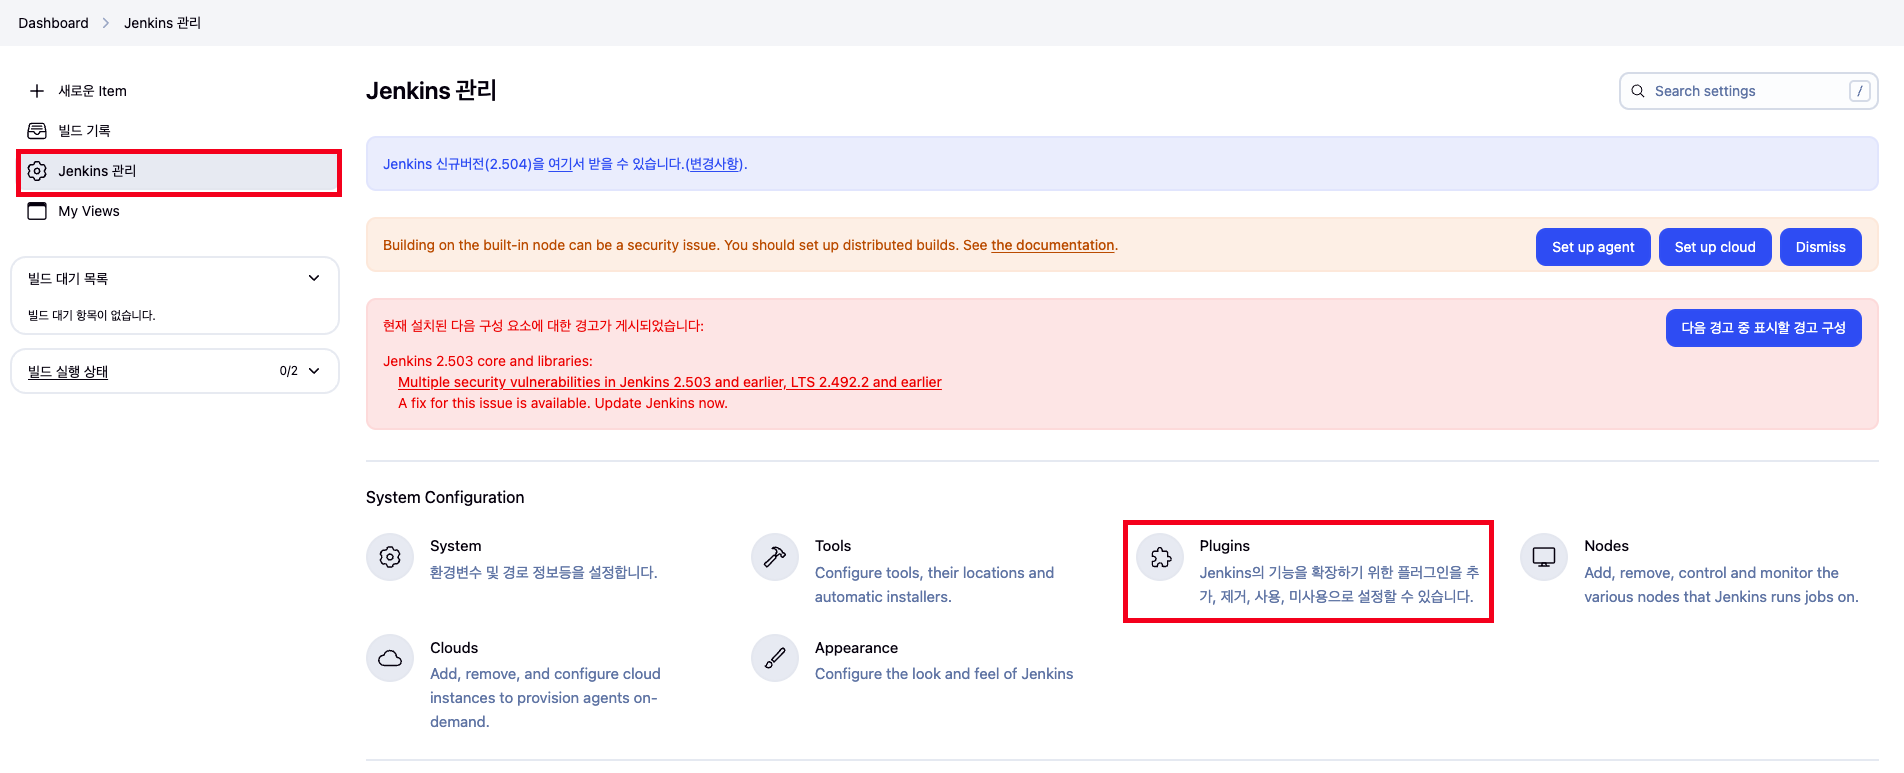
-
NodeJS, Pipeline Rest API, git Parameter 선택후 install 진행


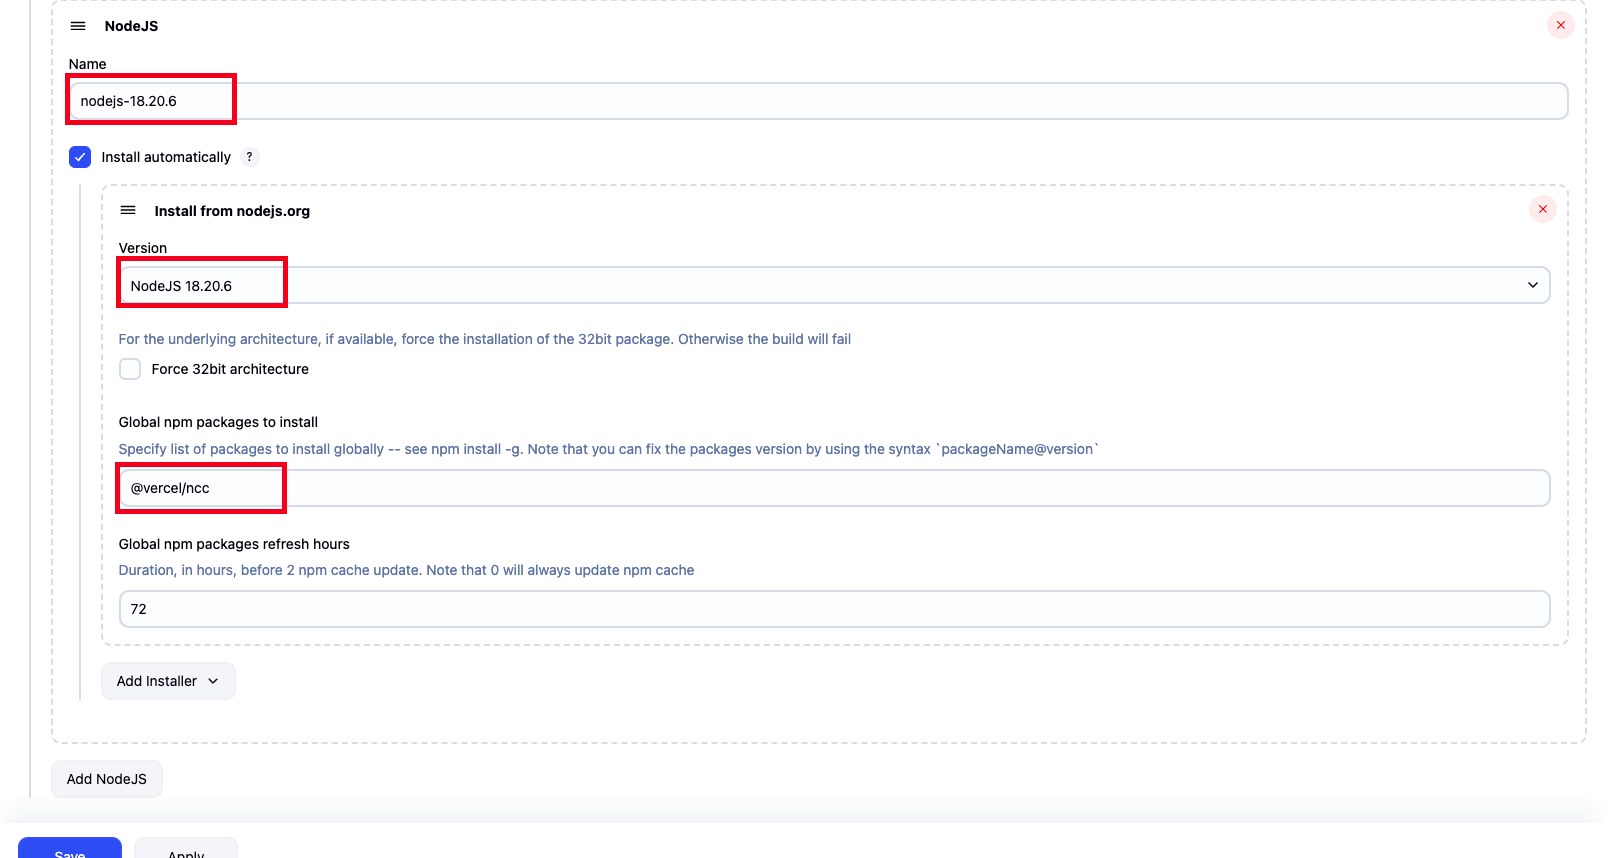
3) Tool 설정
-
Jenkins 관리 → Tool 클릭

-
name, version 선택후 save 버튼 클릭
- name : nodejs-18.20.6
- version : NodeJS 18.20.6
- Global npm package to install : @vercel/ncc - Link
- node 프로젝트를 경량화 목적으로 사용되는 package
4) Nexus Repository 생성 및 권한 부여
(1) Repository 생성
name , Deployment policy (Disable redeploy) 선택후 생성

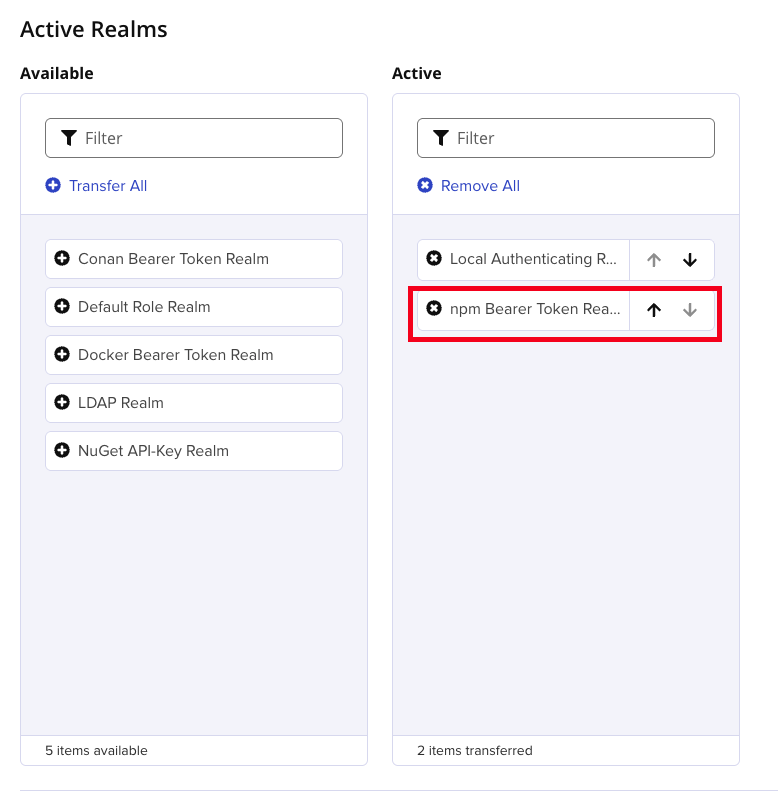
(2) Realms 권한 부여
- Security > Realms 클릭

- npm Bearer Token Realm 클릭하여 Active 상태로 변경
(3) Nexus Repository 로그인
-
npm repository 로그인
- nexus 생성된 계정으로 로그인 진행
npm login --registry=${nexus_repository_url}

# 예시
npm login --registry=http://127.0.0.1:10001/repository/express-winston/
- 실행 결과

- nexus 생성된 계정으로 로그인 진행
-
npm 로그인 확인
- code
npm whoami --registry=${nexus_repository_url}

# 예시
npm whoami --registry=http://127.0.0.1:10001/repository/express-winston/
- code
- 실행 결과

- nexus token 복사
- code
cat ~/.npmrc - 실행 결과 : _authToken 뒤에 있는 값을 복사

- code
5) Credentials 추가
github_credentials: github Repository Tokennpm_login_token_cicd: Nexus Repository Token
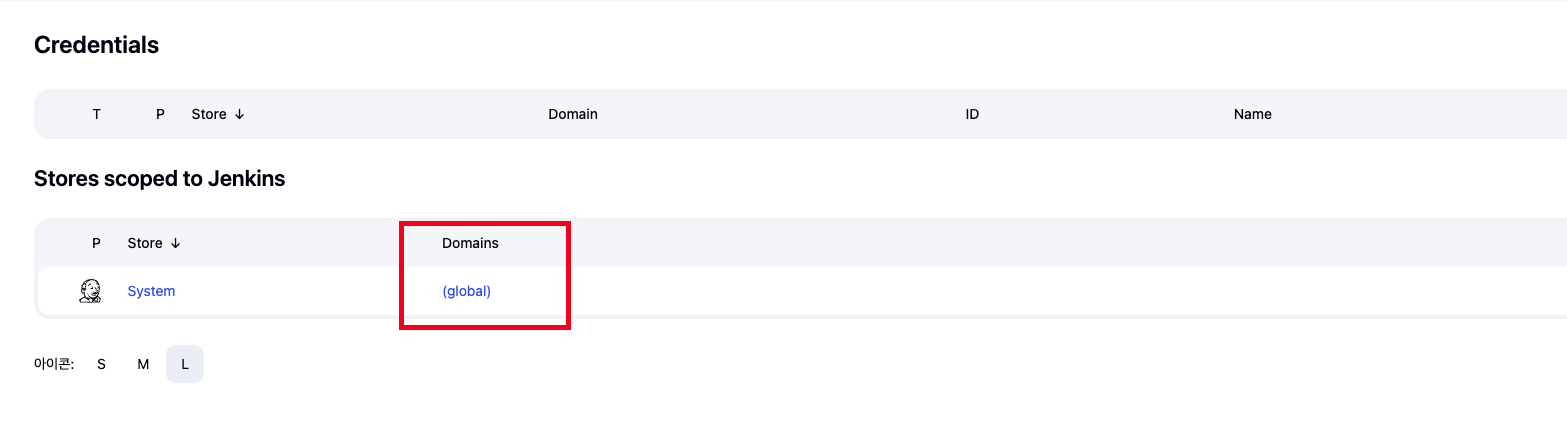
(1) github_credentials 추가
-
Jenkins 관리 → Credentials 클릭

-
(global) 클릭
-
Add Credentials 클릭

-
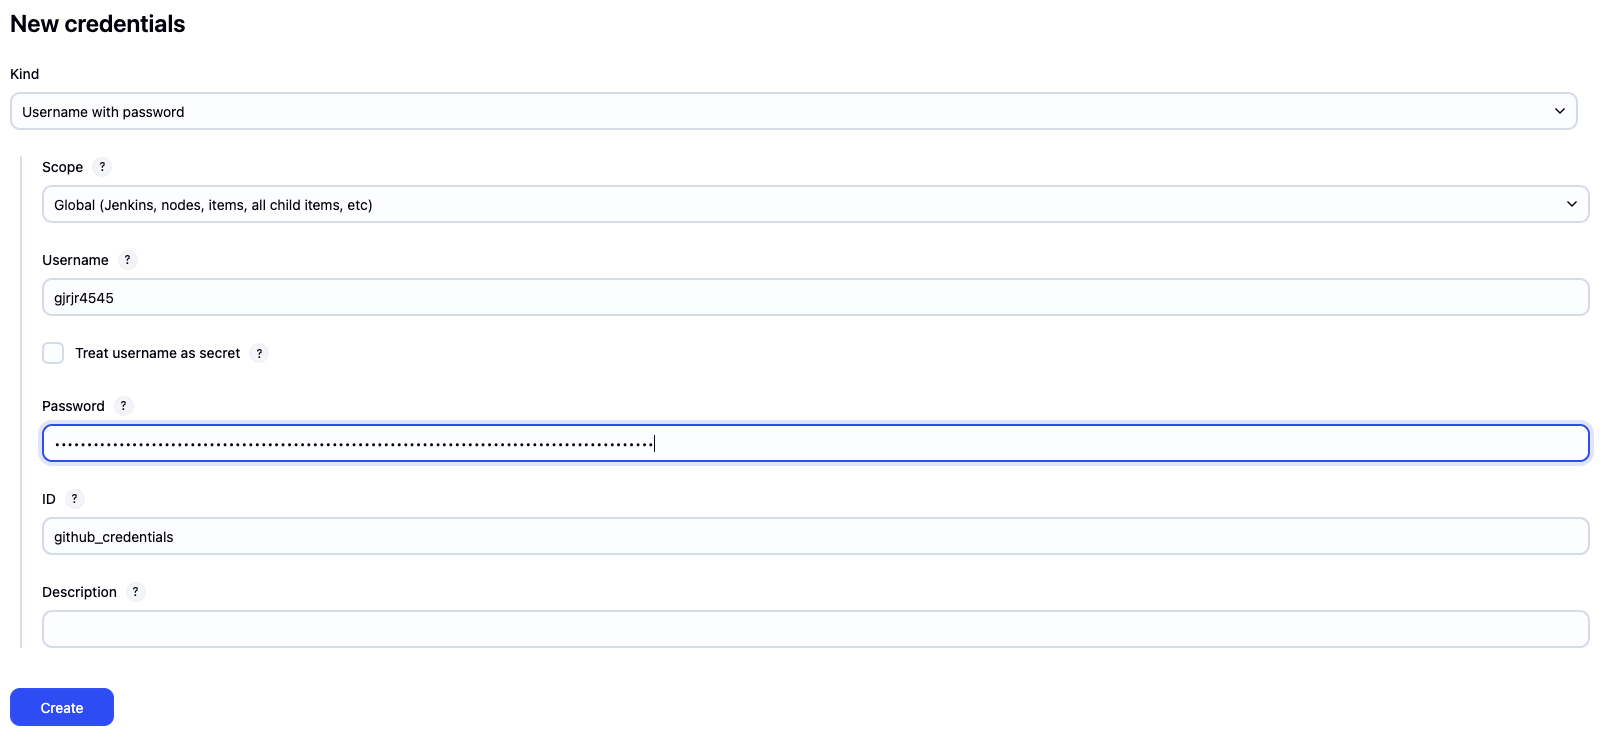
해당 정보 입력 후 create 클릭
- kind : username with password
- scope : global
- username : github 계정
- password : github token
- ID :
github_credentials입력
(2) npm_login_token_cicd 추가
-
Jenkins 관리 → Credentials 클릭
-
(global) 클릭
-
Add Credentials 클릭
-
해당 정보 입력후 create 클릭
- kind : Secrets text
- scope : global
- secret : neuxs token
- ID :
npm_login_token_cicd입력

Node Pipeline 생성
1) pipeline 진행 순서

- Tool install
- 해당 작업을 실행하기 위한 기반 환경을 세팅
- 해당 블로그 글에선
nodejs-18.20.6이 해당 됨
- Git Checkout
- git 으로 부터 프로젝트를 체크아웃 하는 과정
- 여기선 express-winston 프로젝트가 해당 - Link
- install
- npm에 필요한 package를 받아와서 install 하는 과정
- build
- 해당 프로젝트에 대한 dist 파일을 생성하는 과정 (경량화 포함)
- Nexus Login
- Nexus repository에 로그인 하는 과정
- publish
- 로그인 된 Nexus에 해당 프로젝트를 upload하는 과정
2) pipeline 추가 작업
-
왼쪽 상단에 새로운 item 클릭

-
item명, pipeline 선택후 OK 버튼 클릭

-
하단 파이프라인에 해당 코드 입력
- nexus_repository_url : 자신의 nexus repository url를 입력
pipeline {
    agent any
    parameters {
        gitParameter(
                name: 'BRANCH',
                type: 'PT_BRANCH_TAG',
                branchFilter: '*',      // 모든 브랜치
                tagFilter: '*',                   // 모든 태그 포함
                defaultValue: 'origin/master',
                description: 'Select a branch or tag'
        )
    }
    environment {
        NPM_REGISTRY = credentials('github_credentials')
        NPM_AUTH_TOKEN = credentials('npm_login_token_cicd')
    }
    tools {
        nodejs 'nodejs-18.20.6'
    }
    stages {
        stage('git CheckOut') {
            steps {
                script {
                    // 파라미터 값이 브랜치인지 태그인지 확인
                    def ref = params.BRANCH
                    if (ref.startsWith("origin/")) {
                        // 브랜치라면 origin/ 접두사를 제거
                        ref = ref - "origin/"
                    } else {
                        // 태그라면 refs/tags/ 접두사를 붙여 checkout 하도록 변경
                        ref = "refs/tags/" + ref
                    }
                    checkout([
                            $class: 'GitSCM',
                            branches: [[name: ref]],
                            userRemoteConfigs: [[
                                url: 'https://github.com/bocopile/express-winston.git',
                                credentialsId: 'github_credentials',
                                refspec: '+refs/heads/*:refs/remotes/origin/* +refs/tags/*:refs/tags/*'
                            ]]
                    ])
                }
            }
        }
        stage('npm install') {
            steps {
                sh 'npm install'
            }
        }
        stage('npm run build') {
            steps {
                sh 'npm run build'
            }
        }
        stage('Login to npm Registry') {
            steps {
                script {
                    sh '''
                      echo "Logging in to npm registry..."
                      echo "//${nexus_repository_url}/repository/express-winston/:_authToken=\${NPM_AUTH_TOKEN}" > ~/workspace/node-pipeline/dist/.npmrc

                    '''
                    sh 'cd ~/workspace/node-pipeline/dist && npm whoami --registry=http://${nexus_repository_url}/repository/express-winston/'
                }
            }
        }
        stage('publish') {
            steps {
                sh 'cd dist && npm publish --registry=http://${nexus_repository_url}/repository/express-winston/'
            }
        }
    }

}
3) Jenkins pipeline 실행
파이프라인을 등록 한 후 처음 실행시 git parameter를 선택 하는 매뉴가 안보이는 버그들이 있습니다.
(이게 왜 이러는지 아시는분이 있다면 댓글 부탁드리겠습니다.)
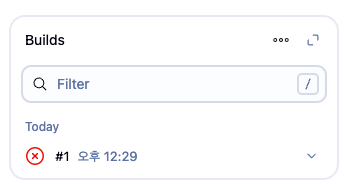
한번 실행하게 되면 아래와 같이 실패가 발생합니다.
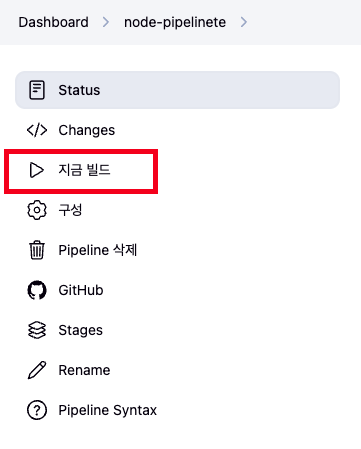
그리고 나서 해당 화면을 새로고침 한 뒤 다시 보게 되면 지금 빌드 매뉴가 있던 자리에 아래와 같이 파라미터와 함께 빌드라는 매뉴로 변경이 되는 것을 확인할 수 있다.

해당 버튼을 클릭하면 다음과 같이 tag, Branch가 나오는 것을 확인할 수 있다.
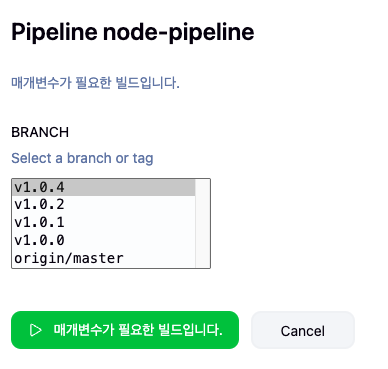
1.0.4 버전을 기반으로 pipeline를 실행하였을때 아래와 같이 pipeline이 성공한것을 알수 있습니다.

또한 Nexus에서도 해당 파일이 업로드 된것을 확인이 됩니다.

업로드 된 파일을 다운로드해서 확인했을때 제대로 업로드 된것도 확인이 가능하다.

마무리
금일 Jenkins Pipeline을 이용하여 Nexus Repository에 업로드하는 방법을 진행해 보았습니다.
다음 블로그에서는 Nexus Repository에 업로드된 Node Project를 다운받아 Dockerizing하는 일련의 과정을 Jenkins Pipeline으로 진행하는 것을 포스팅 하도록 하겠습니다.
출처
- Jenkins pipeline Git Paramater : https://plugins.jenkins.io/git-parameter/
