다음과 같은 화면을 만들어보자

- 우선 박스안에 h1과 h5의 제목이 보이므로 우리가 앞서 만든 로그인 페이지 이 제목들을 박스로 묶어보자.
<!DOCTYPE html>
<html lang="en">
<head>
    <meta charset="UTF-8">
    <title>로그인페이지</title>
    <style>

    </style>
</head>
<body>
<div>
    <h1>로그인 페이지</h1>
    <h5>아이디, 비밀번호를 입력해주세요</h5>
</div>
<p>ID: <input type="text"/></p>
<p>PW: <input type="text"/></p>
<button>로그인하기</button>
</body>
</html>- 이 박스를 색깔을 초록색으로 줘보도록 하자.
<!DOCTYPE html>
<html lang="en">
<head>
    <meta charset="UTF-8">
    <title>로그인페이지</title>
    <style>
        .mytitle {
            background-color: green;
        }
    </style>
</head>
<body>
<div class="mytitle">
    <h1>로그인 페이지</h1>
    <h5>아이디, 비밀번호를 입력해주세요</h5>
</div>
<p>ID: <input type="text"/></p>
<p>PW: <input type="text"/></p>
<button>로그인하기</button>
</body>
</html>
3. 박스 크기를 줄이고 안에 글자를 흰색으로 바꿔보자
    <style>
        .mytitle {
            background-color: green;

            width: 300px;
            height: 200px;

            color: white;
        }
    </style>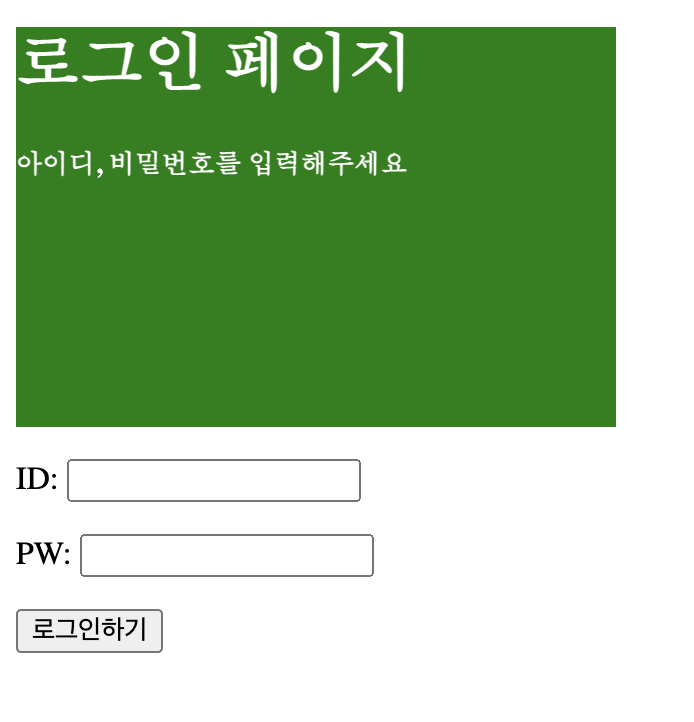
- 이 로그인페이지 박스안에 글자를 가운데로 오게하자.
text-align: center;
    <style>
        .mytitle {
            background-color: green;

            width: 300px;
            height: 200px;

            color: white;
            text-align: center;
        }
</style>- 배경 이미지를 깔아보자. (지금 아래 세줄은 외운다고 생각해라). 아래 세줄을 .mytitle에 삽입
			background-image: url("https://www.ancient-origins.net/sites/default/files/field/image/Agesilaus-II-cover.jpg");
            background-size: cover;
            background-position: center;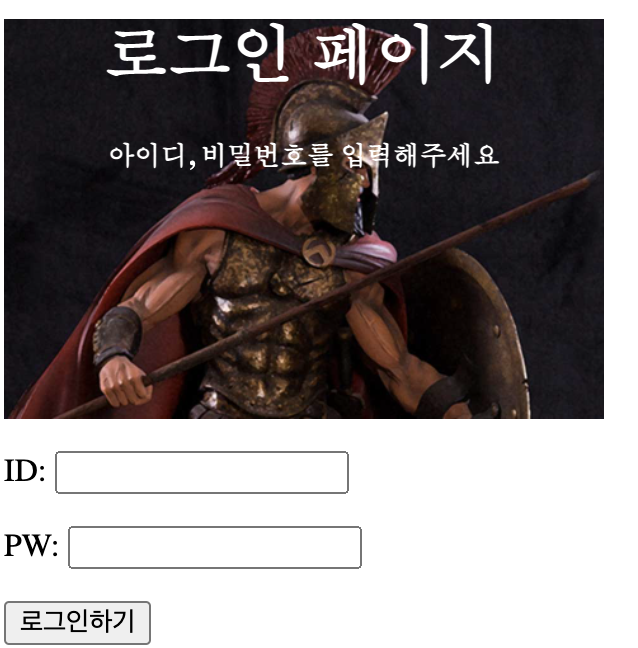
6. 귀퉁이를 둥글게 하자. .mytitle에 추가
border-radius:10px;- 여기서 버튼을 mybtn이라는 class를 주고
margin: 20px 20px 20px 50px;를 주면 버튼이 움직인다. 왜냐하면 margin은 바깥 여백이기 때문. 여기서 저 margin의 원리는 처음을 top으로 해서 시계방향으로 top, right, bottom, left다.

- 그렇다면 반대로 안쪽여백인 padding을 이용해보자. .mytitle에
padding-top: 40px;를 주면 '로그인 페이지' 글자가 아래로 내려간다.

- 이제 만들어둔 로그인 화면을 가운데로 가져와보자. 우선 로그인화면을 통째로 div class="wrap"으로 묶어보자. 이미지도 넣었겠다. mytitle에 있는
background-color: green을 지워주고 새로운 div의 배경화면을 초록색으로 넣어주자.
<!DOCTYPE html>
<html lang="en">
<head>
    <meta charset="UTF-8">
    <title>로그인페이지</title>
    <style>
        .mytitle {

            width: 300px;
            height: 200px;

            color: white;
            text-align: center;

            background-image: url("https://www.ancient-origins.net/sites/default/files/field/image/Agesilaus-II-cover.jpg");
            background-size: cover;
            background-position: center;
            border-radius: 10px;

            padding-top: 40px;
        }
        .wrap {
            background-color: green;
        }
    </style>
</head>
<body>
<div class="wrap">
    <div class="mytitle">
        <h1>로그인 페이지</h1>
        <h5>아이디, 비밀번호를 입력해주세요</h5>
    </div>
    <p>ID: <input type="text"/></p>
    <p>PW: <input type="text"/></p>
    <button>로그인하기</button>
</div>
</body>
</html>
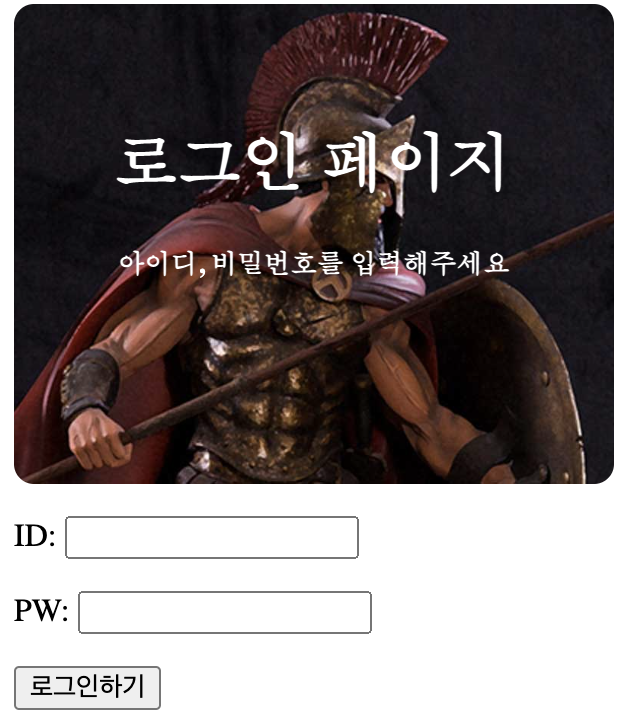
- 이제 이것을 가운데로 오게 하기 위해 .wrap에다가
width: 300px;
margin: auto;
를 추가해준다. 잘 됐으면 초록색 배경화면을 삭제해준다.
- 최종코드및 최종 모습
<!DOCTYPE html>
<html lang="en">
<head>
    <meta charset="UTF-8">
    <title>로그인페이지</title>
    <style>
        .mytitle {

            width: 300px;
            height: 200px;

            color: white;
            text-align: center;

            background-image: url("https://www.ancient-origins.net/sites/default/files/field/image/Agesilaus-II-cover.jpg");
            background-size: cover;
            background-position: center;
            border-radius: 10px;

            padding-top: 40px;
        }

        .wrap {
            width: 300px;
            margin: auto;
        }
    </style>
</head>
<body>
<div class="wrap">
    <div class="mytitle">
        <h1>로그인 페이지</h1>
        <h5>아이디, 비밀번호를 입력해주세요</h5>
    </div>
    <p>ID: <input type="text"/></p>
    <p>PW: <input type="text"/></p>
    <button>로그인하기</button>
</div>
</body>
</html>
돌아보며..
예전에 쓰던게 있는데 그게 오기가 생겨서 마저 작성을 해보았다. 이거 하나 작성하는데 30분...강의 하나당 30분인데 이렇게 복습을 하는것이 맞나 싶다...

창업 꿈나무