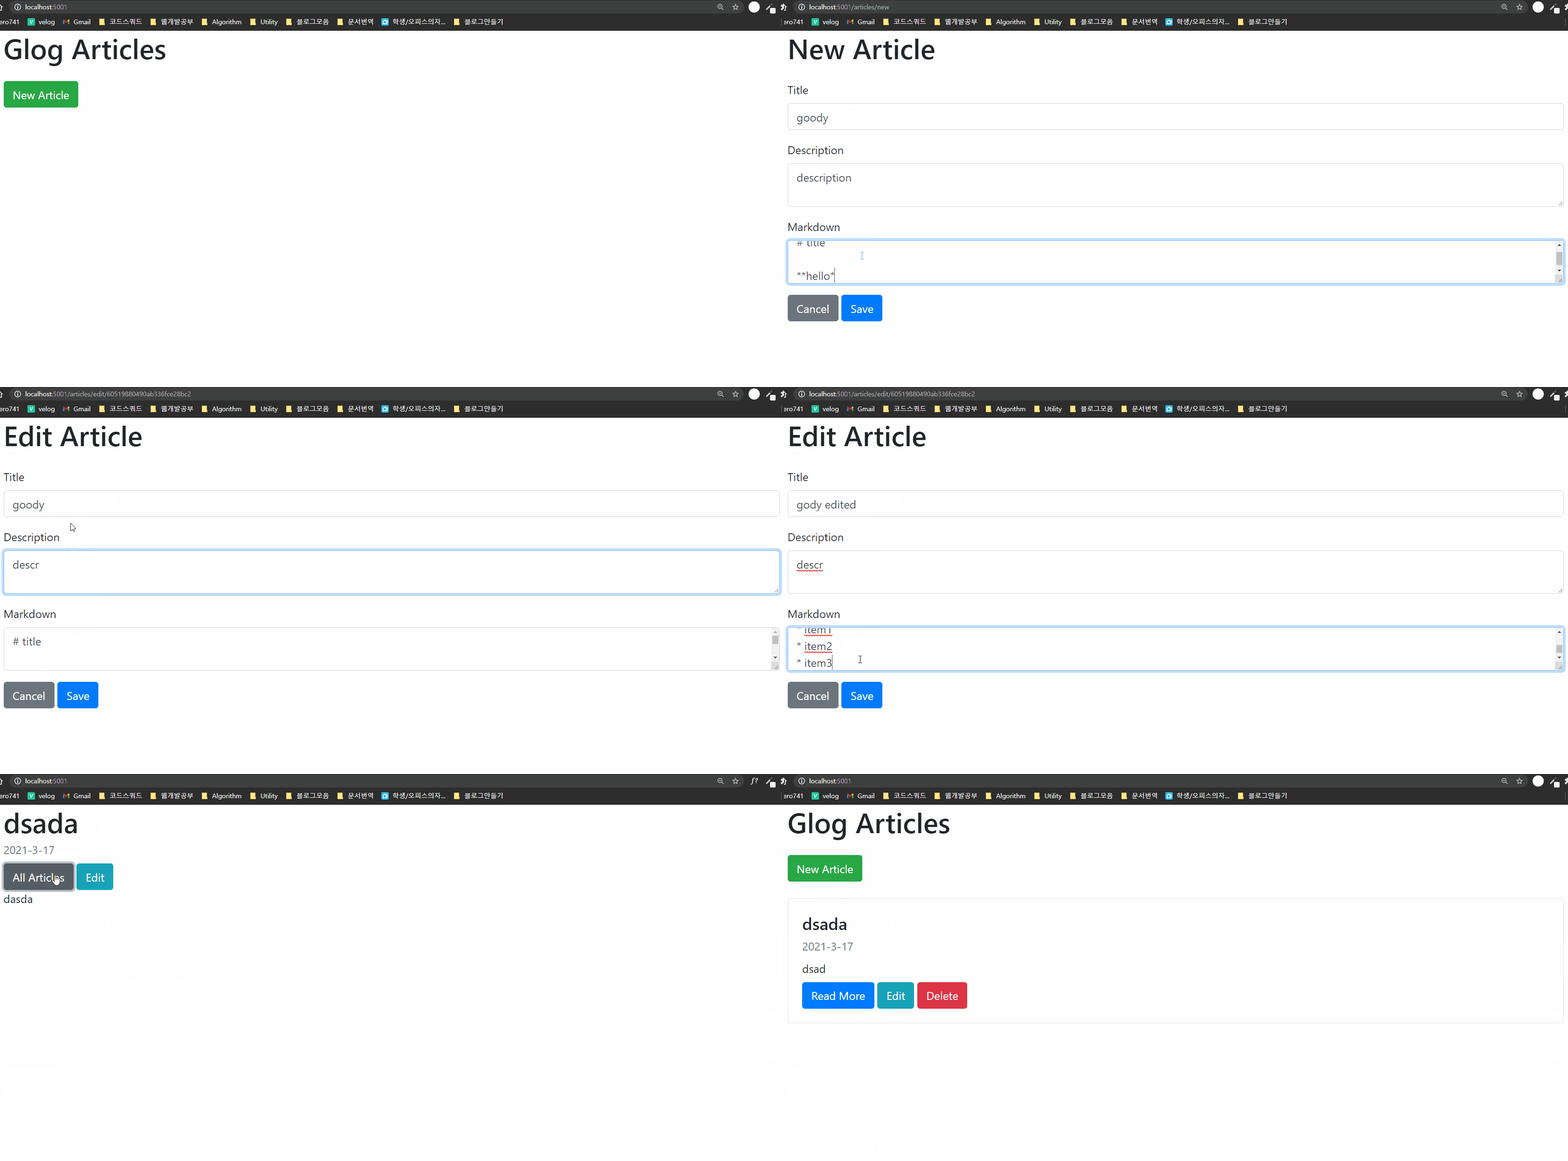
CRUD의 U에 해당하는 Edit 기능을 넣어보자.
1. 라우팅 설정
// routes/article.js

router.get('/edit/:id', async (req, res) => {
    const article = await Article.findById(req.params.id);
    res.render(`articles/edit`, { article: article });
});
데이터베이스에서 id 를 기준으로 게시글을 찾고,
로컬주소/articles/edit에 렌더링한다.
2. edit.ejs 생성

3. edit.ejs 개발
<!-- edit.ejs-->

<body>
    <div class = "container">
       <h1 class = "mb-4">Edit Article</h1>

       <form action = "/articles/<%= article.id %>?_method=PUT" method="POST">
            <%- include('_form_fields') %>
       </form>
    </div>
</body>
/로컬주소/articles/게시글id의 내용을 HTTP 메소드 중PUT메소드를 이용해 업데이트 한다.
4. PUT 라우팅 설정
이미 존재하는 글을 수정하는 것과, 새로운 글을 써서 저장하는 건 웹페이지나 데이터베이스에 최종적인 결과값이 같다. 이 점을 기억하고 라우팅 설정을 해보자.
// routes/article.js
router.post('/', async (req, res, next) => {
    req.article = new Article();
    next();
}, saveArticleAndRedirect('new'));

router.put('/:id', async (req, res, next) => {
    req.article = await Article.findById(req.params.id)
    next();
}, saveArticleAndRedirect('edit'));

function saveArticleAndRedirect(path) {
    return async (req, res) => {
        let article = req.article;
        article.title = req.body.title;
        article.description = req.body.description;
        article.markdown = req.body.markdown;

        try {
            article = await article.save();
            res.redirect(`/articles/${article.slug}`);
        } catch (e) {
            console.log(e);
            res.render(`articles/${path}`, { article: article });
        }
    }
}
기존에 글을 새로 생성하는 라우팅인
router.post의 내용이saveArticleAndRedirect()로 옮겨놨다. 이는 새 글을 올리는 post와 글을 수정하는 put의 최종 결과가 작성된 글을 보여주는 것으로 완전히 동일하기 때문이다. 둘 사이의 다른 점이라면, 새 글은 데이터베이스에 새로운 데이터를new Article()로 먼저 생성해주는 반면, 글 수정은 먼저 데이터베이스에서 id를 기준으로 게시글을 찾아야 한다는 점이다.
5. 메인 페이지에 edit 버튼 생성
<!--- index.ejs --->
<body>
    <div class = "container">
        <h1 class = "mb-4">Glog Articles</h1>
        <a href = "/articles/new" class = "btn btn-success">New Article </a>

        <% articles.forEach(article => { %>
            <div class = "card mt-4">
                <div class = "card-body">
                    <h4 class="card-title"><%= article.title %></h4>
                    <div class = "card-subtitle text-muted mb-2"><%= article.createdAt.toLocaleDateString() %></div>
                    <div class = "card text mb-2"><%= article.description %></div>
                    <a href = "articles/<%= article.slug %>" class = "btn btn-primary">Read More</a>
    <!---여기-->     <a href = "articles/edit/<%= article.id %>" class = "btn btn-info">Edit</a>
                    <form action="/articles/<%= article.id %>?_method=DELETE" method = "POST" class = "d-inline">
                        <button type="submit" class ="btn btn-danger">Delete</button>
                    </form>
                </div>
            </div>
        <% }) %>
    </div>
</body>
Read More 버튼 밑에
/로컬주소/articles/게시글id로 연결되는 버튼을 만들었다.
최종화면

REFERENCE
Web Dev Simplified : https://www.youtube.com/watch?v=1NrHkjlWVhM&t=3328s

