
이번 포스팅에서는 marked, dompurify, jsdom 라이브러리를 통해 markdown 텍스트를 html로 변환하여 렌더링해보자.
1. 라이브러리 설치
marked 라이브러리는 지난 slug 포스팅에서 이미 설치했으므로,
여기선 dompurify, jsdom 라이브러리만 설치해준다.
npm i dompurify jsdom💡 라이브러리 설명
dompurify : HTML 을 정제해주는 라이브러리
jsdom : node.js 가 HTML을 해석할 수 있게 해주는 라이브러리
2. 라이브러리 적용
// models/article.js
const createDomPurify = require('dompurify');
const { JSDOM } = require('jsdom');
const dompurify = createDomPurify(new JSDOM().window);
jsdom 모듈의 JSDOM 프로퍼티만 가져오기 위해 {} 안에 넣어서 불러왔다.
JSDOM 의 window 프로퍼티 객체를 생성해서, purfiy 모듈로 정제했다.
// models/article.js
const articleSchema = new mongoose.Schema({
    title: {
        required: true,
        type : String
    },
    description : {
        type : String
    },
    markdown : {
        required: true,
        type : String
    },
    createdAt : {
        type: Date,
        default : Date.now
    },
    slug: {
        type: String,
        required: true,
        unique: true
    },
    sanitizedHtml : {
        type: String,
        required: true
    }
})

articleSchema.pre('validate', function(next) {
    if(this.title) {
        this.slug = slugify(this.title, {lower:true, strict:true})
    }

    if (this.markdown) {
        this.sanitizedHtml = dompurify.sanitize(marked(this.markdown));
    }

    next();
})
데이터를 평가하기 이전에, 현재 게시글의 markdown을 marked로 읽고, sanitize와 dompurfiy로 정제해서 sanitizedHTML 칼럼에 저장한다.
3. show.ejs 수정
<!-- show.ejs -->
<body>
    <div class="container">
        <h1 class="mb-1">
            <%= article.title %>
        </h1>

        <div class="text-muted mb-2">
            <%= article.createdAt.toLocaleDateString() %>
        </div>
        <a href = "/" class = "btn btn-secondary">All Articles</a>
        <a href = "/articles/edit/<%= article.id %>" class = "btn btn-info">Edit</a>

        <div>
            <%- article.sanitizedHtml %> <!-- 여기 -->
        </div>
    </div>
</body>
(여기) 의 코드를
article.markdown에서article.sanitizedHtml로 수정했다.
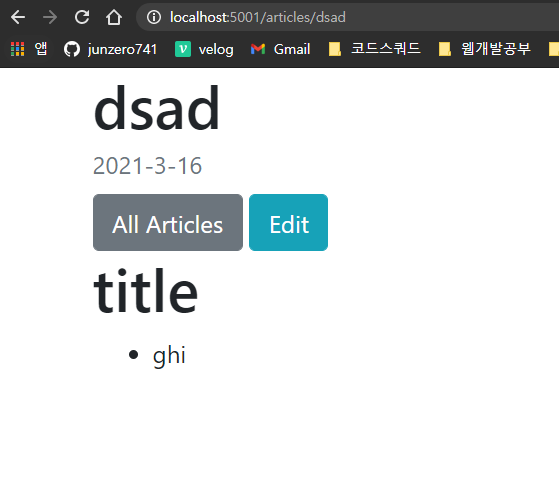
마크다운 텍스트가 성공적으로 렌더링되었다.
다음 포스팅에선 마지막으로 Edit 기능을 추가해보자.
