들어가며
지난 글에서는 NodeJs와 Express로 웹서버를 구축했다.
이번 글에서는 구축한 웹서버에서 클라이언트와 데이터를 주고 받는 방법을 알아보자.
Step1 - POST 요청처리
POST 방식으로 form 데이터를 서버로 보냈을 때, 서버에서 처리하는 방법을 알아본다.
<!-- public/form.html -->
<!DOCTYPE html>
<html lang="en">
<head>
<title>email form</title>
</head>
<body>
<!-- POST 메소드는 서버로 데이터를 전송한다 -->
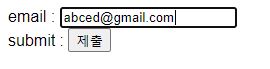
<form action="/email_post" method="post">
email : <input type = "text" name="email"><br/>
submit : <input type = "submit">
</form>
</body>
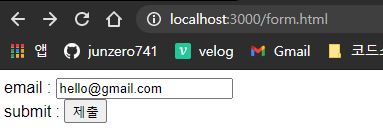
</html>입력한 email을
/email_post로 제출하는 폼 HTML을 만든다.
// app.js

/* url routing

지난 글 참고

*/

// localhost:3000/email_post 에
// res.send() 내부의 내용을 출력한다.
app.post('/email_post', function(req, res) {
    res.send("post response")
})
app.js파일에 라우팅 설정을 해준다.


제출을 클릭하면
res.send()내부의 내용이 출력된다.
그러면 제출한 데이터는 어떻게 받아서 처리할까?
이 때 필요한게 body parser 이다.
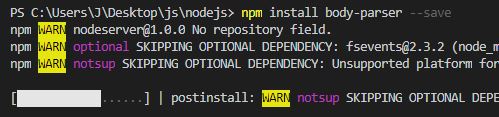
body-parser역시package.json안에 저장하는--save옵션으로 설치하자.
// app.js

// 웹브라우저에서 보낸 데이터를 받아서 처리하는 body-parser를 불러온다.
var bodyParser = require('body-parser')

// 브라우저에서 오는 응답이 json 일수도 있고, 아닐 수도 있으므로 urlencoded() 도 추가한다.
app.use(bodyParser.json())
app.use(bodyParser.urlencoded({extended:true}))

// localhost:3000/email_post 에
// res.send() 내부의 내용을 출력한다.
// 브라우저에서 받은 데이터는 req.body 에 저장된다.
app.post('/email_post', function(req, res) {
    res.send("<h1> welcome! </h1>" + req.body.email)
})
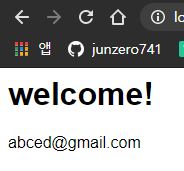
브라우저에서 이메일을 입력하고 제출하면 입력한 이메일이 뜨는 것을 확인할 수 있다.
Step2 - View engine(ejs) 을 활용한 응답처리
step1 에서 활용한 방식은 sendFile 로 HTML을 보내줬는데,
HTML이 복잡해지면 위 방식은 활용하기 어렵다.
이를 해결하기 위해 미리 HTML을 만들어두고, 이를 통해 응답을 할 수 있다.
먼저 ejs 노드를 설치한다.

// app.js

// ejs 는 별다른 require가 필요하지 않다.
app.set('view engine', 'ejs')
뷰 엔진을
ejs로 세팅한다.
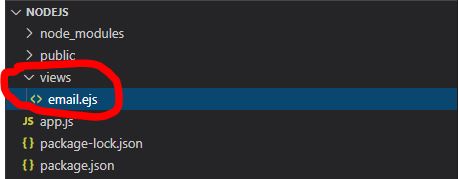
프로젝트 디렉토리에 view 디렉토리를 생성하고 emai.ejs 파일을 만든다.
// email.ejs

<!DOCTYPE html>
<html lang="en">

<head>
    <title>Document</title>
</head>

<body>

    <h1> Welcome !! <%= email %></h1>
    <p> 정말로 반가워요 ^^ </p>
</body>

</html>
<% 내용 =%> 는 데이터가 들어가는 ejs 만의 변수 선언 문법이다.
email.ejs 파일에 위 코드를 입력한다.
// app.js

// form.html 클라이언트에서 넘겨준 값인 req.body.email을
// email.ejs의 email 변수에 넣고
// localhost3000:/email_post에 email.ejs를 렌더링한다.

app.post('/email_post', function(req, res) {
    res.render('email.ejs', {'email' : req.body.email})
})
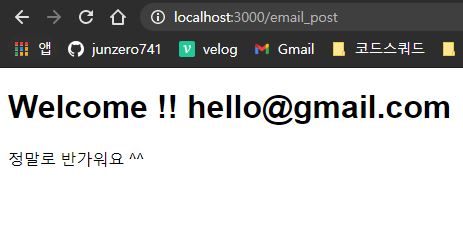
email.ejs 이 localhost:3000/email_post 에 렌더링되었다.
Step3 - JSON 과 fetch API 를 활용한 Ajax 처리
JSON과 fetch API 를 이용해 서버와의 데이터 송수신을 해보자.
우선 폴더 구조는 아래와 같다.
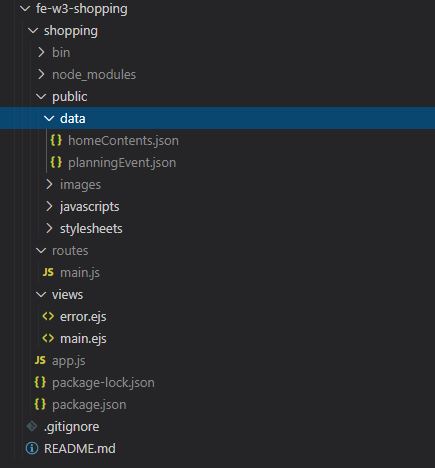
위와 같이 public/data 경로에 불러올 데이터가 들어있는
json파일들이 자리잡고 있다.
// app.js

var createError = require('http-errors');
var express = require('express');
var path = require('path');
var cookieParser = require('cookie-parser');
var logger = require('morgan');
const fs = require('fs');


let homeContents = {};
let planningEvent = {};

// data 폴더 안에 들어있는 json 파일들을 파싱하여 객체 안에 넣는다.
homeContents = JSON.parse(
  fs.readFileSync(__dirname + "/public/data/homeContents.json", "utf-8")
);
planningEvent = JSON.parse(
  fs.readFileSync(__dirname + "/public/data/planningEvent.json", "utf-8")
);

// localhost:3000/homeContents.json 으로 접근하면 파싱한 데이터가 렌더링된다.
app.get("/homeContents.json", (req,res,next) => {
    res.json(homeContents);
})

app.get("/planningEvent.json", (req,res,next) => {
  res.json(planningEvent);
})
실행 파일인 app.js 로 와서 위 코드를 작성한다.
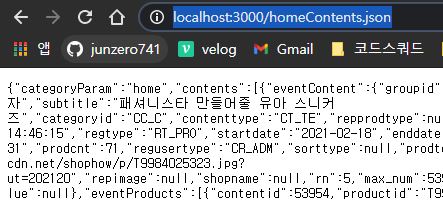
app.get()안에 입력한 주소를 로컬주소 뒤에 넣으니 json 데이터에 접근할 수 있었다.
다음으로 homeContents.json 내에서도 원하는 프로퍼티만 꺼내서 보도록 하자.
// Chrome console

let item = fetch("http://localhost:3000/homeContents.json")	// (1)
  .then(response => response.json())						// (2)
  .then(json => console.log(json.contents[0].eventContent.subtitle));	//(3)
(1) : fetch 메서드를 이용하면 괄호 안에 입력한 주소의 데이터를 변수에 저장할 수 있다.
(2) : fetch 는 promise 를 기반으로 하므로, .then 메서드로 주소 입력에 따른 반환 값response 를 받는다. 이 response 를 json 형태로 변환한다.
(3) : json 형태로 변환에 따른 반환 값은 또 다음 then 에서 json 변수로 받는다. json은 객체 리터럴 형태이므로, .(점) 또는 [키] 로 내부 프로퍼티에 접근이 가능하다.

homeContents.json 내부의 contents 배열 중 0 번째 원소의 eventContent.subtitle에 접근했다.

우와 구디 깔끔한 정리!!!👍 강의 보려다가 시간에 쫓겨서 포기했는데 핵심만 콕콕 집어서 정리해주신 덕에 잘 보고 갑니당ㅎㅎㅎ