
해당 글은 안드로이드 기기를 사용한다는 가정하에 작성하였습니다.
세팅
@react-native-firebase/app 설치
npm install -D @react-native-firebase/app
or
pnpm add -D @react-native-firebase/app
Firebase 프로젝트 생성
-
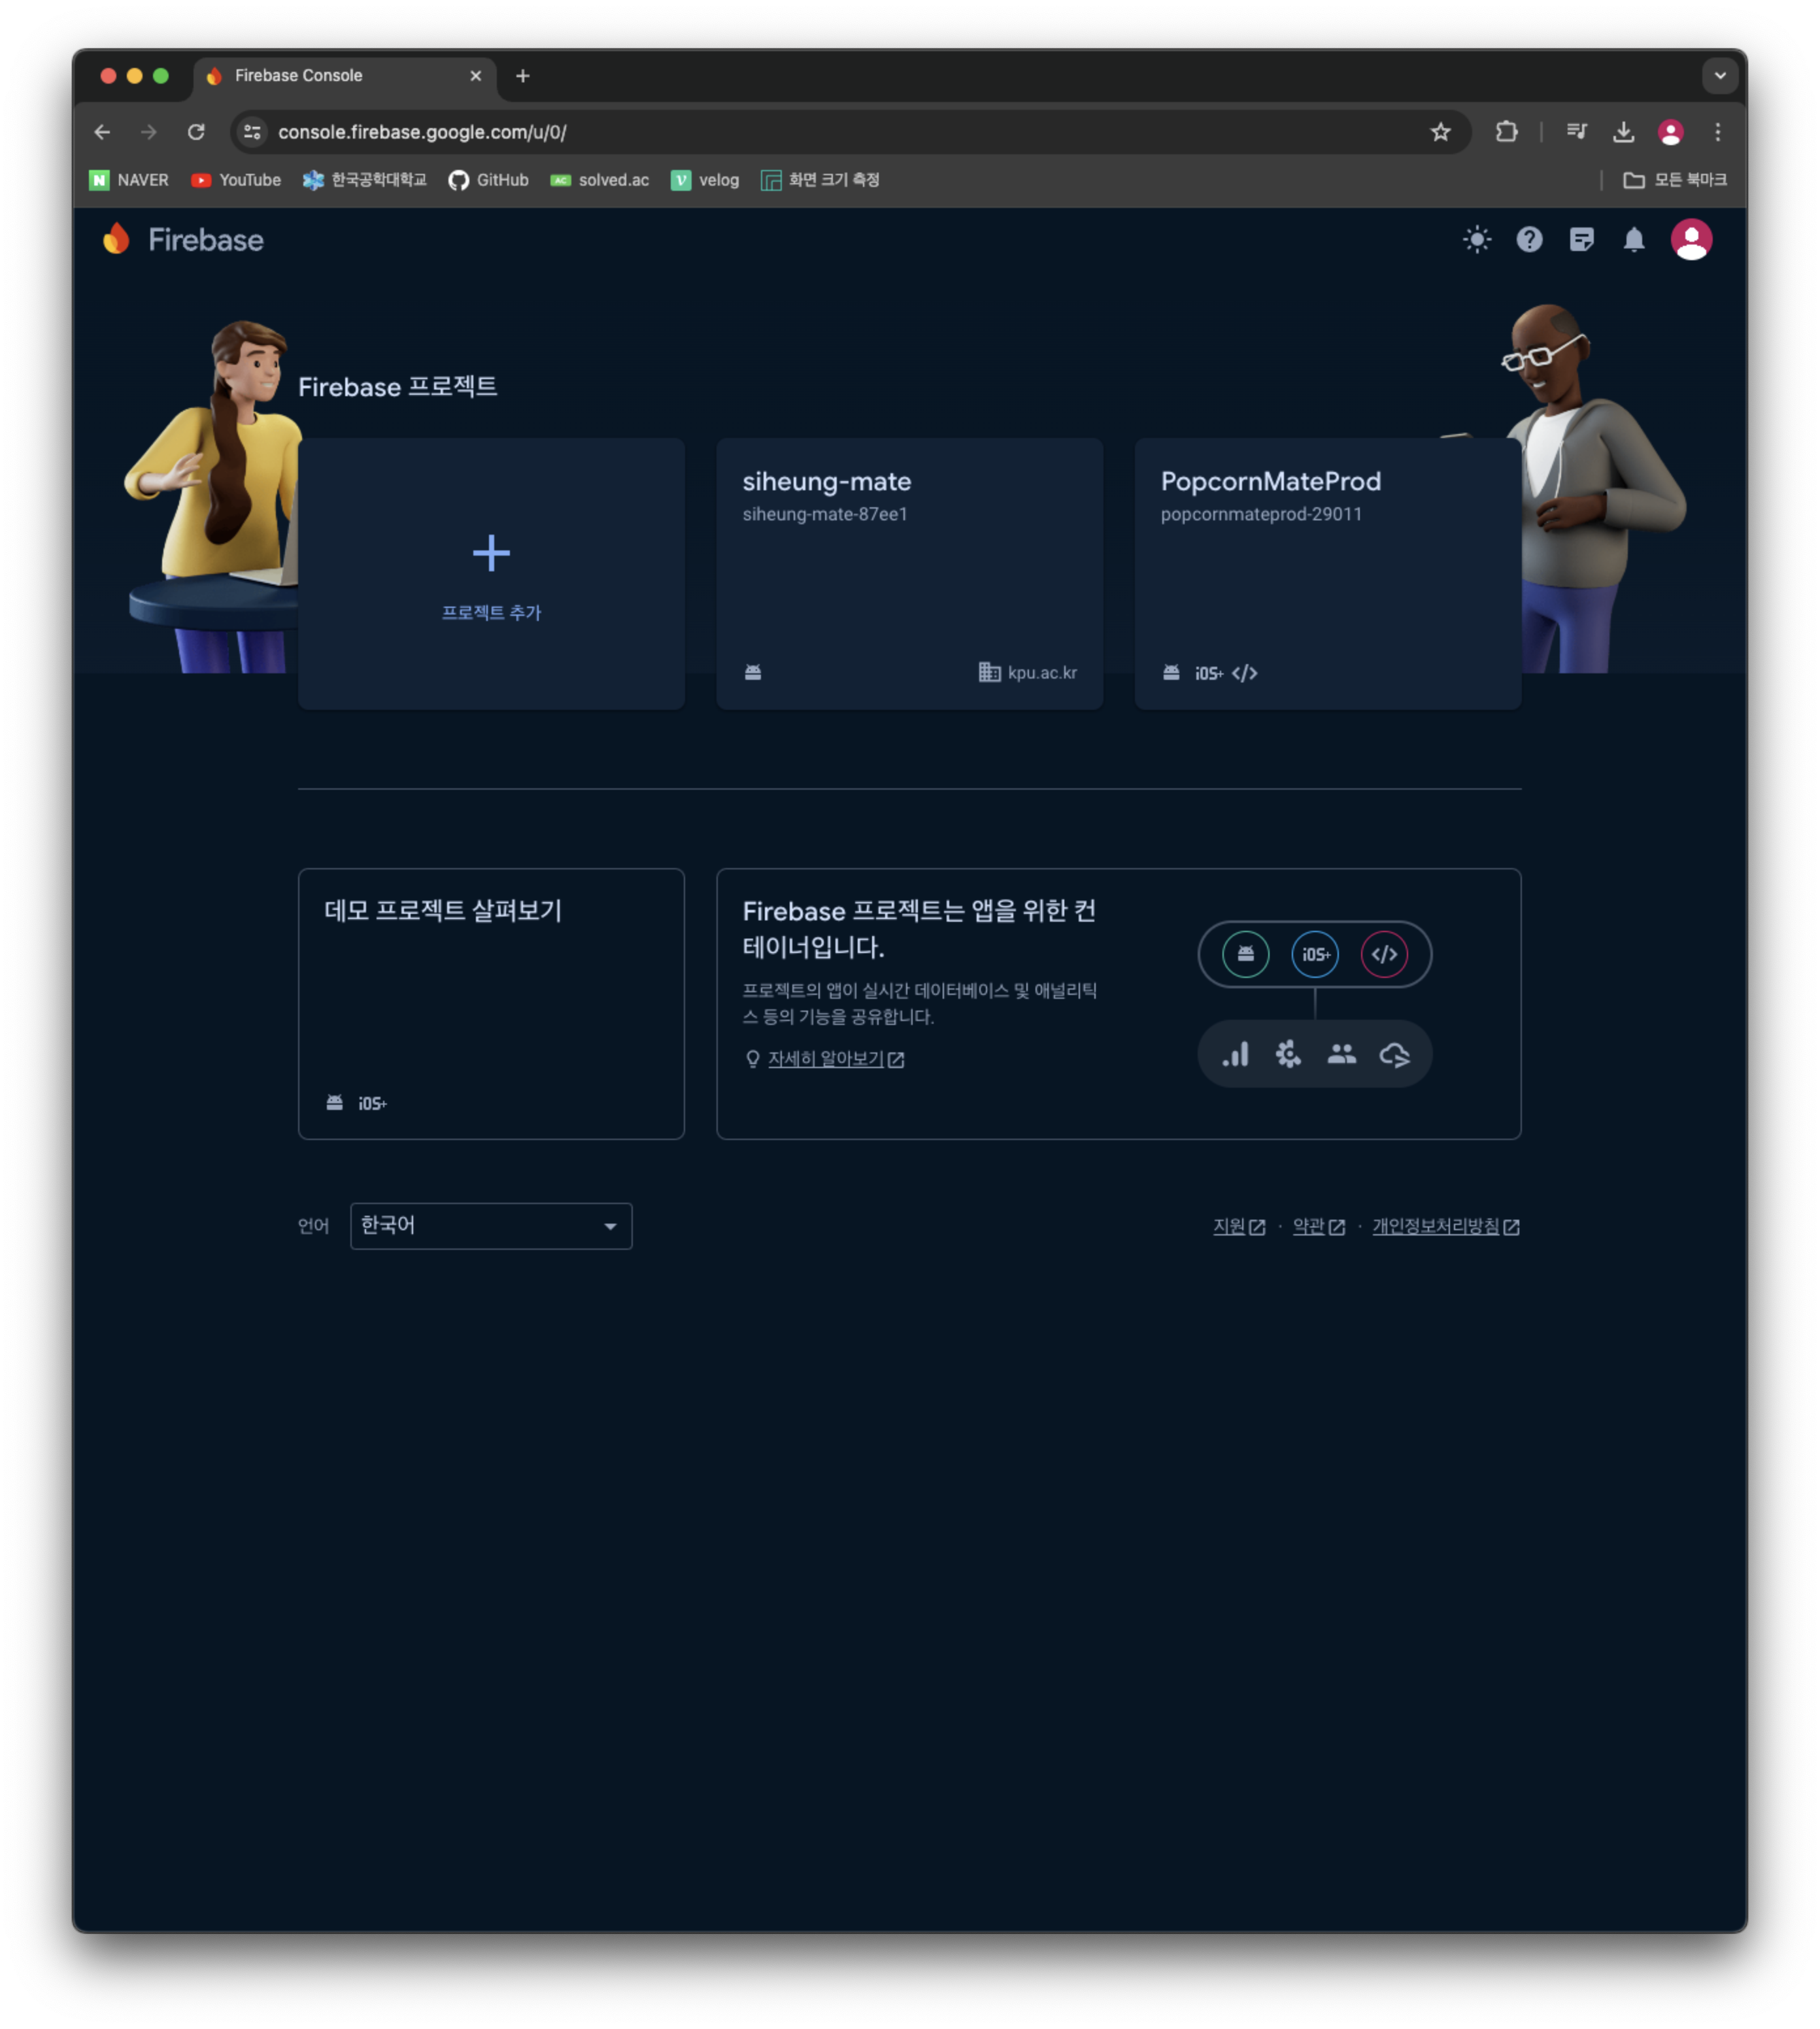
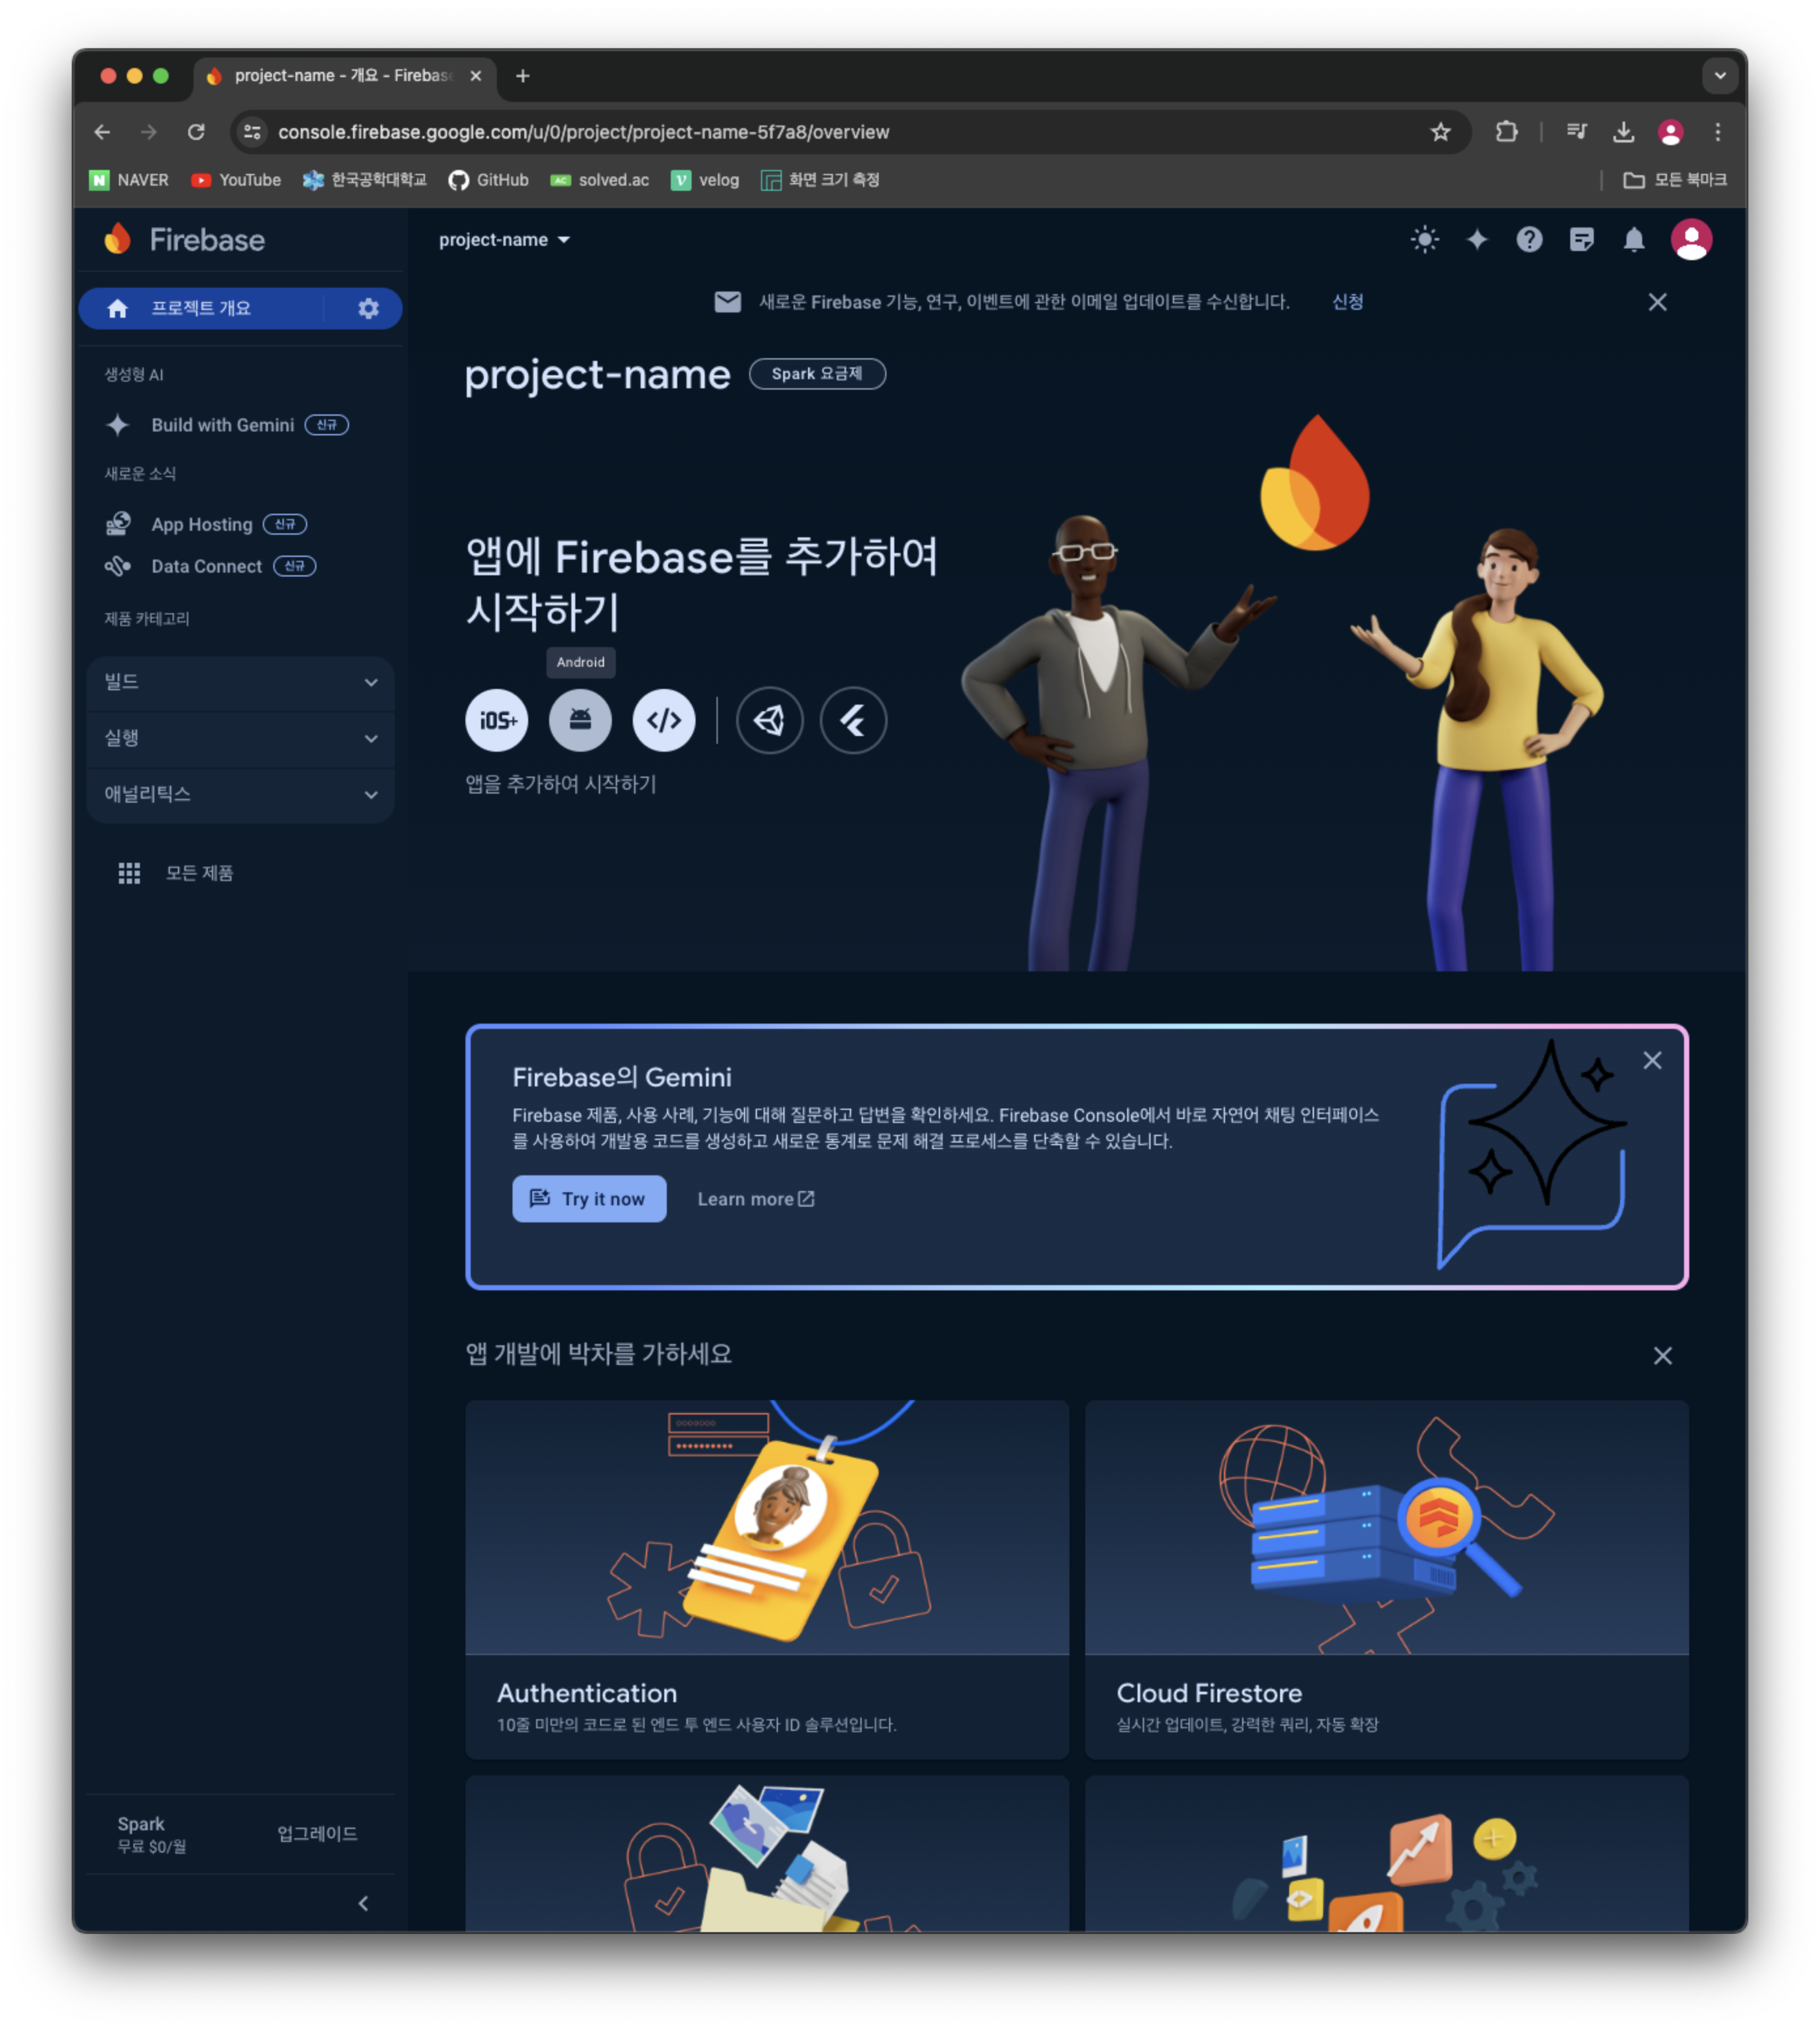
Firebase 홈에서 프로젝트 추가를 누른다.
-
프로젝트 이름을 작성한다.
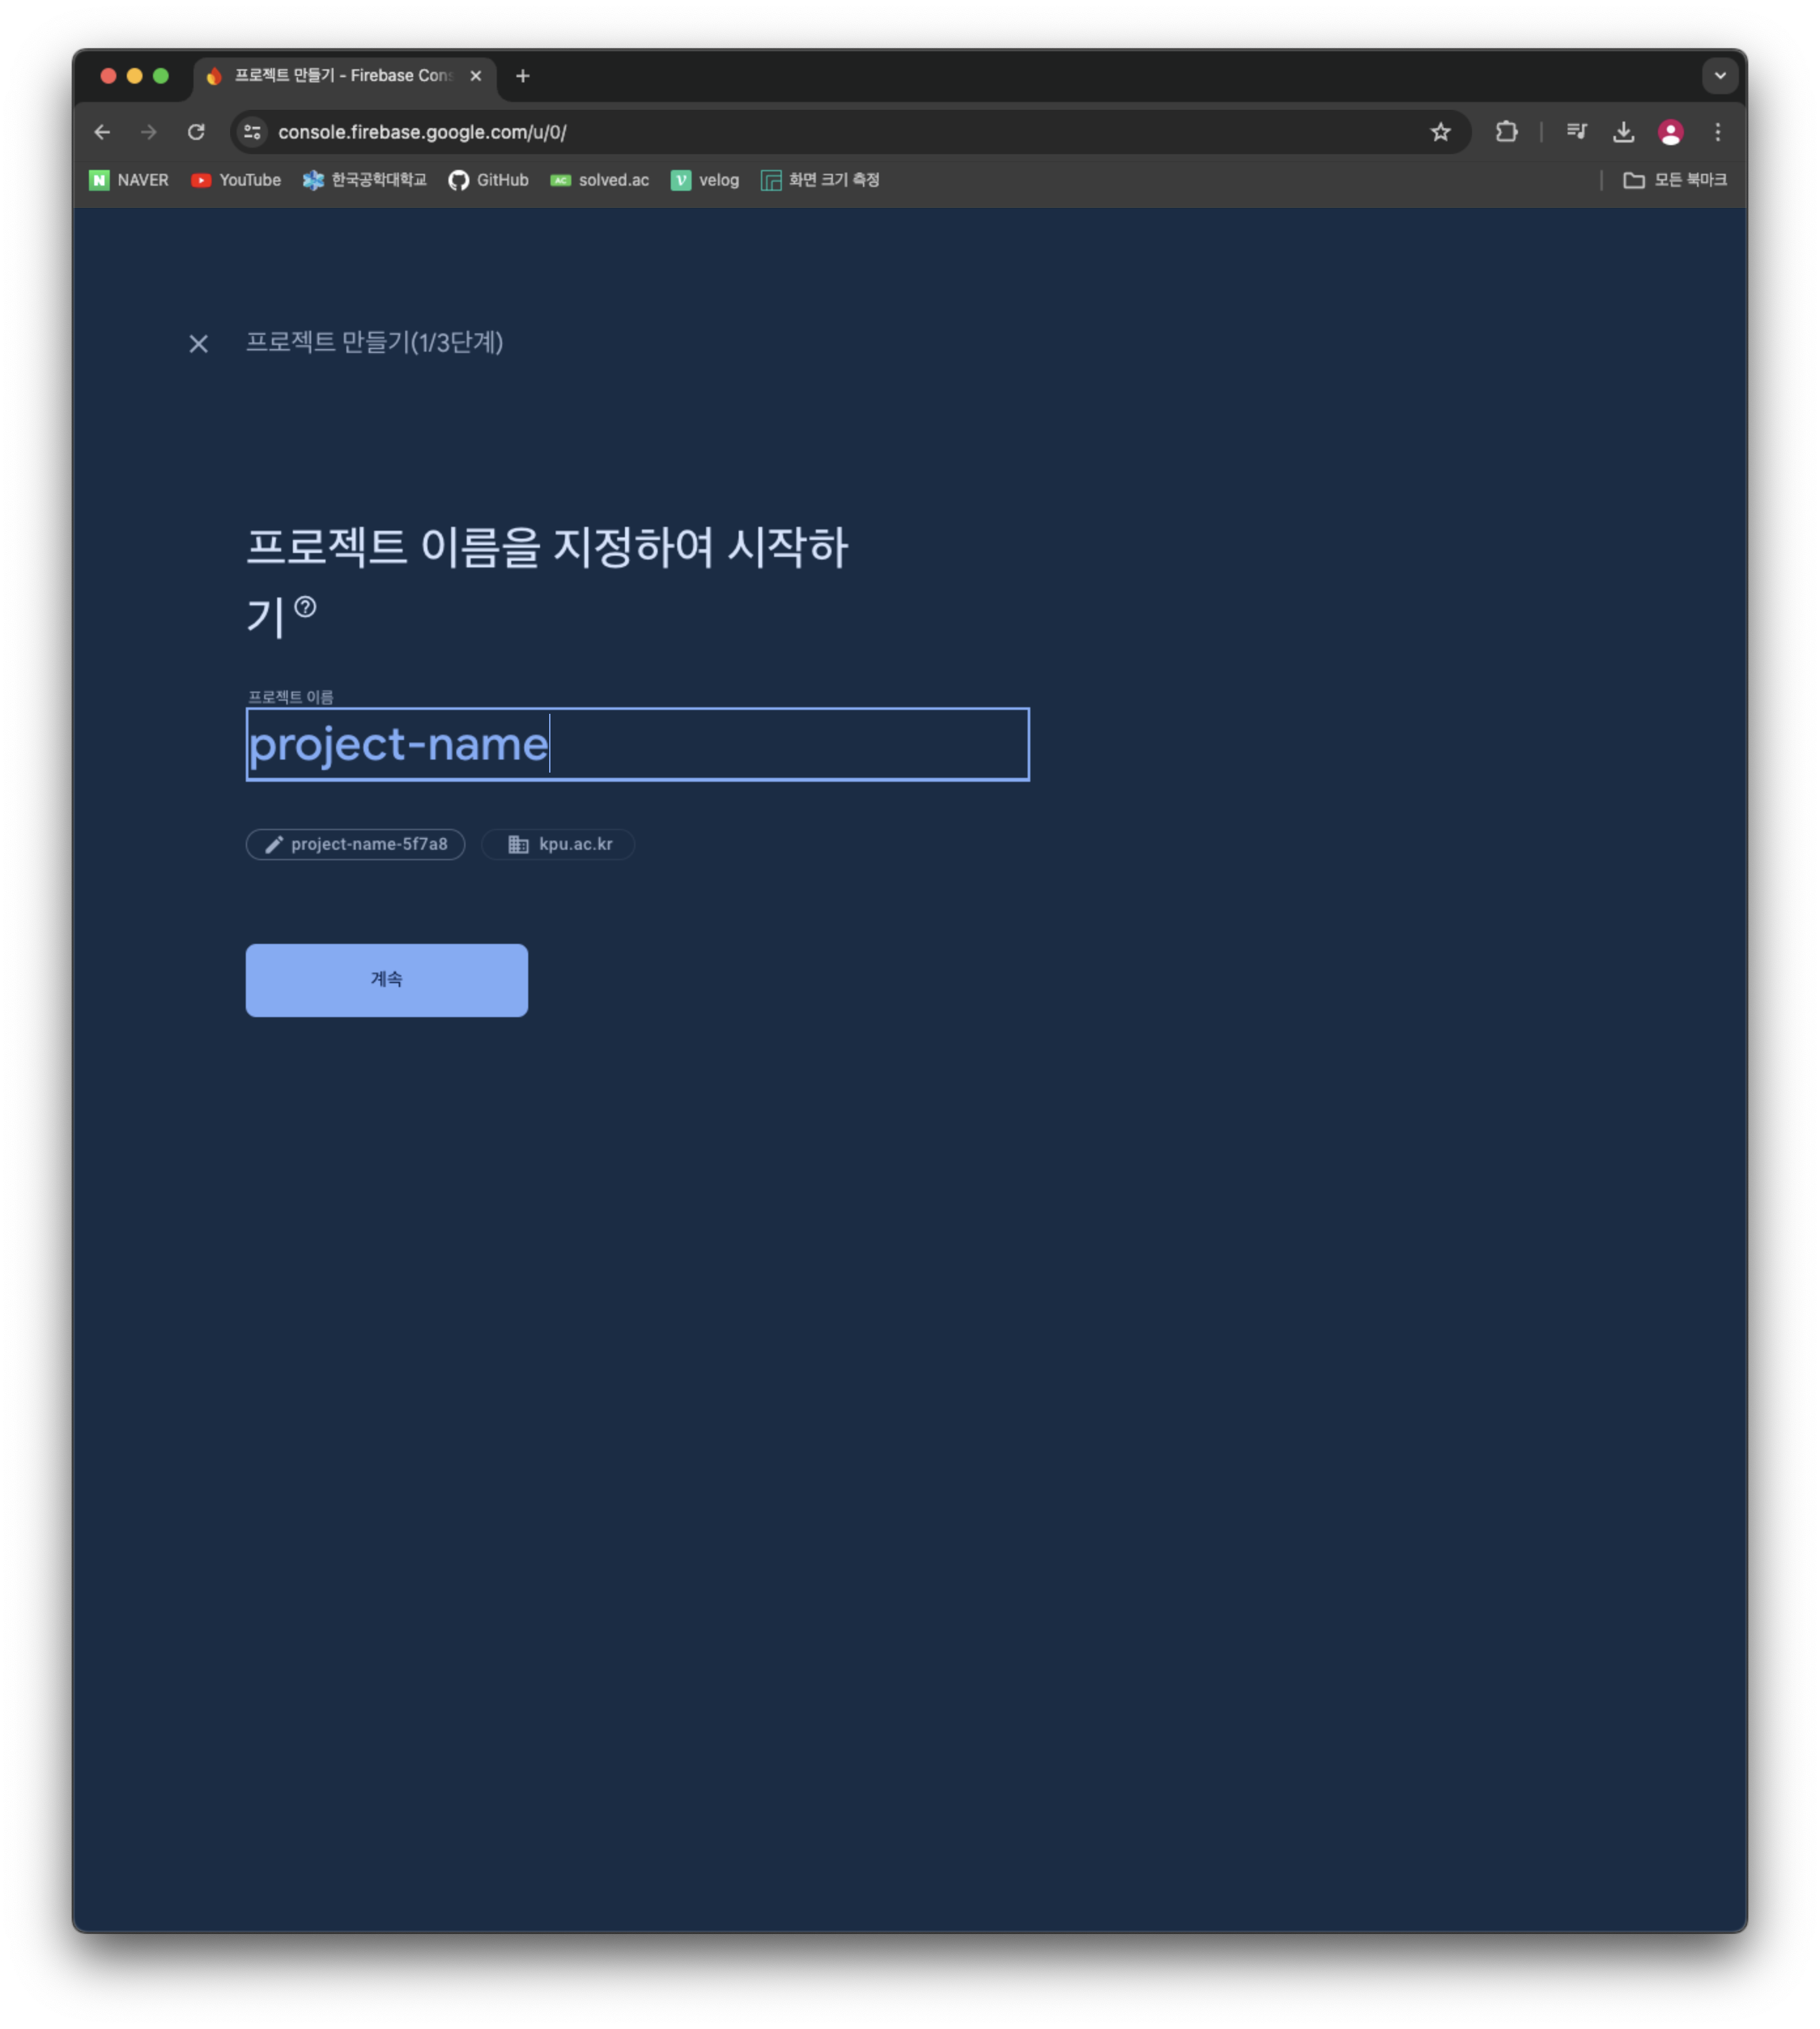
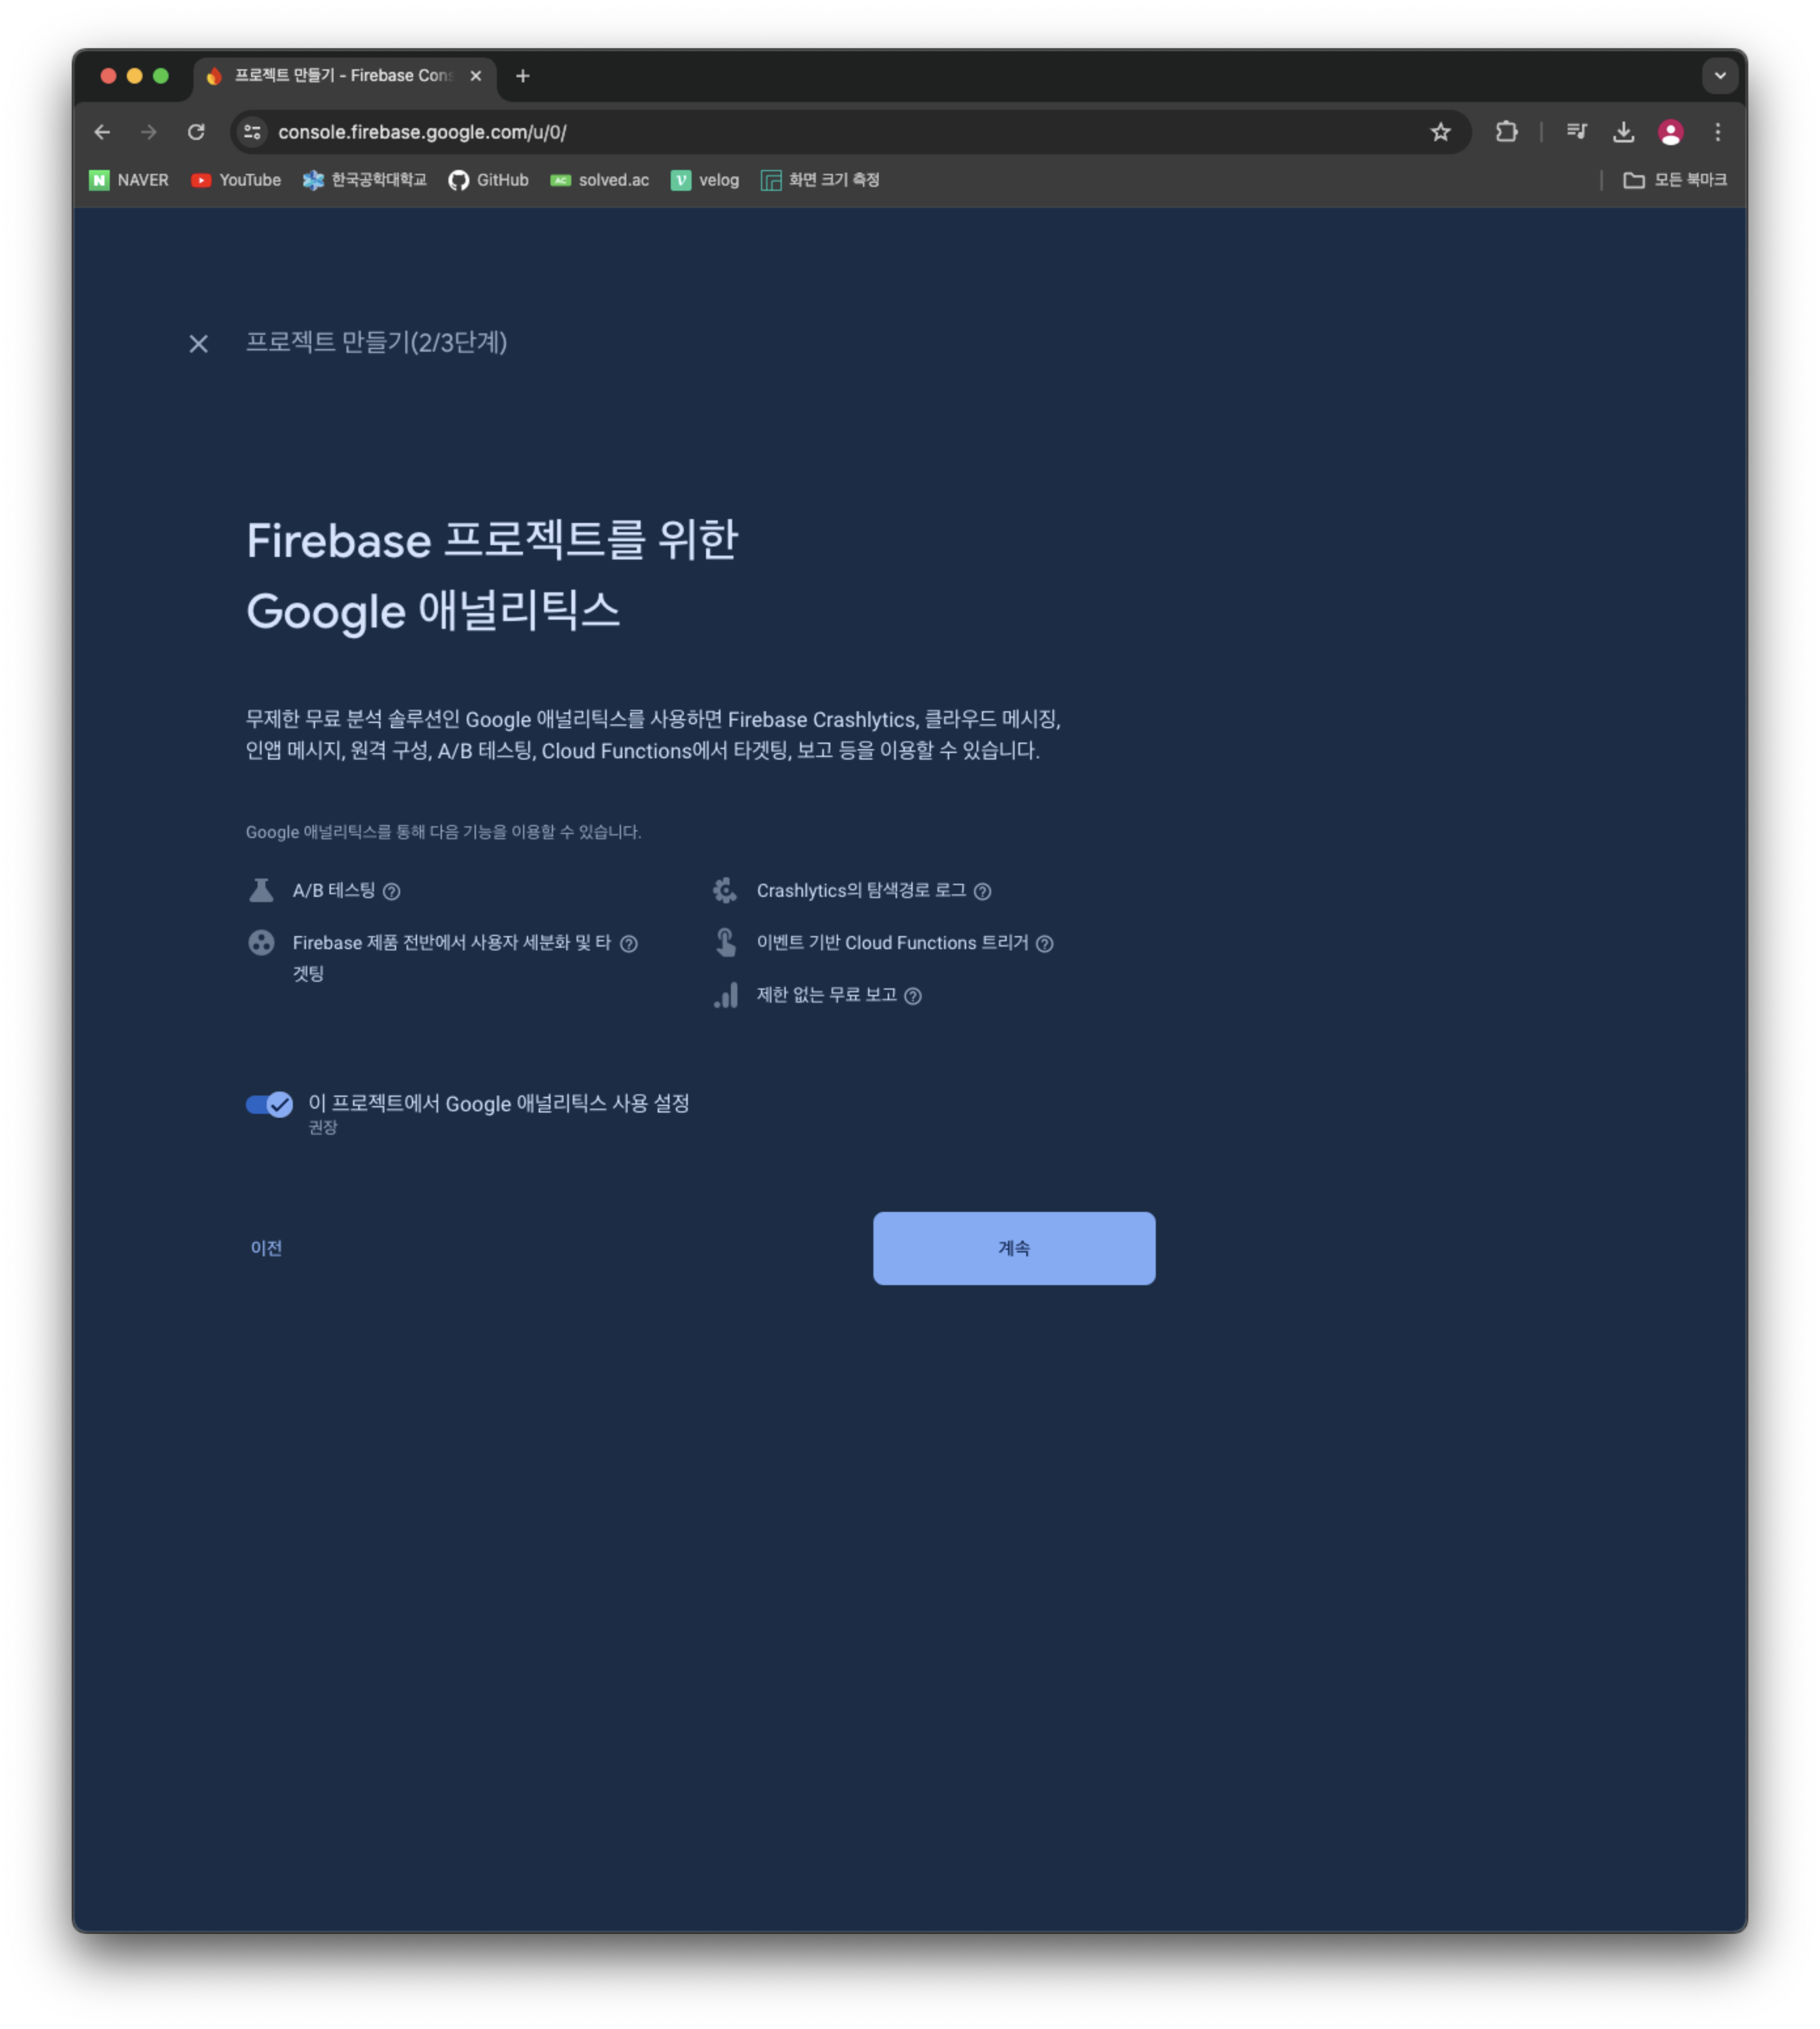
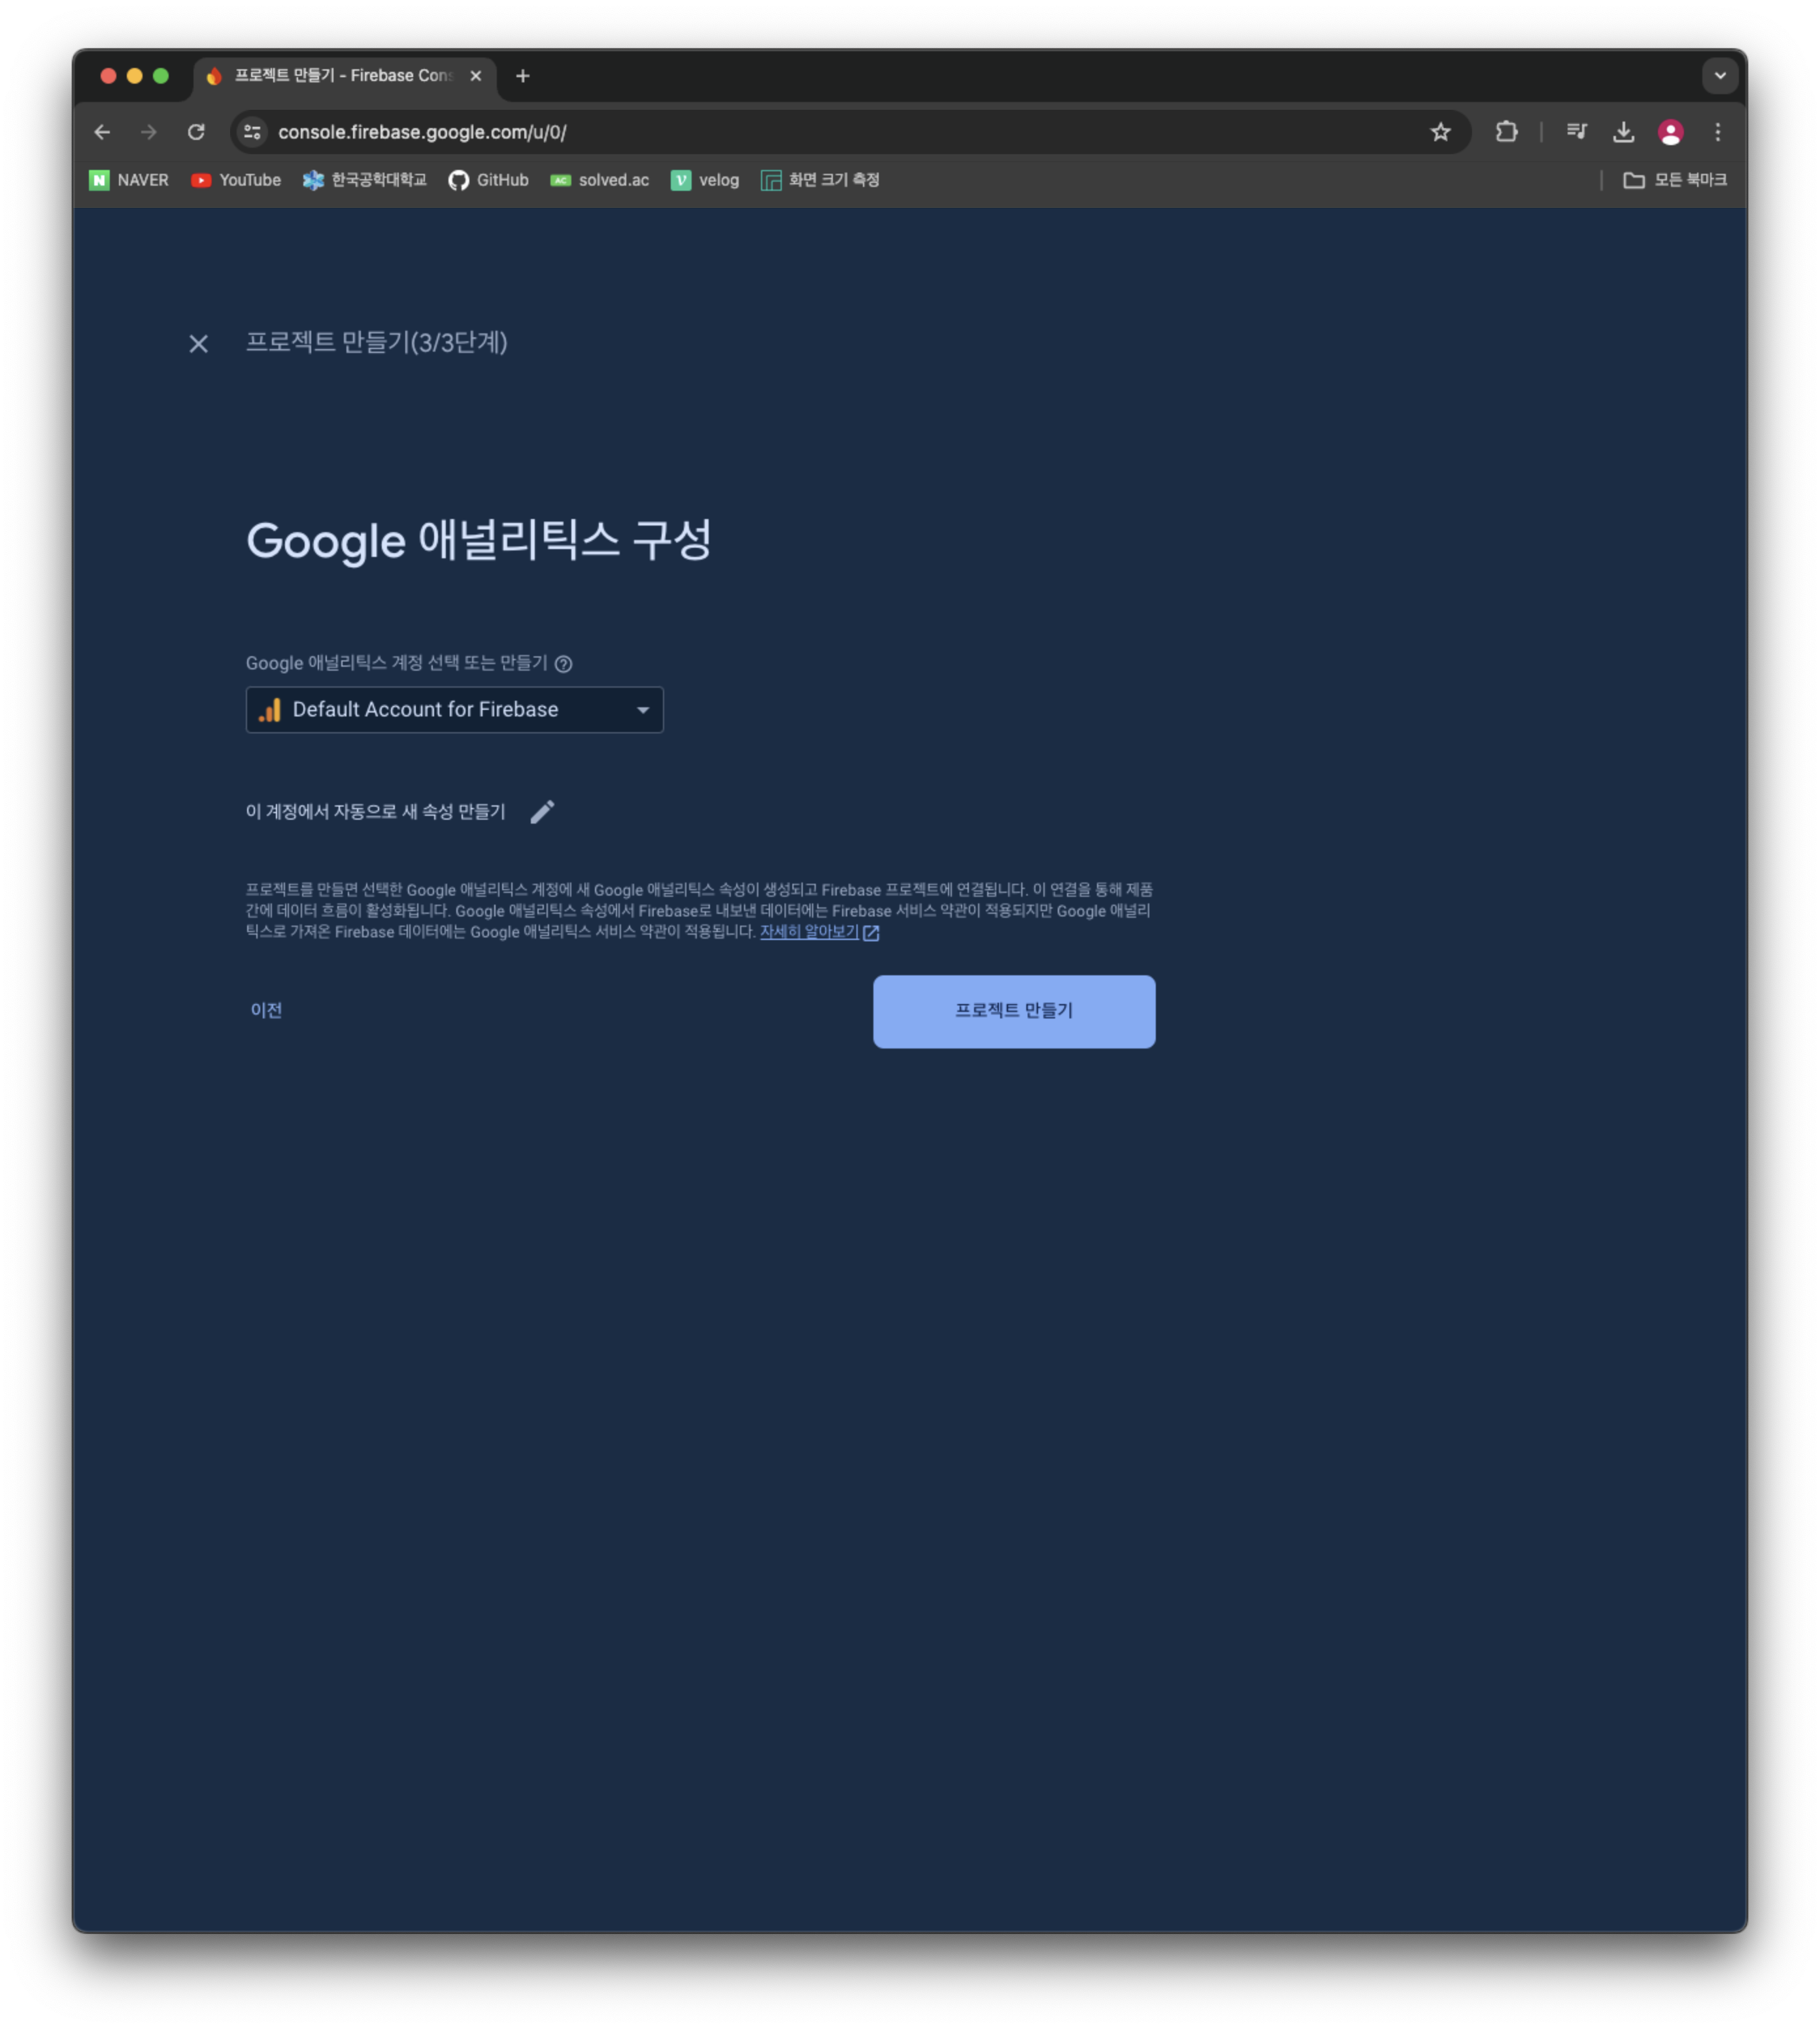
프로젝트 생성이 완료되면 계속을 누른다.
- 안드로이드 앱 추가
안드로이드 아이콘을 누르면 아래와 같이 화면이 뜬다.
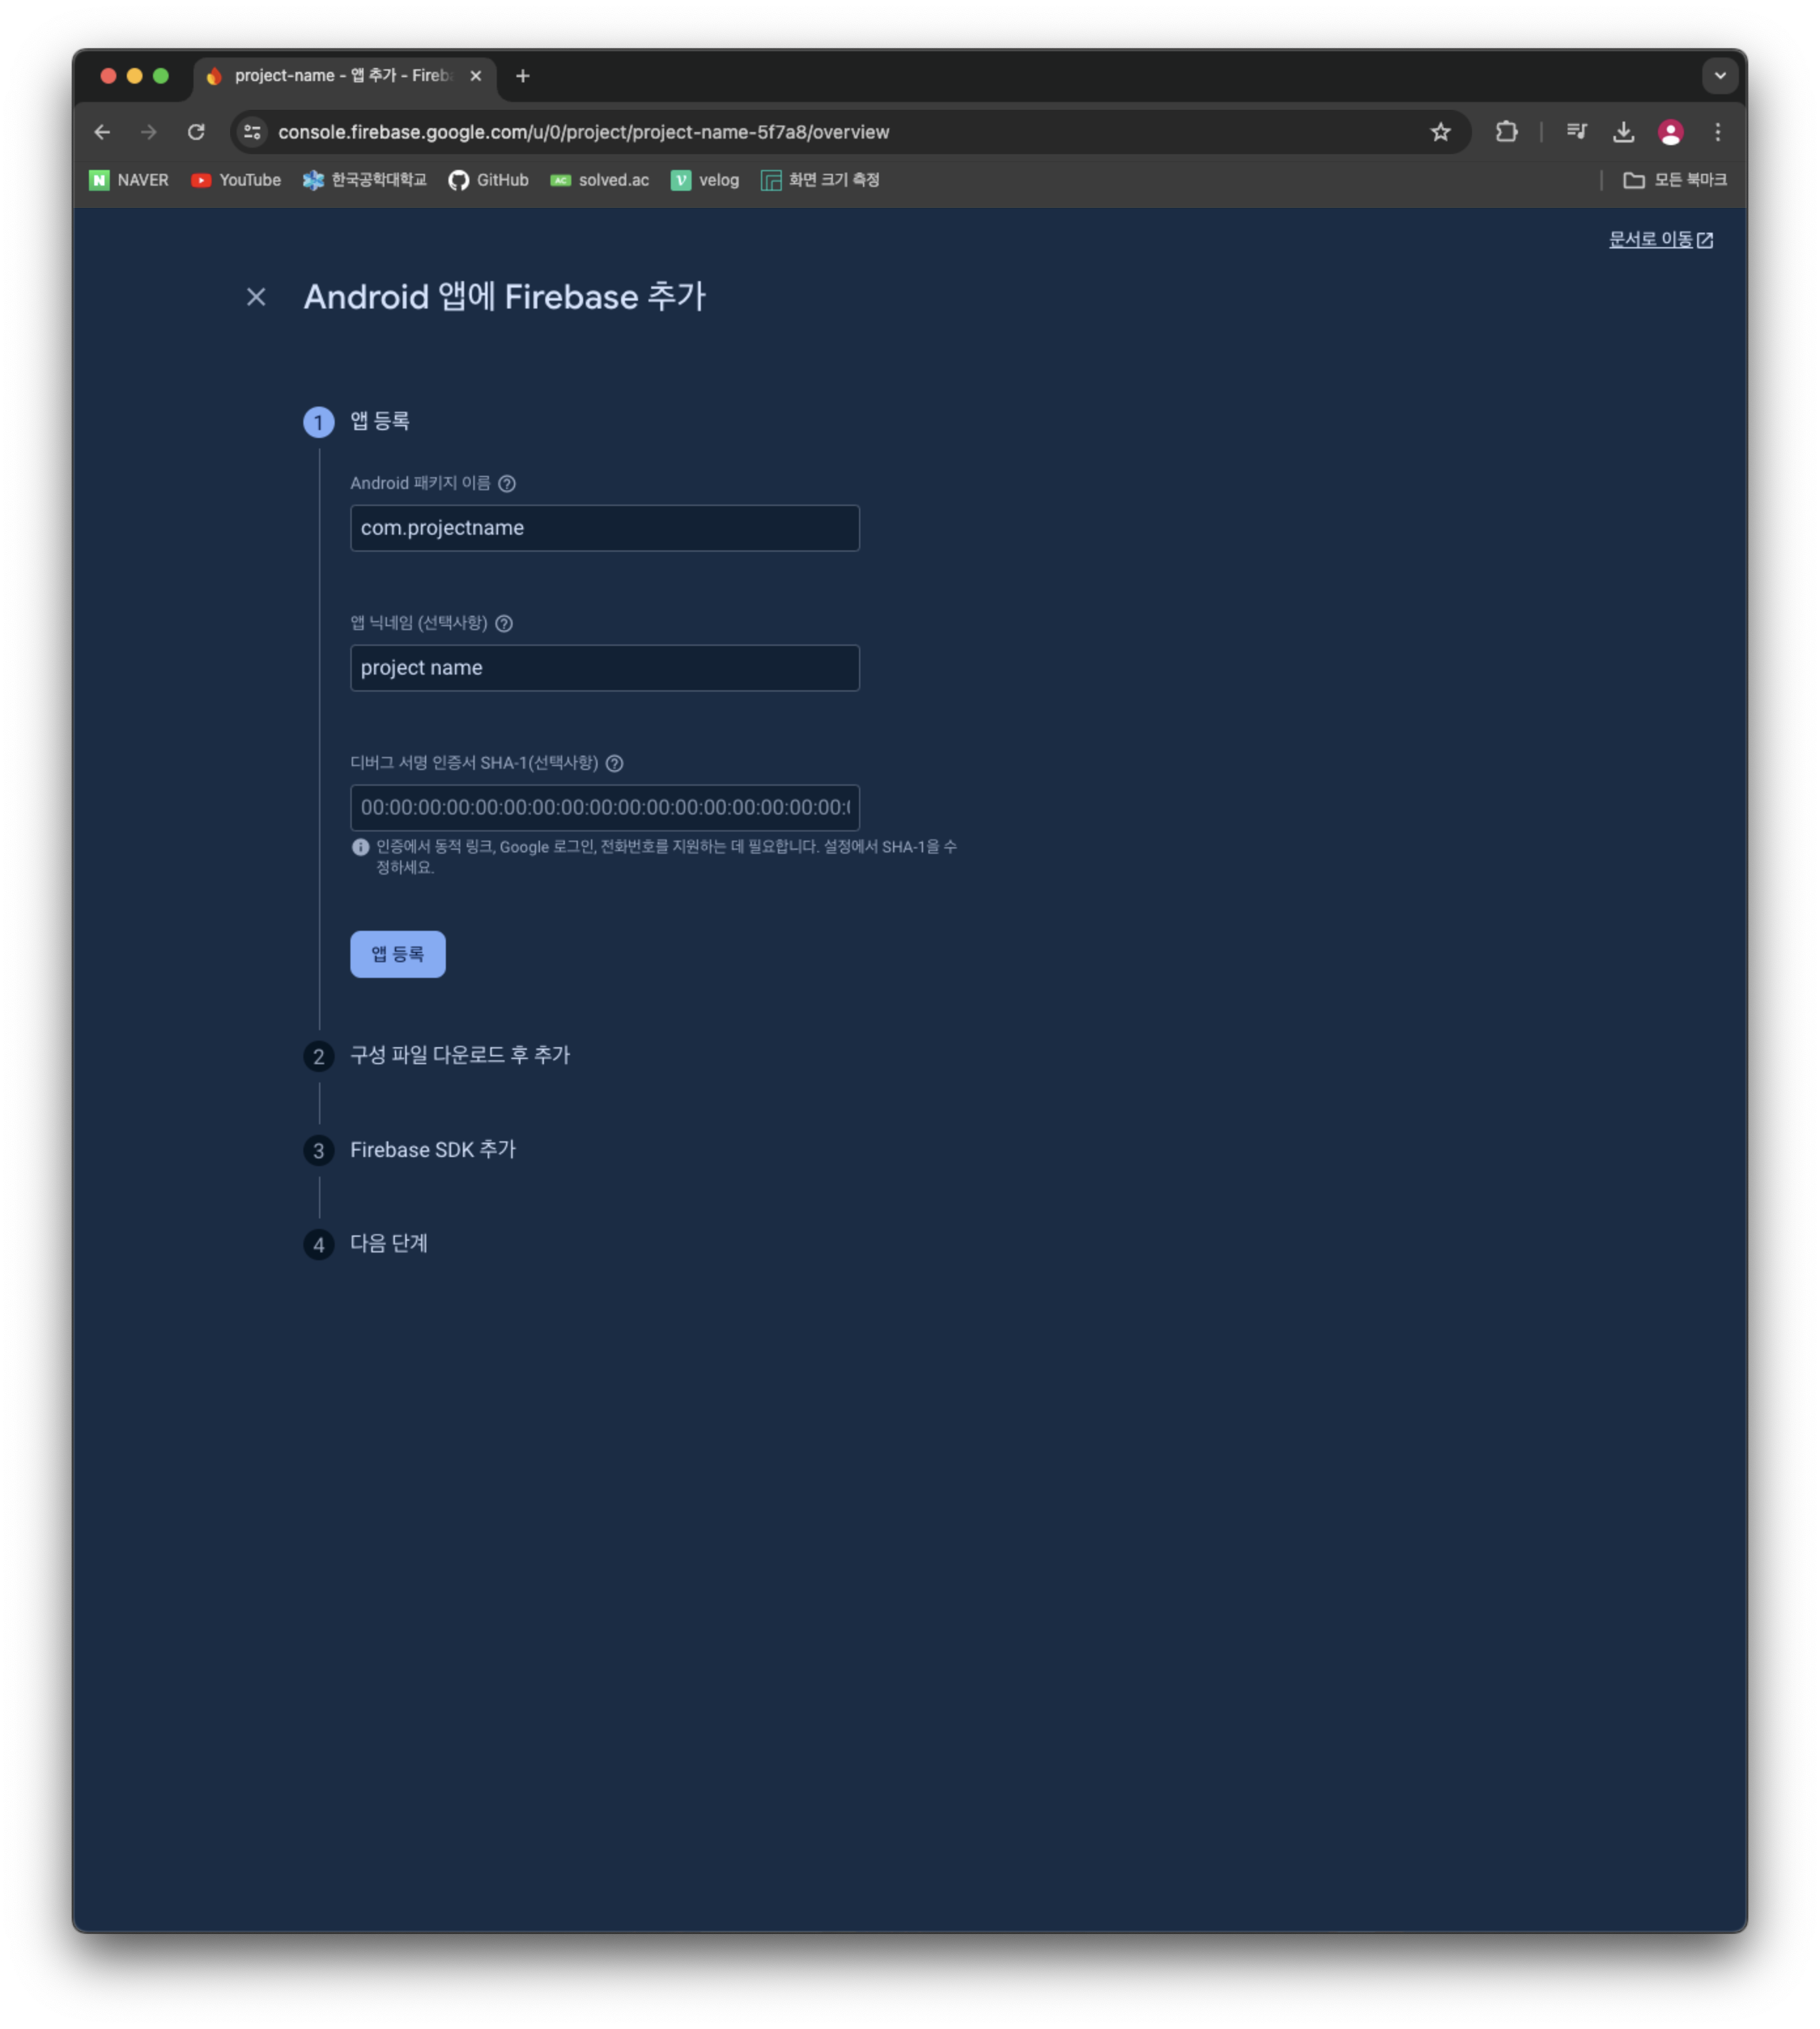
Android 패키지 이름은android/app/build.gradle파일에서 namespace 부분을 보면 알 수 있다. 앱 닉네임도 적절하게 설정해준다.
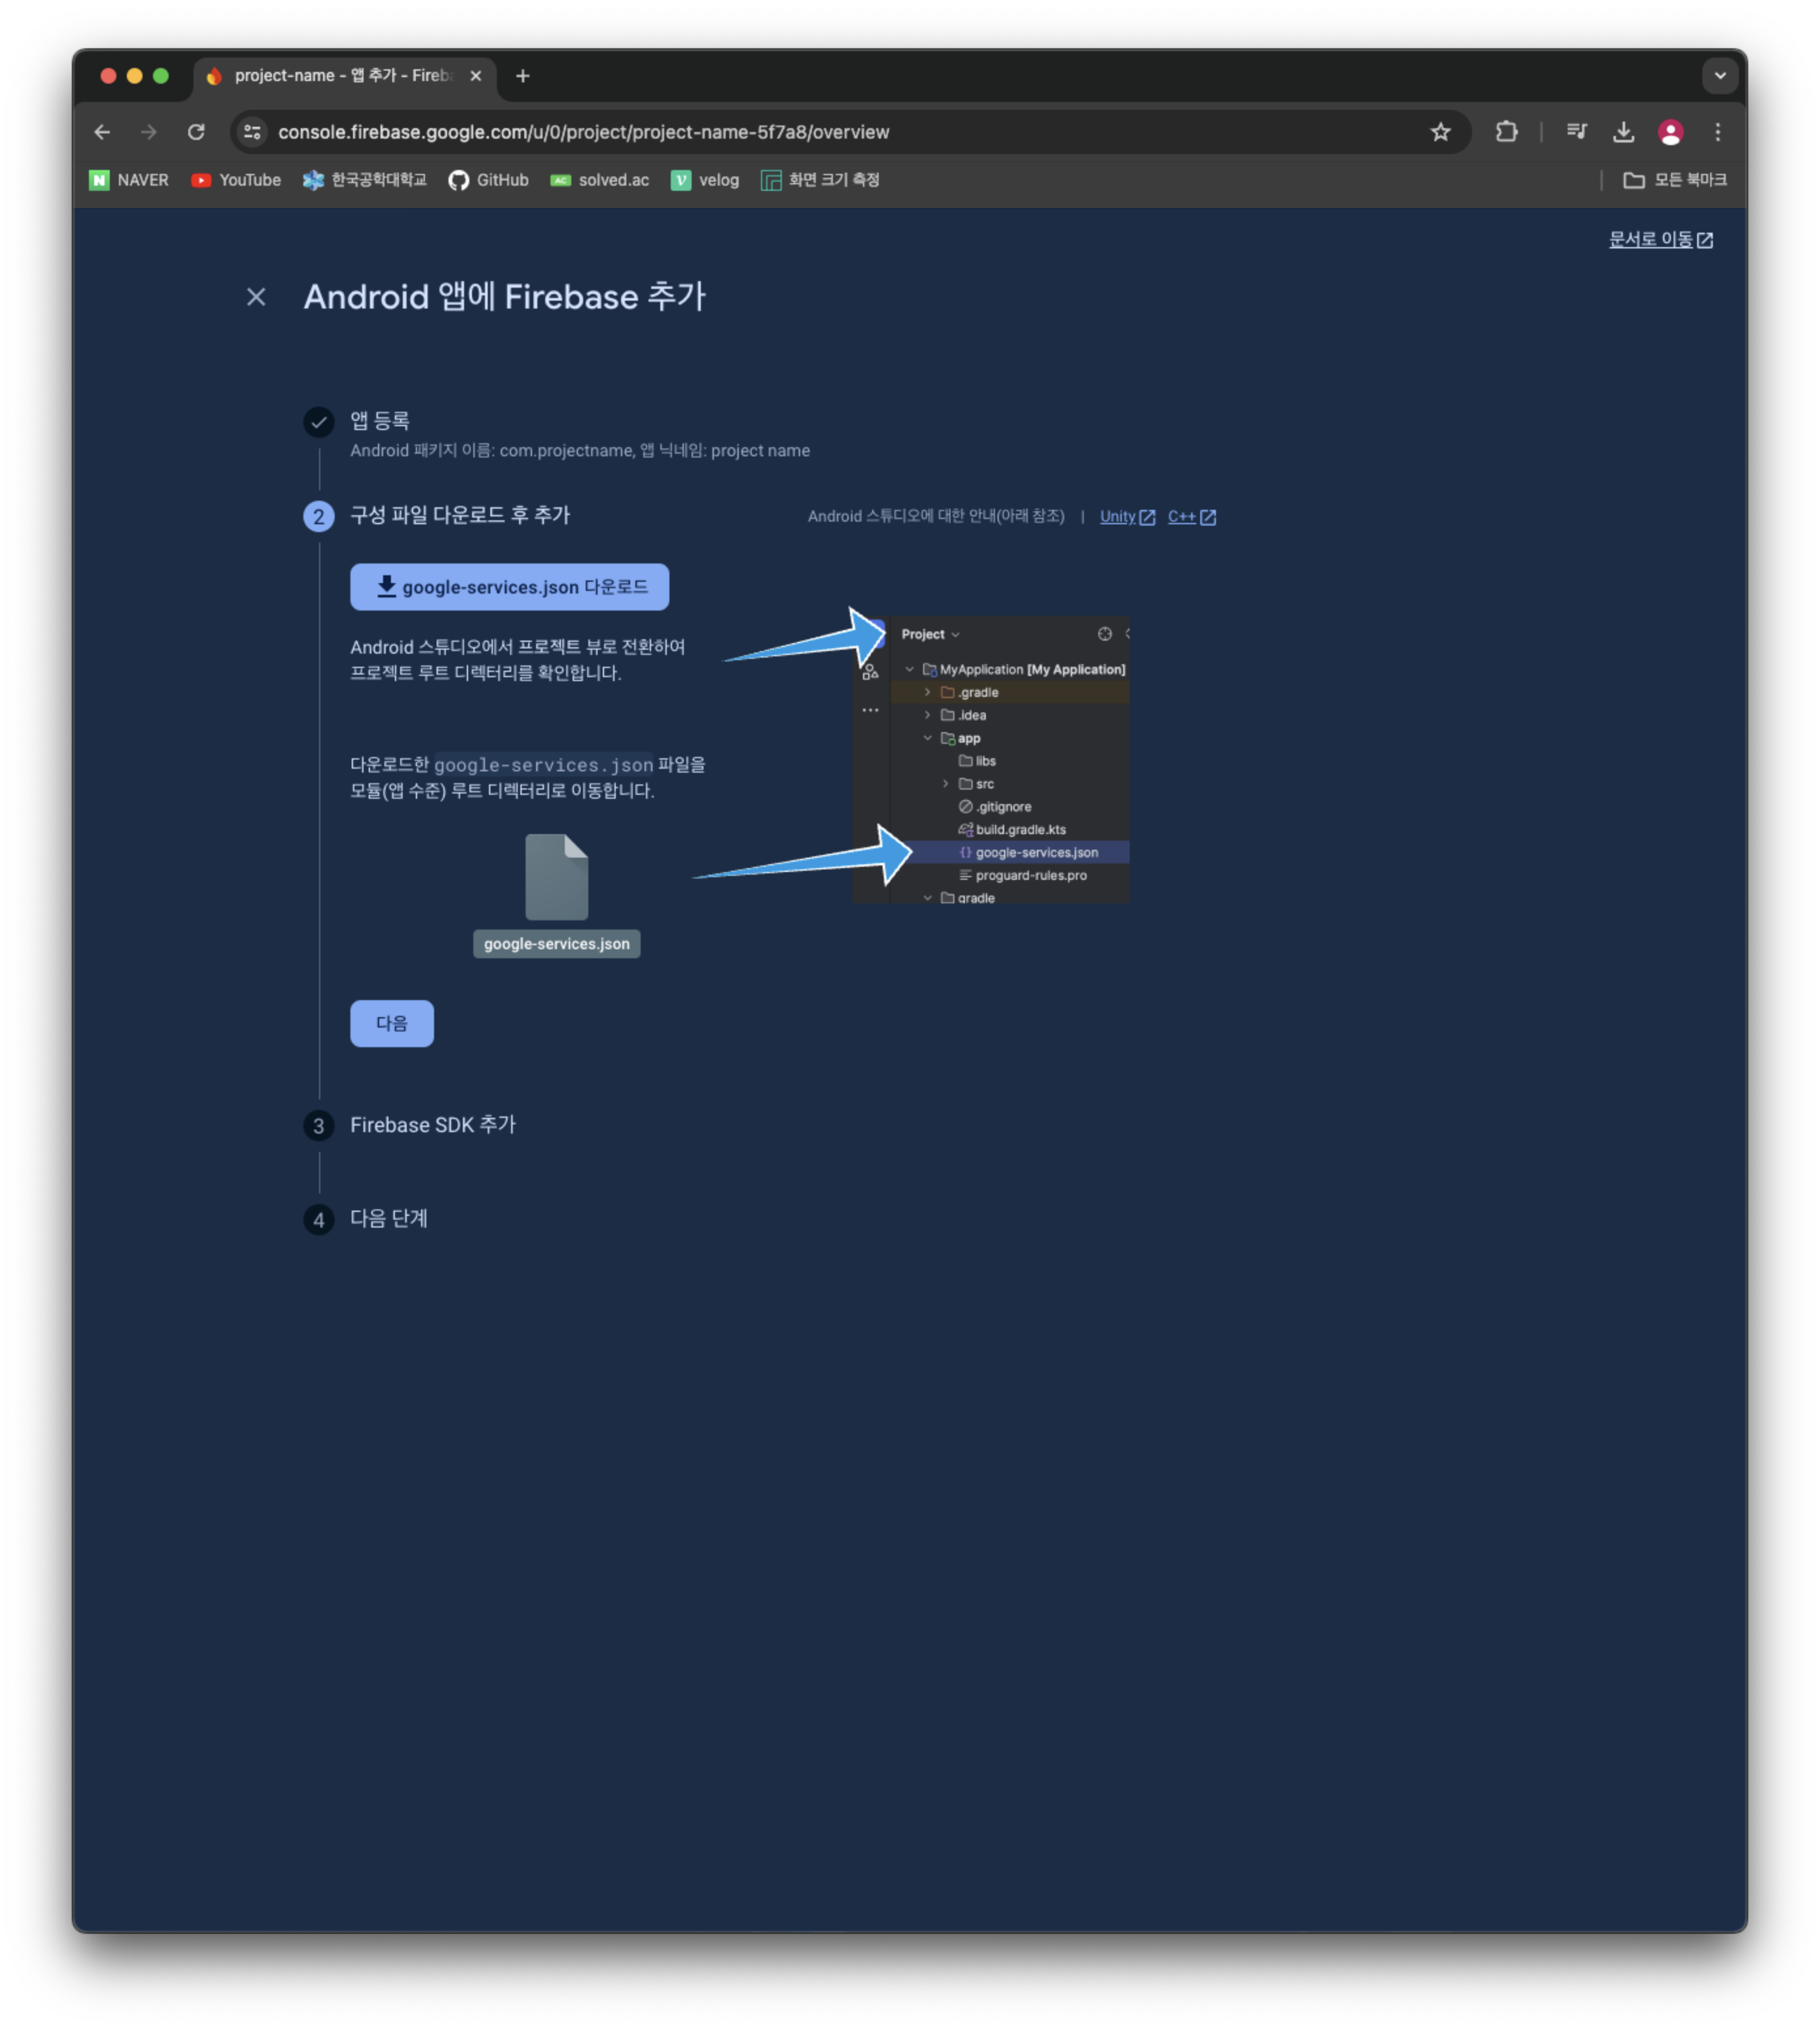
google-service.json 파일을 다운받고 app 폴더 내부에 넣어준다.
🚨
google-services.json은 민감한 정보이기 때문에.gitignore에 꼭 추가해주자!
buildscript {
  dependencies {
    // ... other dependencies
    // NOTE: if you are on react-native 0.71 or below, you must not update
    //       the google-services plugin past version 4.3.15 as it requires gradle >= 7.3.0
    classpath 'com.google.gms:google-services:4.4.2'
    // Add me --- /\
  }
}android/build.gradle에 dependencies 내부에 classpath 부분을 추가해준다.
apply plugin: 'com.google.gms.google-services'android/app/build.gradle의 최상단에 위 코드를 추가해준다.
위 과정을 모두 완료했다면 초기 세팅은 완료됐다.
Cloud Firestore
데이터베이스 생성
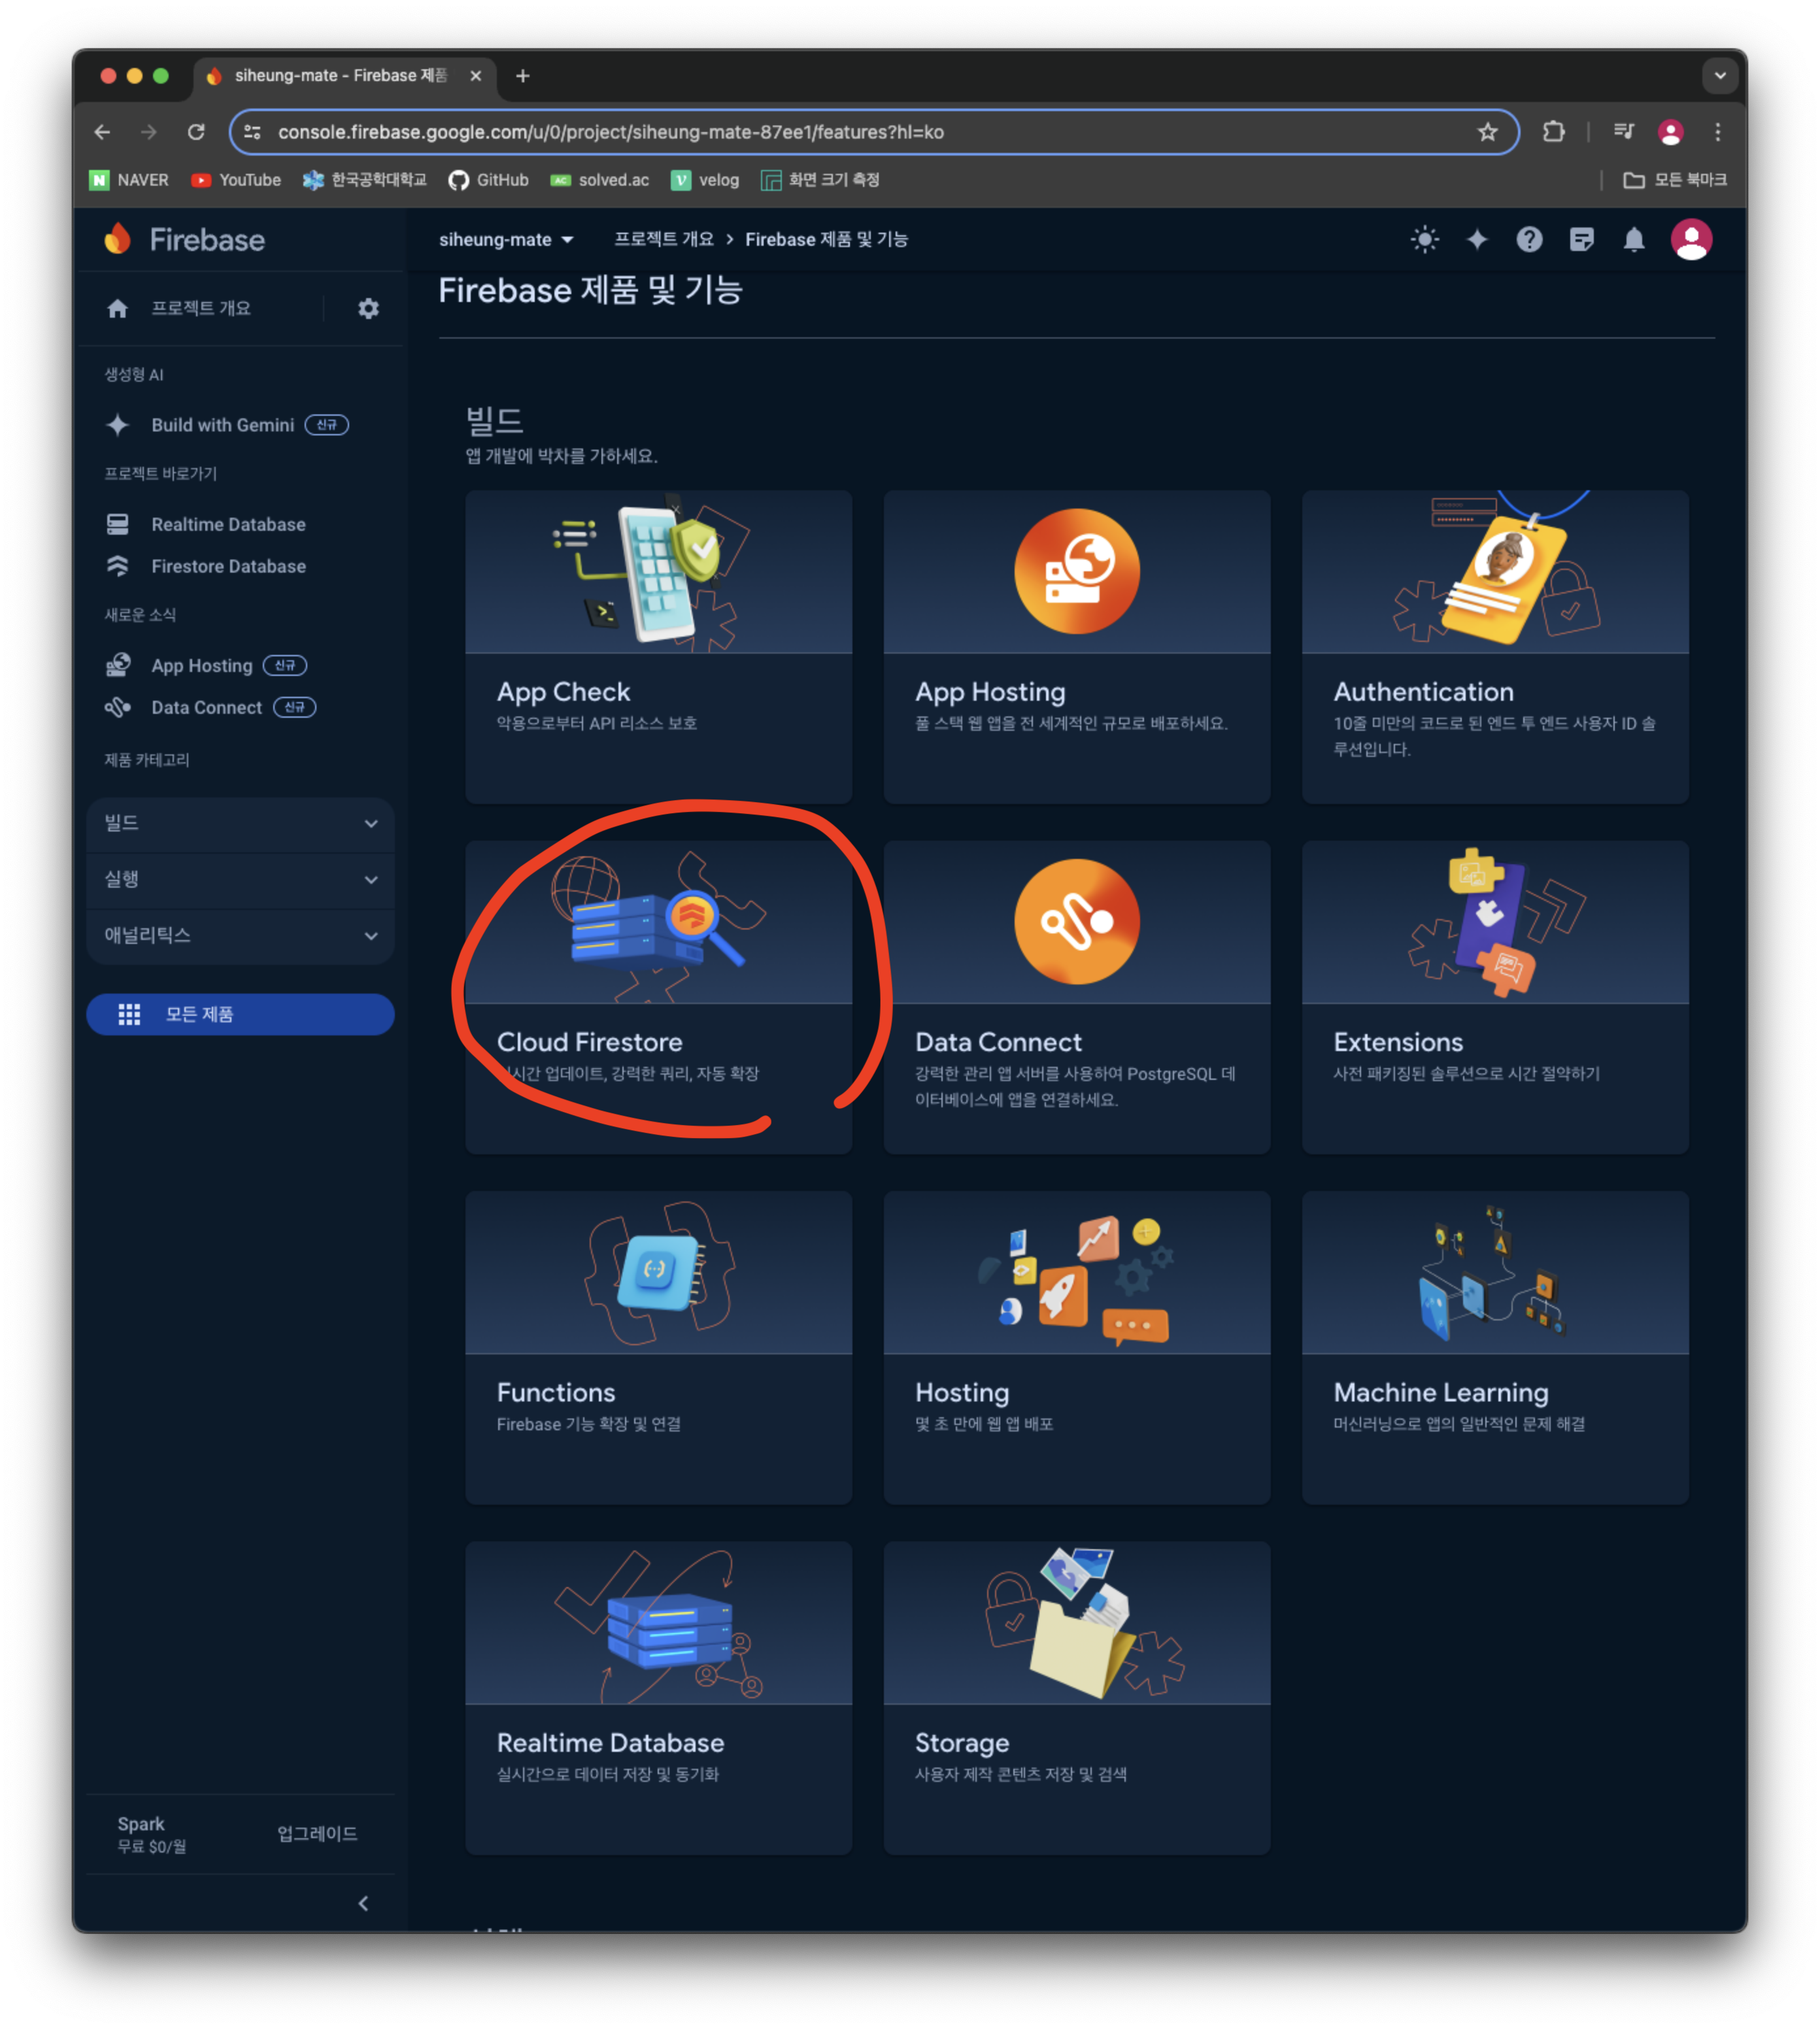
모든 제품에서 Cloud Firestore를 선택하여 새로운 데이터베이스를 만든다.
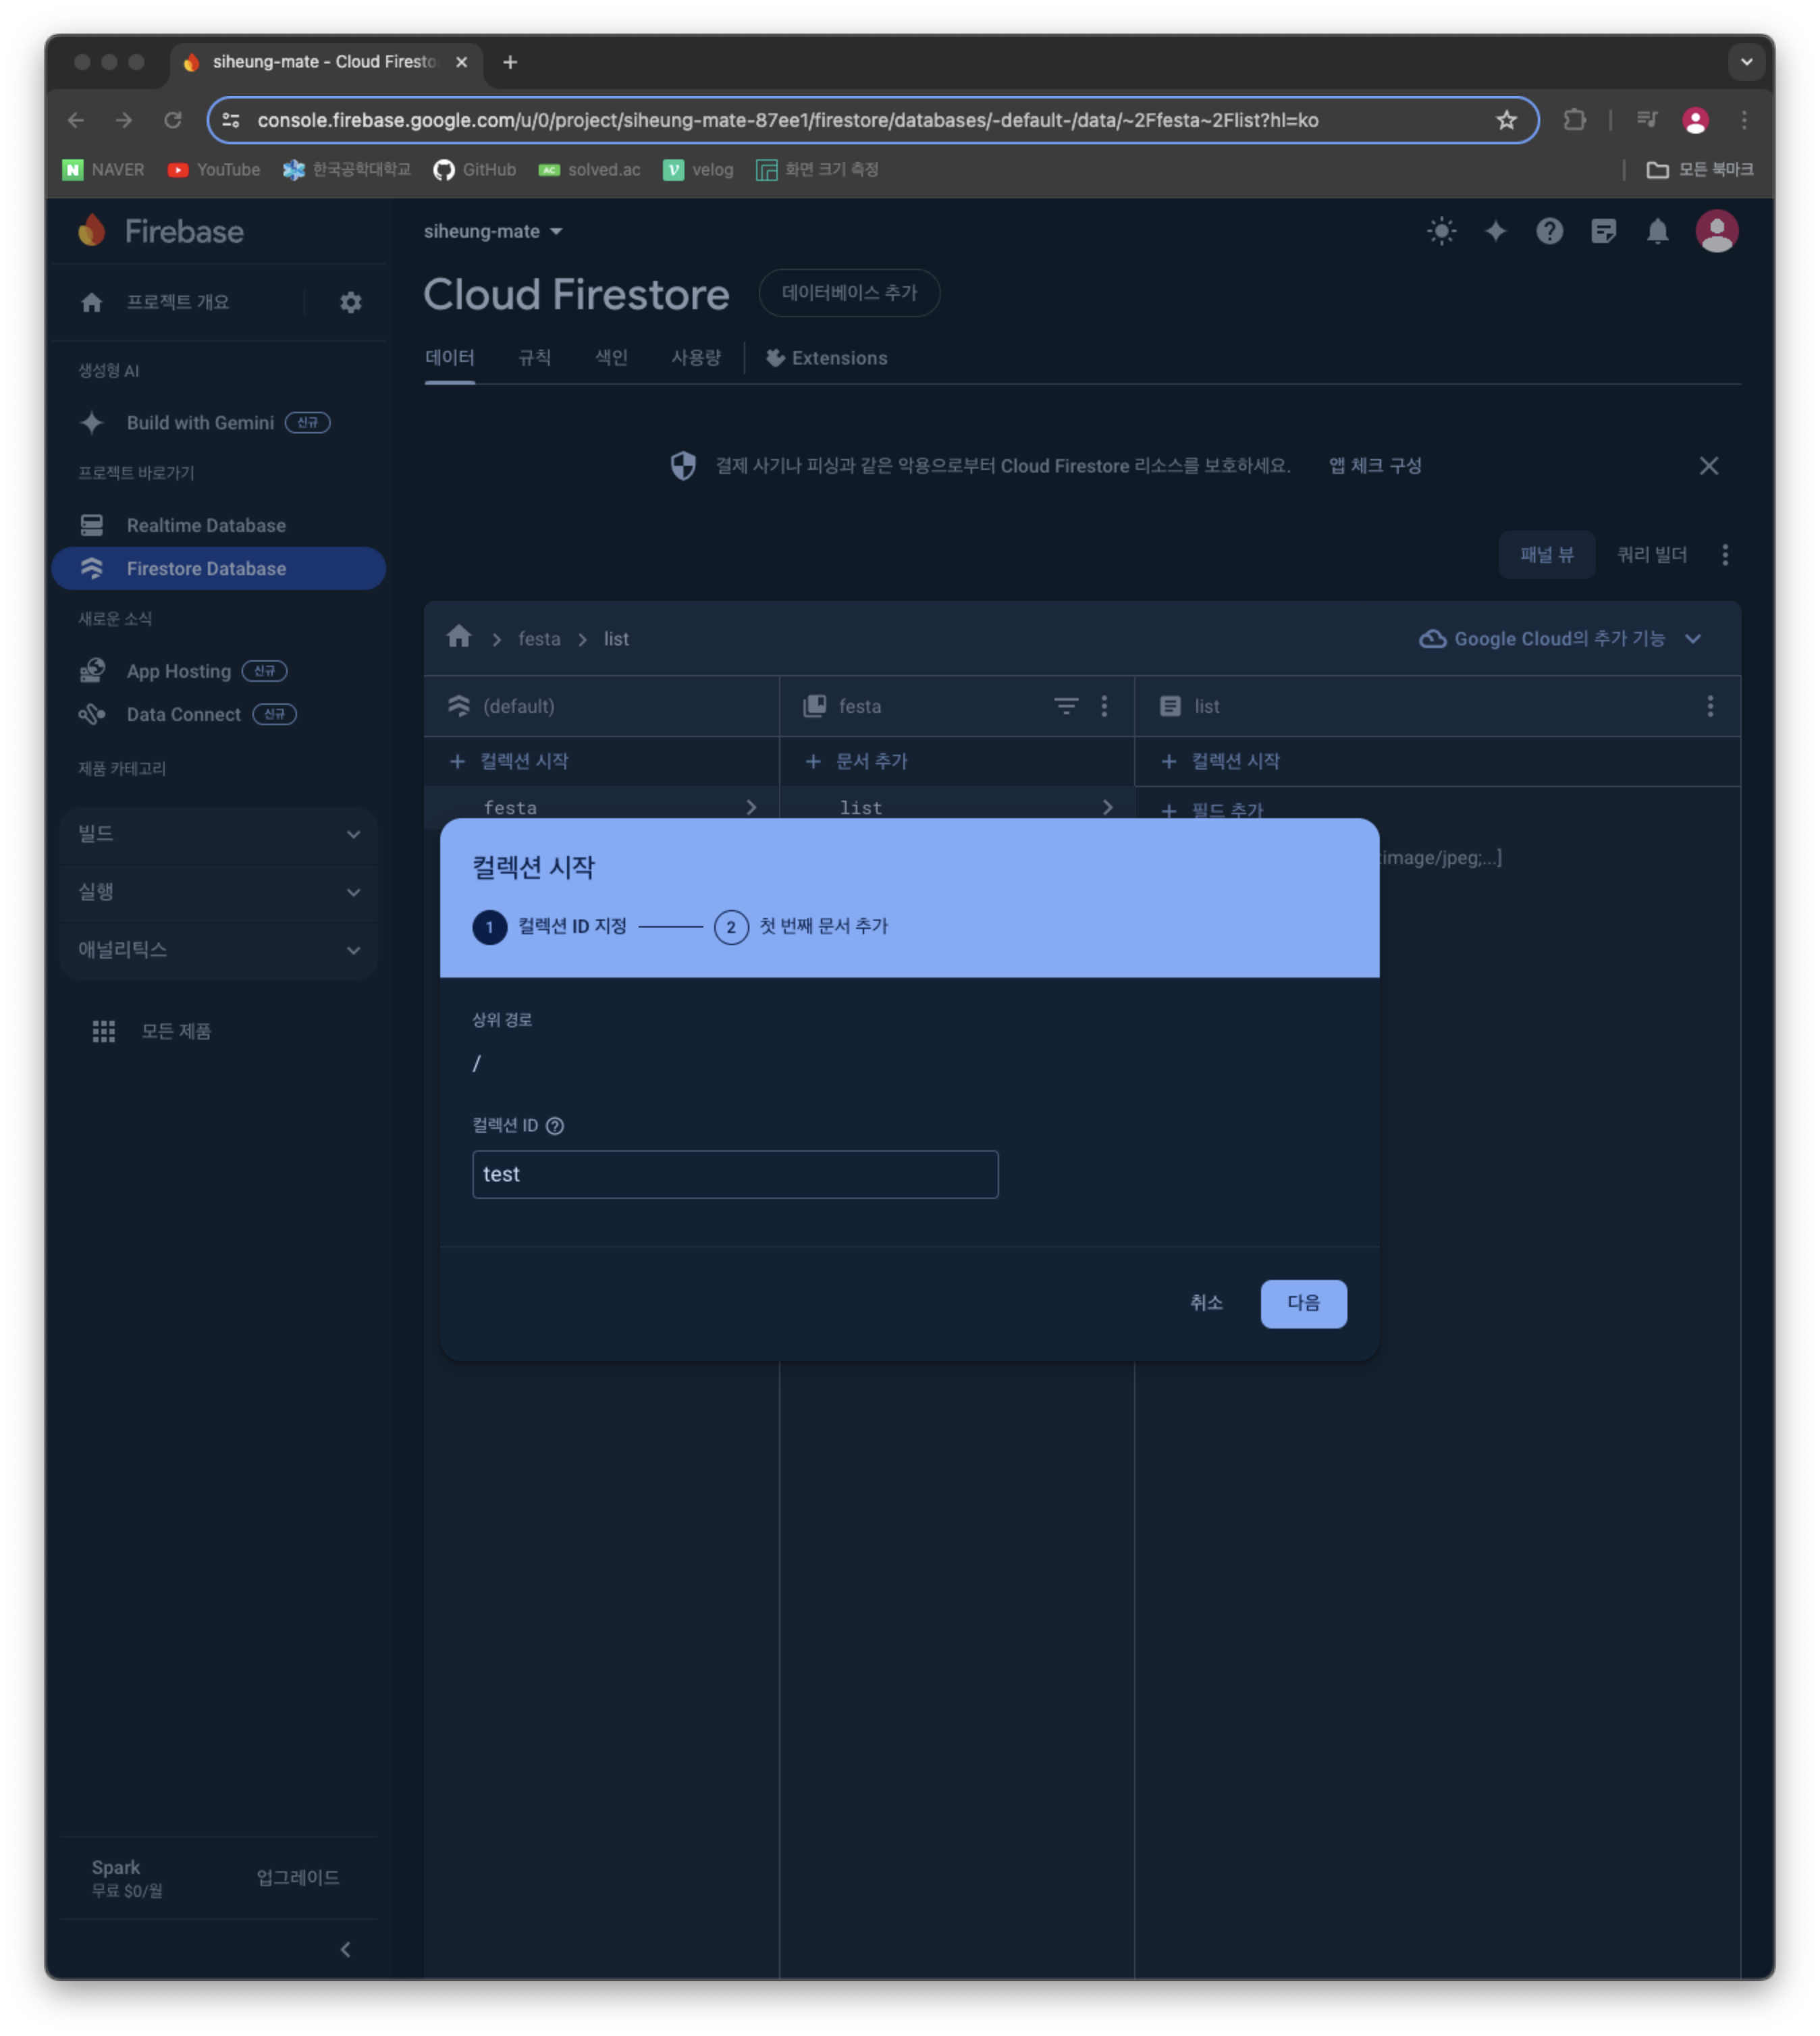
상위 디렉토리(컬레션)의 이름을 작성한다.
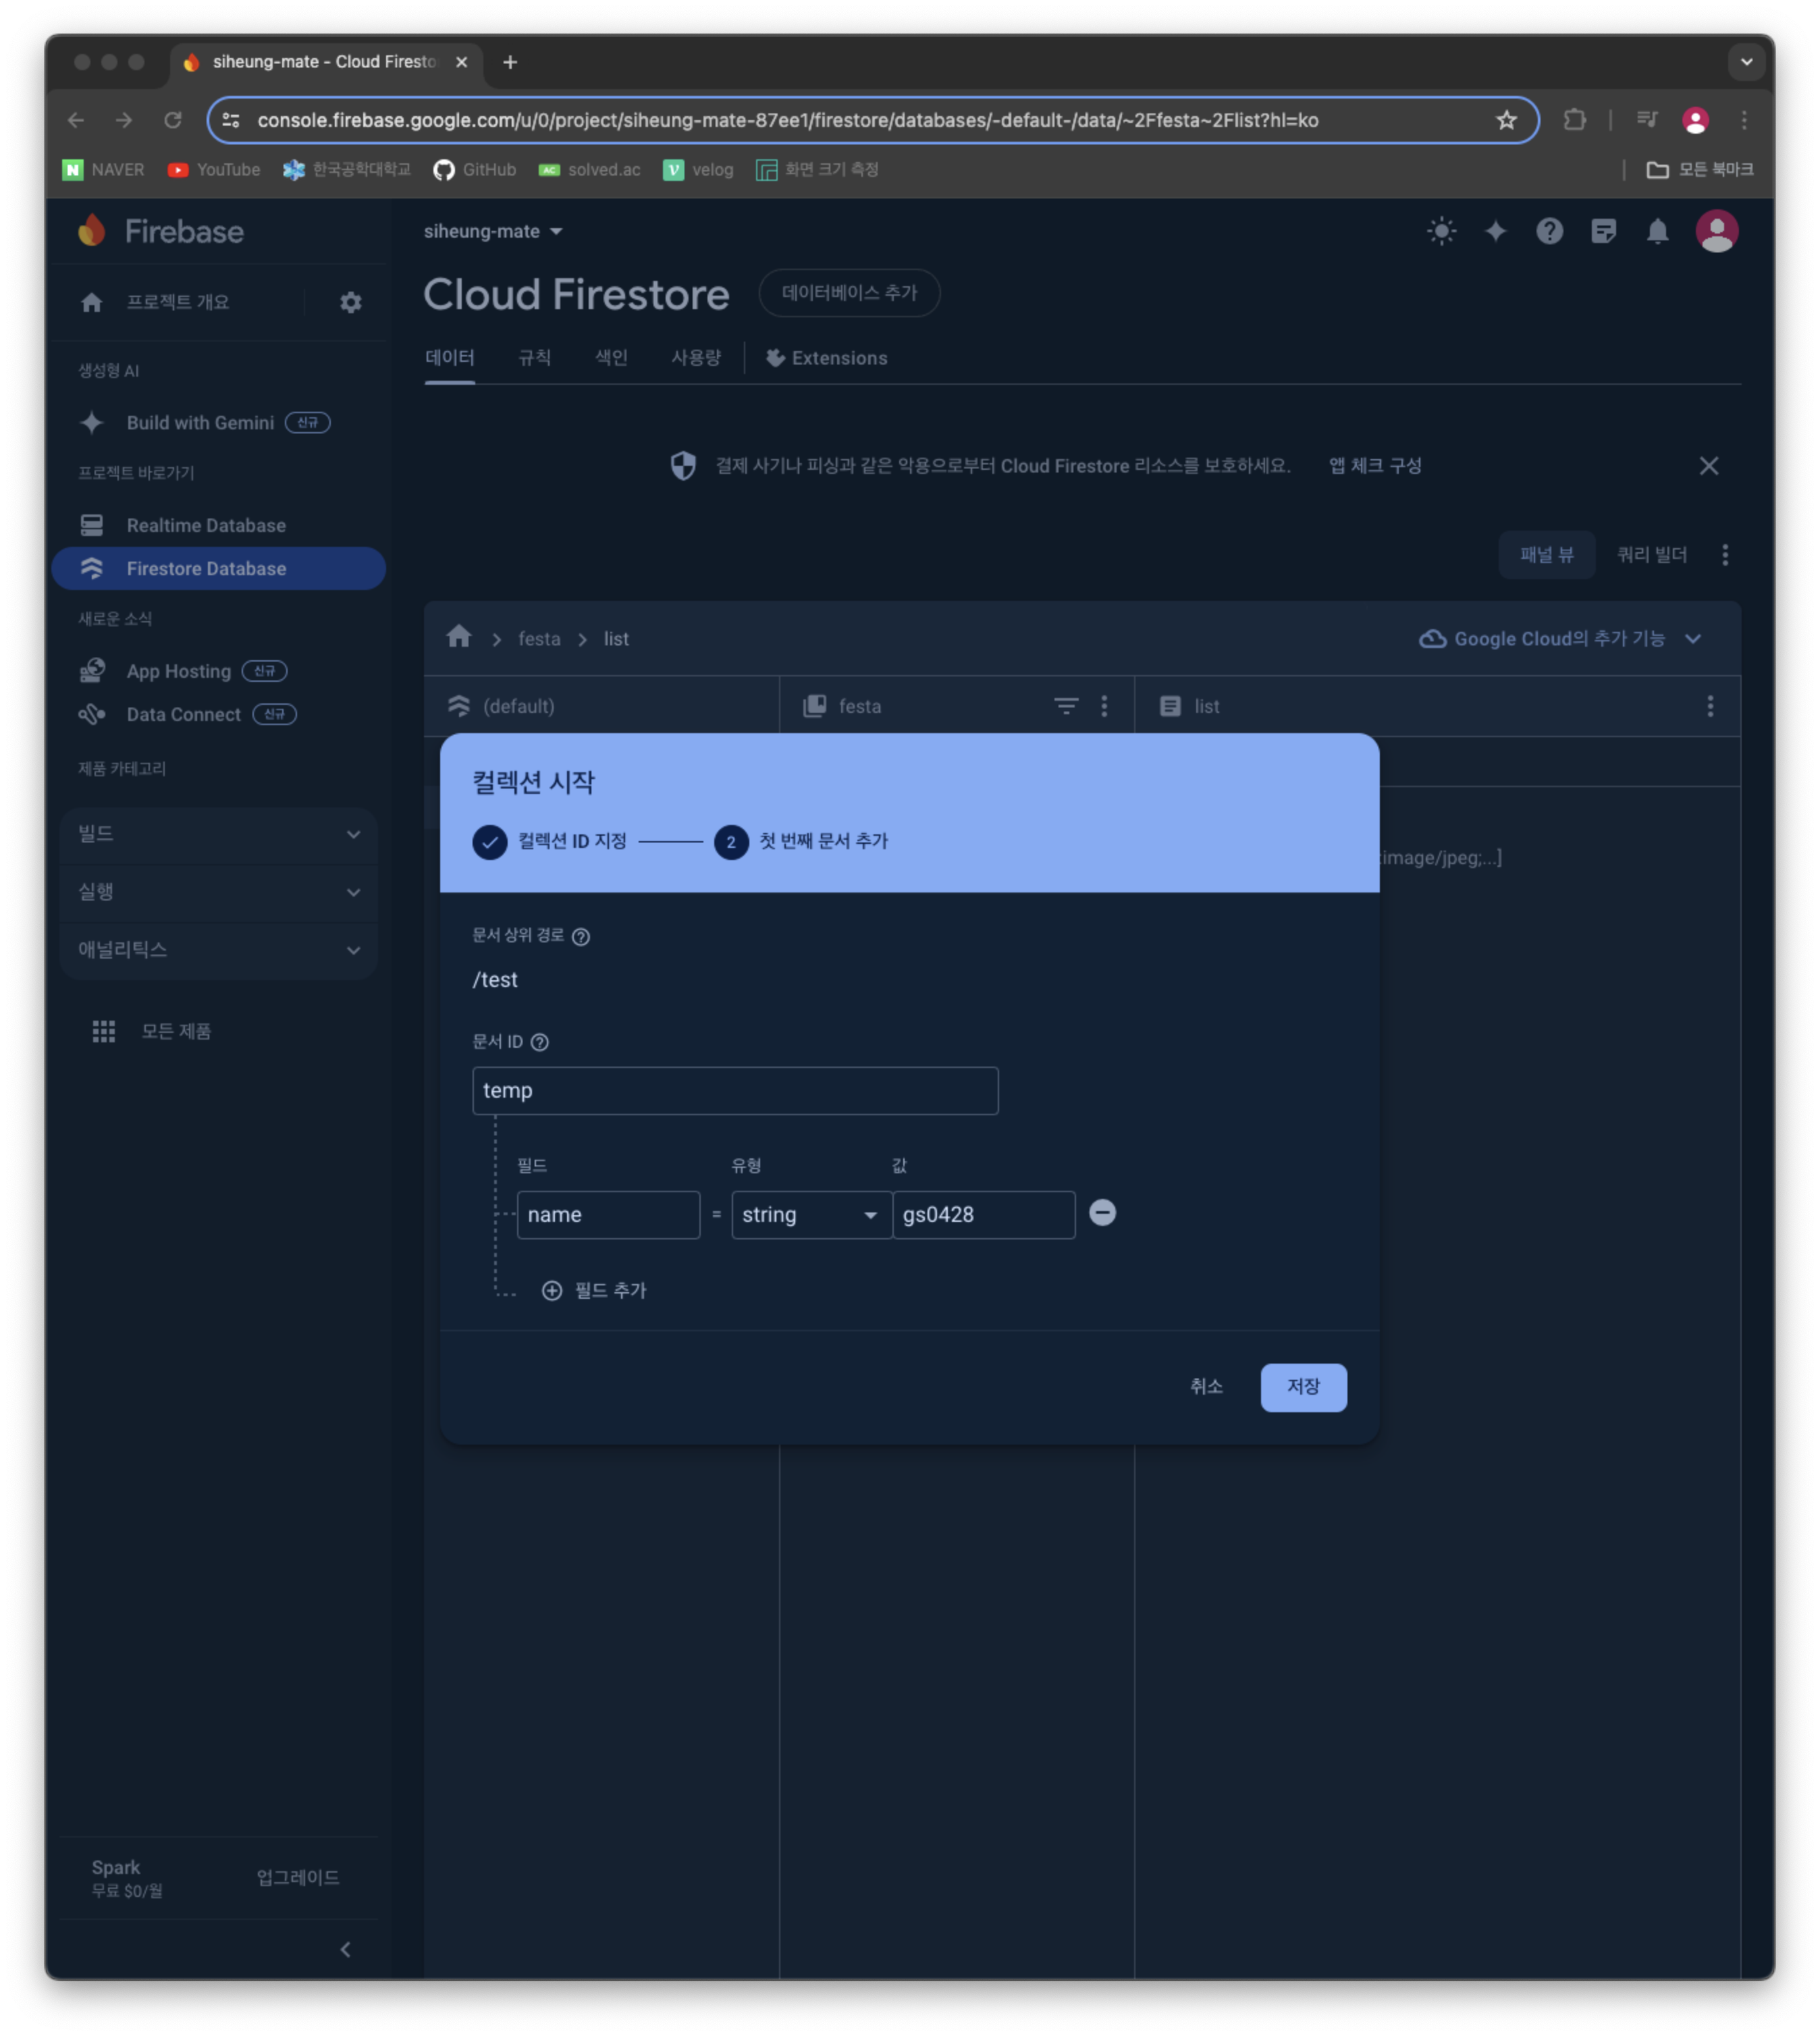
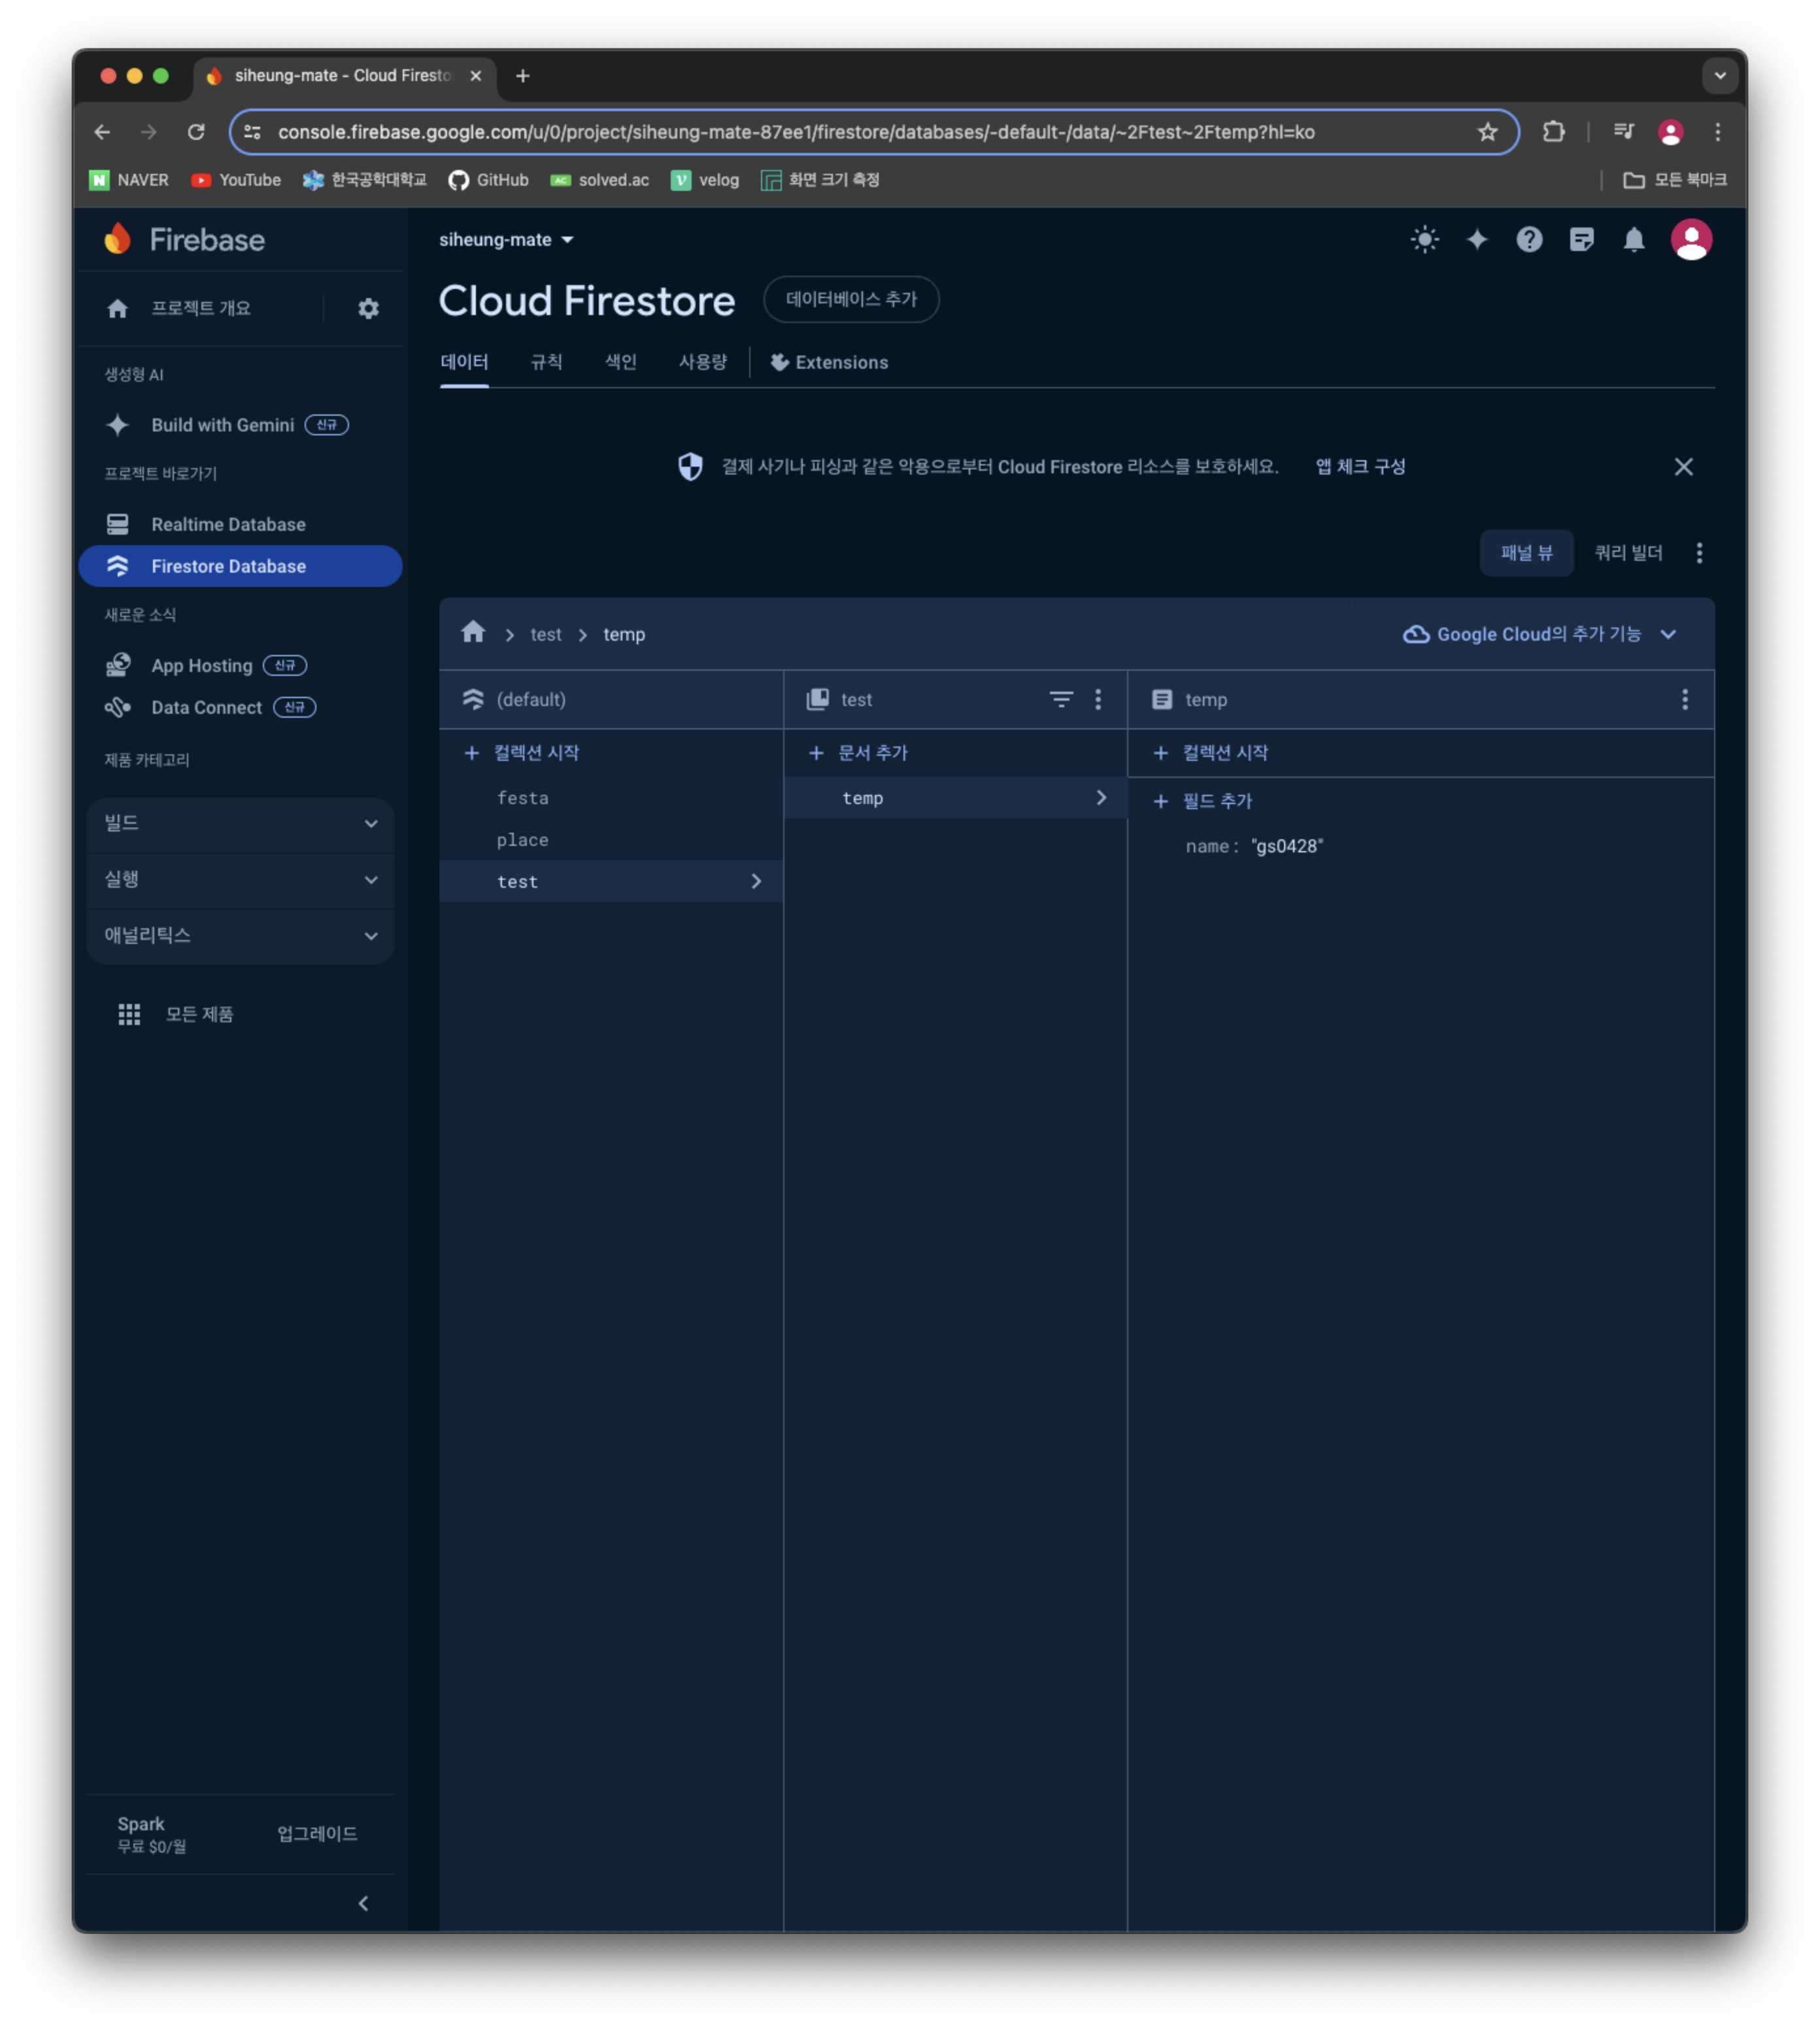
추가 정보들을 입력하면 두 번째 사진처럼 데이터베이스가 만들어진다. 유형은 string, array, map 등 여러 종류가 있으니 필요에 맞게 쓰면 될 것 같다.
데이터 가져오기
Firebase의 Cloud Firestore를 사용하기 위해서는 @react-native-firebase/firestore를 설치해 주어야한다.
npm insetall @react-native-firebase/firestore
or
pnpm add @react-native-firebase/firestore
import firestore from '@react-native-firebase/firestore';
const getTempItems = async () => {
const reponse = await firestore().collection('test').doc('temp').get();
return reponse.data()?.name;
};위 코드처럼 컬렉션의 이름, 문서의 이름으로 데이터를 가져온 후 필드명으로 데이터를 추출할 수 있다.