
지난 useOptimistic 글 작성 이후 Tanstack Query에서도 낙관적 업데이트를 지원함을 알게 되었다. 이는 추후에 공부하며 다시 작성해보도록 하겠다.
React 공식문서 톺아보기의 두 번째 훅으로 use에 대해 알아보고자 한다.
use는 React 18버전에서 실험적 기능으로 도입되었고, React 19버전에서 공식 API로 정식화되었다. 이제부터 use에 대해 차근차근 살펴보겠다.
소개
공식 문서에서 정의한 내용을 보자.
use는 Promise나 Context와 같은 리소스를 참조하는 React API이다.
훅이 아니므로
if나 반복문 내부에서도 호출할 수 있지만, 호출은 반드시 커스텀 훅이나 컴포넌트 내부에서만 해야 한다.Promise와 함께 사용할 때는 Suspense 및 Error Boundary가 적용되어, Promise가 pending 상태면 Suspense의 fallback UI가, reject되면 가장 가까운 Error Boundary가 에러를 잡아준다.
정의
import { use } from 'react';

function MessageComponent({ messagePromise }) {
  const message = use(messagePromise);
  const theme   = use(ThemeContext);
  // ...
}
매개변수
- resource: 참조하려는 데이터 (
Promise혹은Context)
반환 값
Promise나Context에서 가져온 값
예시
Context
"use client";

import { createContext, use } from "react";

const ThemeContext = createContext<string | null>(null);

export default function ContextPage() {
  return (
    <ThemeContext.Provider value="light">
      <Title />
    </ThemeContext.Provider>
  );
}

function Title() {
  const theme = use(ThemeContext);
  return <div>Current Theme is {theme}</div>;
}
useContext 대신 use를 사용해 Context의 값을 가져올 수 있다. use는 조건문이나 반복문 안에서도 호출할 수 있기 때문에, useContext보다 유연하다.
Promise
JSONPlaceholder의 /todos mock 데이터를 이용한 예시를 보자.
1) use를 사용하지 않은 경우
export const getTodos = async () => {
  await new Promise((resolve) => setTimeout(resolve, 1000));

  const res = await fetch("https://jsonplaceholder.typicode.com/todos", {
    cache: "no-cache",
  });
  if (!res.ok) {
    throw new Error("Failed to fetch data");
  }
  return res.json();
};
import Todo from "@/components/todo";
import { getTodos } from "@/services/todo";

export default async function Home() {
  const todos = await getTodos();
  return <Todo todos={todos} />;
}
"use client";
interface TodoItemProps {
userId: number;
id: number;
title: string;
completed: boolean;
}
interface TodoProps {
todos: TodoItemProps[];
}
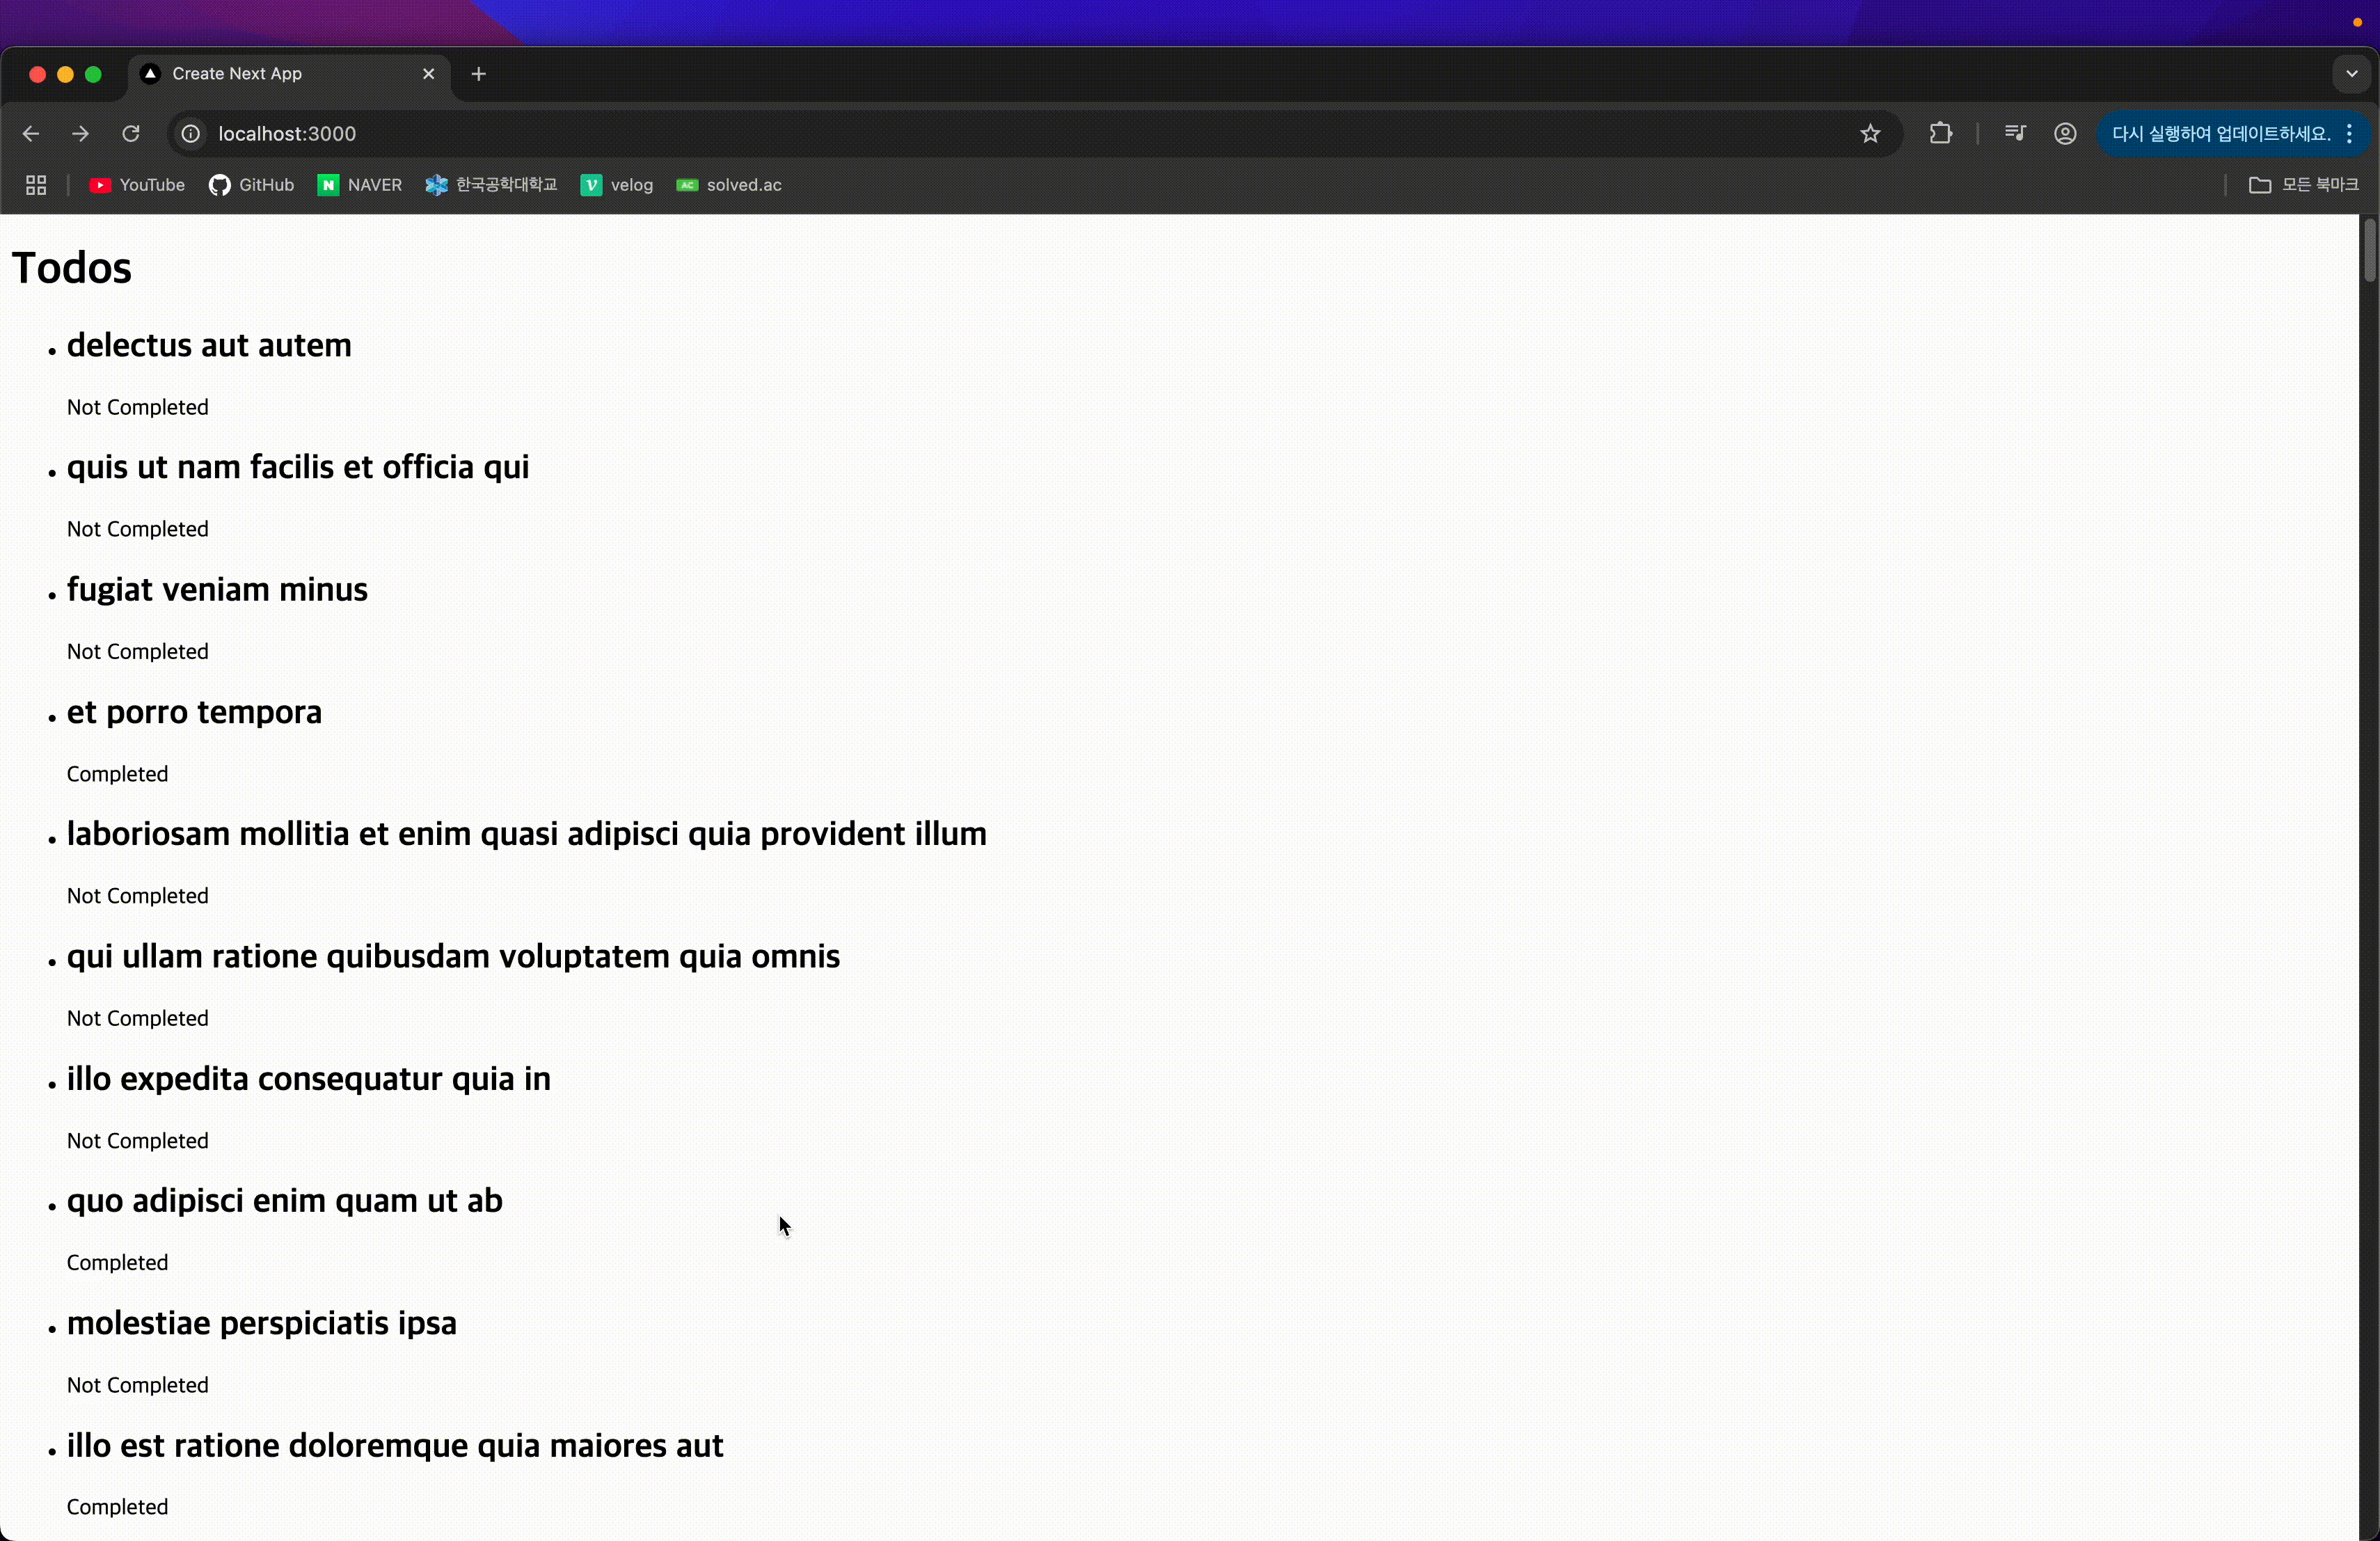
export default function Todo({ todos }: TodoProps) {
return (
<div>
<h1>Todos</h1>
<ul>
{todos.map((item) => (
<li key={item.id}>
<h2>{item.title}</h2>
<p>{item.completed ? "Completed" : "Not Completed"}</p>
</li>
))}
</ul>
</div>
);
}
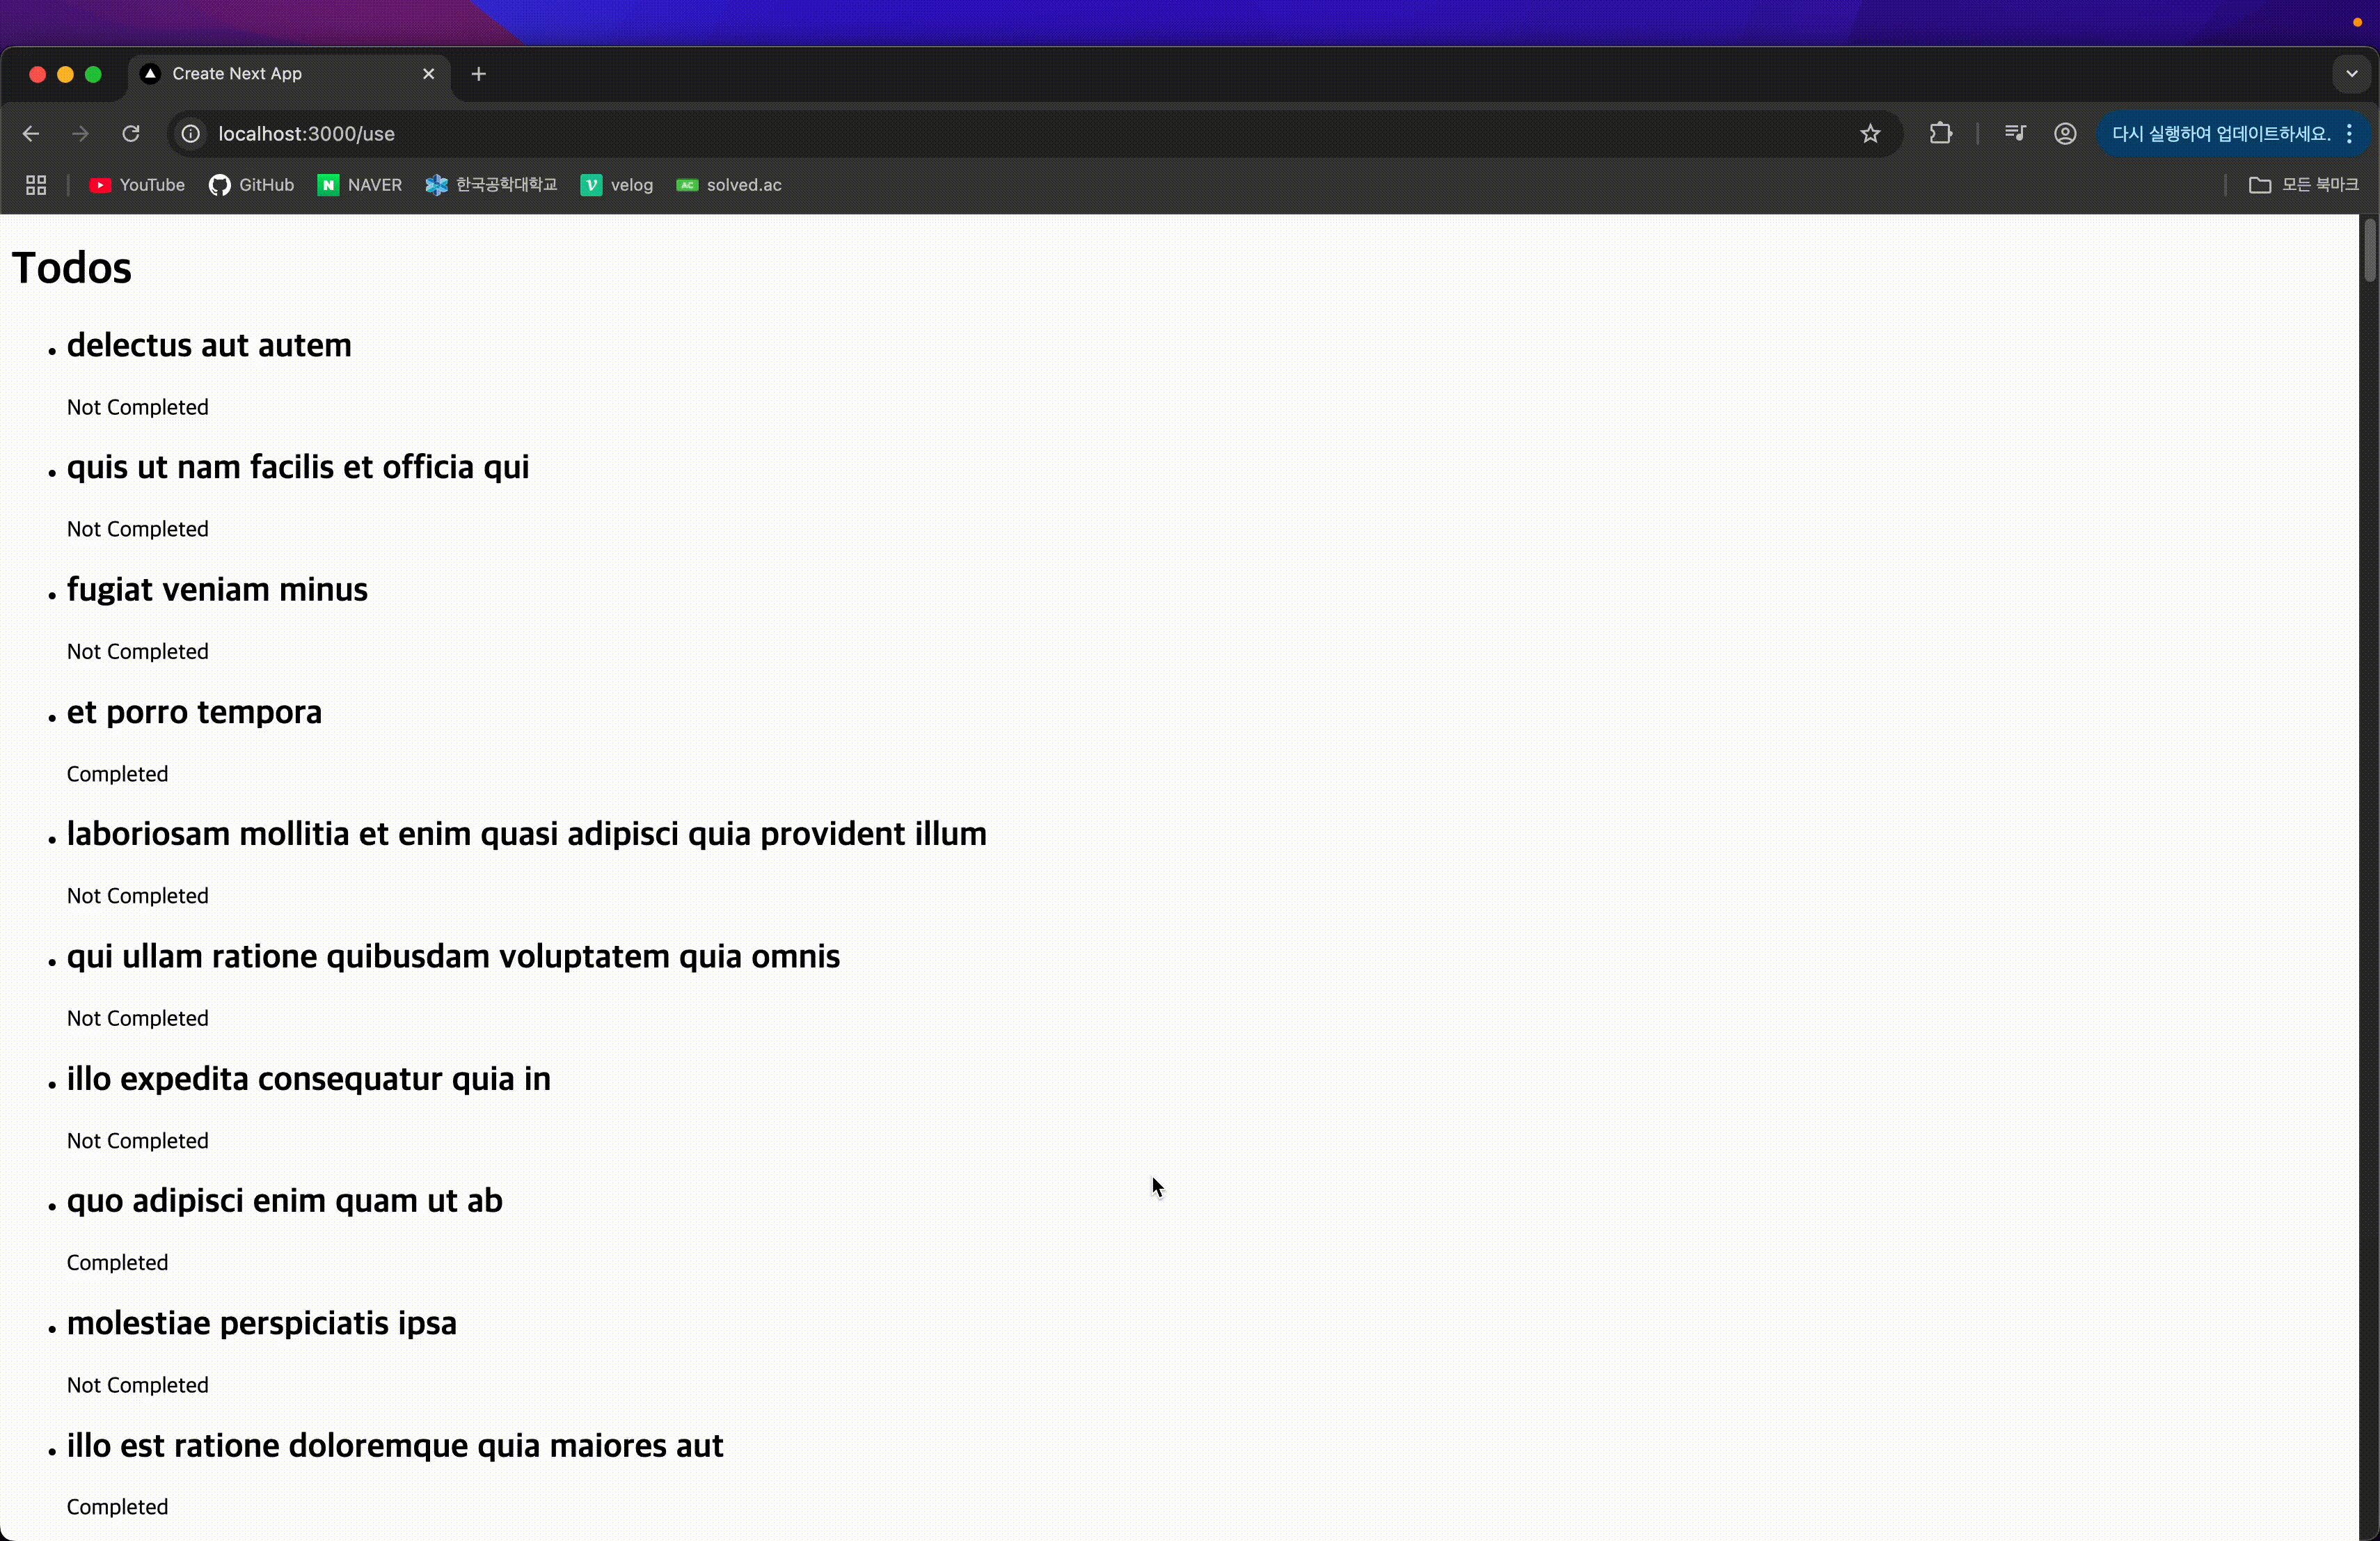
서버 컴포넌트를 이용해 Promise가 resolve된 후 데이터를 넘기기 때문에, resolve 전까지는 이전 페이지가 그대로 표시된다.
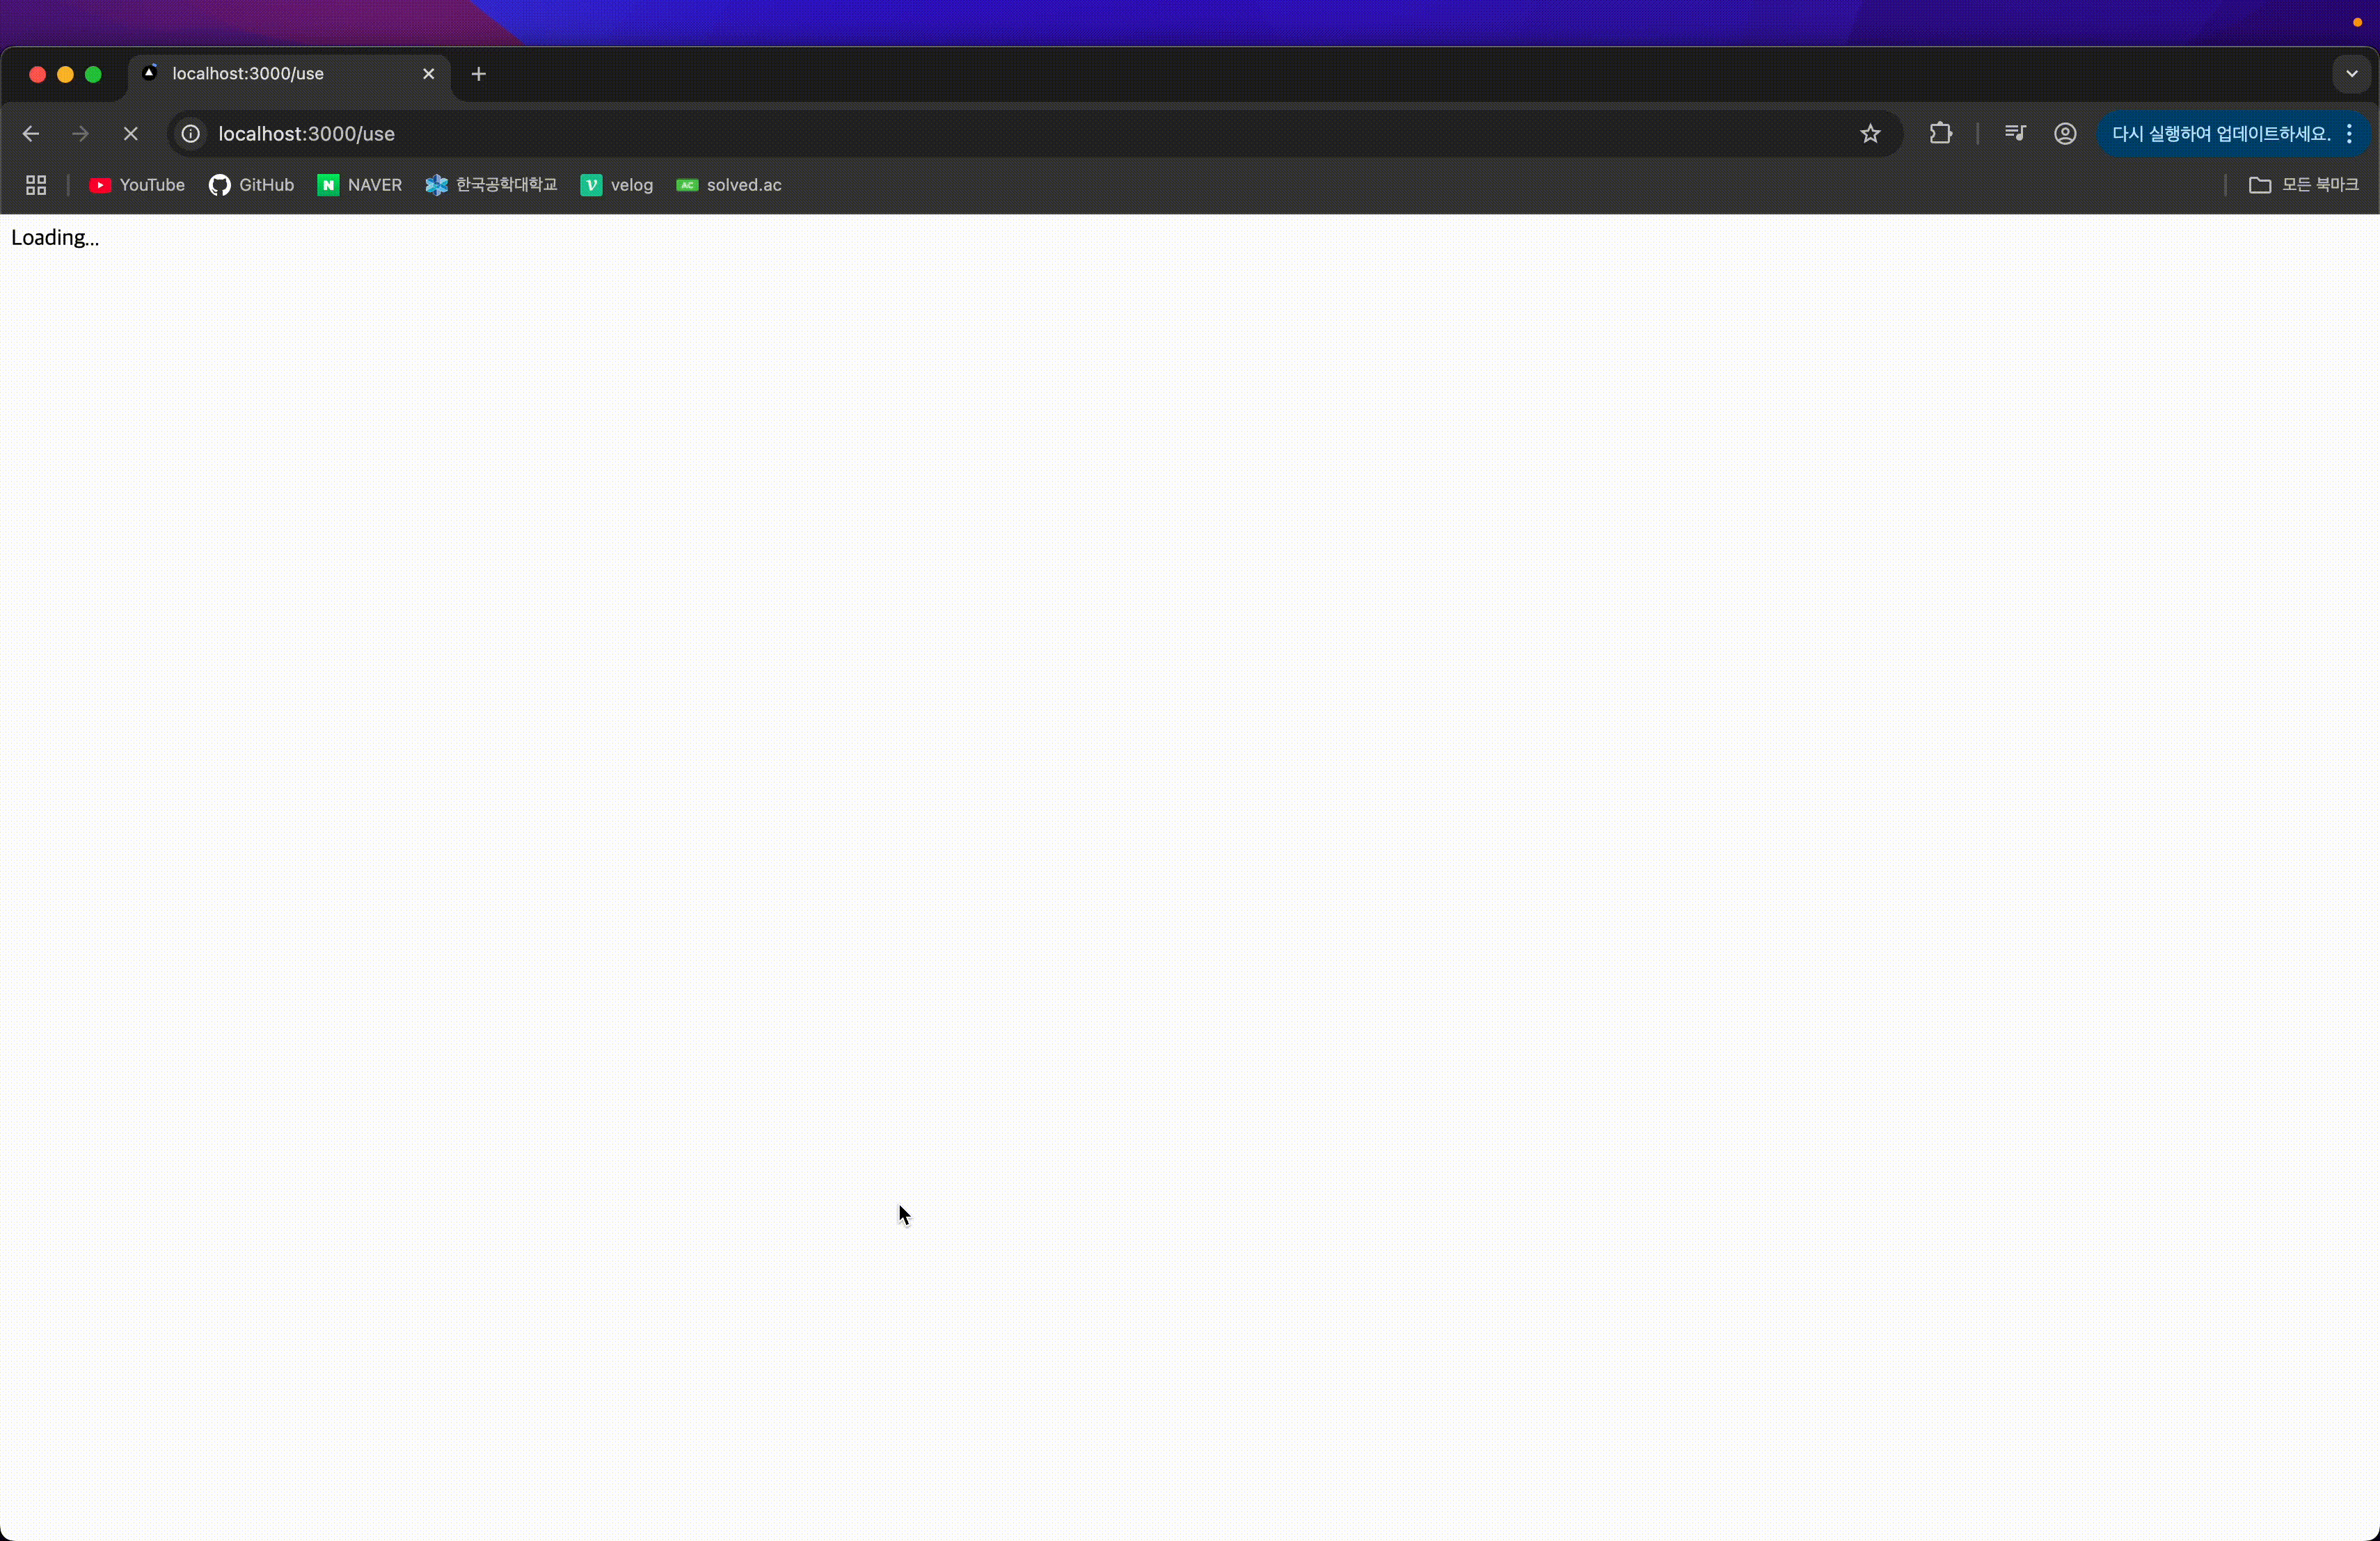
2) use를 사용한 경우
import Todo from "@/components/use/todo";
import { getTodos } from "@/services/todo";
import { Suspense } from "react";

export default function Home() {
  const todos = getTodos(); // 동일한 getTodos 함수

  return (
    <Suspense fallback={<div>Loading...</div>}>
      <Todo promisedTodos={todos} />
    </Suspense>
  );
}
"use client";

import { Usable, use } from "react";

interface TodoItemProps {
  userId: number;
  id: number;
  title: string;
  completed: boolean;
}

interface TodoProps {
  promisedTodos: Usable<TodoItemProps[]>;
}

export default function Todo({ promisedTodos }: TodoProps) {
  const todo = use<TodoItemProps[]>(promisedTodos);

  return (
    <div>
      <h1>Todos</h1>
      <ul>
        {todo.map((item) => (
          <li key={item.id}>
            <h2>{item.title}</h2>
            <p>{item.completed ? "Completed" : "Not Completed"}</p>
          </li>
        ))}
      </ul>
    </div>
  );
}
Promise가 pending 상태일 동안 Suspense의 fallback UI가 표시되어, UX가 더욱 부드럽다.
⚠️ 주의
서버 컴포넌트에서 클라이언트 컴포넌트로 Promise를 전달할 때는, 반드시 resolve된 값이 직렬화 가능해야 한다. 함수처럼 직렬화되지 않는 값을 넘기면, 리졸브되지 못해 에러가 발생한다.
서버 컴포넌트에서 async/await를 사용해 Promise가 resolve된 이후에 데이터를 넘기는 방법도 있지만, 이 경우 렌더링이 차단되어 use를 사용하지 않았을 때와 동일한 사용자 경험을 제공하게 된다.
그렇다면 reject된 경우에는 어떻게 에러를 처리해야 할까? 방법은 두 가지이다.
-
Error Boundary
공식 문서에 따르면 클래스 컴포넌트로 Error Boundary를 구현해야 하지만, react-error-boundary 라이브러리를 사용할 수도 있다. Next.js를 사용한다면 Error 컴포넌트로 처리할 수 있다.
-
Promise.catchPromise가 reject될 때 대체 값을 제공하려면
catch를 사용하면 된다.
    import { Message } from './message.js';

    export default function App() {
      const messagePromise = new Promise((resolve, reject) => {
        reject();
      }).catch(() => {
        return "no new message found.";
      });

      return (
        <Suspense fallback={<p>waiting for message...</p>}>
          <Message messagePromise={messagePromise} />
        </Suspense>
      );
    }
후기
use에 대해 정확히 알지 못했는데, 이번 기회에 실습해보며 또 하나의 유용한 개념을 배워 뿌듯했다.
실제로 졸업작품에 use를 적용해보니, 렌더링 속도가 크게 개선되고 UX도 한층 좋아진 것을 느낄 수 있었다.