
이번 주는 'Radix UI와 shadcn/ui 비교하기' 였지만 어쩌다 보니 shadcn/ui에 대해 깊게 조사하는 시간이 되었다.
shadcn은 최초 init 이후 컴포넌트를 add라는 명령어로 가져와서 사용할 수 있다. 여기에서 가져온다는 것의 의미는 package.json의 dependencies 혹은 devDependencies에 설치되는 것이 아닌, 말 그대로 컴포넌트 자체를 init 명령어 실행 시 설정했던 폴더 경로에 가져오는 것이었다.
이에 대해 궁금증이 생겼고 cli 부분에 대해 조사를 해보았다.
index.ts
#!/usr/bin/env node
import { add } from "@/src/commands/add"
import { diff } from "@/src/commands/diff"
import { init } from "@/src/commands/init"
import { Command } from "commander"

import { getPackageInfo } from "./utils/get-package-info"

process.on("SIGINT", () => process.exit(0))
process.on("SIGTERM", () => process.exit(0))

async function main() {
  const packageInfo = await getPackageInfo()

  const program = new Command()
    .name("shadcn-ui")
    .description("add components and dependencies to your project")
    .version(
      packageInfo.version || "1.0.0",
      "-v, --version",
      "display the version number"
    )

  program.addCommand(init).addCommand(add).addCommand(diff)

  program.parse()
}

main()
index.ts 부분은 shadcn-ui에 대한 정보가 있고 init, add, diff 커맨드를 추가하고 파싱하여 앞에서 언급한 3개의 커맨드를 사용할 수 있게 해준다.
commands/init.ts
export const init = new Command()
  .name("init")
  .description("initialize your project and install dependencies")
  .option("-y, --yes", "skip confirmation prompt.", false)
  .option("-d, --defaults,", "use default configuration.", false)
  .option(
    "-c, --cwd <cwd>",
    "the working directory. defaults to the current directory.",
    process.cwd()
  )
  .action(async (opts) => {
    try {
      // 1️⃣
      const options = initOptionsSchema.parse(opts)
      const cwd = path.resolve(options.cwd)

      // 2️⃣
      // Ensure target directory exists.
      if (!existsSync(cwd)) {
        logger.error(`The path ${cwd} does not exist. Please try again.`)
        process.exit(1)
      }

      preFlight(cwd)

      // 3️⃣
      const projectConfig = await getProjectConfig(cwd)
      if (projectConfig) {
        // 3️⃣-1️⃣
        const config = await promptForMinimalConfig(
          cwd,
          projectConfig,
          opts.defaults
        )
        await runInit(cwd, config)
      } else {
        // 3️⃣-2️⃣
        // Read config.
        const existingConfig = await getConfig(cwd)
        const config = await promptForConfig(cwd, existingConfig, options.yes)
        await runInit(cwd, config)
      }

      logger.info("")
      logger.info(
        `${chalk.green(
          "Success!"
        )} Project initialization completed. You may now add components.`
      )
      logger.info("")
    } catch (error) {
      handleError(error)
    }
  })
코드가 긴 만큼 차근차근 알아보겠다.
-
option은 command로 입력받은 옵션들이다.cwd에는option에서 입력받은cwd값에 접근하는데, 아무것도 입력하지 않았을 때 default 값은 현재 디렉토리 경로이다. -
cwd의 유효성 검사를 하고,preFlight를 통해 현재 디렉토리에 tailwindcss가 설치되어 있는지 확인한다. 만약 tailwindcss가 설치되어 있지 않다면 Error를 반환하고init을 중단한다.

-
getProjectConfig를 실행하여 Next 프로젝트인지, tailwindcss를 사용 중인지, 절대 경로를 사용 중인지를 확인한다.
- 만약 앞선 3가지 조건을 모두 만족한다면 최소한의 설정만 물어본다.
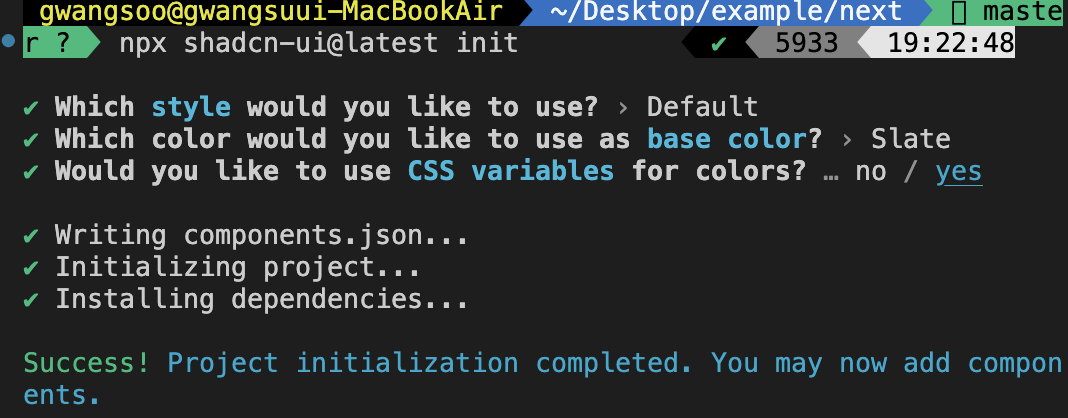
- 만약 앞선 3가지 조건 중 한 가지라도 만족하지 못한다면 모든 설정에 대해 물어본다.
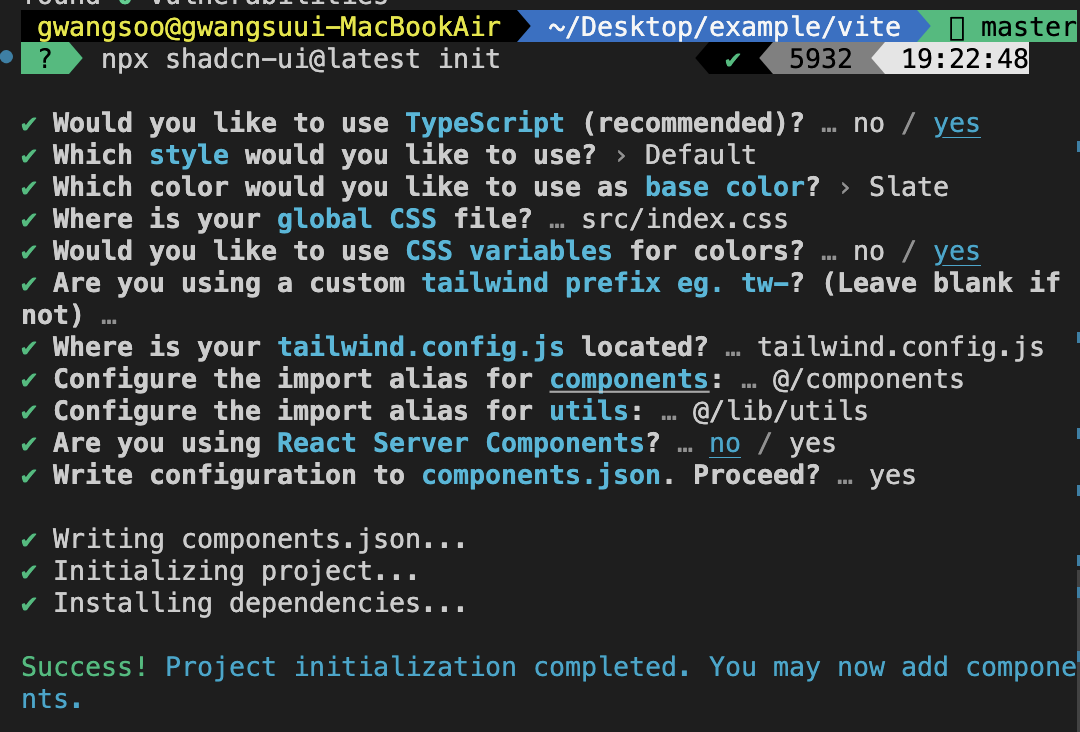
두 경우 모두 설정을 완료했다면component.json파일이 생성되고 그 안에 입력받은 설정값들이 들어간다.
commands/add.ts
add의 경우 코드의 길이가 너무 길어서 중요한 것만 가져와서 설명해 보겠다.
export const add = new Command()
  .name("add")
  .description("add a component to your project")
  .argument("[components...]", "the components to add")
  ...
  .action(async (components, opts) => {
    try {
      const options = addOptionsSchema.parse({
        components,
        ...opts,
      })
...option에서 가져오고자 하는 components를 지정할 수 있다. 만약 가져올 수 있는 전체 리스트를 보고 싶다면 components를 명시하지 않으면 된다.
// 1️⃣
const registryIndex = await getRegistryIndex()

// 2️⃣
let selectedComponents = options.all
  ? registryIndex.map((entry) => entry.name)
  : options.components

// 3️⃣
if (!options.components?.length && !options.all) {
  const { components } = await prompts({
  type: "multiselect",
  name: "components",
  message: "Which components would you like to add?",
  hint: "Space to select. A to toggle all. Enter to submit.",
  instructions: false,
  choices: registryIndex.map((entry) => ({
    title: entry.name,
    value: entry.name,
    selected: options.all
      ? true
      : options.components?.includes(entry.name),
    })),
  })
  selectedComponents = components
}getRegistryIndex를 통해 index.json에 있는 컴포넌트들의 정보에 대해 모두 가져온다.selectedComponents는option에all을 선택했다면 전체 컴포넌트를 가져온 값이고, 아니라면option으로 선택한 components만 가져온 값이다.- 만약
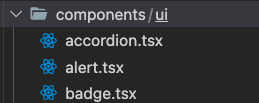
npx shadcn-ui@latest add만 했다면 프롬프트에 가져올 수 있는 모든 컴포넌트에 대한 정보들이 나온다. 그리고 조작을 통해 선택한 컴포넌트들이selectedComponents로 재할당이 된다.
// 1️⃣
const tree = await resolveTree(registryIndex, selectedComponents)
// 2️⃣
const payload = await fetchTree(config.style, tree)
// 3️⃣
const baseColor = await getRegistryBaseColor(config.tailwind.baseColor)- 선택한 컴포넌트 정보에 대한 정보를
tree라는 변수에 할당한다. (selectedComponents에는 선택한 컴포넌트들의 이름만 있다) tree와init시 설정했던 스타일을 기반으로 각 컴포넌트에 대해 json 파일을 받아온다. (accordion.json 파일을 예시로 들었다)init시 설정했던 색상을 기반으로 색상에 대한 json 파일을 가져온다. (slate.json 파일을 예시로 들었다)
// 1️⃣
const targetDir = await getItemTargetPath(
  config,
  item,
  options.path ? path.resolve(cwd, options.path) : undefined
)
// 2️⃣
if (!targetDir) {
  continue
}
// 3️⃣
if (!existsSync(targetDir)) {
  await fs.mkdir(targetDir, { recursive: true })
}payload에 대해map을 돌리는데, 각 item에 대한 정보를 넘겨주어서 디렉토리의 경로를 가져온다.- 만약 유효하지 않은 디렉토리 경로라면
continue로 다음 item으로 넘어간다. - 만약 존재하지 않는 디렉토리 경로라면 해당 경로에 폴더를 만들어준다.
for (const file of item.files) {
  let filePath = path.resolve(targetDir, file.name)

  // Run transformers.
  const content = await transform({
    filename: file.name,
    raw: file.content,
    config,
    baseColor,
  })

  if (!config.tsx) {
    filePath = filePath.replace(/\.tsx$/, ".jsx")
    filePath = filePath.replace(/\.ts$/, ".js")
  }

  await fs.writeFile(filePath, content)
}
위 코드는 앞에서 사용하던 item에 있는 files에 대해 targetDir 경로 내부로 변환된 fileName.tsx 파일 혹은 fileName.jsx 파일을 넣는 작업을 수행한다.
const packageManager = await getPackageManager(cwd)

// Install dependencies.
if (item.dependencies?.length) {
  await execa(
  	packageManager,
    [
      packageManager === "npm" ? "install" : "add",
      ...item.dependencies,
    ],
    {
      cwd,
    }
  )
}

// Install devDependencies.
if (item.devDependencies?.length) {
  await execa(
    packageManager,
    [
      packageManager === "npm" ? "install" : "add",
      "-D",
      ...item.devDependencies,
    ],
    {
      cwd,
    }
  )
}
마지막으로 item에 있는 dependencies와 devDependencies를 package.json 추가하는 작업을 거치면 성공적으로 컴포넌트를 가져오게 된다.

이번 주 회고
shadcn의 cli 방식에 대한 내용을 아주 간략하게 써보았다. 라이브러리를 까보면서 파일 시스템, commader.js 등등 몰랐던 개념이 많아서 힘들었다. 하지만 그만큼 얻어 가는 것도 많았다. 내부 구조는 생각보다 훨씬 복잡하고 신기하니 관심이 있다면 까보는 것을 추천한다!
다음 주까지 할 일
- shadcn cli 방식 따라해보기