
Spring으로 CRUD 구현해보기 DAY2
Controller로 요청이 들어오면 이 비즈니스 로직을 처리하는 부분이 있는데 이를 Service라고 한다.
이 Service는 일정한 Repository라고 불리는 DB랑 붙어있는 영역이다.
즉 Controller는 Service한테 요청하게 되고 Service는 DB Repository를 통해서 특정한 DATA를 처리하는 일을 한다. 그러고 나서 Response가 내려가게 된다.
우선 entity먼저 작성해준다.
@Data
@NoArgsConstructor
@AllArgsConstructor
@Builder
public class UserEntity extends Entity {

    private String name;
    private long id;

}
생성만 하면 @PostMapping을 넣는데 나는 업데이트 또는 생성을 할 것이기 때문에 @PutMapping을 사용한다.
@RequiredArgsConstructor은 생성자 메소드로 채워달라는 annotation이다.
@RestController
@RequestMapping("/api/user")
@RequiredArgsConstructor
public class UserApiController {
    private final UserService userService;

    @PutMapping("")
    public UserEntity create(
            @RequestBody UserEntity userEntity
    ){
        return UserService.save(userEntity);
    }
}
Service는 @Service annotation을 쓰는데 이는 그냥 서비스 로직이 들어가는 bin의 영역이라고 이라는 것을 말하는 것이다. 여기서 @Autowired는 Spring이 가지고 있는 bin context라는 곳에 있는 여러가지 객체들 중에서 userRepository라는 것을 여기다가 주입해준다. 라는 의미다.
@Service
public class UserService {

    private final UserRepository userRepository;

    @Autowired
    public UserService(UserRepository userRepository) {
        this.userRepository = userRepository;
    }

    public UserEntity save(UserEntity user) {
        return userRepository.save(user);
    }
이번에는 config패키지를 파서 DataBaseConfig를 만들어준다.
@Configuration은 Spring한테 여기는 설정이야 라고 하는 annotation이다.
Spring 앱이 실행될 때 이 Configuration을 찾아서 특정한 내용들을 Spring Context라는 영역에 new 생성자를 통해 객체를 만들어 줄 것이다.
우리가 사용하고자 하는 서비스 또는 컨트롤러 또는 각각의 bin으로 만들어진 영역들 사이에서 여기에 대한 내용이 필요하다면 Spring이 알아서 주입해준다.
@Configuration

public class DataBaseConfig {
    @Bean
    public UserRepository userRepository(){
        return new UserRepository();
    }
}
UserRepository도 만들어준다.
public class UserRepository extends SimpleDataRepository<UserEntity, Long> {

}
UserService는 repository와 붙어있기 때문에 해당 내용을 모두 리턴할 수 있다.
simpledatarepository에있는 findall을 호출하는 method를 작성한다.
    public List<UserEntity> findAll(){
        return userRepository.findAll();
    }
}
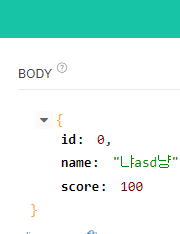
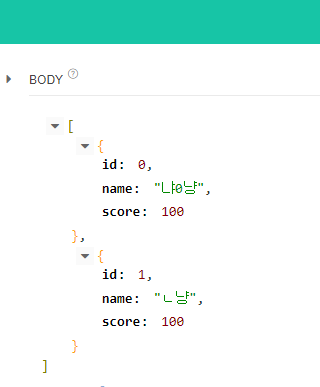
api tester에서 아래 json을 넣고 PUT으로 넣으면
{
    "name": "냐asd냥",
    "score": 100
}
{
"name": "냐냥",
"score": 123
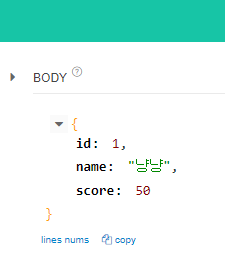
}다른 이름으로 SEND해보면 id 숫자가 올라가는 것을 볼 수 있다.
와중에 @Data annotation에 경고가 들어와있다.
이건 @EqualsAndHashCode(callSuper = true)를 달면 경고가 없어진다.
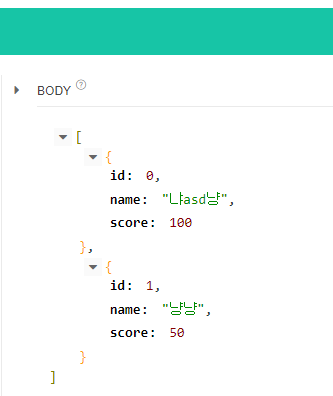
GET으로 http://localhost:8080/api/user/all를 보면 모든 유저 정보가 보인다.
Update가 잘 되지 않는다. 코드를 다시 확인해보자
SimpleDataRepository에서 dataList.remove(deleteEntity)에서 .get()을 넣어야 Update가 된다.. 수정하자
import com.example.demo.entity.Entity;
import java.util.*;
import java.util.stream.Collectors;
abstract public class SimpleDataRepository<T extends Entity, ID extends Long> implements DataRepository<T, ID>{
private List<T> dataList = new ArrayList<T>();
private static long index = 0;
private Comparator<T> sort = new Comparator<T>() {
@Override
public int compare(T o1, T o2) {
return Long.compare(o1.getId(), o2.getId());
}
};
@Override
public T save(T data){
if(Objects.isNull(data)){
throw new RuntimeException("Data is null");
}
var prevData = dataList.stream()
.filter(it->{
return it.getId().equals(data.getId());
})
.findFirst();
if(prevData.isPresent()){
dataList.remove(prevData.get());//이래야 정상적으로 삭제
dataList.add(data);
}else{
data.setId(index);
dataList.add(data);
index++;
}
return data;
}
@Override
public Optional<T> findById(ID id){
return dataList.stream()
.filter(it->{
return (it.getId().equals(id));
})
.findFirst();
}
@Override
public List<T> findAll(){
return dataList
.stream()
.sorted(sort)
.collect(Collectors.toList());
}
@Override
public void delete(ID id){
var deleteEntity = dataList.stream()
.filter(it->{
return (it.getId().equals(id));
})
.findFirst();
if (deleteEntity.isPresent()){
dataList.remove(deleteEntity.get());
}
}
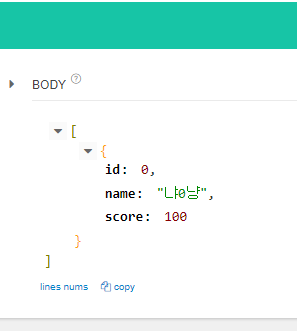
}{
"id": 0,
"name": "냐냥",
"score":100
}을 넣으면
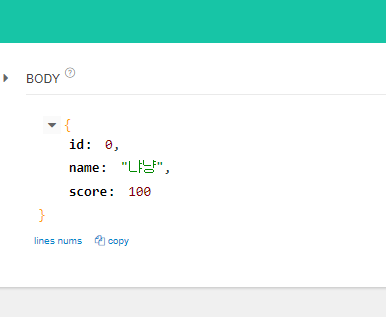
전체를 출력해도 Update가 잘 된 모습이다.

Delete를 구현해보자
Service에
    public void delete (Long id){
        userRepository.delete(id);
    }
    public Optional<UserEntity> findById(Long id){
        return userRepository.findById(id);
    }
Controller에
	@DeleteMapping("/id/{id}")
    public void delete(
            @PathVariable Long id
    ){
        userService.delete(id);
    }

    @DeleteMapping("/id/{id}")
    public UserEntity findOne(
            @PathVariable Long id
    ){
        var response = userService.findById(id);
        return response.get();
    }
다시 user를 임의로 2명 생성하고
DELETE 로 http://localhost:8080/api/user/id/1 를 하게 되면 No Content가 뜨면서
GET로 http://localhost:8080/api/user/all 하게 되면 DELETE되고 하나만 남는 것을 확인할 수 있다.
특정 점수의 유저 정보를 출력하는 코드를 작성해보자
UserRepository에 코드 추가한다.
@Service
public class UserRepository extends SimpleDataRepository<UserEntity, Long> {
    public List<UserEntity> findAllScoreGreaterThen(int score){
        return this.findAll()
                .stream()
                .filter(
                        it -> {
                            return it.getScore() >= score; //조건
                        }
                ).collect(Collectors.toList()); //전체 불러옴
    }
}
컨트롤러에 아래 코드를 추가한다.
    @GetMapping("/score")
    public List<UserEntity> filterScore(
        @RequestParam int score
    ){
        return userService.filterScore(score);
    }
Service에 코드 추가한다.
    public List<UserEntity> filterScore(int score){
        return userRepository.findAllScoreGreaterThen(score);
    }
임의 유저를 등록하고

http://localhost:8080/api/user/score?score=70 을 GET으로 보내게 되면
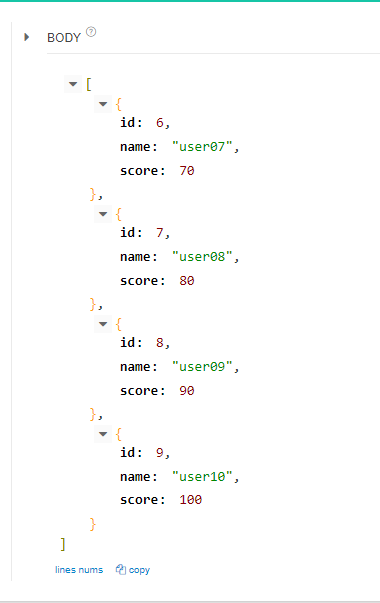
70점 이상인 USER 리스트만 뜬다.
