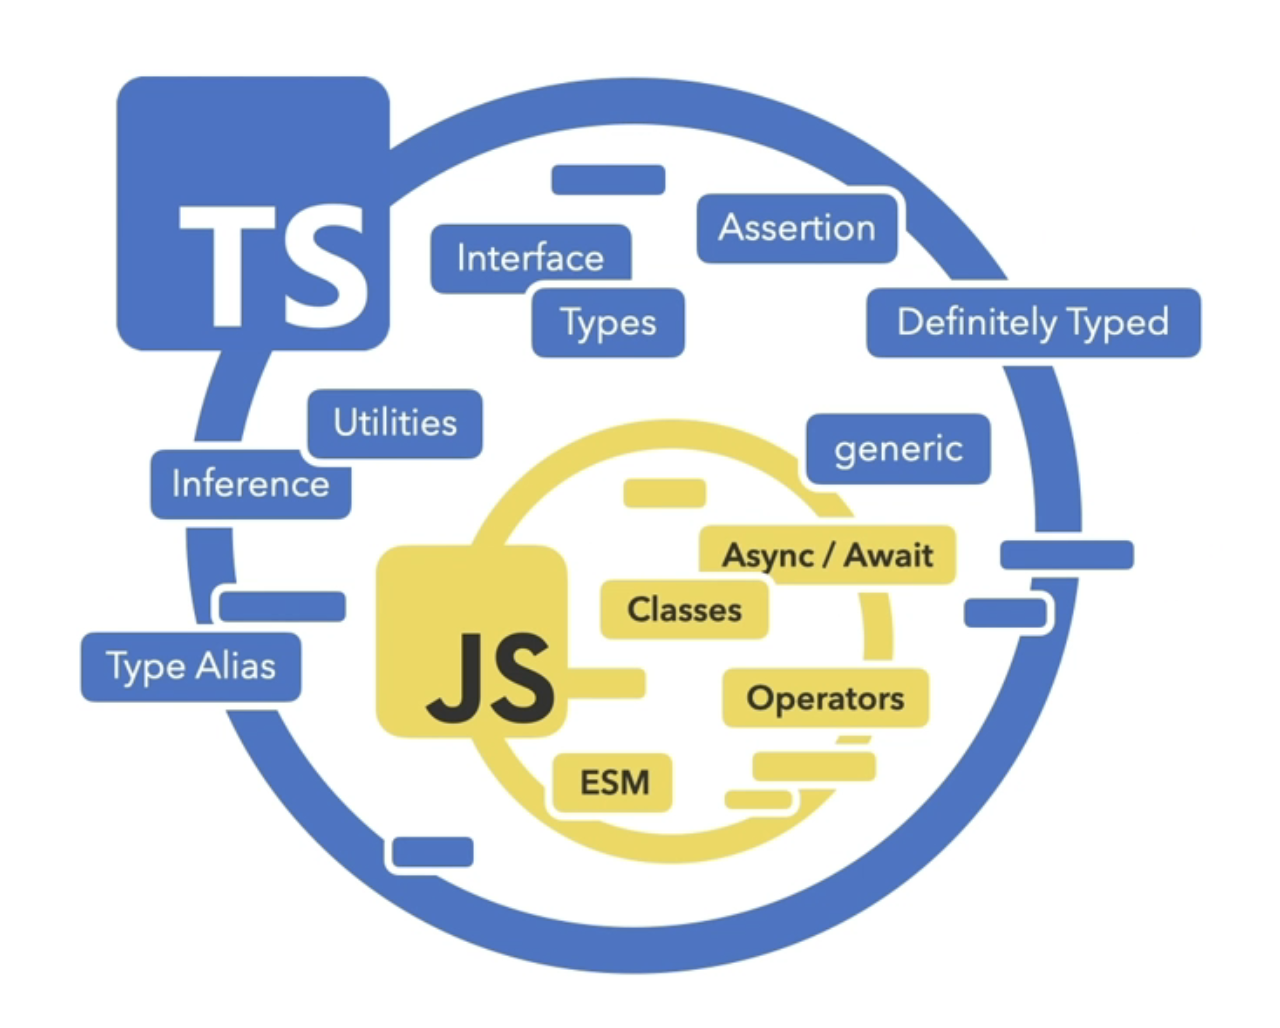
TypeScript란 ?
2012년 마이크로소프트에서 발표!
자바스크립트 기반의 정적 타입 문법을 추가한 프로그래밍 언어
정적 타입의 컴파일 언어
- 자바스크립트(동적 타입) - 런타임에서 동작할 때 타입 오류 확인!
- 타입스크립트(정적 타입) - 코드 작성 단계에서 타입 오류 확인!
- 자바스크립트로 변환(컴파일) 후 브라우저나 Node.js 환경에서 동작!
자바스크립트 완벽 호환
- 타입스크립트는 자바스크립트의 슈퍼셋으로 완벽하게 호환!
대부분의 라이브러리, 프레임워크가 타입스크립트를 지원!
타입 종류
문자
let str: string;
let red: string = "Red";
let green: string = 'Green';
let myColor: string = `My color is ${red}.`;
let yourColor: string = 'Your color is' + green;
숫자
let num: number;
let integer: number = 6;
let float: number = 3.14;
let infinity: number = Infinity;
let nan: number = NaN;
불린
let isBoolean: boolean;
let isDone: boolean = false;
Null / Undefined
// null이나 undefined를 타입으로 지정하는 것은 가능하나, 굉장히 유용하지 않으므로 잘 사용하지도 않습니다.
let nul: null;
let und: undefined;
nul = null;
console.log(nul);
console.log(und);
배열
const fruits: string[] = ['Apple', 'Banana', 'Cherry'];
const numbers: number[] = [1, 2, 3, 4, 5, 6, 7];
const union: (string | number)[] = ['Apple', 1, 2, 'Banana', 3];
객체
// 아래와 같이 object타입은 엄격하지 않습니다.
const obj: object = {};
const arr: object = [];
const func: object = function () {};

// 따라서 이와 같이 사용합니다.
const userA: {
  name: string;
  age: number;
  isValid: boolean;
} = {
  name: "HS",
  age: 20,
  isValid: true,
};

const userB: {
  name: string;
  age: number;
  isValid: boolean;
} = {
  name: "Neo",
  age: 22,
  isValid: false,
};
위와 같은 방법으로 userA와 userB의 타입을 설정하면 반복되는 코드에 대한 번거로움이 있습니다.
이는 아래와 같은 방법으로 해결할 수 있습니다.
interface User {
  name: string;
  age: number;
  isValid: boolean;
}

const userA: User = {
  name: "HS",
  age: 20,
  isValid: true,
};

const userB: User = {
  name: "Neo",
  age: 22,
  isValid: false,
};
함수
// 방법 1
const add: (x: number, y: number) => number = function (x, y) {
  return x + y;
};

// 방법 2
const add = (x: number, y: number): number => {
  return x + y;
};

const a: number = add(1, 2);

// 방법 1
const hello: () => void = function () {
  console.log("Hello world");
};

// 방법 2
const hello = (): void => {
  console.log("Hello world");
};

const h: void = hello();
Any
// 아무 type이나 할당 가능하므로 되도록 사용하지 않습니다.
let hello: any = "Hello world";
hello = 123;
hello = false;
hello = null;
hello = {};
hello = [];
hello = function () {};
Unknown
const a:any = 123
const u:unknown = 123

const any:any = a;
const boo: boolean = a;
const num: number = a;
const arr: string[] = a;
const obj: {x:string, y:number} = a;

// u는 알 수 없는 데이터 타입이므로 any를 제외한 나머지 변수에 할당할 때 에러가 발생합니다.
const any: any = u;
const boo: boolean = u; // error
const num: number = u; // error
const arr: string[] = u; // error
const obj: { x: string; y: number } = u; // error- 결론적으로 데이터의 타입을 정확히 알 수 없는 상황에서는
any타입보다는unknown을 사용하는 것이 좋습니다.
Tuple
// 순서와 갯수가 중요합니다.
const tuple: [string, number, boolean] = ["a", 1, false];
const users: [number, string, boolean][] = [
  [1, "Neo", true],
  [2, "Evan", false],
  [3, "Lewis", true],
];
void
function hello(msg: string): void {
  console.log(`Hello ${msg}`);
}

const hi: void = hello("world");
Never
const nev: [] = [];
nev.push(3);
Union
let union: string | number
union = 'Hello type!'
union = 123
union = false // error
Intersection
interface User {
  name: string;
  age: number;
}

interface Validation {
  isValid: boolean;
}

const hs: User & Validation = {
  name: "Neo",
  age: 20,
  isValid: true,
};
타입 추론(Inference)
- 추론 : 어떠한 판단을 근거로 삼아 다른 판단을 이끌어 냄.
- 초기화된 변수
- 기본값이 설정된 매개 변수
- 반환 값이 있는 함수
// typescipt는 num의 타입이 number인 것을 추론합니다.
let num = 12
num = 'Hello type!' // error
// 초기화된 변수 `num`
let num = 12
// 기본값이 지정된 매개 변수 `b` + 반환 값이 확실한 함수 `add`
function add(a: number, b = 2) {
return a + b;
}타입 단언(Assertion)
- 단언 : 주저하지않고 딱 잘라 말함.
- 단언 키워드 : as
- Non-null 단언 연산자 : !
잘못된 코드
// 1)
const el = document.querySelector('body');
el.textContent = 'Hello world!'; // error

// 2)
function getNumber(x:number | null | undefined) {
  return Number(x.toFixed(2)) // error
}
getNumber(3.1415926535)
getNumber(null)

// 3)
function getValue(x: string | number, isNumber: boolean) {
  if (isNumber) {
    return Number(x.toFixed(2)); // error
  }
  return x.toUpperCase(); // error
}

getValue("hello world", false); // HELLO WORLD
getValue(3.1415926535, true); // 3.14
수정된 코드 ver.1
// 1)
const el = document.querySelector("body") as HTMLBodyElement;
el.textContent = "Hello world!";

// 2)
function getNumber(x: number | null | undefined) {
  return Number((x as number).toFixed(2));
}
getNumber(3.1415926535);
getNumber(null); // 잘못된 단언

// 3)
function getValue(x: string | number, isNumber: boolean) {
  if (isNumber) {
    return Number((x as number).toFixed(2));
  }
  return (x as string).toUpperCase();
}

getValue("hello world", false); // HELLO WORLD
getValue(3.1415926535, true); // 3.14
수정된 코드 ver.2 Non-null 단언 연산자 - ! 사용
// 1)
const el = document.querySelector("body");
el!.textContent = "Hello world!";

// 2)
function getNumber(x: number | null | undefined) {
  return Number(x!.toFixed(2));
}
getNumber(3.1415926535);
getNumber(null); // 잘못된 단언

// 3)
function getValue(x: string | number, isNumber: boolean) {
  if (isNumber) {
    return Number((x as number).toFixed(2));
  }
  return (x as string).toUpperCase();
}

getValue("hello world", false); // HELLO WORLD
getValue(3.1415926535, true); // 3.14
1)번 예제에서 body가 아닌 특정 요소를 select하는 경우 type guard
const el = document.querySelector(".title");
if (el) {
  el.textContent = "Hello world!";
}
2)번 예제 잘못된 단언 수정 type guard
function getNumber(x: number | null | undefined) {
  if (x) {
    return Number(x!.toFixed(2));
  }
}
getNumber(3.1415926535);
getNumber(null);
할당 단언
let num!: number;
console.log(num);

num = 123;
타입 가드(Guards)
잘못된 단언
function logText(el: Element) {
  console.log(el.textContent);
}

const h1El = document.querySelector("h1") as HTMLHeadingElement;
logText(h1El);
type guard를 사용한 에러 해결
function logText(el: Element) {
  console.log(el.textContent);
}

const h1El = document.querySelector("h1");
if (h1El instanceof HTMLHeadingElement) {
  logText(h1El);
}
다른 예제
function add(val: string | number) {
  let res = "Result => ";
  if (typeof val === "number") {
    res += val.toFixed(2);
  } else {
    res += val.toUpperCase();
  }
  console.log(res);
}

add(3.141592);
add("hello world");
인터페이스(Interface)
- 선택적 속성 : ?
- 읽기전용 속성 : readonly
interface User {
  name: string;
  readonly age: number;
  isValid?: boolean;
}

const hs: User = {
  name: "hs",
  age: 20,
  isValid: true,
};

hs.age = 30; // error
hs.isValid = false;

const neo: User = {
  name: "Neo",
  age: 30,
};
함수 타입 : 호출 시그니처(Call Signature)
interface GetName {
  (message: string): string;
}

interface User {
  name: string;
  age: number;
  getName: GetName;
}

const hs: User = {
  name: "hs",
  age: 20,
  getName(message: string) {
    console.log(message);
    return this.name;
  },
};

hs.getName("Hello~");
GetName이라는 타입을 재사용할 것이 아니면 아래와 같이 작성해도 됩니다.
interface User {
  name: string;
  age: number;
  getName: (message: string) => string;
}

const hs: User = {
  name: "hs",
  age: 20,
  getName(message: string) {
    console.log(message);
    return this.name;
  },
};

hs.getName("Hello~");
인덱스 가능 타입 : 인덱스 시그니처(Index Sginature)
예제 1
interface Fruits {
  [item: number]: string;
}
const fruits: Fruits = ["Apple", "Banana", "Cherry"];
console.log(fruits);

interface User {
  [key: string]: unknown;
  name: string;
  age: number;
}

const hs: User = {
  name: "hs",
  age: 20,
};

hs["isValid"] = true;
hs["emails"] = ["abc@naver.com", "def@gamil.com"];
console.log(hs);
예제 2
interface Payload {
  [key: string]: unknown;
}

function logValues(payload: Payload) {
  for (const key in payload) {
    console.log(payload[key]);
  }
}

interface User {
  [key: string]: unknown;
  name: string;
  age: number;
  isValid: boolean;
}

const hs: User = {
  name: "hs",
  age: 36,
  isValid: true,
};

logValues(hs);
확장(상속)
예제 1
interface UserA {
  name: string;
  age: number;
}

interface UserB extends UserA {
  isValid: boolean;
}

const hs: UserA = {
  name: 'hs',
  age: 36,
  isValid: true // error
}

const neo: UserB = {
  name: 'neo',
  age: 30,
  isValid: true
}
예제 2
interface FullName {
  firstName: string;
  lastName: string;
}

interface FullName {
  middleName: string;
  lastName: string;
}

const fullName: FullName = {
  firstName: 'Tomas',
  middleName: 'Sean',
  lastName: 'Connery'
}
타입 별칭(Alias)
예제 1
type TypeA = string;
type TypeB = string | number | boolean;
type User =
  | {
      name: string;
      age: number;
      isValid: boolean;
    }
  | [string, number, boolean];

const userA: User = {
  name: "Neo",
  age: 20,
  isValid: true,
};

const userB: User = ["Evan", 36, false];

function someFunc(param: TypeB): TypeA {
  switch (typeof param) {
    case "string":
      return param.toUpperCase();
    case "number":
      return param.toFixed(2);
    default:
      return "Boolean";
  }
}
예제 2 객체 데이터의 type을 지정할 때 interface vs type ?
type TypeUser = {
  name: string;
  age: number;
  isValid: boolean;
};

interface InterfaceUser {
  name: string;
  age: number;
  isValid: boolean;
}

const hs: ?? = {
  name: "hs",
  age: 20,
  isValid: true,
};

// 어떤 방식을 사용해도 문제가 없지만 굳이 고르자면 객체 데이터의 type을 지정할 때는 interface를 사용하는 것이 권장됩니다.
// 상황이나 취향에 맞게 타입 별칭이나 인터페이스를 적절하게 사용하면 충분합니다.
함수 - 명시적 this
interface Cat {
  name: string;
  age: number;
}

const cat: Cat = {
  name: "Lucy",
  age: 3,
};

function hello(this: Cat, message: string) {
  console.log(`Hello ${this.name}, ${message}`);
}
hello.call(cat, "You ar pretty awesome!");
함수 - 오버로딩(Overloading)
// 1)
function add1(a: string, b: string) {
  return a + b;
}

function add2(a: number, b: number) {
  return a + b;
}

add1("hello ", "world~");
add2(1, 2);
add1("hello ", 2);
add2("hello ", 2);

// 2) 오버로딩 문법
function add(a: string, b: string): string; // 타입 선언
function add(a: number, b: number): number; // 타입 선언
// 함수 구현
function add(a: any, b: any) {
  return a + b;
}

add("hello ", "world~");
add(1, 2);
add("hello ", 2);
add(1, "world~");
클래스
접근 제어자(Access Modifiers)
- public : 어디서나 자유롭게 접근 가능, 클래스 바디에서 생략 가능
- protected : 나와 파생된 후손 클래스 내에서 접근 가능
- private : 내 클래스에서만 접근 가능
class UserA {
  public first: string = "";
  protected last: string = "";
  private age: number = 0;
  constructor(first: string, last: string, age: number) {
    this.first = first;
    this.last = last;
    this.age = age;
  }
  getAge() {
    return `${this.first} ${this.last} is ${this.age}`;
  }
}

class UserB extends UserA {
  getAge() {
    return `${this.first} ${this.last} is ${this.age}`;
  }
}

class UserC extends UserB {
  getAge() {
    return `${this.first} ${this.last} is ${this.age}`;
  }
}

const neo = new UserA("Neo", "Anderson", 102);
console.log(neo.first);
console.log(neo.last);
console.log(neo.age);
console.log(neo.getAge());
다른 방법
class UserA {
  constructor(
    public first: string = "",
    public last: string = "",
    public age: number = 0
  ) {
    // ...
  }
  // 접근 제어자는 메소드에도 사용할 수 있습니다.
  getAge() {
    return `${this.first} ${this.last} is ${this.age}`;
  }
}

class UserB extends UserA {
  getAge() {
    return `${this.first} ${this.last} is ${this.age}`;
  }
}

class UserC extends UserB {
  getAge() {
    return `${this.first} ${this.last} is ${this.age}`;
  }
}

const neo = new UserA("Neo", "Anderson", 102);
console.log(neo.first);
console.log(neo.last);
console.log(neo.age);
console.log(neo.getAge());
제네릭
함수
수정 전 코드
interface Obj {
  x: number;
}
type Arr = [number, number];

function toArray(a: string, b: string): string[];
function toArray(a: number, b: number): number[];
function toArray(a: boolean, b: boolean): boolean[];
function toArray(a: Obj, b: Obj): Obj[];
function toArray(a: Arr, b: Arr): Arr[];
function toArray(a: any, b: any) {
  return [a, b];
}

console.log(
  toArray("Neo", "Anderson"),
  toArray(1, 2),
  toArray(true, false),
  toArray({ x: 1 }, { x: 2 }),
  toArray([1, 2], [3, 4])
);
수정 후 코드 제네릭 사용
interface Obj {
  x: number;
}
type Arr = [number, number];

function toArray<T>(a: T, b: T) {
  return [a, b];
}

console.log(
  // 타입추론을 사용하지 않고 아래의 코드처럼 명시적으로 타입을 지정할 수도 있습니다.
  // 하지만 되도록이면 타입추론을 최대한 활용하는 것이 좋습니다.
  toArray("Neo", "Anderson"),
  toArray(1, 2),
  toArray(true, false),
  toArray<Obj>({ x: 1 }, { x:2 }),
  toArray<Arr>([1, 2], [3, 4])
);
클래스
class User<P> {
  constructor(public payload: P) {}
  getPayload() {
    return this.payload;
  }
}

interface UserAType {
  name: string;
  age: number;
  isValid: boolean;
}

interface UserBType {
  name: string;
  age: number;
  emails: string[];
}

const hs = new User<UserAType>({
  name: "HS",
  age: 20,
  isValid: true,
  emails: [], // error
});

const neo = new User<UserBType>({
  name: "Neo",
  age: 30,
  emails: ["neo@gmail.com"],
});
인터페이스, 제약 조건(Constraints)
interface에서의 사용
interface MyData<T> {
  name: string;
  value: T;
}

const dataA: MyData<string> = {
  name: "Data A",
  value: "Hello World",
};
const dataB: MyData<number> = {
  name: "Data B",
  value: 1234,
};
const dataC: MyData<boolean> = {
  name: "Data C",
  value: true,
};
const dataD: MyData<number[]> = {
  name: "Data D",
  value: [1, 2, 3, 4],
};
제약 조건 사용
interface MyData<T extends string | number> {
  name: string;
  value: T;
}

const dataA: MyData<string> = {
  name: "Data A",
  value: "Hello World",
};
const dataB: MyData<number> = {
  name: "Data B",
  value: 1234,
};
const dataC: MyData<boolean> = { // error
  name: "Data C",
  value: true,
};
const dataD: MyData<number[]> = { // error
  name: "Data D",
  value: [1, 2, 3, 4],
};
패키지의 타입 선언
main.ts
// d.ts파일의 이름을 lodash가 아닌 다른 이름으로 한 경우 다음과 같은 코드로 해결할 수 있습니다.
// 삼중 슬래시 지시자(Triple-slash directive) / 참조 태그(Reference tag)
/// <reference path="./main.d.ts" />

import _ from "lodash";

const str = "the brown fox jumped over the lazy dog";

console.log(_.camelCase(str));
console.log(_.snakeCase(str));
console.log(_.kebabCase(str));
lodash.d.ts
declare module "lodash" {
  interface Lodash {
    camelCase: (str: string) => string;
    snakeCase: (str: string) => string;
    kebabCase: (str: string) => string;
  }
  const _: Lodash;
  export default _;
}- d.ts파일을 직접만들지 않는 방법
npm info @types/lodash 로 타입스크립트에서 사용가능한 패키지가 있는지 확인하고,
npm i @types/lodash -D로 해당 패키지를 설치해서 사용합니다.
타입 가져오기와 내보내기
main.ts
import { getFullName, User } from "./user";

const hs: User = {
  firstName: "John",
  lastName: "Smith",
  age: 20,
  isValid: true,
};
const fullName = getFullName(hs);

console.log(fullName); // John Smith
console.log(hs.isValid); // true
user.ts
export interface User {
  firstName: string;
  lastName: string;
  age: number;
  isValid: boolean;
}

export function getFullName(user: User) {
  return `${user.firstName} ${user.lastName}`;
}
👈🏻 매일 꾸준히 성장하는 개발자 !