시작하며
이번에 오프너라는 프로젝트를 진행하며서 바텀시트를 처음 구현해보게 되었다. 기존에는 팝업 모달만을 주로 사용했으나, 이번 프로젝트에서는 모바일에서의 사용성을 고려하여 데스크탑 사이즈에서는 팝업 모달, 모바일 사이즈에서는 바텀시트로 보여지도록 구현을 하였다.
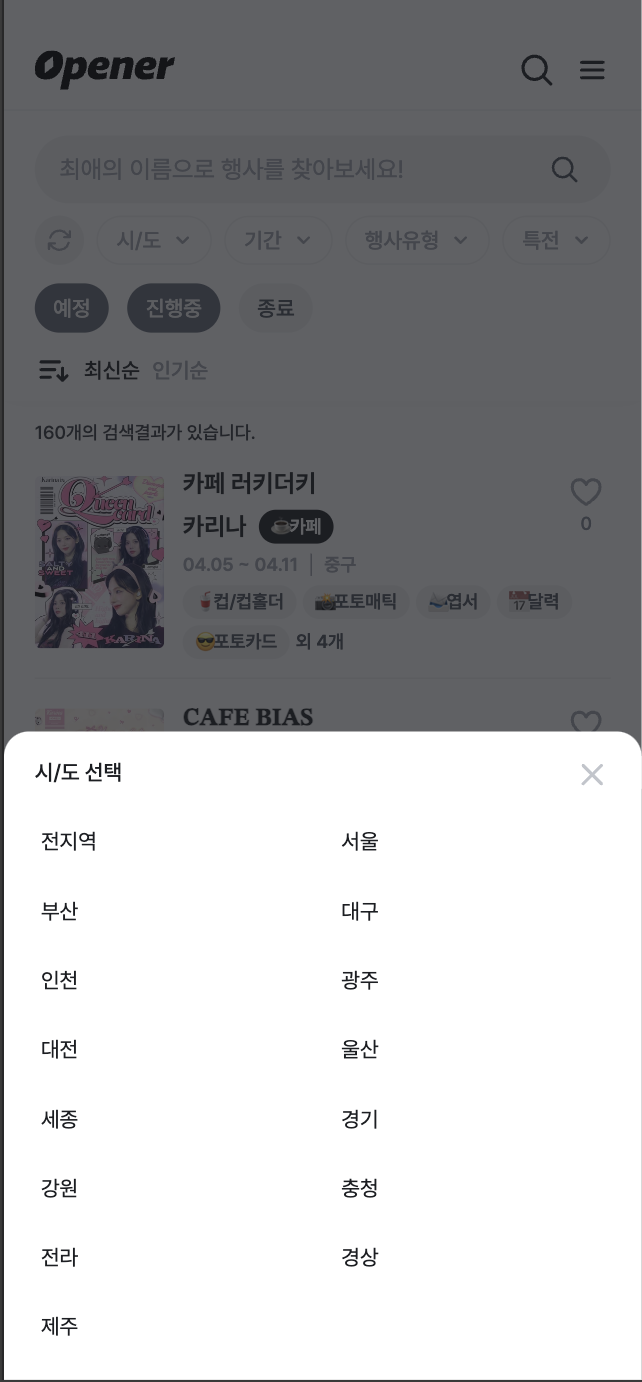
참고로 바텀시트는 아래와 같은 모달 UI를 일컫는다.
바텀시트 구현하기
바텀시트 열고 닫기
기본적으로 바텀시트는 모달의 일종이기에 모달처럼 뒤에 백드롭이 깔리고, 현재 화면 위로 나타나야 한다.
처음에는 Zustand를 활용하여 각 모달의 상태를 관리하는 방식으로 구현을 했었다. 그러나 이후에 퍼널을 구현하는 과정에서 FormContext와 충돌하는 문제가 발생하여 기본적인 useState 방식으로 구현하게 되었다.
import { useState } from "react";

export const useBottomSheet = () => {
  const [bottomSheet, setBottomSheet] = useState("");

  const openBottomSheet = (type: string) => {
    setBottomSheet(type);
  };

  const closeBottomSheet = () => {
    setBottomSheet("");
  };

  return { bottomSheet, openBottomSheet, closeBottomSheet };
};
컴파운드 패턴 적용
바텀시트 내부에서 사용되는 제목과 버튼은 모든 바텀시트에서 동일하기에 하나의 컴포넌트로 통일하고자 하였다. 이를 더욱 편리하게 사용할 수 있도록 컴파운드 패턴을 적용하여 실제 바텀시트에서 조립하는 형식으로 사용할 수 있도록 구현하였다.
// BottomSheetMaterial.tsx
const BottomSheetFrame = ({ children }: Props) => {
  return (
    <BottomSheetPortal>
      ...
    </BottomSheetPortal>
  );
};

const BottomSheetTitle = ({ children }: BottomSheetTitleProps) => {
  return (
    ...
  );
};

const BottomSheetButton = ({ onClick }: BottomSheetButtonProps) => {
  return (
    ...
  );
};

const BottomSheet = Object.assign(BottomSheetFrame, {
  Frame: BottomSheetFrame,
  Title: BottomSheetTitle,
  Button: BottomSheetButton,
});

export default BottomSheet;

// StarBottomSheet.tsx
const StarBottomSheet = ({ closeBottomSheet}: Props) => {
  return (
    <BottomSheet.Frame closeBottomSheet={closeBottomSheet}>
      <BottomSheet.Title>아티스트 선택</BottomSheet.Title>
      ...
      <BottomSheet.Button onClick={closeBottomSheet} />
    </BottomSheet.Frame>
  );
};
드래그 기능
측정값 저장
바텀시트를 구현하면서 가장 많은 자료를 찾아보고 많은 시간을 들인 기능이다.
바텀시트는 기본적으로 모바일에서의 사용성을 향상시키기 위해 사용하는 UI이기에 터치로 드래그하여 닫을 수 있도록 하는 것이 일반적이다. 이를 구현하기 위해 바텀시트에 터치 이벤트 리스너를 추가하여 움직일 수 있도록 하였다.
드래그 기능을 구현하기 위해서는 초기 바텀시트 Y값, 초기 터치 Y값, 그리고 바텀시트가 다시 올라길지 아니면 닫힐지를 결정하는 기준 Y값이 필요하다. 이러한 값의 변경에 따라 불필요한 렌더링을 방지하기 위해 useRef로 측정값들을 저장해두었다.
const metrics = useRef<BottomSheetMetrics>({
  touchStart: {
    sheetY: 0, // 초기 바텀시트 Y값
    touchY: 0, // 초기 터치 Y값
  },
  snap: 0, // 기준 Y값
});
터치 이벤트 리스너 구현
드래그는 크게 첫 터치, 이동, 마지막 터치로 나눌 수 있다.
먼저 첫 터치 때에는 측정값을을 가져와 저장한다. 각 바텀시트의 높이와 초기에 터치하는 Y값이 다르기에 매번 업데이트를 해줌으로써 모든 바텀시트와 호환되도록 하였다.
 const handleTouchStart = (e: TouchEvent) => {
   const { touchStart } = metrics.current;

   touchStart.sheetY = node.getBoundingClientRect().y;
   touchStart.touchY = e.touches[0].clientY;
   metrics.current.snap = touchStart.sheetY + node.getBoundingClientRect().height / 2;
 };
이후 사용자의 움직임에 따라 현재 터치의 Y값을 가져와 바텀시트의 tranlateY 값을 계산하여 적용해준다.
const handleTouchMove = (e: TouchEvent) => {
  const { touchStart, isContentAreaTouched } = metrics.current;
  const currentTouch = e.touches[0];

  e.preventDefault();
  const touchOffset = currentTouch.clientY - touchStart.touchY;
  node.style.setProperty("transform", `translateY(${touchOffset > 0 ? touchOffset : 0}px)`);

};
마지막으로 사용자가 손을 땠을 때 현재 바텀시트의 위치를 기존에 저장해 둔 기존 Y 값과 비교하여 바텀시트를 다시 올릴 지, 또는 닫을 지를 판단한다.
const handleTouchEnd = (e: TouchEvent) => {
  const { touchStart, snap } = metrics.current;
  const currentY = node.getBoundingClientRect().y;

  if (currentY > snap) {
    node.style.setProperty("transform", `translateY(${window.innerHeight - touchStart.sheetY}px)`);
    closeBottomSheet();
  }
  if (currentY < snap) {
    node.style.setProperty("transform", "translateY(0px)");
  }
};
콘텐츠 영역 분리
여기까지 구현을 해도 바텀시트의 드래그 기능은 정상적으로 작동한다. 그러나 위에서의 터리 이벤트는 시트 전체에 적용되어 있기에 바텀시트의 내부에 스크롤이 있다면 스크롤이 되지 않고 드래그가 되는 문제가 발생한다.
이를 해결하기 위해 sheet 영역과 content 영역을 분리하여 content 영역을 터치했을 때에는 드래그가 되지 않도록 하였다.
const metrics = useRef<BottomSheetMetrics>({
  touchStart: {
    sheetY: 0,
    touchY: 0,
  },
  snap: 0,
  isContentAreaTouched: false,
});

...

const handleTouchMove = (e: TouchEvent) => {
  const { touchStart, isContentAreaTouched } = metrics.current;
  const currentTouch = e.touches[0];

  if (!isContentAreaTouched) {
    e.preventDefault();
    const touchOffset = currentTouch.clientY - touchStart.touchY;
    node.style.setProperty("transform", `translateY(${touchOffset > 0 ? touchOffset : 0}px)`);
  }
};

const handleTouchEnd = (e: TouchEvent) => {
  const { touchStart, snap } = metrics.current;
  const currentY = node.getBoundingClientRect().y;

  if (currentY > snap) {
    node.style.setProperty("transform", `translateY(${window.innerHeight - touchStart.sheetY}px)`);
    closeBottomSheet();
  }
  if (currentY < snap) {
    node.style.setProperty("transform", "translateY(0px)");
  }

  metrics.current.isContentAreaTouched = false;
};
최종 코드
최종 코드는 다음과 같다.
이때 위에서 closeBottomSheet()를 실행할 때 바텀시트가 즉각적으로 닫히면서 부자연스럽게 보이는 문제가 있었다. 이를 해결하기 위해 타이머를 추가하여 바텀시트가 부드럽게 닫히도록 하였다.
const useBottomSheet = () => {
  const [bottomSheet, setBottomSheet] = useState("");

  const openBottomSheet = (type: string) => {
    if (timer.current) {
      clearTimeout(timer.current);
    }
    setBottomSheet(type);
  };

  const closeBottomSheet = () => {
    if (timer.current) {
      clearTimeout(timer.current);
    }
    setBottomSheet("");
  };

  const metrics = useRef<BottomSheetMetrics>({
    touchStart: {
      sheetY: 0,
      touchY: 0,
    },
    snap: 0,
    isContentAreaTouched: false,
  });
  const timer = useRef<NodeJS.Timeout>();

  const sheet = useCallback((node: HTMLElement | null) => {
    if (node !== null) {
      const handleTouchStart = (e: TouchEvent) => {
        const { touchStart } = metrics.current;

        touchStart.sheetY = node.getBoundingClientRect().y;
        touchStart.touchY = e.touches[0].clientY;
        metrics.current.snap = touchStart.sheetY + node.getBoundingClientRect().height / 2;
      };

      const handleTouchMove = (e: TouchEvent) => {
        const { touchStart, isContentAreaTouched } = metrics.current;
        const currentTouch = e.touches[0];

        if (!isContentAreaTouched) {
          e.preventDefault();
          const touchOffset = currentTouch.clientY - touchStart.touchY;
          node.style.setProperty("transform", `translateY(${touchOffset > 0 ? touchOffset : 0}px)`);
        }
      };

      const handleTouchEnd = (e: TouchEvent) => {
        const { touchStart, snap } = metrics.current;
        const currentY = node.getBoundingClientRect().y;

        if (currentY > snap) {
          node.style.setProperty("transform", `translateY(${window.innerHeight - touchStart.sheetY}px)`);
          timer.current = setTimeout(closeBottomSheet, 100);
        }
        if (currentY < snap) {
          node.style.setProperty("transform", "translateY(0px)");
        }

        metrics.current.isContentAreaTouched = false;
      };

      node.addEventListener("touchstart", handleTouchStart);
      node.addEventListener("touchmove", handleTouchMove);
      node.addEventListener("touchend", handleTouchEnd);
    }
  }, []);

  const content = useCallback((node: HTMLElement | null) => {
    if (node !== null) {
      const handleTouchStart = () => {
        metrics.current.isContentAreaTouched = true;
      };

      node.addEventListener("touchstart", handleTouchStart);
    }
  }, []);

  const refs = { sheet, content };

  useEffect(() => {
    if (!bottomSheet) return;
    document.body.style.overflow = "hidden";
    return () => {
      document.body.style.overflow = "unset";
    };
  }, [bottomSheet]);

  return { bottomSheet, openBottomSheet, closeBottomSheet, refs };
};
보완할 점
개인적으로 이번에 바텀시트를 구현하면서 항상 해보고 싶었던 드래그 기능을 구현할 수 있어서 굉장히 뿌듯했다.
아쉬운 점은 백드롭을 통해 바텀시트를 닫았을 때 부드럽게 닫히지 않는다는 점이다. 바텀시트를 닫는 함수가 바텀시트 ref 콜백함수 외부에 있기 때문에 시트의 위치를 직접적으로 조정하기 어려웠다. 추후에는 바텀시트를 여는 방식을 바꾸어서 동작을 조금 더 개선하고자 한다.

참고 자료
https://daysweet.tistory.com/585
https://blog.mathpresso.com/bottom-sheet-for-web-55ed6cc78c00
https://velog.io/@boris0716/%EB%A6%AC%EC%95%A1%ED%8A%B8%EC%97%90%EC%84%9C-Bottom-Sheet-%EB%A7%8C%EB%93%A4%EA%B8%B0-%EC%9E%91%EC%84%B1%EC%A4%91