[Boundary] 설치 및 구축 (Amazon Linux 2)
Boundary는 네트워크 보안을 혁신적으로 강화하는 Hashicorp의 솔루션입니다. Boundary를 사용하면 Target Host에 좀 더 안전하게 접근할 수 있습니다. 이번 글에서는 Boundary에 대한 설치 및 구성 방법을 알아보고 간단한 테스트를 해보겠습니다.
인프라 구성도
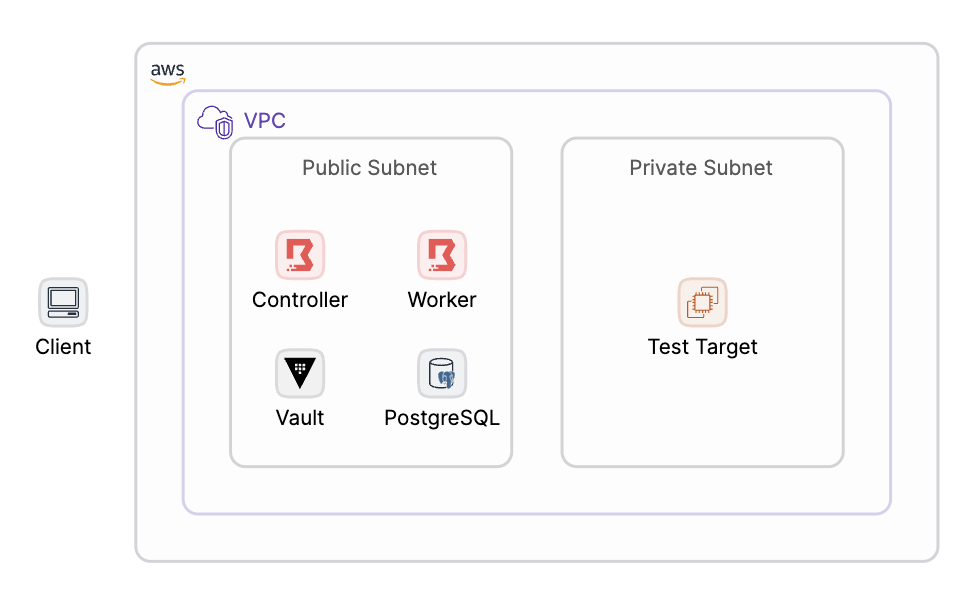
Boundary를 구축하기 위해 해당 가이드는 그림과 같이 구성하였습니다.
사전 준비 사항
1. Vault 설치 및 Transit 활성화
해당 가이드를 참고하여 Vault를 설치한 후, 해당 가이드를 참고하여 Transit을 활성화하여 Key를 생성합니다.
2. Postgresql 설치
해당 가이드를 참고하여 Postgresql을 설치합니다. Boundary의 Data를 저장하기 위한 Database도 생성해놓아야 합니다.
3. Boundary Client 설치
여기에서 local 환경에 맞는 파일을 찾아 설치합니다.
Boundary 바이너리 파일 설치
1. 설치파일 가져오기
wget https://releases.hashicorp.com/boundary/0.15.0/boundary_0.15.0_linux_amd64.ziphttps://releases.hashicorp.com/boundary 에 들어가시면 사용 가능한 버전을 확인하실 수 있습니다. 환경에 맞춰서 설치해주세요.
2. 압축 해제 후 바이너리 파일 이동
unzip boundary_0.15.0_linux_amd64.zip바이너리 파일의 압축을 해제합니다.
sudo mv [Boundary 바이너리 경로] /usr/local/bin/전역에서 Boundary를 사용하기 위해 바이너리 파일을 /usr/local/bin/로 이동합니다.
4. 설치 확인
boundary -vOutput :
Version information:
  Build Date:          2024-01-30T11:04:29Z
  Git Revision:        8370b8f0674a262a0c2f24f89e3178c329d34199
  Metadata:            ent
  Version Number:      0.15.0
Controller 구축
1. Controller 설정 파일 생성
controller.hcl
disable_mlock = true

listener "tcp" {
  address = "0.0.0.0:9200"
  purpose = "api"

  tls_disable = true
}

listener "tcp" {
  address = "0.0.0.0:9201"
  purpose = "cluster"

  tls_disable = true
}

listner "tcp" {
  address = "0.0.0.0:9203"
  purpose = "ops"

  tls_disable = true
}

controller {
  name = "[Controller 명]"
  description = "[Controller 설명]"
  public_cluster_addr = "[Boundary Controller 서버의 도메인 또는 IP]"
  database {
    url = "postgresql://[DB 사용자 ID]:[DB 사용자 패스워드]@[psql 서버 IP]:5432/[Boundary를 위해 생성한 database 명]"
  }
}

events {
  audit_enabled       = true
  sysevents_enabled   = true
  observations_enable = true
  sink "stderr" {
    name = "all-events"
    description = "All events sent to stderr"
    event_types = ["*"]
    format = "cloudevents-json"
  }
  sink {
    name = "file-sink"
    description = "All events sent to a file"
    event_types = ["*"]
    format = "cloudevents-json"
    file {
      path = "[Boundary의 log를 담을 경로]"
      file_name = "controller.log"
    }
    audit_config {
      audit_filter_overrides {
        sensitive = "redact"
        secret    = "redact"
      }
    }
  }
}

kms "transit" {
  purpose = "root"
  address = "http://[Vault 서버 도메인 또는 IP]:8200"
  token = "[Vault Root Token 또는 Transit을 사용하기 위한 권한을 가진 Token]"
  disable_renewal = "false"

  key_name = "[Transit Key 명]"
  mount_path = "[Transit Path 명]/"
}

kms "transit" {
  purpose = "recovery"
  address = "http://[Vault 서버 도메인 또는 IP]:8200"
  token = "[Vault Root Token 또는 Transit을 사용하기 위한 권한을 가진 Token]"
  disable_renewal = "false"

  key_name = "[Transit Key 명]"
  mount_path = "[Transit Path 명]/"
}
대괄호로 작성되어있는 칸을 사용자 환경에 알맞게 지정해주세요.
disable_mlock: 메모리 잠금을 설정합니다. 민감한 데이터를 메모리에서 스왑하지 않도록 하는 보안 기능입니다.listener: Boundary가 트래픽을 제공하기 위한 통신을 구성합니다.controller: Controller를 구성합니다.events: 발생하는 이벤트를 지정하여 Log 파일에 저장합니다.kms: 시스템을 좀 더 안전하고 보안성있게 사용하기 위해 지정합니다.
2. 서비스 파일 생성
Boundary를 실행하기 위한 서비스 파일을 생성합니다.
sudo vi /etc/systemd/system/boundary.service[Unit]
Description="HashiCorp Vault - A tool for managing secrets"
Documentation=https://www.vaultproject.io/docs/
Requires=network-online.target
After=network-online.target
ConditionFileNotEmpty=[controller.hcl 파일 경로]
StartLimitIntervalSec=60
StartLimitBurst=3
[Service]
User=[OS 유저 명]
Group=[OS 그룹 명]
ProtectSystem=full
PrivateTmp=yes
PrivateDevices=yes
SecureBits=keep-caps
AmbientCapabilities=CAP_IPC_LOCK
Capabilities=CAP_IPC_LOCK+ep
CapabilityBoundingSet=CAP_SYSLOG CAP_IPC_LOCK
NoNewPrivileges=yes
ExecStart=/usr/local/bin/boundary server -config=[controller.hcl 파일 경로]
ExecReload=/bin/kill --signal HUP $MAINPID
KillMode=process
KillSignal=SIGINT
Restart=on-failure
RestartSec=5
TimeoutStopSec=30
StartLimitInterval=60
StartLimitIntervalSec=60
StartLimitBurst=3
LimitNOFILE=65536
LimitMEMLOCK=infinity
[Install]
WantedBy=multi-user.target대괄호로 작성되어있는 칸을 사용자 환경에 알맞게 지정해주세요.
3. Database 초기화
boundary database init -config [controller.hcl 경로]controller.hcl 파일에 지정되어 있는 database에 Boundary를 사용하기 위한 초기화를 진행합니다.
output:
# ..............................생략..............................

Initial auth information:
  Auth Method ID:     ampw_b1k6xzkGRL
  Auth Method Name:   Generated global scope initial password auth method
  Login Name:         admin
  Password:           1rbFeCatB2Ts1g94aNxr
  Scope ID:           global
  User ID:            u_ljcpxRSt5a
  User Name:          admin

  # ..............................생략..............................
자동으로 생성되는 admin 유저에 대한 정보를 확인할 수 있습니다.
4. 서비스 파일 실행
sudo systemctl enable boundary.servicesudo systemctl start boundary.service서비스 파일을 이용하여 Boundary Controller를 실행합니다.
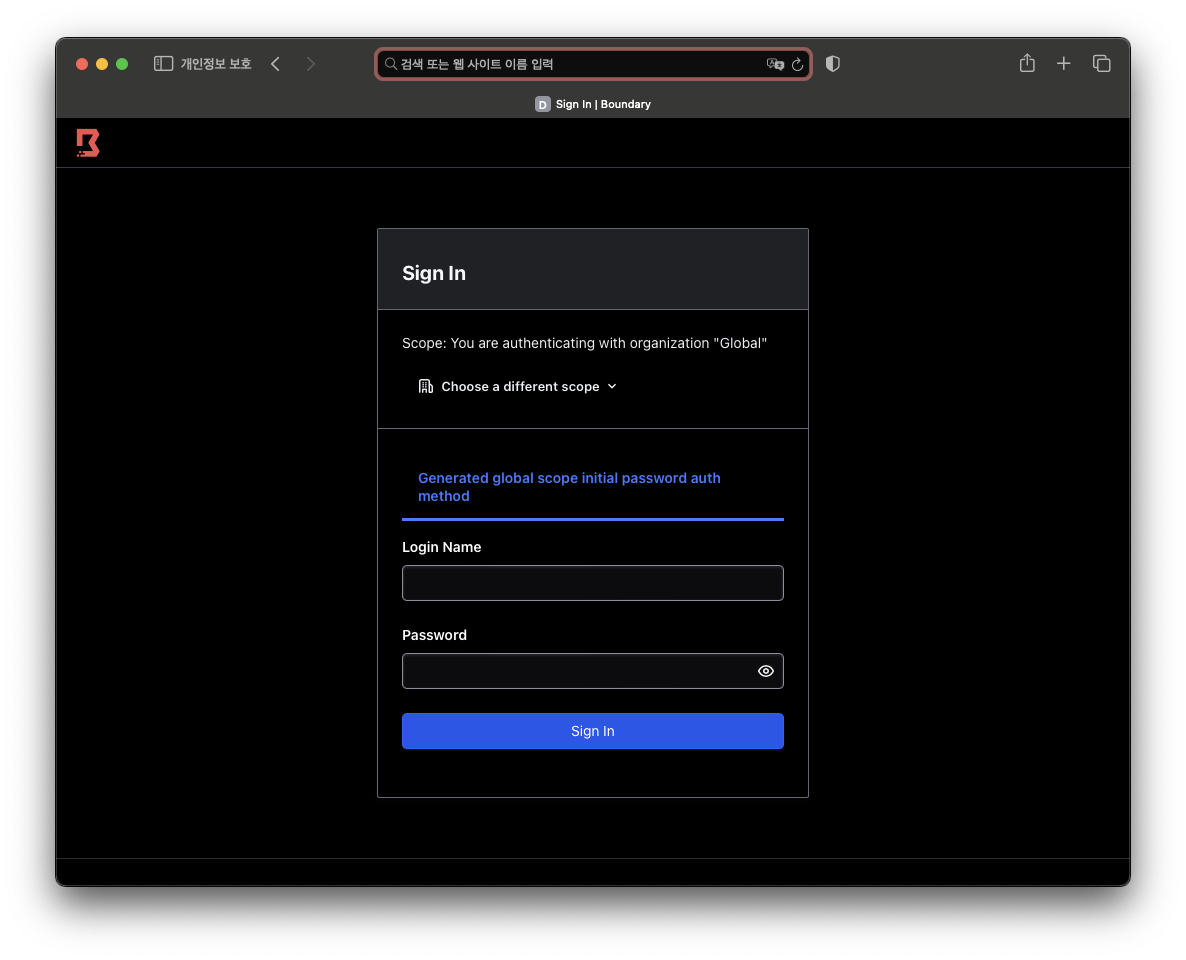
5. Controller 로그인
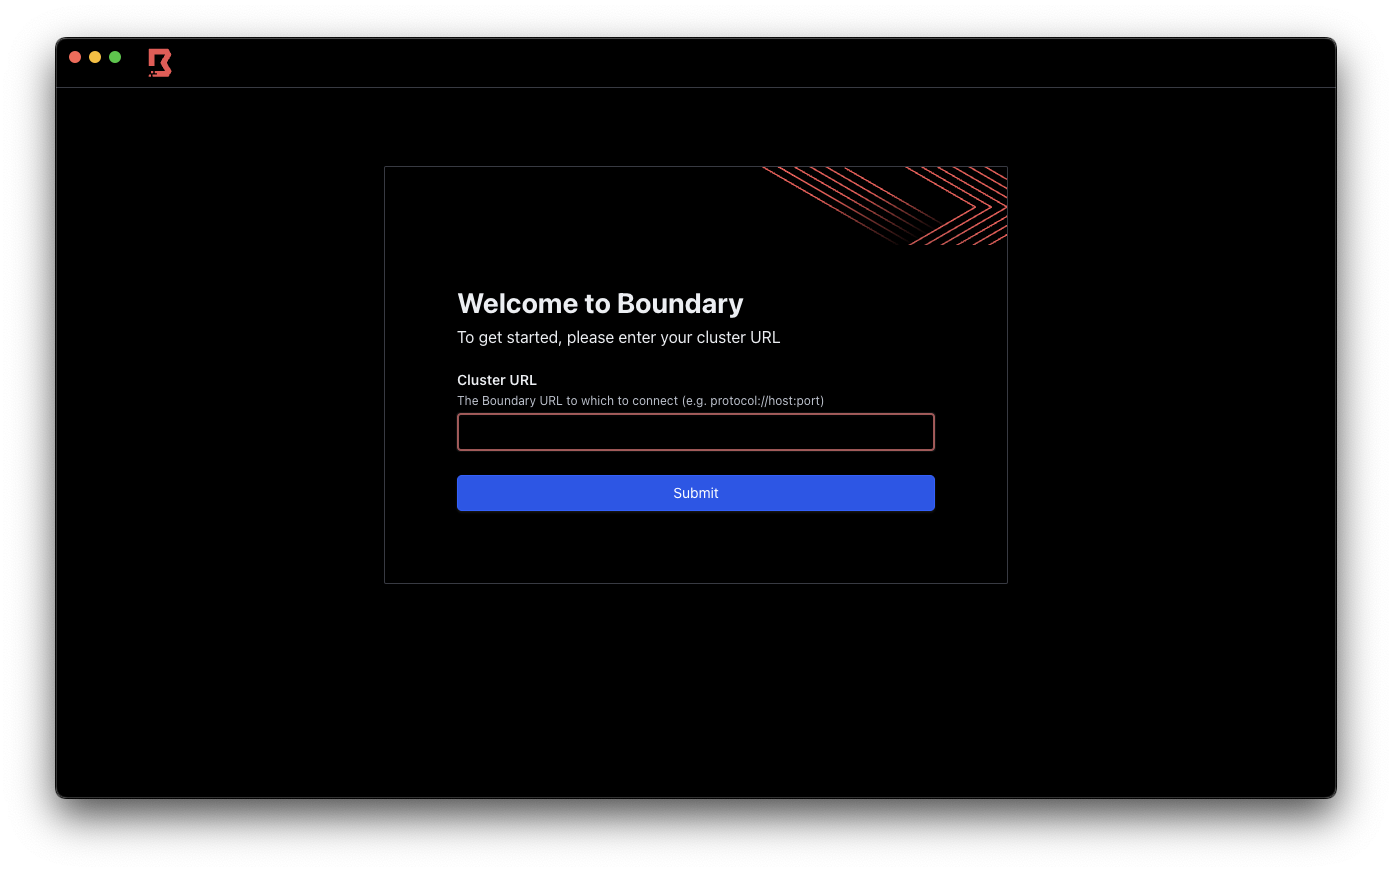
6. Client 로그인
Controller의 URL 입력
admin 유저로 로그인
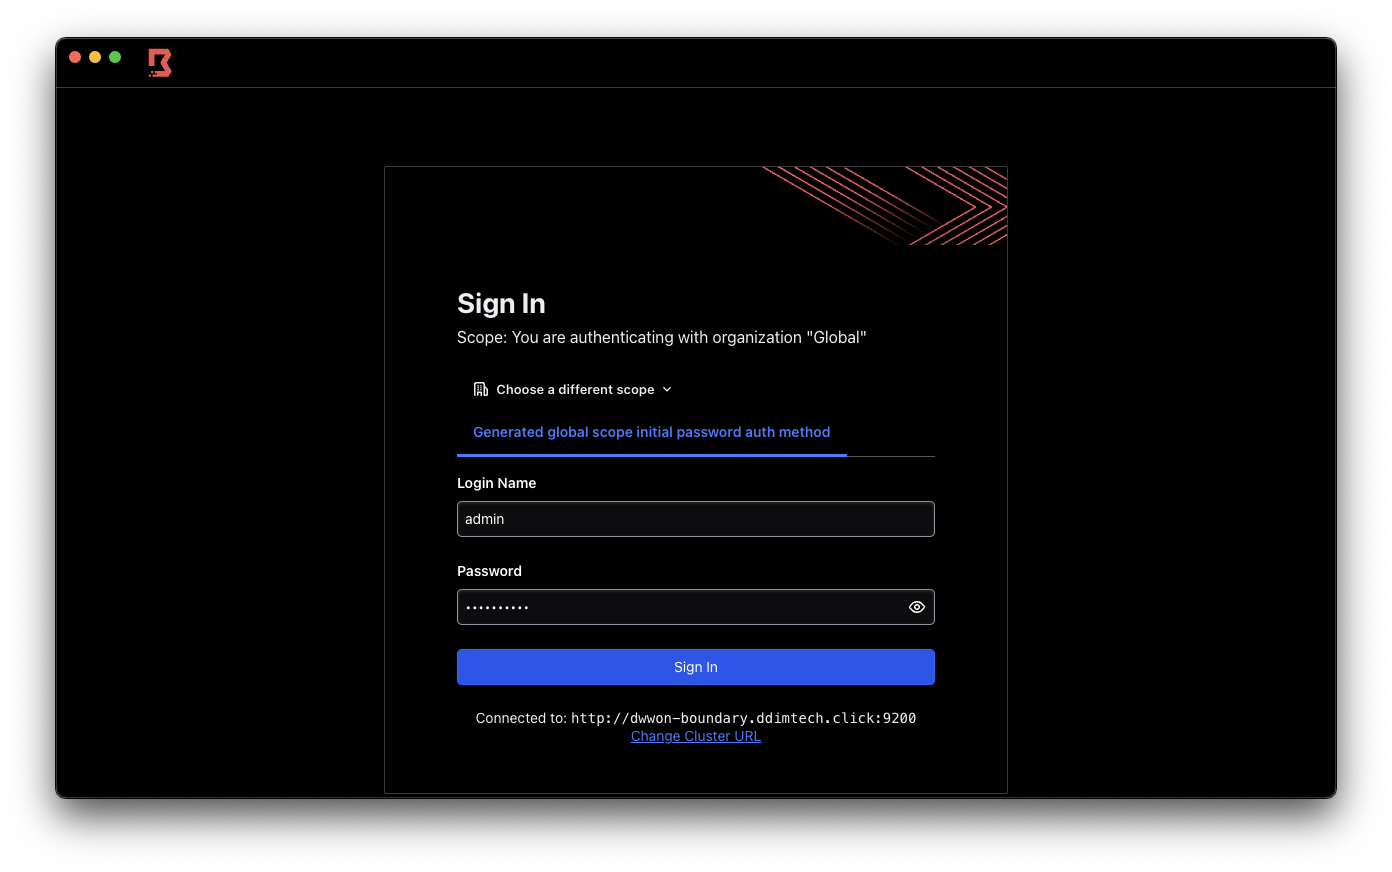
접속 확인
Account 생성 (admin 생성을 SKIP할 경우 진행)
1. Recovery 파일 생성
recovery.hcl
kms "transit" {
  purpose = "recovery"
  address = "http://[Vault 서버 IP]:8200"
  token = "[Vault Root Token 혹은 Transit을 사용하기 위한 권한을 가진 Token]"
  disable_renewal = "false"

  key_name = "[Transit Key 명]"
  mount_path = "[Transit을 활성화할때 지정한 mount path 명]/"
}
controller.hcl 파일에 작성해놓은 recovery 부분을 복사하여 새로운 파일을 생성합니다. recovery.hcl은 token의 역할을 하게 됩니다.
2. scope 생성
org scope
boundary scopes create -name 'org' -scope-id 'global' \
  -recovery-config recovery.hcl \
  -skip-admin-role-creation \
  -skip-default-role-creation \
  -keyring-type none
project scope
boundary scopes create -name 'project' -scope-id [org ID] \
  -recovery-config recovery.hcl \
  -skip-admin-role-creation \
  -skip-default-role-creation \
  -keyring-type none
3. auth method 생성
boundary auth-methods create password \
  -recovery-config recovery.hcl \
  -scope-id [org ID] \
  -name 'ID_Password' \
  -description 'First auth method' \
  -keyring-type none
4. Account 생성
boundary accounts create password \
  -recovery-config recovery.hcl \
  -login-name "account01" \
  -auth-method-id [auth method ID] \
  -keyring-type none
5. User 생성 및 등록
user 생성
boundary users create -scope-id [org ID] \
  -recovery-config recovery.hcl \
  -name "testuser01" \
  -description "Test user" \
  -keyring-type none
User를 Account에 할당
boundary users add-accounts \
  -recovery-config recovery.hcl \
  -id [user ID] \
  -account [account ID] \
  -keyring-type none
6. Anonymous 역할 생성 및 할당
global role
boundary roles create -name 'global_anon_listing' \
  -recovery-config recovery.hcl \
  -scope-id 'global' \
  -keyring-type none
boundary roles add-grants -id [global anonymous role ID] \
-recovery-config recovery.hcl \
-grant 'ids=*;type=auth-method;actions=list,authenticate' \
-grant 'ids=*;type=scope;actions=list,no-op' \
-grant 'ids={{.Account.Id}};actions=read,change-password' \
-keyring-type noneboundary roles add-principals -id [global anonymous role ID] \
-recovery-config recovery.hcl \
-principal 'u_anon' \
-keyring-type noneorg role
boundary roles create -name 'org_anon_listing' \
  -recovery-config recovery.hcl \
  -scope-id [org ID] \
  -keyring-type none
boundary roles add-grants -id [org anonymous role ID] \
-recovery-config recovery.hcl \
-grant 'ids=*;type=auth-method;actions=list,authenticate' \
-grant 'ids=*;type=scope;actions=list,no-op' \
-grant 'ids={{.Account.Id}};actions=read,change-password' \
-keyring-type noneboundary roles add-principals -id [org anonymous role ID] \
-recovery-config recovery.hcl \
-principal 'u_anon' \
-keyring-type none7. Admin 역할 생성 및 할당
global role
boundary roles create -name 'global_admin' \
  -recovery-config recovery.hcl \
  -scope-id 'global' \
  -keyring-type none
boundary roles add-grants -id [global admin role ID] \
-recovery-config recovery.hcl \
-grant 'ids=*;type=*;actions=*' \
-keyring-type noneboundary roles add-principals -id [global admin role ID] \
-recovery-config recovery.hcl \
-principal [user ID] \
-keyring-type noneorg role
boundary roles create -name 'org_admin' \
  -recovery-config recovery.hcl \
  -scope-id 'global' \
  -grant-scope-id [org ID] \
  -keyring-type none
boundary roles add-grants -id [org admin role ID] \
-recovery-config recovery.hcl \
-grant 'ids=*;type=*;actions=*' \
-keyring-type noneboundary roles add-principals -id [org admin role ID] \
-recovery-config recovery.hcl \
-principal [user ID] \
-keyring-type noneproject role
boundary roles create -name 'project_admin' \
  -recovery-config recovery.hcl \
  -scope-id 'global' \
  -grant-scope-id [project ID] \
  -keyring-type none
boundary roles add-grants -id [project admin role ID] \
-recovery-config recovery.hcl \
-grant 'ids=*;type=*;actions=*' \
-keyring-type noneboundary roles add-principals -id [project admin role ID] \
-recovery-config recovery.hcl \
-principal [user ID] \
-keyring-type none8. Controller-led Token 생성
boundary workers create controller-led \
  -recovery-config recovery.hcl
이후에 생성할 Worker와 연결하기 위해 Controller-led Token을 생성합니다.
9. Controller 로그인
org 선택
생성한 유저로 로그인
로그인 성공
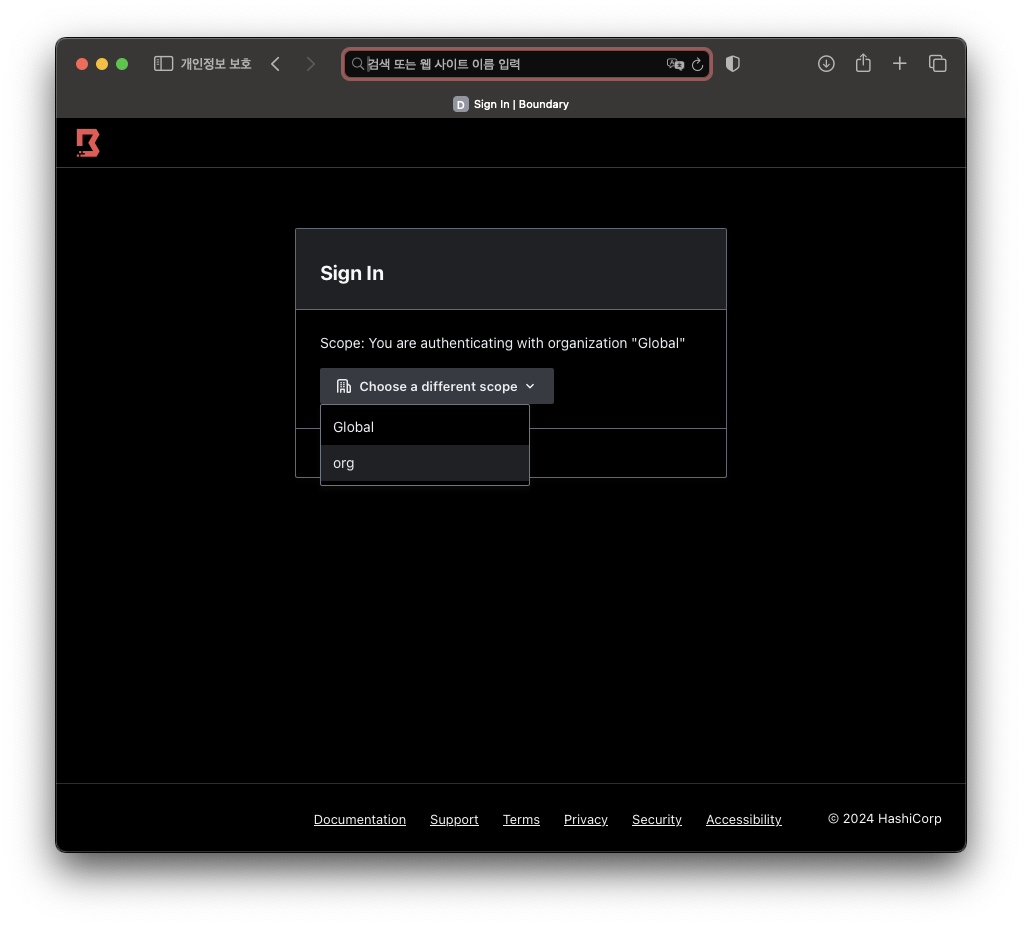
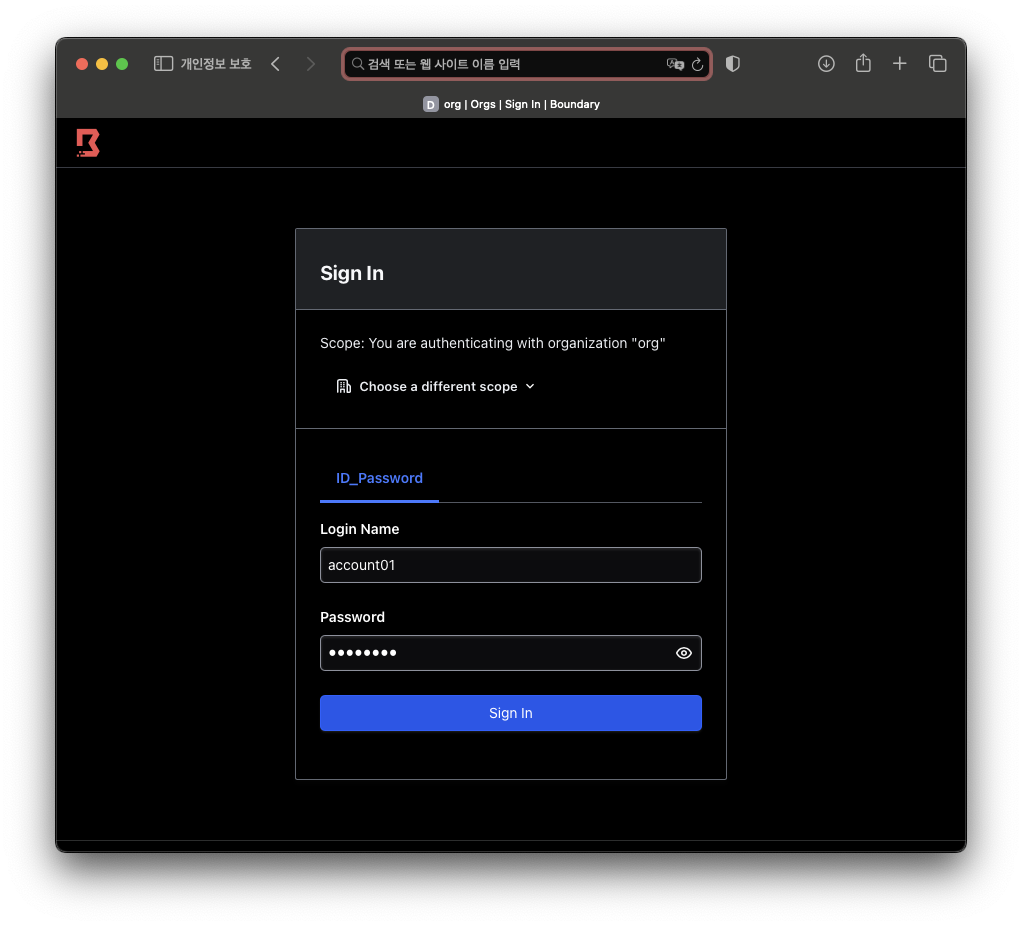
10. Client 로그인
Controller의 URL 입력
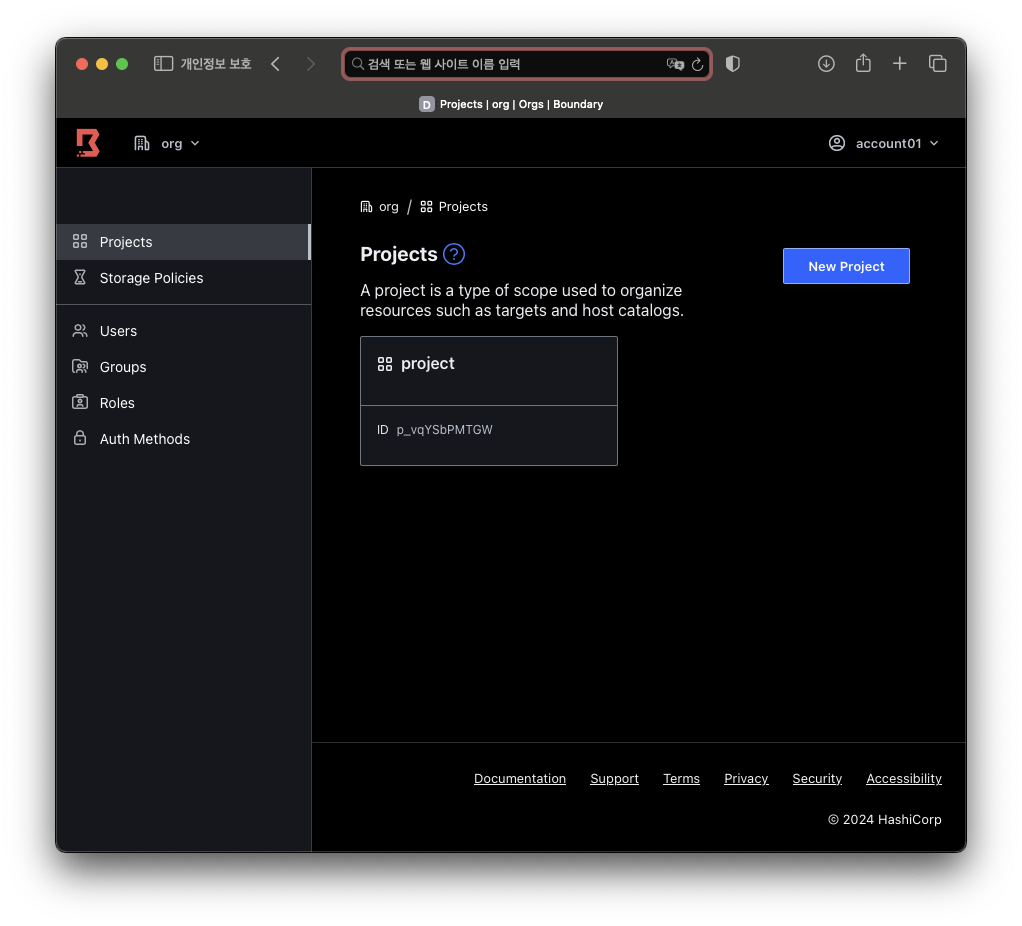
org를 선택하여 생성한 유저로 로그인
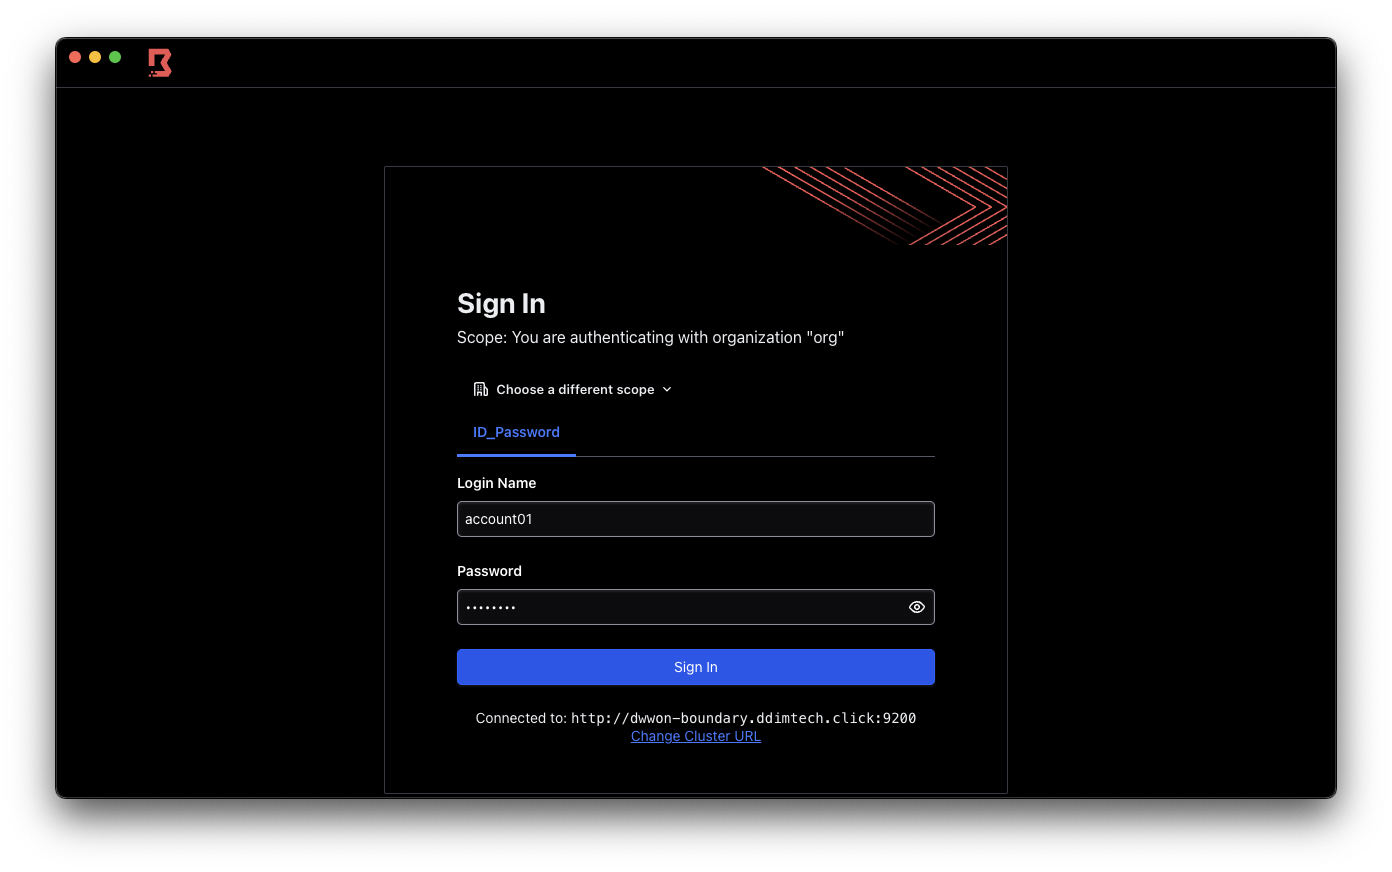
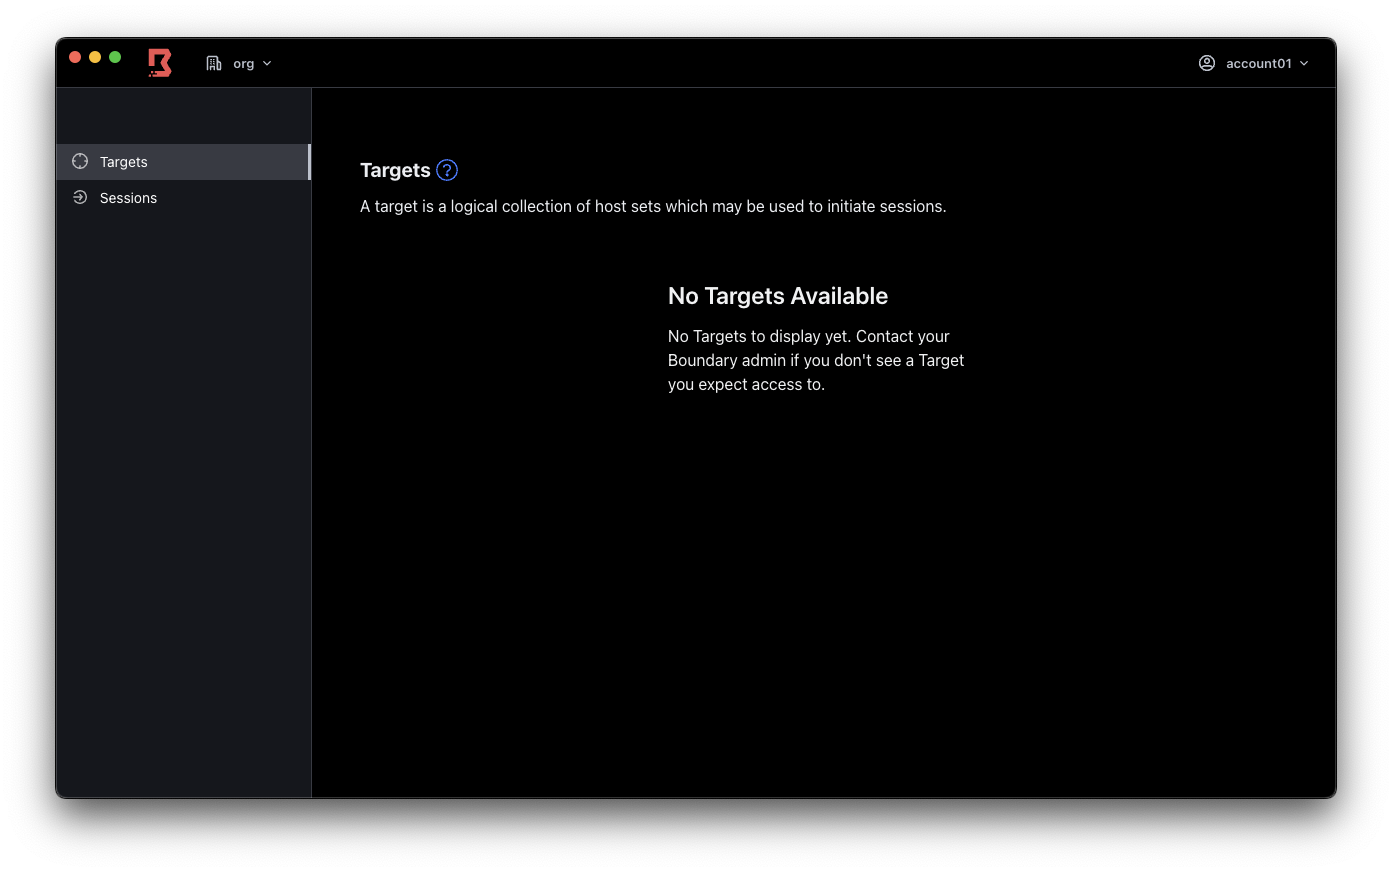
로그인 성공
Worker 구축
1. Worker 설정 파일 생성
disable_mlock = true

listener "tcp" {
  address = "0.0.0.0:9202"
  purpose = "proxy"
}

worker {
  public_addr = "[Worker 서버의 도메인 또는 IP]"
  initial_upstreams = ["[Controller 서버의 도메인 또는 IP]:9201"]
  controller_generated_activation_token = "[Controller-led Token]"
  auth_storage_path = "[Worker의 auth data를 저장할 경로]"
  recording_storage_path = "[Boundary의 녹화 영상을 임시 저장할 경로]"
  tags {
    type = ["worker1"]
  }
}\

events {
  audit_enabled       = true
  sysevents_enabled   = true
  observations_enable = true
  sink "stderr" {
    name = "all-events"
    description = "All events sent to stderr"
    event_types = ["*"]
    format = "cloudevents-json"
  }
  sink {
    name = "file-sink"
    description = "All events sent to a file"
    event_types = ["*"]
    format = "cloudevents-json"
    file {
      path = "[Boundary의 log를 담을 경로]"
      file_name = "worker.log"
    }
    audit_config {
      audit_filter_overrides {
        sensitive = "redact"
        secret    = "redact"
      }
    }
  }
}

kms "transit" {
  purpose = "root"
  address = "http://[Vault 서버 도메인 또는 IP]:8200"
  token = "[Vault Root Token 또는 Transit을 사용하기 위한 권한을 가진 Token]"
  disable_renewal = "false"

  key_name = "[Transit Key 명]"
  mount_path = "[Transit Path 명]/"
}

kms "transit" {
  purpose = "recovery"
  address = "http://[Vault 서버 도메인 또는 IP]:8200"
  token = "[Vault Root Token 또는 Transit을 사용하기 위한 권한을 가진 Token]"
  disable_renewal = "false"

  key_name = "[Transit Key 명]"
  mount_path = "[Transit Path 명]/"
}
대괄호로 작성되어있는 칸을 사용자 환경에 알맞게 지정해주세요.
-
public_addr: Client가 Worker에게 접근하기 위한 주소를 입력합니다. -
initial_upstreams: Controller(Cluster)의 도메인 또는 IP를 입력합니다. 포트를 지정하지 않는 경우:9201로 지정됩니다. -
controller_generated_activation_token: Controller와 연결하기 위해 생성한 Controller-led Token 값을 기입합니다. -
auth_storage_path: Worker의 자격 증명 데이터를 저장합니다. -
recording_storage_path: 사용자가 작업한 내용을 녹화한 영상을 저장하기 위한 경로를 지정합니다.
2. 서비스 파일 생성
Worker를 실행하기 위한 서비스 파일을 생성합니다.
sudo vi /etc/systemd/system/boundary.service[Unit]
Description="HashiCorp Vault - A tool for managing secrets"
Documentation=https://www.vaultproject.io/docs/
Requires=network-online.target
After=network-online.target
ConditionFileNotEmpty=[worker.hcl 파일 경로]
StartLimitIntervalSec=60
StartLimitBurst=3
[Service]
User=[OS 유저 명]
Group=[OS 그룹 명]
ProtectSystem=full
PrivateTmp=yes
PrivateDevices=yes
SecureBits=keep-caps
AmbientCapabilities=CAP_IPC_LOCK
Capabilities=CAP_IPC_LOCK+ep
CapabilityBoundingSet=CAP_SYSLOG CAP_IPC_LOCK
NoNewPrivileges=yes
ExecStart=/usr/local/bin/boundary server -config=[worker.hcl 파일 경로]
ExecReload=/bin/kill --signal HUP $MAINPID
KillMode=process
KillSignal=SIGINT
Restart=on-failure
RestartSec=5
TimeoutStopSec=30
StartLimitInterval=60
StartLimitIntervalSec=60
StartLimitBurst=3
LimitNOFILE=65536
LimitMEMLOCK=infinity
[Install]
WantedBy=multi-user.target대괄호로 작성되어있는 칸을 사용자 환경에 알맞게 지정해주세요.
4. 서비스 파일 실행
sudo systemctl enable boundary.servicesudo systemctl start boundary.service서비스 파일을 이용하여 Worker를 실행합니다. Controller-led Token 값을 기입했기 때문에 서비스가 실행되면 Controller와 자동으로 연동됩니다.
Target 생성 및 접속
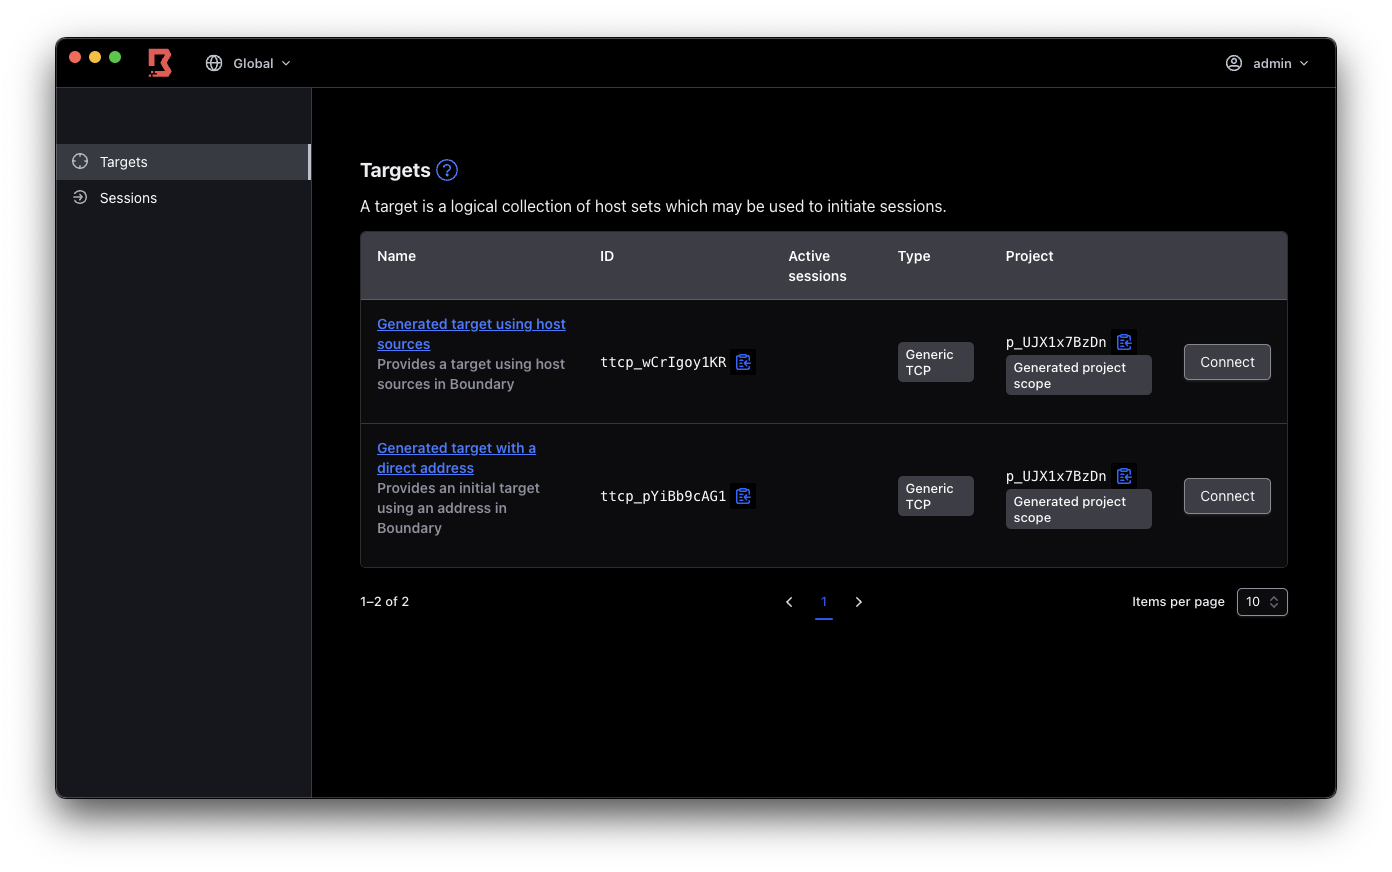
1. Target 생성
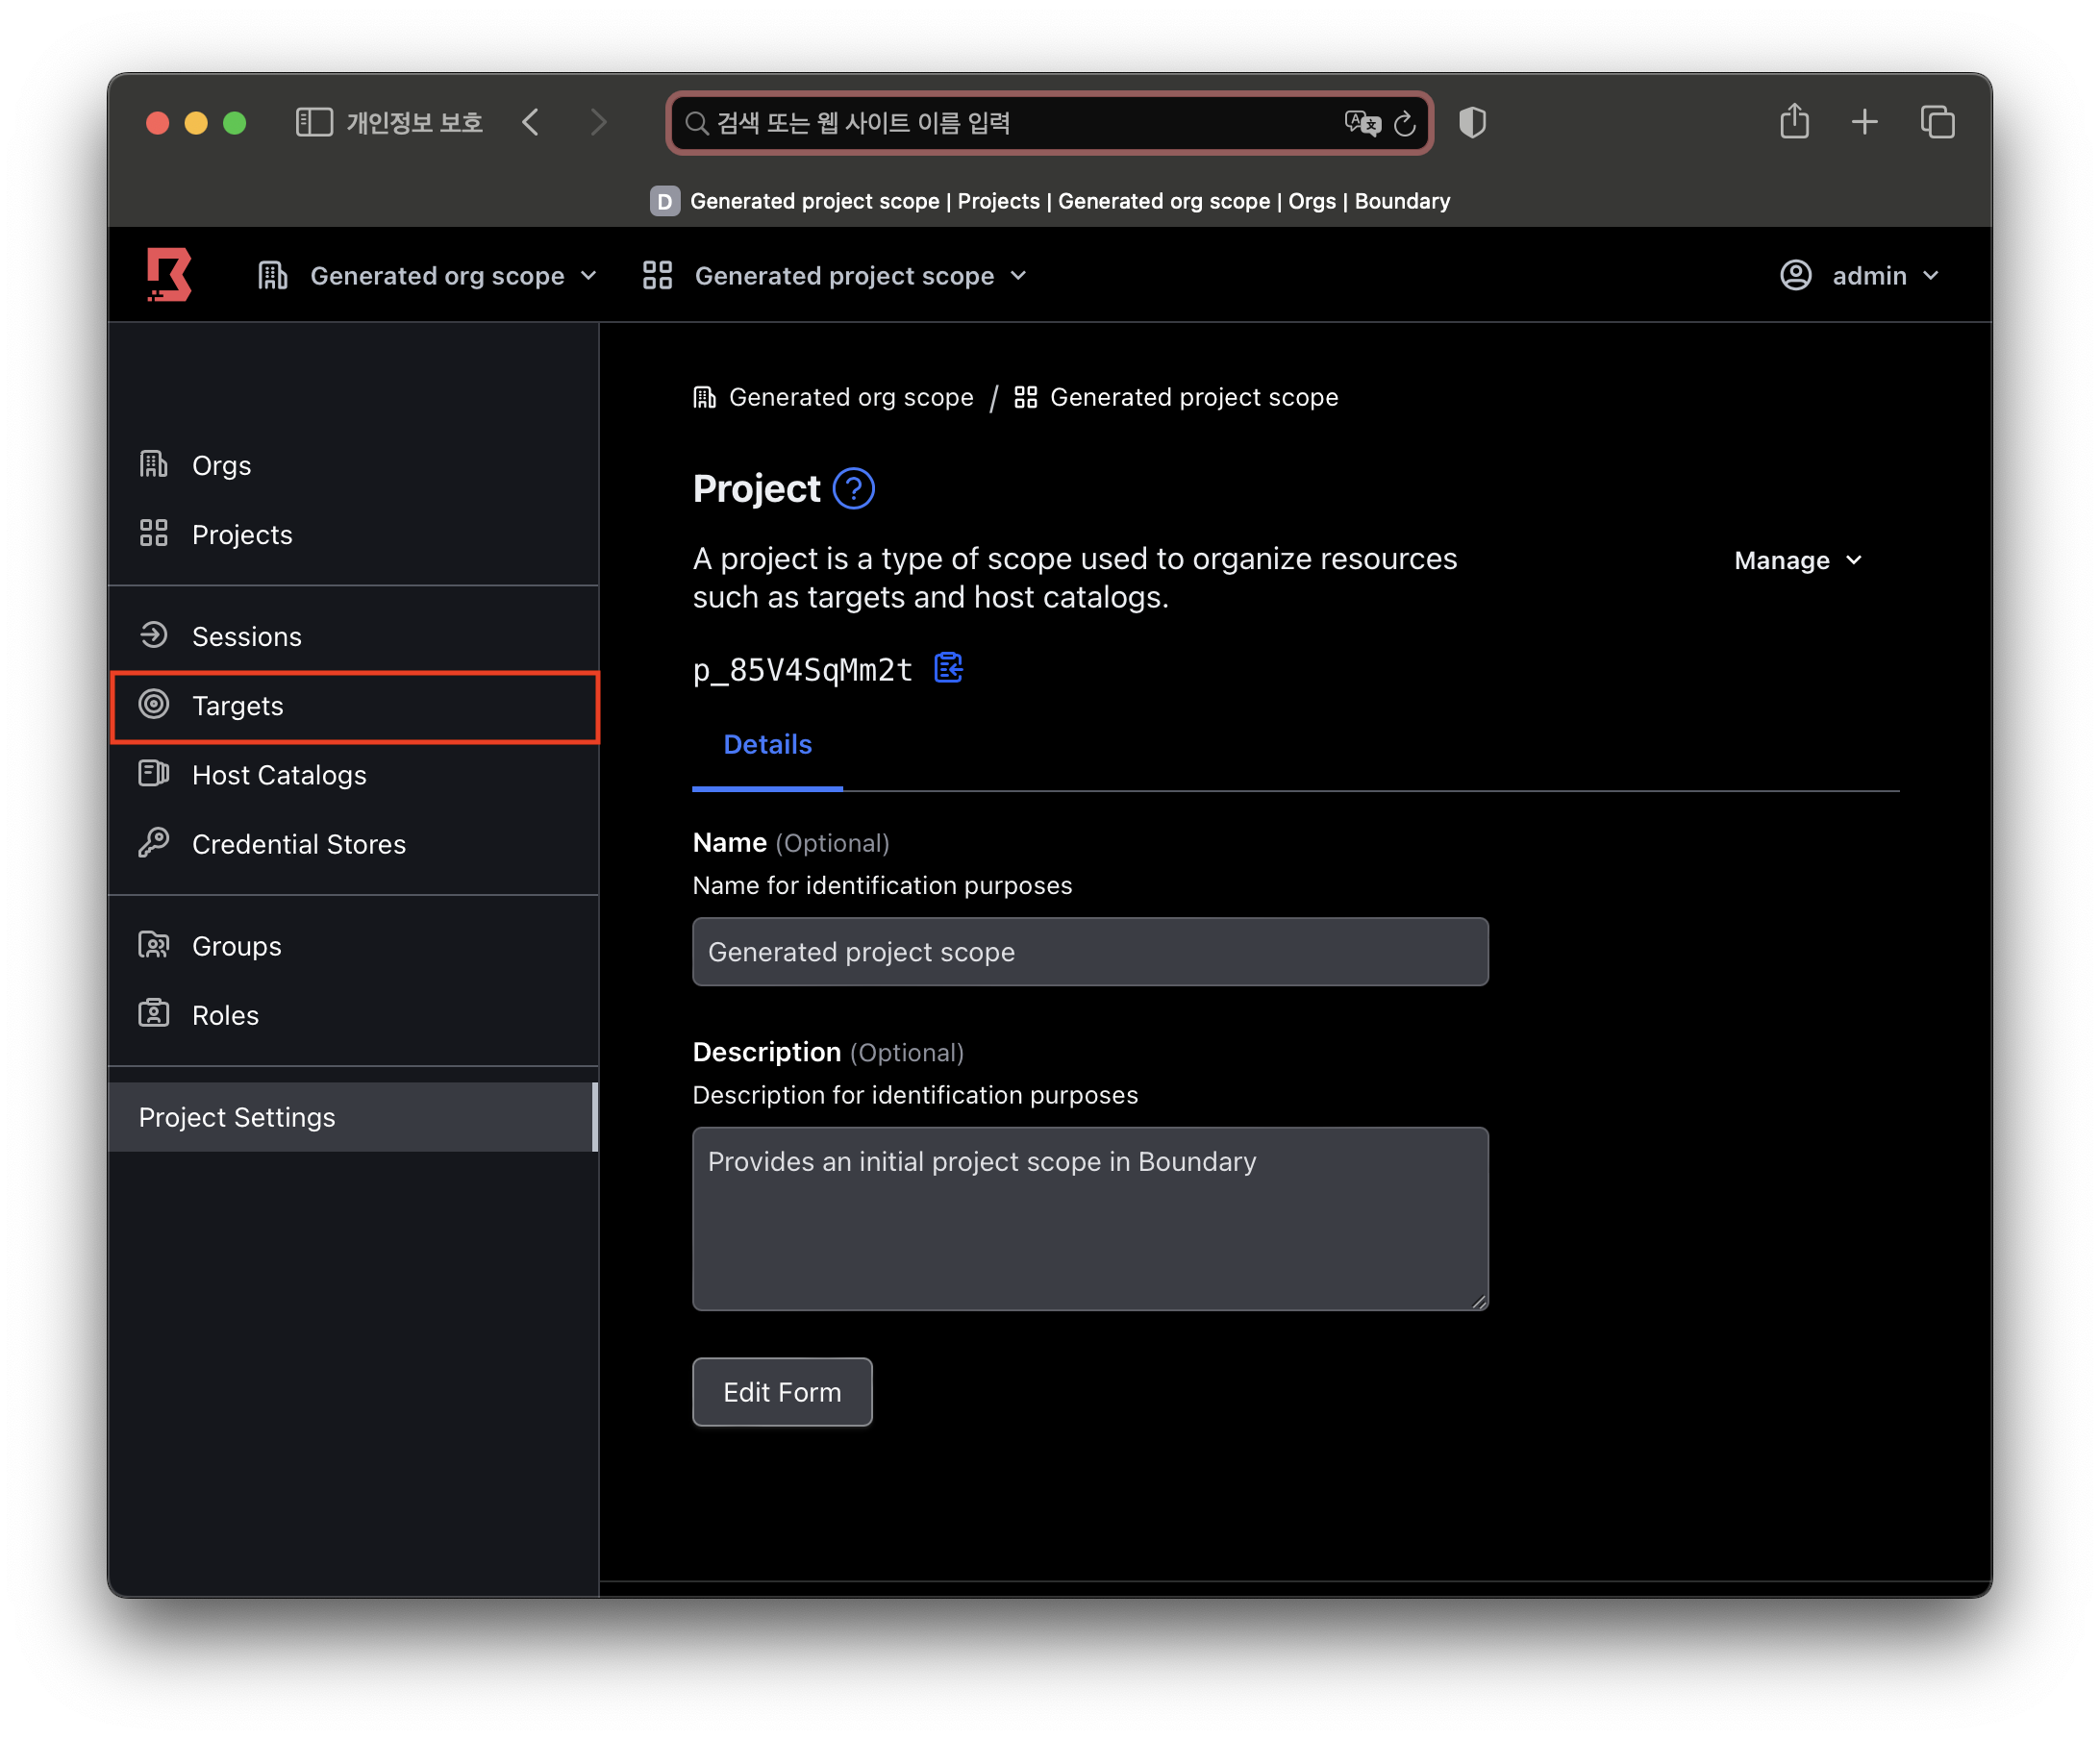
Project 탭으로 진입하여 Target을 클릭합니다.
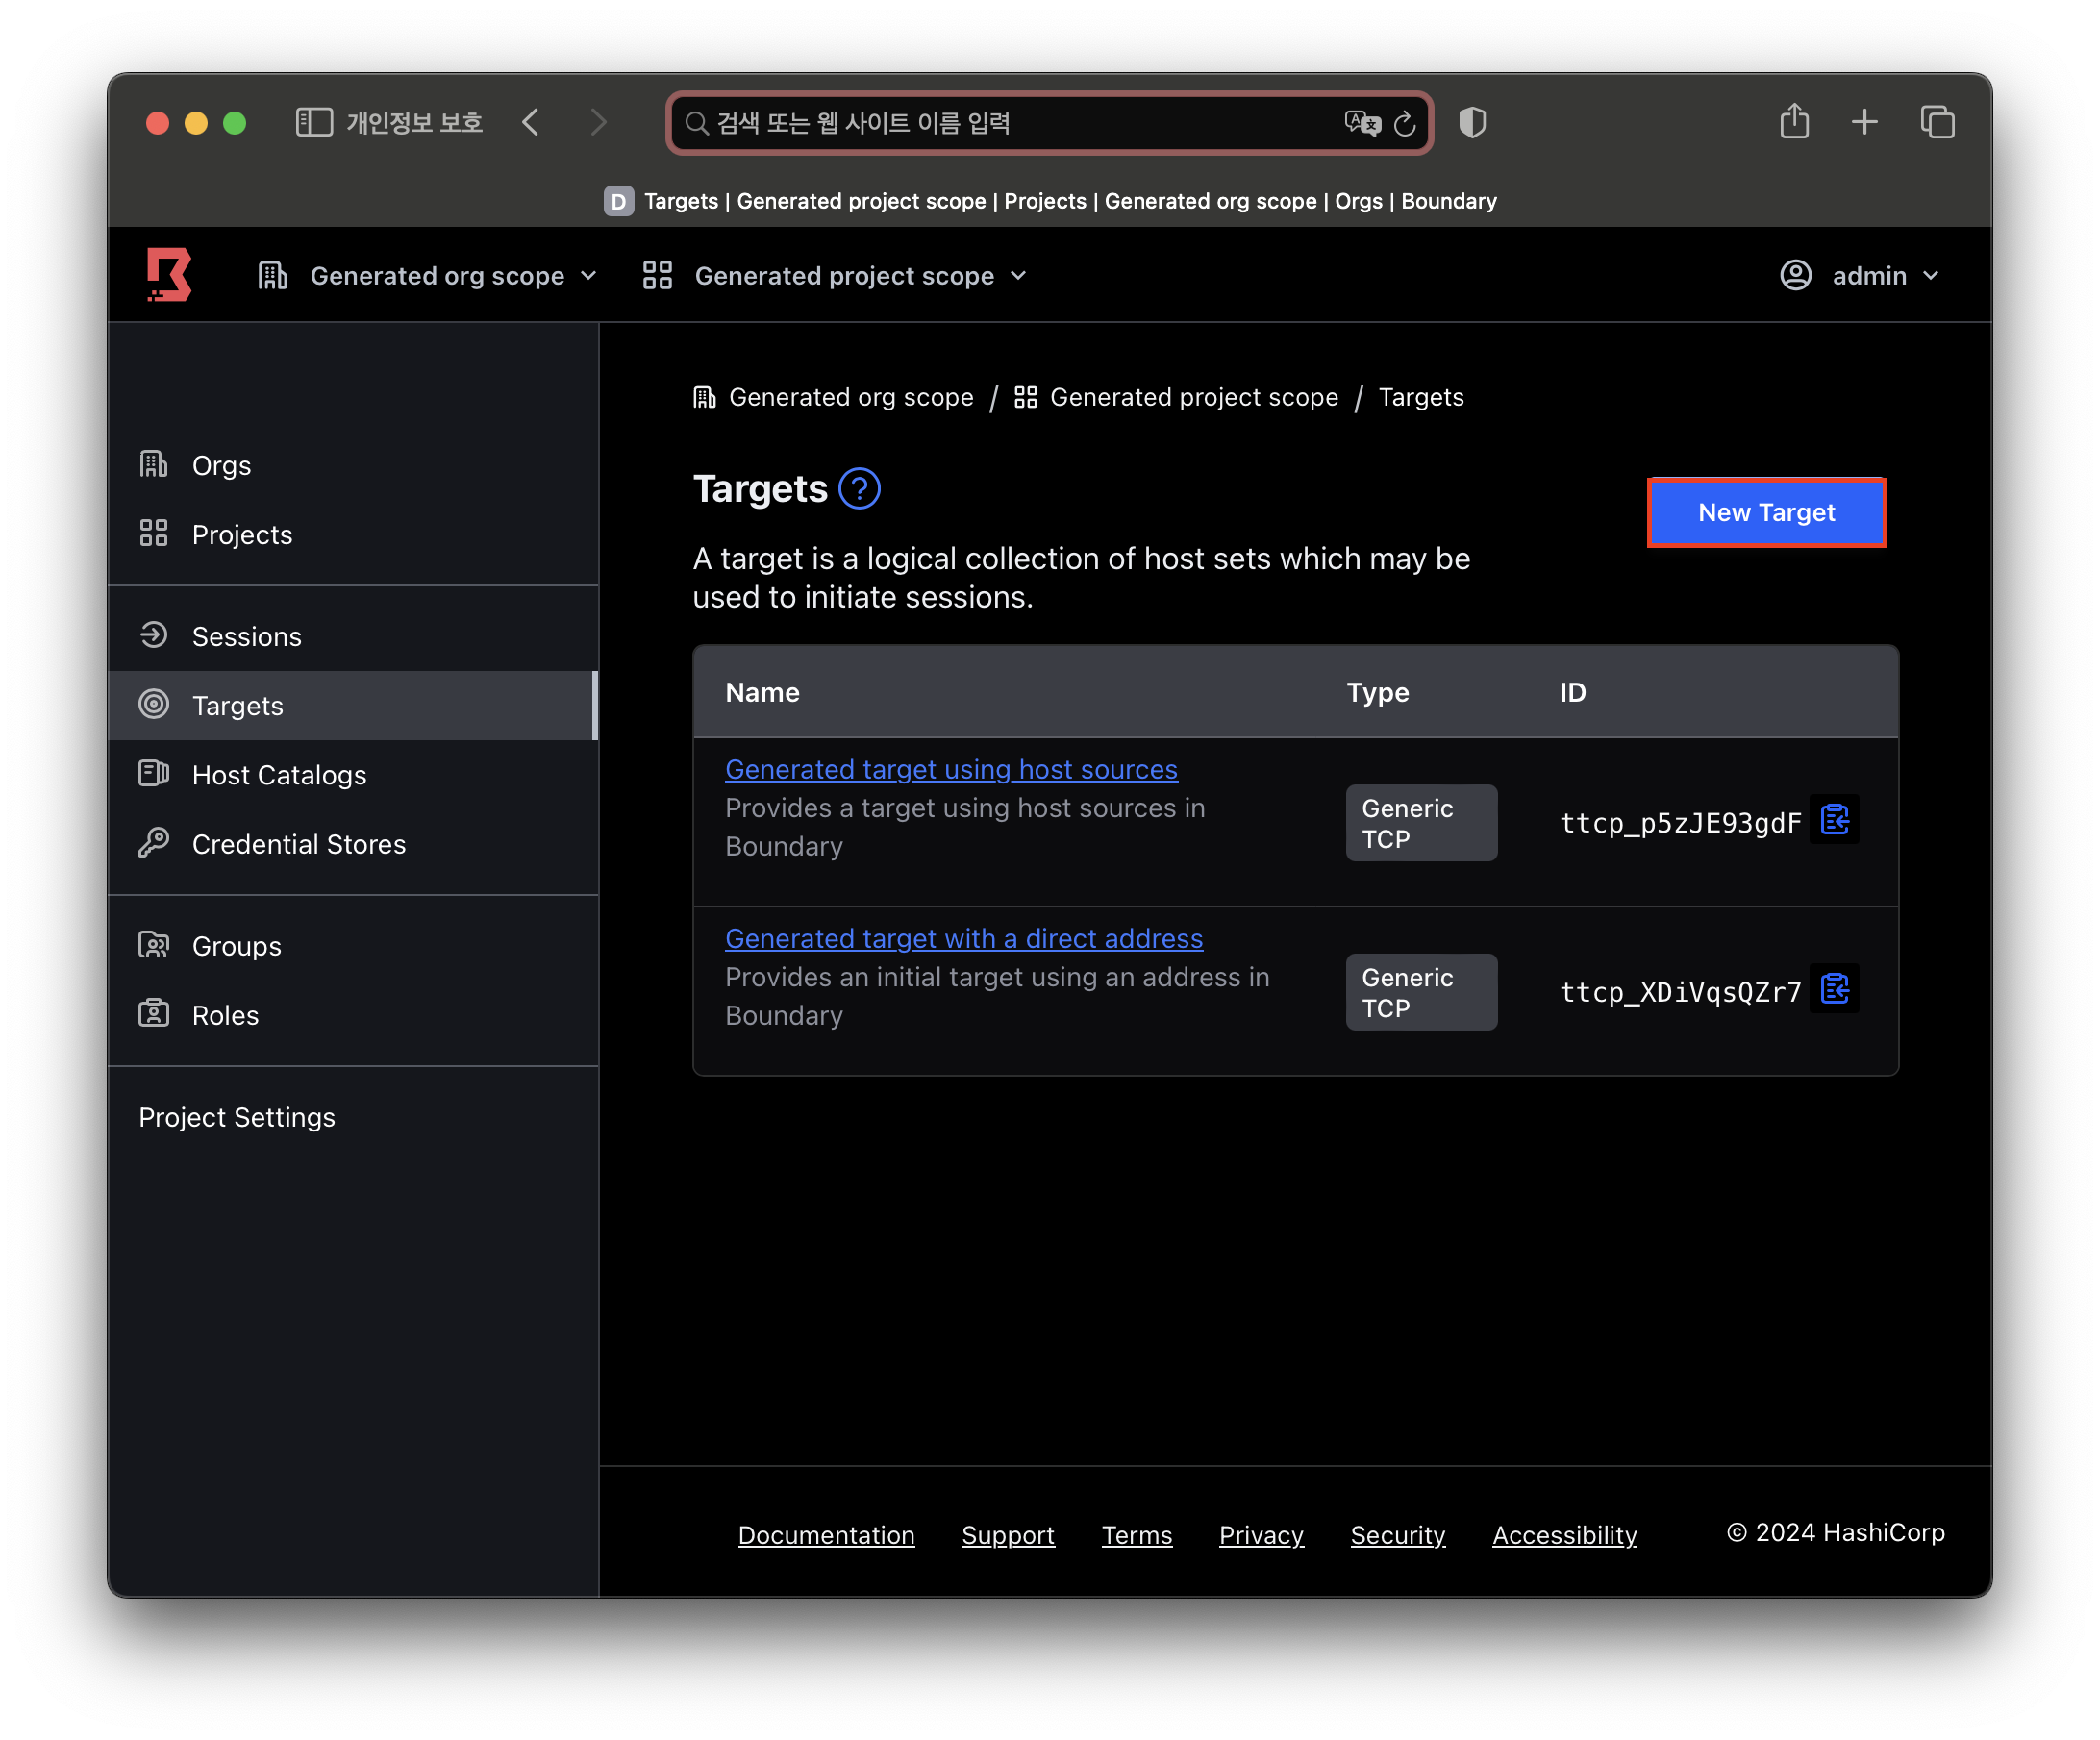
New Target버튼을 클릭합니다.
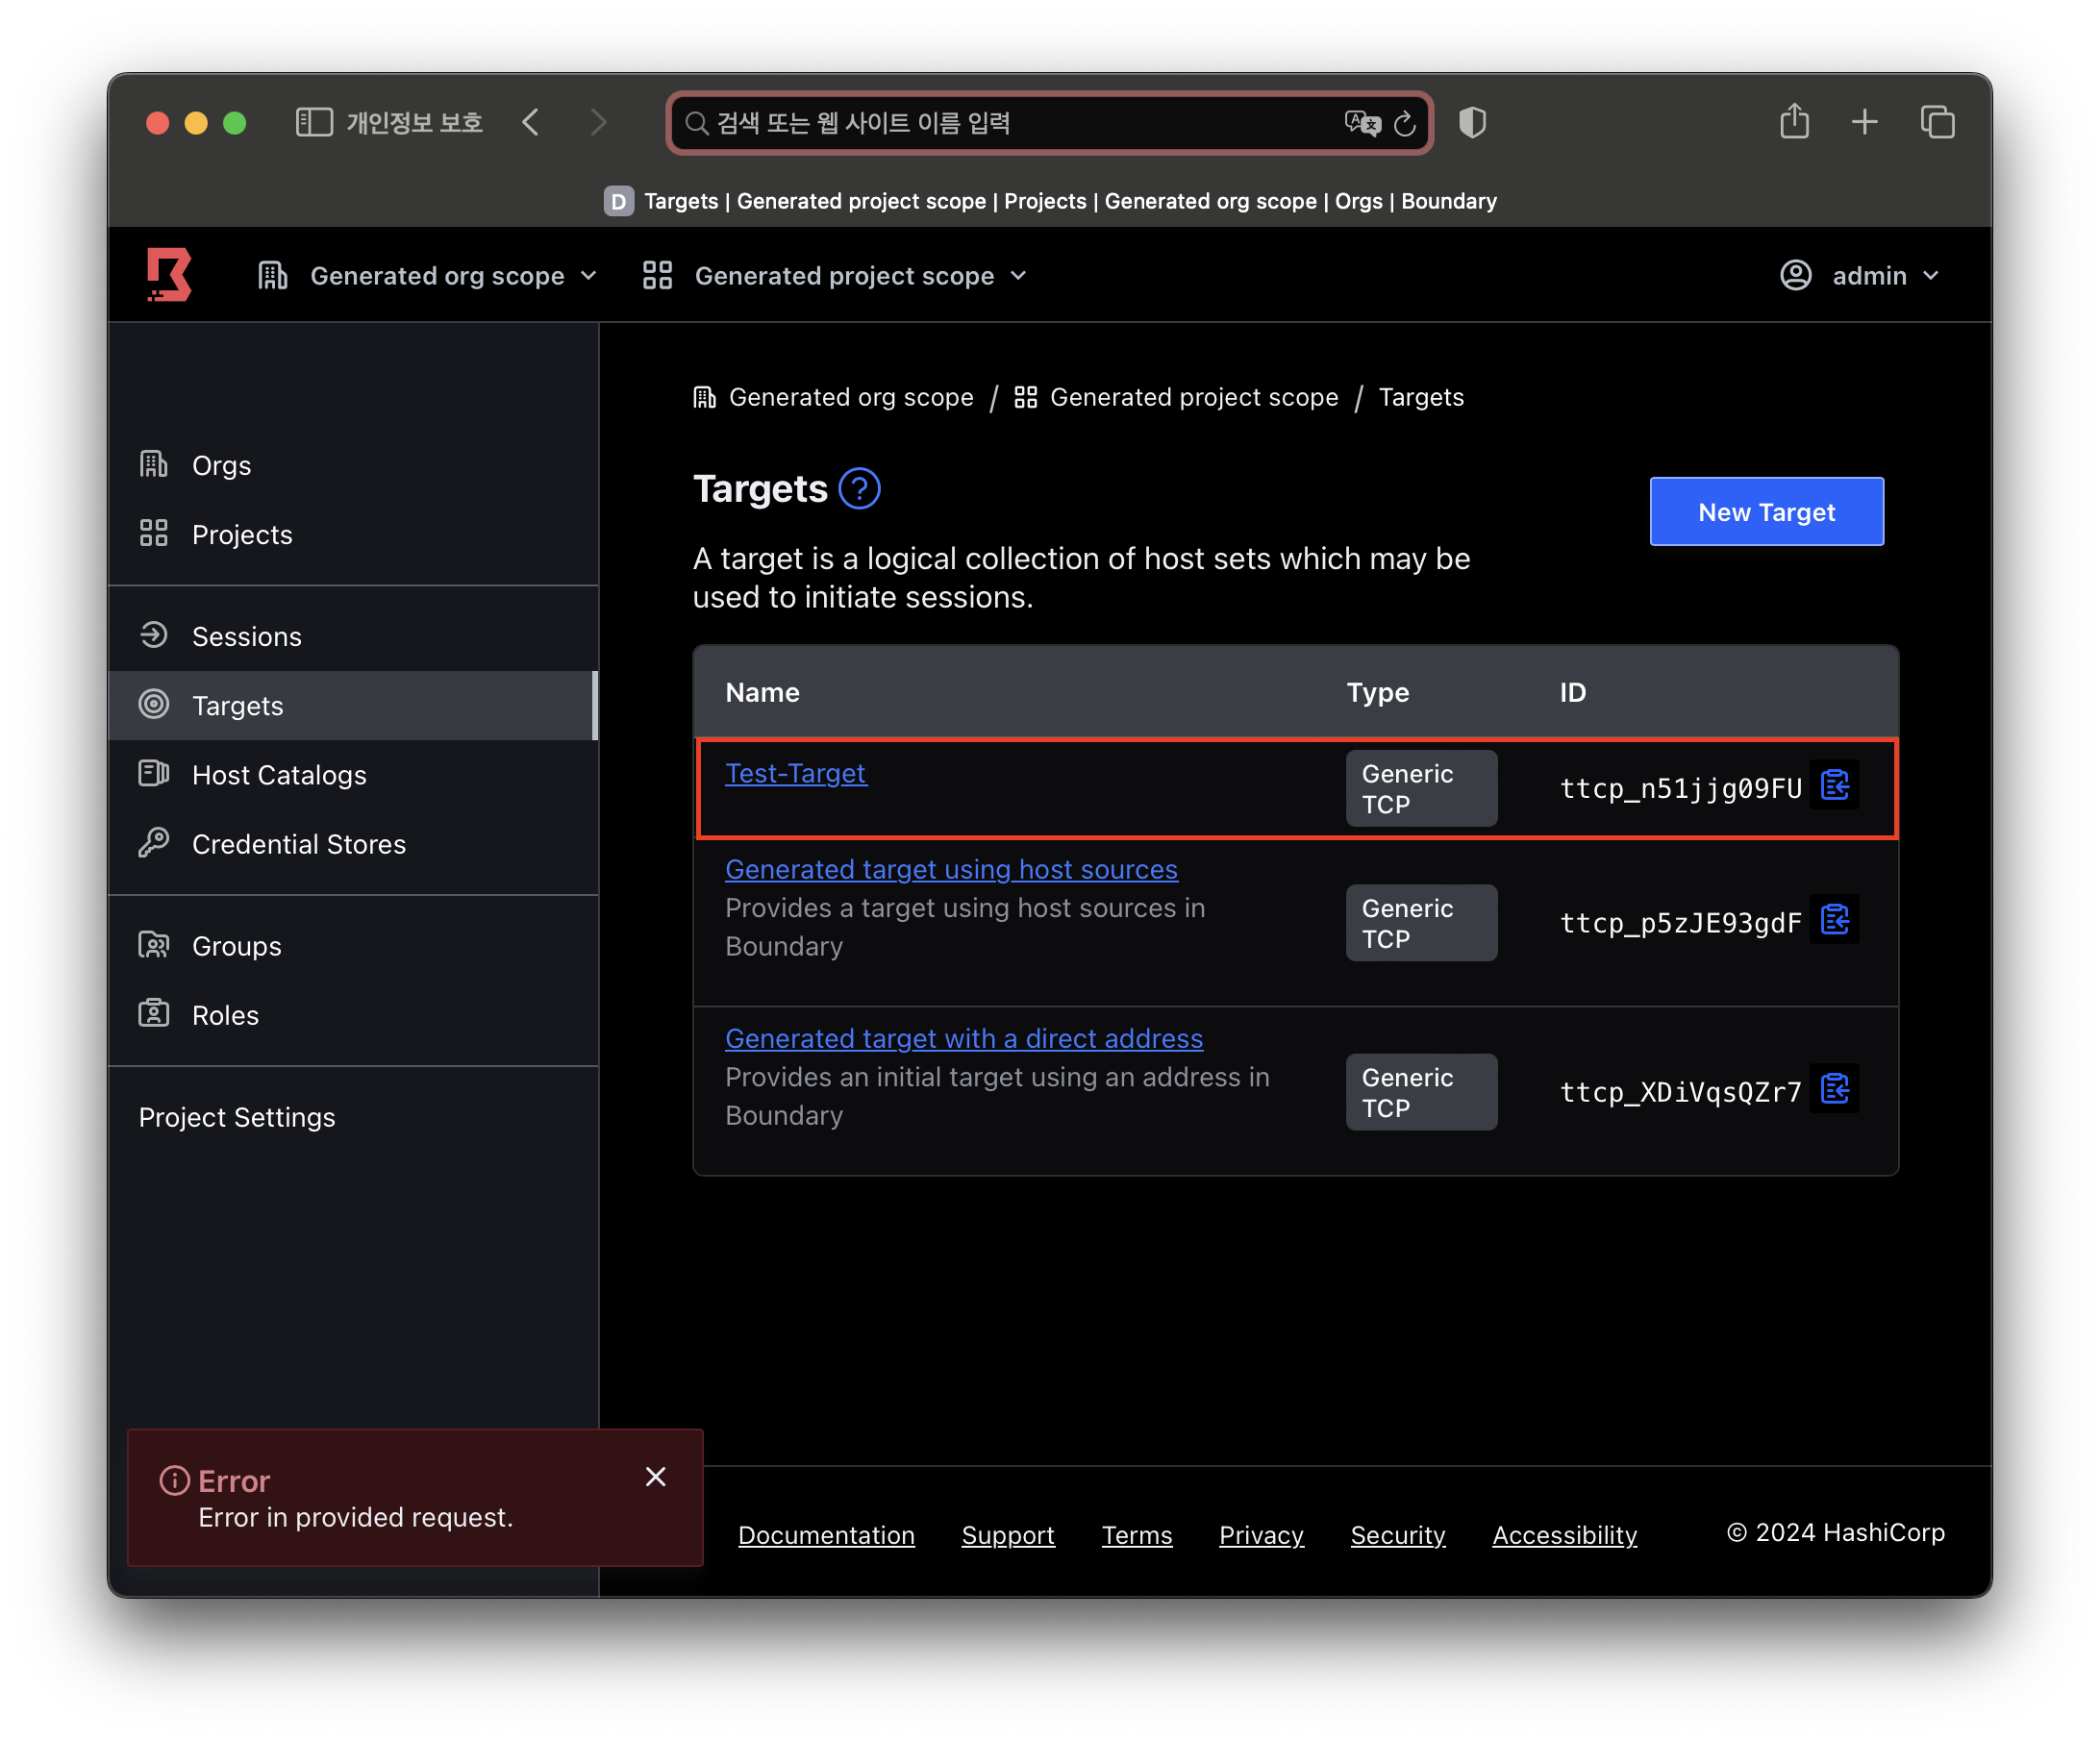
name, type, address값을 입력하고 Target을 생성합니다.
2. Client에서 접속
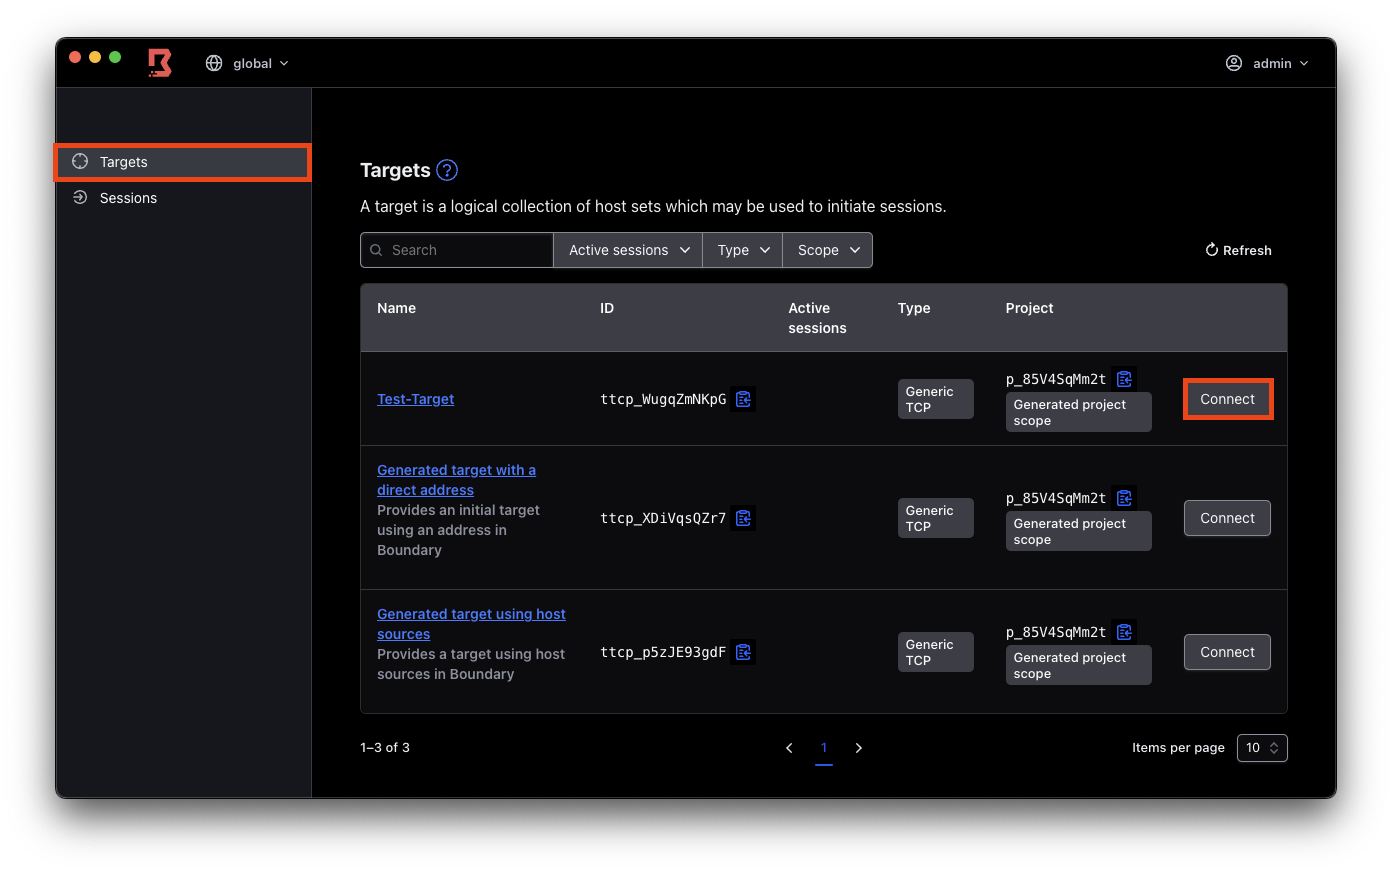
Client에서 Target버튼을 클릭하고. 방금 생성한 Test-Target의 Connect 버튼을 클릭합니다.
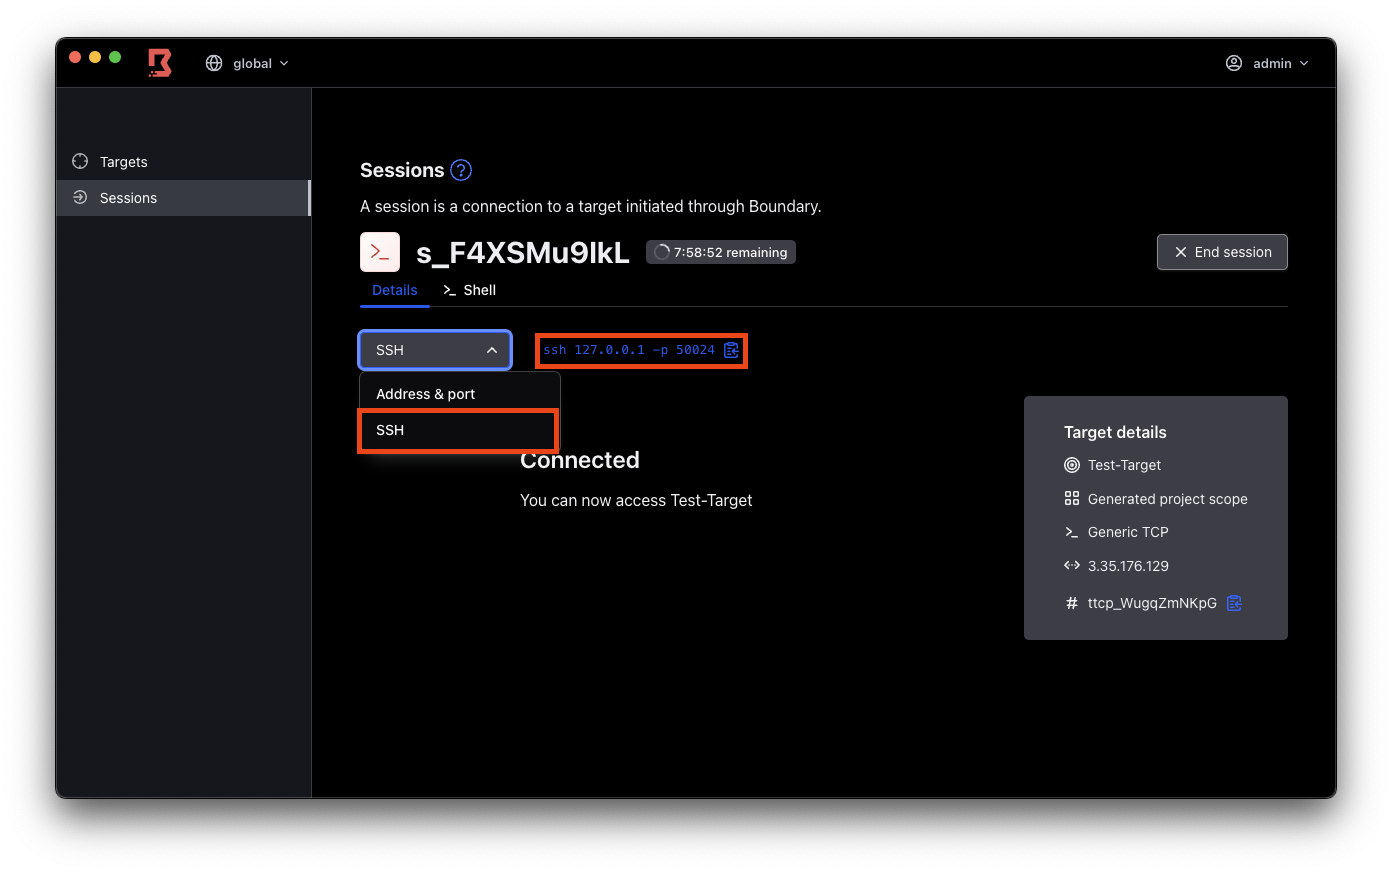
SSH로 변경하고 출력된 명령어를 복사합니다.
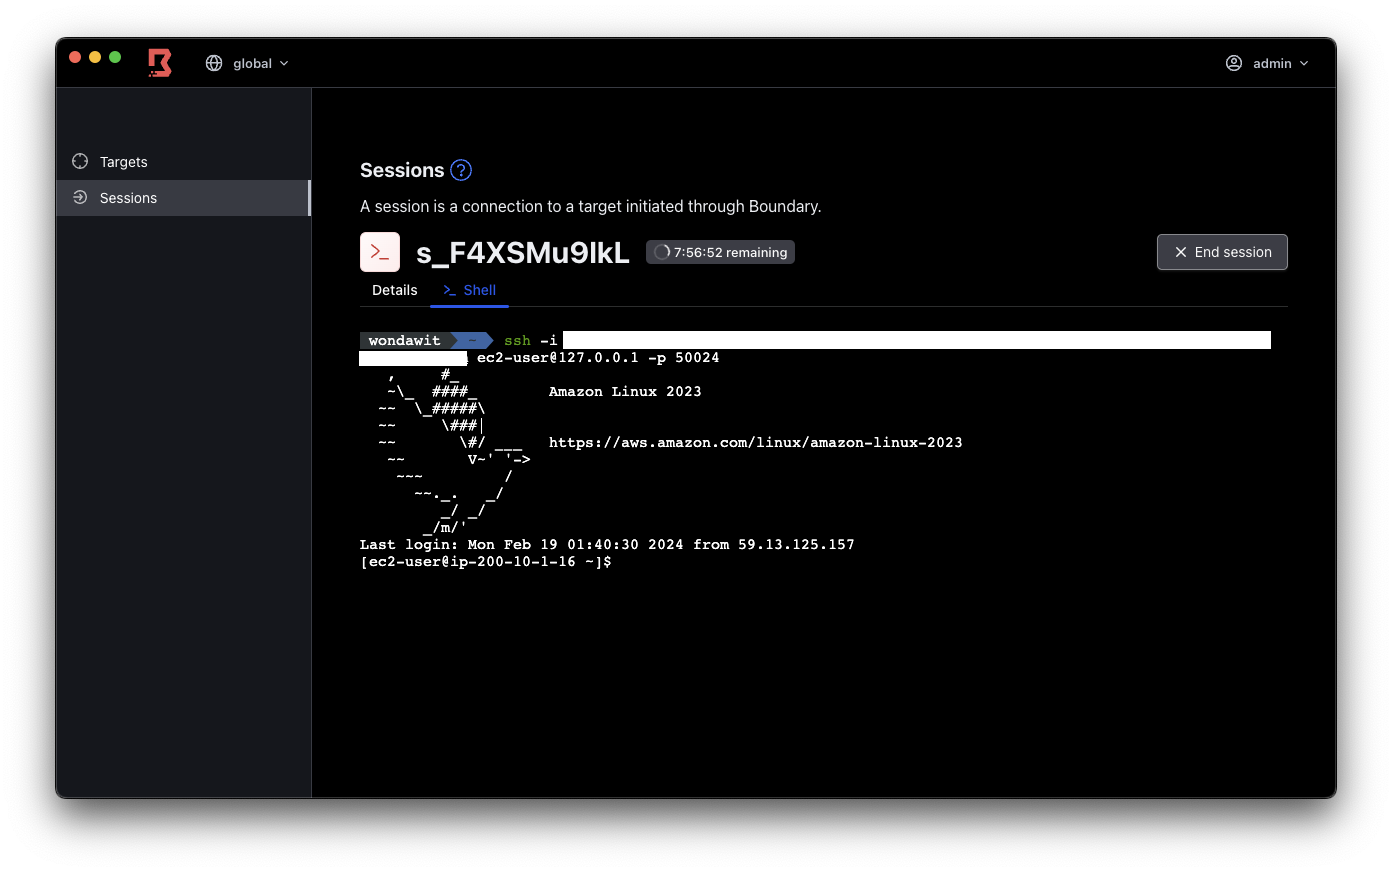
Credential을 사용하여 localhost로 해당 서버에 접근을 성공했습니다.