
스스로 만들어볼 수 있도록 따라치면서, 코드 한줄한줄을 뜯어보고 이해해보자.
검색할 수 있도록 만들기
      function findMatches(wordToMatch, cities) {
        return cities.filter((place) => {
    //       //도시 혹은 주가 입력한 단어로 검색되어야 한다.
        //   return place.city.match(/bos/i)
    //       //이렇게 하면... bos하나만 검색이 되므로, 정규표현식 안에 들어가는 단어를 변수로 지정해주어야 한다.

          const regex = new RegExp(wordToMatch, "gi");
          //new RegExp : 정규표현식 생성자
    //       //gi:global, insenssive - 글로벌 정규표현식, 대소문자 구분하지 않음
          return place.city.match(regex) || place.state.match(regex);
        });
    }
검색한 단어 출력
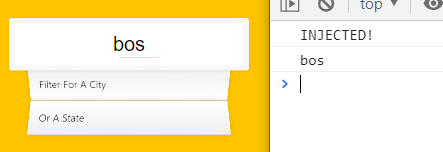
function displayMatches() {
            console.log(this.value);

        }
        const searchInput = document.querySelector(".search");
        const suggestions = document.querySelector(".suggestions");

        searchInput.addEventListener("change", displayMatches);
searchInput 태그 (검색창)에 글자를 치고 다른 곳을 누르면,
change이벤트에 이해 displayMatches 실행
displayMatches는 받은 값을 콘솔창에 실행하므로
콘솔창에 입력한 값 출력
글자를 칠 때마다 값을 받아오도록 하려면 change이벤트 외에 keyup이벤트를 추가해주면된다.
searchInput.addEventListener("keyup",displayMatches)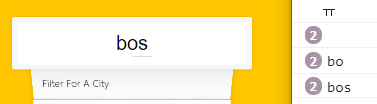
검색한 단어를 포함하는 데이터 출력하기
const cities = [];
fetch(endpoint)
.then((blob) => blob.json())
.then(data=>cities.push(...data))
function findMatches(wordToMatch, cities) {
return cities.filter((place) => {
const regex = new RegExp(wordToMatch, "gi");
return place.city.match(regex) || place.state.match(regex);
});
}
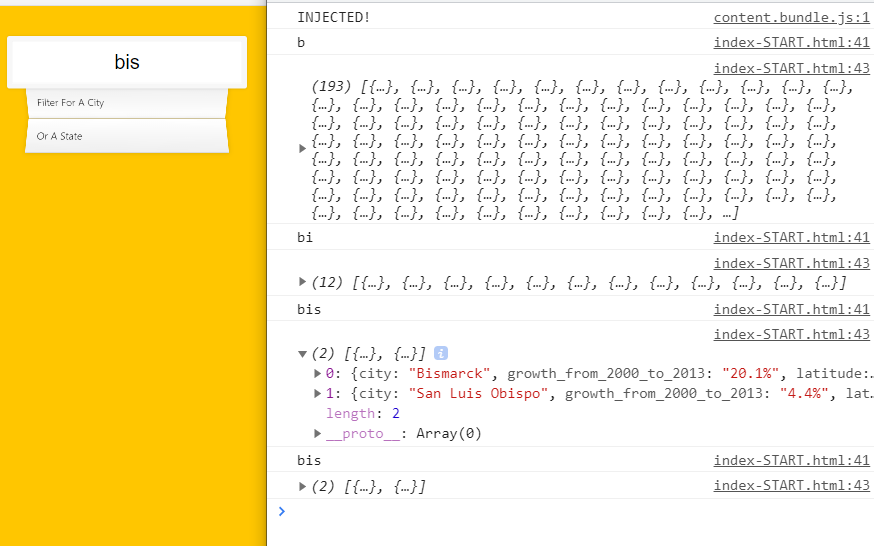
function displayMatches() {
console.log(this.value);
const matchArray = findMatches(this.value, cities);
console.log(matchArray);
//검색한 단어 값을 findMatches를 통해 데이터 배열 cities에서 일치하는 값을 찾으면, matchArray변수에 넣어 반환한다.
```
### 검색한 단어 화면에 출력하기
```jsx
function displayMatches() {
console.log(this.value);
const matchArray = findMatches(this.value, cities);
const html = matchArray.map(place=>{
//map()으로 matchArray배열을 html태그형태로 바꾸었다.
return`
<li>
<span class="name">${place.city},${place.state}</span>
<span class="population">${place.population}</span>
</li>
`
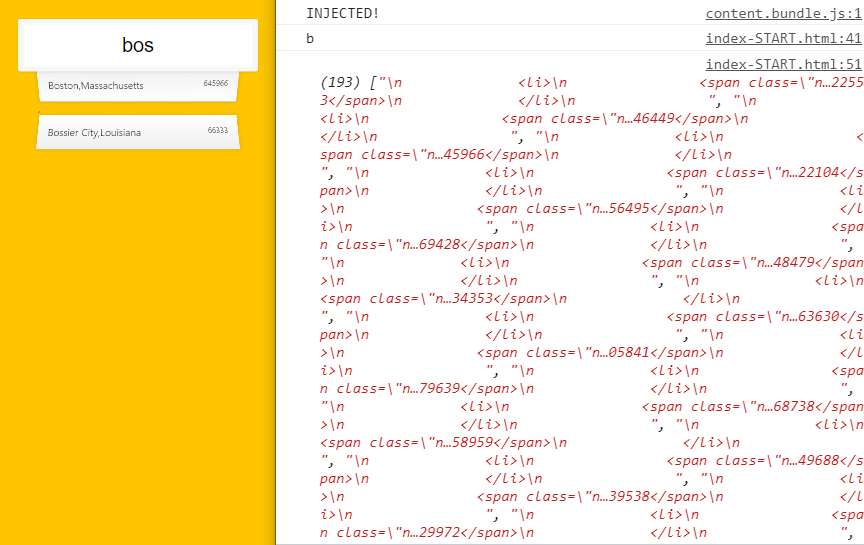
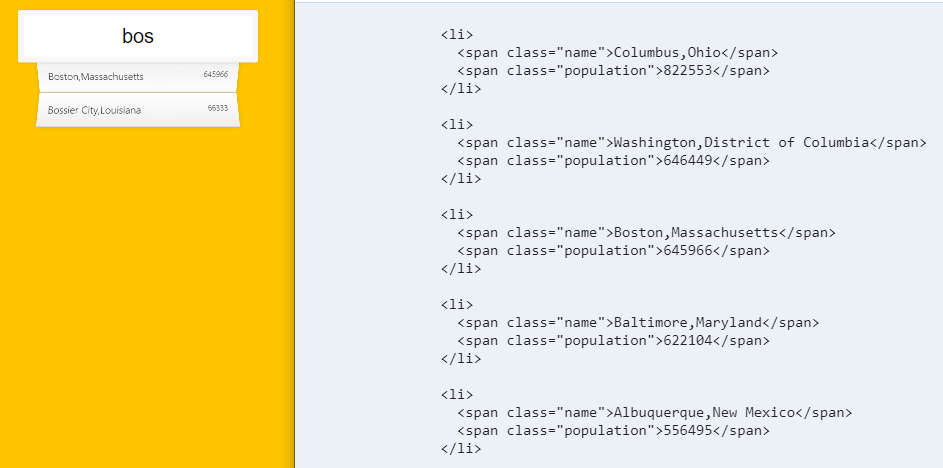
}).join('');
suggestions.innerHTML=html;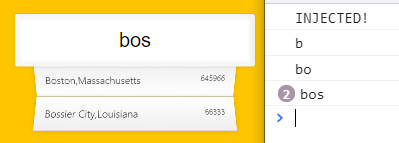
join() 사용하지 않았을 때
join() 사용했을 때
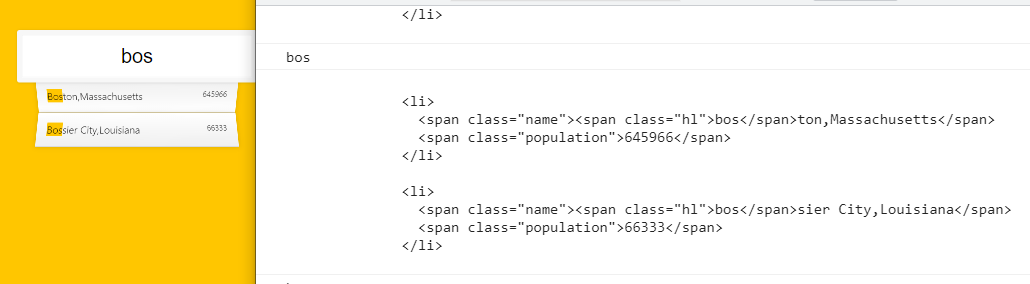
검색한 단어 부분 하이라이트하기
        function displayMatches() {
            console.log(this.value);
          const matchArray = findMatches(this.value, cities);
          //matchArray는 findMatches로 입력한 값과 cities데이터가 맞는지 판별한 후, 맞는 데이터만 갖는다.
          const html = matchArray.map(place=>{
            //html은 matchArray의 판별한 데이터를 html태그로 맵핑해 변환한다.
              const regex=new RegExp(this.value,'gi')
              //const는 블록레벨스코프를 가지므로 regex 재선언
              const cityName = place.city.replace(
                /*이미 검색한 값과 매치되는 값을 place로 가져온상태에서,
				place의 city 값만 replace로 대체한다.
				대체 값은 html태그이고, class "hl"은 css에서 background color를 지정해두었다.
				즉 해당 city부분만 지정된 배경색이 표시된다.*/
              regex,
              `<span class="hl">${this.value}</span>`
            );
              const stateName = place.state.replace(
              regex,
              `<span class="hl">${this.value}</span>`
            );
              //this를 이런식으로 쓰는 구나....
              return`
              <li>
                <span class="name">${cityName},${stateName}</span>
                <span class="population">${place.population}</span>
              </li>
                `
          }).join('')
          console.log(html)
          suggestions.innerHTML=html;

        }
replace를 쓴다!
data의 city와 state

Why?에서 시작해 How를 찾는 과정을 좋아합니다. 그 고민과 성장의 과정을 꾸준히 기록하고자 합니다.