
💻 React Query의 Pagination
프로젝트를 진행하다보면 페이지네이션을 구현해야할 때가 많을 것이다. 이번에 리액트 쿼리를 배우면서 리액트 쿼리의 pagination을 구현하는 방법을 공부해 보았다.
- Pagination(페이지네이션)이란?
현재 페이지 상태를 통해 현재 페이지를 파악하는 페이지 매김 방법
- 페이지마다 다른 쿼리키가 필요
- 쿼리키를 배열로 업데이트해서 가져오오는 페이지 번호 포함
- 사용자가 이전 혹은 다음 페이지로가는 버튼을 누르면 현재 페이지 상태를 업데이트
React Query가 바뀐 쿼리키를 감지하고 새로운 쿼리를 실행해서 새 페이지가 표시
🖤 적용
- 코드
import { useState } from "react";
import { useQuery } from "react-query"; // 서버에서 데이터를 가져올때쓸 훅

import { PostDetail } from "./PostDetail";
const maxPostPage = 10;
async function fetchPosts(pageNum) {
    const response = await fetch(`https://xnxnxn.typicode.com/posts?_limit=10&_page=${pageNum}`);
    return response.json();
}
export function Posts() {
    const [currentPage, setCurrentPage] = useState(1);
    const [selectedPost, setSelectedPost] = useState(null);
	// 쿼리키에 currentPage를 포함한다.
  // currentPage를 포함하게 되면 React Query가 바뀐 쿼리 키를 감지해서 새쿼리키에 대한 데이터를 업데이트한다.
    const { data, isError, error, isLoading } = useQuery(["posts", currentPage], () => fetchPosts(currentPage), { staleTime: 2000 });


    if (isLoading) return <h3>Loading...</h3>;
    if (isError)
        return (
            <>
                <h3>ERROR!!</h3>
                <p>{error.toString()}</p>
            </>
        );

    return (
        <>
            <ul>
                {data.map((post) => (
                    <li key={post.id} className="post-title" onClick={() => setSelectedPost(post)}>
                        {post.title}
                    </li>
                ))}
            </ul>
            <div className="pages">
                <button
// 현재페이지가 1과 같거나 (첫번째페이지이거나) 작은면 이전버튼 비활성화
                    disabled={currentPage <= 1}
                    onClick={() => {
                      // 클릭시 현재값에서 -1을 해준것으로 currentPage상태변화
                        setCurrentPage((previousValue) => previousValue - 1);
                    }}
                >
                    Previous page
                </button>
                <span>Page {currentPage}</span>
                <button
// 지정한 최대페이지와 같거나 크면 다음페이지비활성화
                    disabled={currentPage >= maxPostPage}
                    onClick={() => {
                       // 클릭시 현재값에서 +1을 해준것으로 currentPage상태변화
                        setCurrentPage((previousValue) => previousValue + 1);
                    }}
                >
                    Next page
                </button>
            </div>
            <hr />
        </>
    );
}- 결과
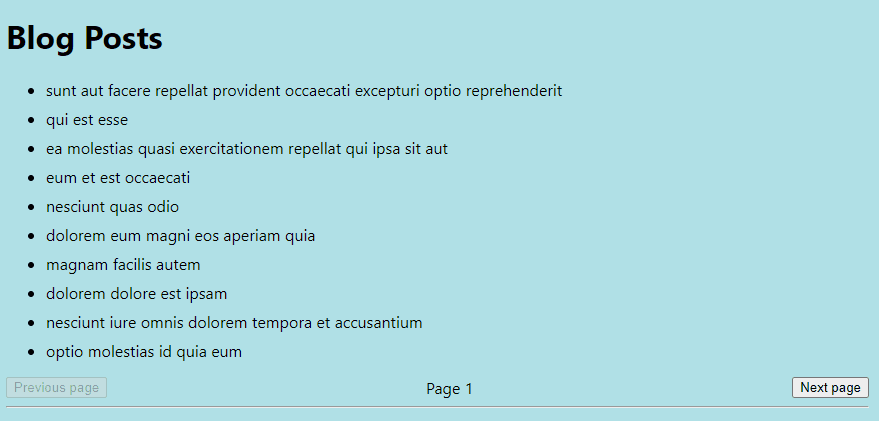
이전버튼과 다음버튼을 눌렀을시 페이지넘김이 잘되는 것을 볼수있다.