클래스 :
-
<style>내부에서.classname { … }의 형식으로, 온점.뒤에 클래스의 이름을 적음으로써 클래스를 형성하고 클래스와 이에 따른 css 스타일을 설정해줄 수 있다. -
무슨 요소이든 class attribute(속성)으로 (
class=”class1 class2”)특정 클래스에 속함을 밝힐 수 있고, 속하는 class의 속성들(style 등)을 부여받게 된다.이때 한 요소는 class 이름을 띄워 적음으로써 여러 개의 class에 속할 수 있고, 서로 다른 종류의 여러 요소가 같은 클래스에 속할 수도 있음.
-
e.g.
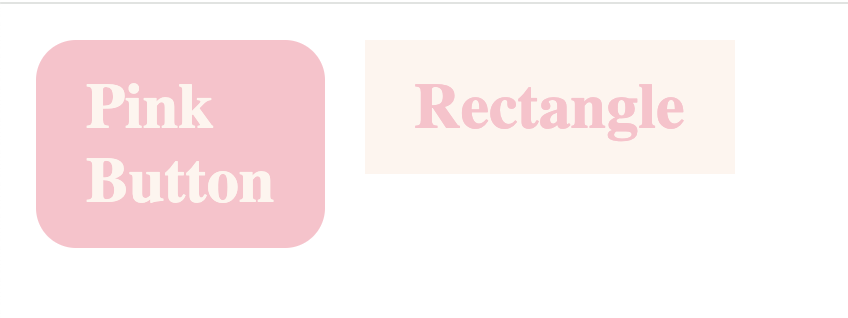
<head> <style> .pink_button { background-color:Pink; color:SeaShell; padding: 15px 25px; margin: 10px; inline-size:min-content; float:left; border-radius: 20px; } .rectangle { background-color:SeaShell; color:Pink; padding:15px 25px; margin:10px; float:left; inline-size:min-content; } </style> </head> <body> <h1 class="pink_button">Pink Button</h1> <h1 class="rectangle">Rectangle</h1> </body> -
클래스와 자바스크립트 :
- 자바스크립트의
getElementByClassName()메서드로, 한 클래스에 속하는 모든 요소들을 선택하고 자바스크립트 코드로 특정 상호작용을 지정하는 등의 코드를 짤 수 있다
➡️ 실제 활용에서는document.querySelector(.classname)이 클래스로 요소를 선택하는 데에 많이 쓰인다.
- 자바스크립트의
아이디 :
- 클래스가 여러 html 요소를 그룹핑하는 역할이라면, 아이디는 각각의 html 요소를 구별하는 식별자 역할이라고 할 수 있다. 한 아이디는 하나의 요소에만 부여될 수 있다.
<style>내부에서 샵(#)과 함께, 특정 아이디에 대한 스타일을 css로 설정해줄 수 있다. 이를 적용하기 위해 각 요소의id속성에서 고유한 아이디를 부여해줄 수 있다.<!DOCTYPE html> <html> <head> <style> #green {color: SeaGreen;} </style> </head> <body> <h2>This has no id</h1> <h2 id="green">This has id "green"</h1> </body> </html>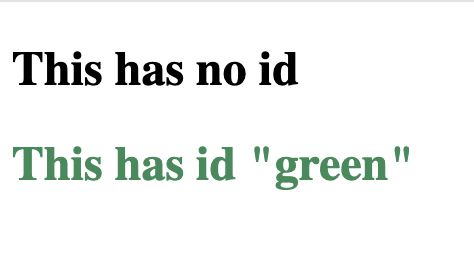
- 아이디와 자바스크립트 :
getElementById()를 통해 특정 아이디를 가진 요소를 선택함으로써 자바스크립트로 여러 구현을 할 수 있다.
(ordocument.querySelector("#id"))

다시해보자.