04. 이벤트 조회 및 수정 REST API 개발
이벤트 목록 조회 API 구현
Event 목록을 조회할 수 있는 API를 구현해 보자!
테스트로 이벤트를 30개 생성하고, 각 페이지의 크기를 이벤트 10개씩 하여 두 번째 페이지를 조회하도록 코드를 작성할 것이다.
EventControllerTests.java 에 다음 테스트 코드를 추가하자.
// EventControllerTests.java

@RunWith(SpringRunner.class)
@SpringBootTest
@AutoConfigureMockMvc
@AutoConfigureRestDocs
@Import(RestDocsConfiguration.class)
@ActiveProfiles("test")
public class EventControllerTests {

    @Autowired
    MockMvc mockMvc;

    @Autowired
    ObjectMapper objectMapper;

    @Autowired
    EventRepository eventRepository;

    // ... (생략) ...

    @Test
    @TestDescription("30개의 이벤트를 10개씩 두 번째 페이지 조회하기")
    public void queryEvents() throws Exception {
        // Given - 이벤트 30개
        IntStream.range(0, 30).forEach(this::generateEvent);

        // When - 두 번째 페이지 조회
        this.mockMvc.perform(get("/api/events")
                        .param("page", "1") // 1이 두 번째 페이지
                        .param("size", "10") // 한 페이지 사이즈
                        .param("sort", "name,DESC") // 이름 역순
                )
                // Then
                .andDo(print())
                .andExpect(status().isOk())
                .andExpect(jsonPath("page").exists())
                .andExpect(jsonPath("_embedded.eventList[0]._links.self").exists())
                .andExpect(jsonPath("_links.self").exists())
                .andExpect(jsonPath("_links.profile").exists())
                .andDo(document("query-events"))
        ;
    }


    private void generateEvent(int index) { // 이벤트 생성하기
        Event event = Event.builder()
                .name("event " + index)
                .description("test index " + index)
                .build();

        this.eventRepository.save(event);
    }
}
generateEvent() 메소드를 추가하여 이벤트를 생성할 수 있도록 했다.
이때 이벤트의 이름은 event <index> 가 된다.
페이징과 정렬은 스프링 데이터 JPA가 제공하는 Pageable 를 이용해서 구현할 수 있다.
Pageable 으로 페이징과 관련된 파라미터를 받아올 수 있다.
파라미터를 제공하는 방법은 다음과 같다.
page: 0부터 시작 (1은 두 번째 페이지)size: 기본값 20sort: property,property(,ASC 또는 ,DESC)
EventController.java 에 queryEvents() 메소드를 추가해 보자.
// EventController.java
@Controller
@RequestMapping(value = "/api/events", produces = MediaTypes.HAL_JSON_VALUE)
public class EventController {

	// ... (생략) ...

    @GetMapping
    public ResponseEntity queryEvents(Pageable pageable, PagedResourcesAssembler<Event> assembler) {
        Page<Event> page = this.eventRepository.findAll(pageable);
        var pageResources = assembler.toModel(page, e -> new EventResource(e));
        pageResources.add(Link.of("/docs/index.html#resources-events-list").withRel("profile"));
        return ResponseEntity.ok(pageResources);
    }

	// ... (생략) ...
}
PagedResourcesAssembler<T> 를 사용해서 findAll(pageable) 결과로 나온 page 를 리소스로 바꾸어서 링크 정보를 추가했다.
이때 page 관련 링크는 다음 정보를 의미한다.
- 현재 페이지에 대한 링크
- 이전 페이지에 대한 링크
- 다음 페이지에 대한 링크
- ...
그리고 완전한 HATEOAS 를 충족하기 위해서는 각각의 이벤트로 갈 수 있는 링크도 추가해야 한다.
테스트를 실행한 후, 어떤 응답이 왔는지 확인해 보면 다음과 같다.
{
"_embedded":{
	"eventList":[
		{
          "id":27,
          "name":"event 26",
          "description":"test index 26",
          "beginEnrollmentDateTime":null,
          "closeEnrollmentDateTime":null,
          "beginEventDateTime":null,
          "endEventDateTime":null,
          "location":null,
          "basePrice":0,
          "maxPrice":0,
          "limitOfEnrollment":0,
          "offline":false,
          "free":false,
          "eventStatus":null,
          "_links":{
			"self":{
				"href":"http://localhost:8080/api/events/27"
			}
		}
},

(생략)

	"_links":{
		"first":{
          "href":"http://localhost:8080/api/events?page=0&size=10&sort=name,desc"
		},
		"prev":{
			"href":"http://localhost:8080/api/events?page=0&size=10&sort=name,desc"
		},
		"self":{
			"href":"http://localhost:8080/api/events?page=1&size=10&sort=name,desc"
		},
		"next":{
			"href":"http://localhost:8080/api/events?page=2&size=10&sort=name,desc"
		},
		"last":{
			"href":"http://localhost:8080/api/events?page=2&size=10&sort=name,desc"
		},
		"profile":{
			"href":"/docs/index.html#resources-events-list"
		}
	},
	"page":{
      "size":10,
      "totalElements":30,
      "totalPages":3,
      "number":1
	}
}
page 관련 링크들이 추가되었다! 🤗
이벤트 조회 API 구현
이번에는 기존의 이벤트를 하나 조회할 수 있는 API를 구현해 보자.
먼저, 이벤트를 하나 조회하는 테스트와 없는 이벤트를 조회했을 때 404 응답을 받는 테스트를 작성할 것이다.
// EventControllerTests.java

@RunWith(SpringRunner.class)
@SpringBootTest
@AutoConfigureMockMvc
@AutoConfigureRestDocs
@Import(RestDocsConfiguration.class)
@ActiveProfiles("test")
public class EventControllerTests {

    @Autowired
    MockMvc mockMvc;

    @Autowired
    ObjectMapper objectMapper;

    @Autowired
    EventRepository eventRepository;

    // ... (생략) ...

	@Test
    @TestDescription("기존의 이벤트를 하나 조회하기")
    public void getEvent() throws Exception {
        // Given
        Event event = this.generateEvent(100);// 이벤트 하나 생성

        // When & Then
        this.mockMvc.perform(get("/api/events/{id}", event.getId())) // URI path에 id 값 넣어줌
                .andExpect(status().isOk())
                .andExpect(jsonPath("name").exists())
                .andExpect(jsonPath("id").exists())
                .andExpect(jsonPath("_links.self").exists())
                .andExpect(jsonPath("_links.profile").exists())
                .andDo(document("get-an-event")) // 문서화
        ;
    }

    @Test
    @TestDescription("없는 이벤트를 조회했을 때 404 응답 받기")
    public void getEvent404() throws Exception {
        // Given - 이벤트 생성 X

        // When & Then
        this.mockMvc.perform(get("/api/events/11883")) // URI path에 id 값 넣어줌
                .andExpect(status().isNotFound()) // 404
        ;
    }

    private Event generateEvent(int index) { // 이벤트 생성하기
        Event event = Event.builder()
                .name("event " + index)
                .description("test index " + index)
                .build();

       return this.eventRepository.save(event);
    }


}
테스트에서는 조회하는 이벤트가 있을 경우 이벤트 리소스를 확인할 수 있도록 구현했다.
이벤트 리소스에는 아래의 정보가 있어야 한다.
- 링크
•self
•profile
•update: user 추가 후 나중에 구현 - 이벤트 데이터
테스트 코드에 맞게 EventController.java 도 수정해 보자.
// EventController.java
@Controller
@RequestMapping(value = "/api/events", produces = MediaTypes.HAL_JSON_VALUE)
public class EventController {

	// ... (생략) ...

    @GetMapping("/{id}")
    public ResponseEntity getEvent(@PathVariable Integer id) {
        Optional<Event> optionalEvent = this.eventRepository.findById(id);
        if (optionalEvent.isEmpty()) {
            return ResponseEntity.notFound().build();
        }

        Event event = optionalEvent.get();
        EventResource eventResource = new EventResource(event);
        eventResource.add(Link.of("/docs/index.html#resources-events-get ").withRel("profile"));
        return ResponseEntity.ok(eventResource); // 이벤트 리소스로 만들어서 보내기

    }

	// ... (생략) ...
}
@GetMapping 어노테이션을 위의 코드처럼 작성하면, 오버라이딩 되어 /api/events/{id} 가 된다.
그리고 findById(id) 로 이벤트를 찾았을 때, 이벤트가 없다면 404 응답을 보내도록 했다.
이벤트가 조회된다면 이벤트를 리소스로 만들어서 반환한다.
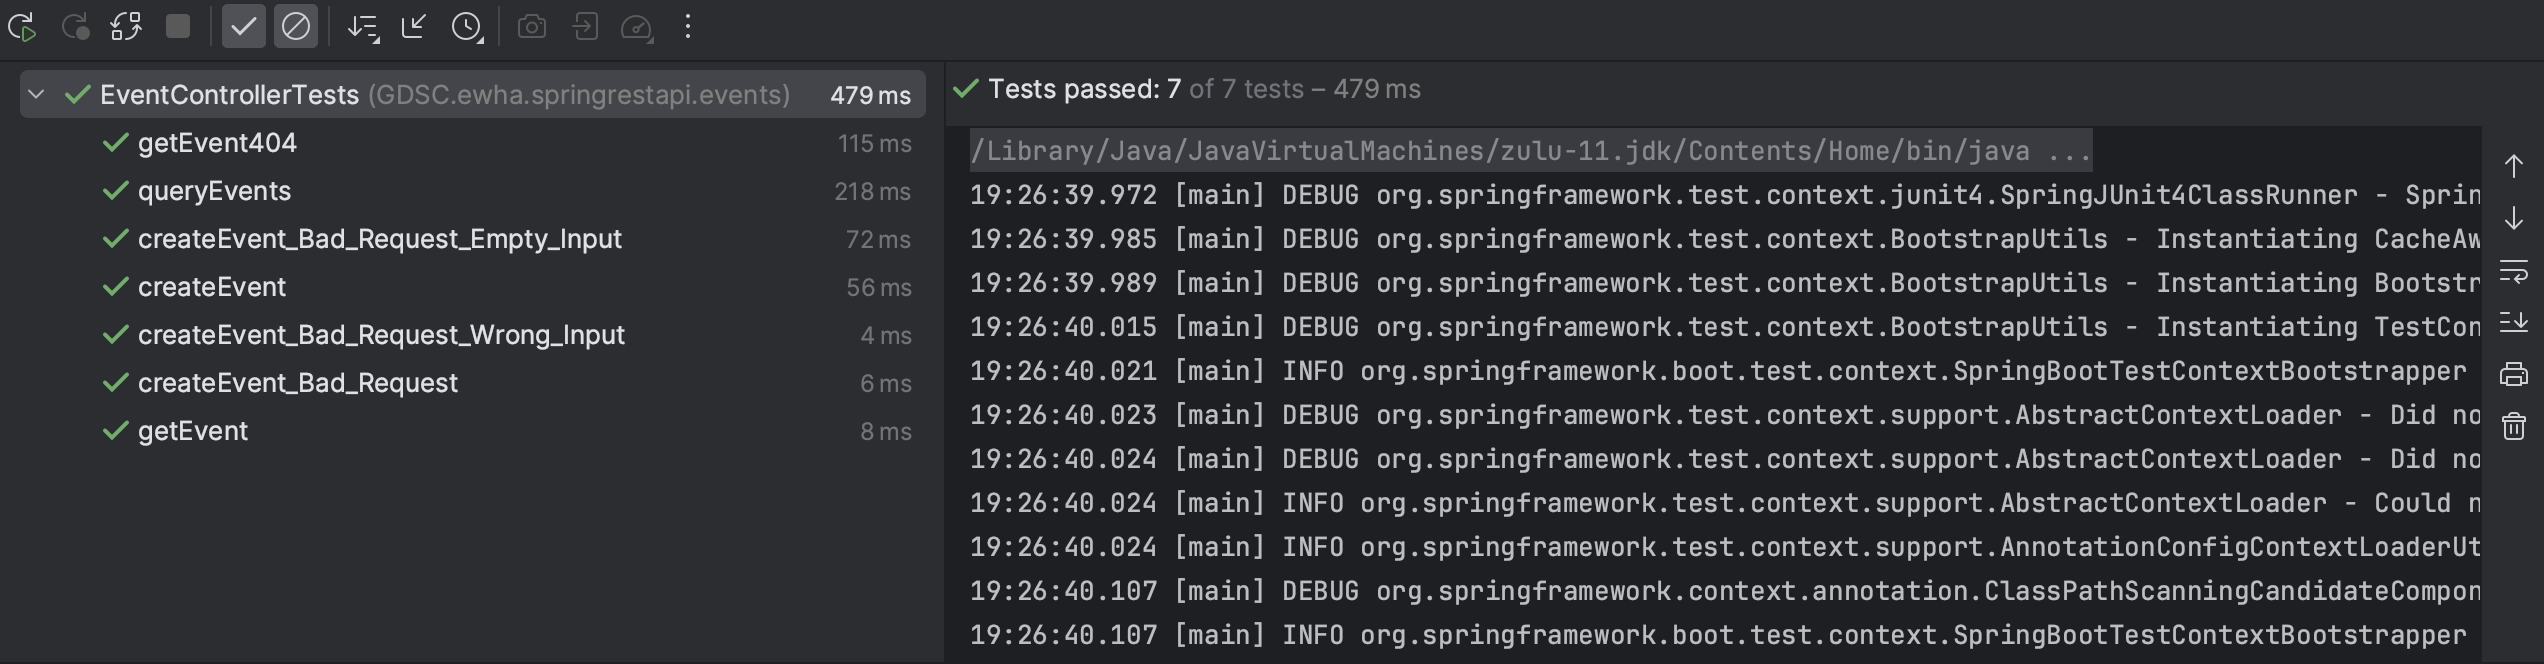
지금까지 작성한 테스트 코드 실행시켜보면, 모두 정상적으로 동작하는 것을 확인할 수 있다.
이벤트 수정 API 구현
이번에는 이벤트 수정 API를 구현해 볼 것이다.
다른 API 구현 예제처럼 먼저 테스트 코드를 작성한 후, 이벤트 컨트롤러를 만들어 보자.
이벤트 수정 API에는 총 4가지 테스트가 필요하다.
- 이벤트를 정상적으로 수정한 경우 (200)
- 값 자체가 없어서 이벤트 수정에 실패하는 경우 (400)
- 로직상 잘못된 값이라 이벤트 수정에 실패하는 경우 (400)
- 존재하지 않는 이벤트라 수정에 실패하는 경우 (404)
각 테스트 코드는 다음과 같이 작성할 수 있다.
1️⃣ 이벤트를 정상적으로 수정한 경우
// EventControllerTests.java

@RunWith(SpringRunner.class)
@SpringBootTest
@AutoConfigureMockMvc
@AutoConfigureRestDocs
@Import(RestDocsConfiguration.class)
@ActiveProfiles("test")
public class EventControllerTests {

    @Autowired
    MockMvc mockMvc;

    @Autowired
    ObjectMapper objectMapper;

    @Autowired
    EventRepository eventRepository;

    @Autowired
    ModelMapper modelMapper;

    // ... (생략) ...
    @Test
    @TestDescription("이벤트를 정상적으로 수정하기")
    public void updateEvent() throws Exception {
        // Given
        Event event = this.generateEvent(200);

        EventDto eventDto = this.modelMapper.map(event, EventDto.class); // 이벤트를 수정할 Dto
        String eventName = "Updated Event";
        eventDto.setName(eventName);

        // When & Then - 업데이트 요청
        this.mockMvc.perform(put("/api/events/{id}", event.getId())
                        .contentType(MediaType.APPLICATION_JSON)
                        .content(this.objectMapper.writeValueAsString(eventDto)))
                .andDo(print())
                .andExpect(status().isOk())
                .andExpect(jsonPath("name").value(eventName)) // 수정한 이름하고 같은지
                .andExpect(jsonPath("_links.self").exists())
                .andDo(document("update-event")) // 문서화
        ;
    }


    private Event generateEvent(int index) { // 이벤트 생성하기
        Event event = Event.builder()
                .name("event " + index)
                .description("test index " + index)
                .beginEnrollmentDateTime(LocalDateTime.of(2023, 11, 11, 11, 11))
                .closeEnrollmentDateTime(LocalDateTime.of(2023, 11, 12, 11, 11))
                .beginEventDateTime(LocalDateTime.of(2023, 11, 22, 11, 11))
                .endEventDateTime(LocalDateTime.of(2023, 11, 23, 11, 11))
                .basePrice(100)
                .maxPrice(200)
                .limitOfEnrollment(100)
                .location("이화여자대학교 신공학관")
                .free(false)
                .offline(true)
                .eventStatus(EventStatus.DRAFT)
                .build();

       return this.eventRepository.save(event);
    }
}
eventDto 를 사용하면 수정하고 싶은 부분만 수정할 수 있다.
테스트에서는 이벤트 이름을 Updated Event 로 수정했다.
테스트가 정상적으로 수행되는 경우는 200 응답이 오고, 응답에 담겨온 name 값이 수정한 이름하고 같을 때이다.
2️⃣ 값 자체가 없는 경우
// EventControllerTests.java

@RunWith(SpringRunner.class)
@SpringBootTest
@AutoConfigureMockMvc
@AutoConfigureRestDocs
@Import(RestDocsConfiguration.class)
@ActiveProfiles("test")
public class EventControllerTests {

    @Autowired
    MockMvc mockMvc;

    @Autowired
    ObjectMapper objectMapper;

    @Autowired
    EventRepository eventRepository;

    @Autowired
    ModelMapper modelMapper;

    // ... (생략) ...
    @Test
    @TestDescription("입력값이 비어 있는 경우에 이벤트 수정 실패")
    public void updateEvent400Empty() throws Exception {
        // Given
        Event event = this.generateEvent(200);

        EventDto eventDto = new EventDto();

        // When & Then - 업데이트 요청
        this.mockMvc.perform(put("/api/events/{id}", event.getId())
                        .contentType(MediaType.APPLICATION_JSON)
                        .content(this.objectMapper.writeValueAsString(eventDto)))
                .andDo(print())
                .andExpect(status().isBadRequest()) // 400
        ;
    }


    private Event generateEvent(int index) { // 이벤트 생성하기
        Event event = Event.builder()
                .name("event " + index)
                .description("test index " + index)
                .beginEnrollmentDateTime(LocalDateTime.of(2023, 11, 11, 11, 11))
                .closeEnrollmentDateTime(LocalDateTime.of(2023, 11, 12, 11, 11))
                .beginEventDateTime(LocalDateTime.of(2023, 11, 22, 11, 11))
                .endEventDateTime(LocalDateTime.of(2023, 11, 23, 11, 11))
                .basePrice(100)
                .maxPrice(200)
                .limitOfEnrollment(100)
                .location("이화여자대학교 신공학관")
                .free(false)
                .offline(true)
                .eventStatus(EventStatus.DRAFT)
                .build();

       return this.eventRepository.save(event);
    }
}
값 자체가 없는 경우에는 400 응답이 올 것이다.
eventDto를 생성하기만 하고 아무 값도 담지 않은 상태로 테스트를 수행한다.
3️⃣ 로직상 잘못된 값인 경우
// EventControllerTests.java

@RunWith(SpringRunner.class)
@SpringBootTest
@AutoConfigureMockMvc
@AutoConfigureRestDocs
@Import(RestDocsConfiguration.class)
@ActiveProfiles("test")
public class EventControllerTests {

    @Autowired
    MockMvc mockMvc;

    @Autowired
    ObjectMapper objectMapper;

    @Autowired
    EventRepository eventRepository;

    @Autowired
    ModelMapper modelMapper;

    // ... (생략) ...
    @Test
    @TestDescription("입력값이 잘못된 경우에 이벤트 수정 실패")
    public void updateEvent400Wrong() throws Exception {
        // Given
        Event event = this.generateEvent(200);

        EventDto eventDto = this.modelMapper.map(event, EventDto.class);

        // 값이 잘못된 경우
        eventDto.setBasePrice(20000);
        eventDto.setMaxPrice(1000);

        // When & Then - 업데이트 요청
        this.mockMvc.perform(put("/api/events/{id}", event.getId())
                        .contentType(MediaType.APPLICATION_JSON)
                        .content(this.objectMapper.writeValueAsString(eventDto)))
                .andDo(print())
                .andExpect(status().isBadRequest()) // 400
        ;
    }


    private Event generateEvent(int index) { // 이벤트 생성하기
        Event event = Event.builder()
                .name("event " + index)
                .description("test index " + index)
                .beginEnrollmentDateTime(LocalDateTime.of(2023, 11, 11, 11, 11))
                .closeEnrollmentDateTime(LocalDateTime.of(2023, 11, 12, 11, 11))
                .beginEventDateTime(LocalDateTime.of(2023, 11, 22, 11, 11))
                .endEventDateTime(LocalDateTime.of(2023, 11, 23, 11, 11))
                .basePrice(100)
                .maxPrice(200)
                .limitOfEnrollment(100)
                .location("이화여자대학교 신공학관")
                .free(false)
                .offline(true)
                .eventStatus(EventStatus.DRAFT)
                .build();

       return this.eventRepository.save(event);
    }
}
로직상 값이 잘못된 경우는 무엇이 있을까?
한 가지 예제는 MaxPrice 보다 BasePrice 값이 더 큰 경우이다.
이처럼 이벤트가 잘못된 값으로 수정되었을 때는 400 응답이 와야 한다.
4️⃣ 존재하지 않는 이벤트인 경우
// EventControllerTests.java

@RunWith(SpringRunner.class)
@SpringBootTest
@AutoConfigureMockMvc
@AutoConfigureRestDocs
@Import(RestDocsConfiguration.class)
@ActiveProfiles("test")
public class EventControllerTests {

    @Autowired
    MockMvc mockMvc;

    @Autowired
    ObjectMapper objectMapper;

    @Autowired
    EventRepository eventRepository;

    @Autowired
    ModelMapper modelMapper;

    // ... (생략) ...
    @Test
    @TestDescription("존재하지 않는 이벤트 수정 실패")
    public void updateEvent404() throws Exception {
        // Given
        Event event = this.generateEvent(200);
        EventDto eventDto = this.modelMapper.map(event, EventDto.class);

        // When & Then - 업데이트 요청
        this.mockMvc.perform(put("/api/events/11231", event.getId())
                        .contentType(MediaType.APPLICATION_JSON)
                        .content(this.objectMapper.writeValueAsString(eventDto)))
                .andDo(print())
                .andExpect(status().isNotFound()) // 404
        ;
    }


    private Event generateEvent(int index) { // 이벤트 생성하기
        Event event = Event.builder()
                .name("event " + index)
                .description("test index " + index)
                .beginEnrollmentDateTime(LocalDateTime.of(2023, 11, 11, 11, 11))
                .closeEnrollmentDateTime(LocalDateTime.of(2023, 11, 12, 11, 11))
                .beginEventDateTime(LocalDateTime.of(2023, 11, 22, 11, 11))
                .endEventDateTime(LocalDateTime.of(2023, 11, 23, 11, 11))
                .basePrice(100)
                .maxPrice(200)
                .limitOfEnrollment(100)
                .location("이화여자대학교 신공학관")
                .free(false)
                .offline(true)
                .eventStatus(EventStatus.DRAFT)
                .build();

       return this.eventRepository.save(event);
    }
}
마지막으로 존재하지 않는 이벤트인 경우에는 404 응답이 오게 될 것이다.
이제 네 가지 테스트 케이스에 맞춰 이벤트 컨트롤러를 수정해 보자.
// EventController.java
@Controller
@RequestMapping(value = "/api/events", produces = MediaTypes.HAL_JSON_VALUE)
public class EventController {

	// ... (생략) ...

    @PutMapping("/{id}")
    public ResponseEntity updateEvent(@PathVariable Integer id,
                                      @RequestBody @Valid EventDto eventDto,
                                      Errors errors) { // validation 결과 errors에 담김

        Optional<Event> optionalEvent = this.eventRepository.findById(id);

        if (optionalEvent.isEmpty()) { // 비어 있는 경우
            return ResponseEntity.notFound().build();
        }

        if (errors.hasErrors()) {
            return badRequest(errors);
        }

        this.eventValidator.validate(eventDto, errors);
        if (errors.hasErrors()) {
            return badRequest(errors);
        }

        // 비어 있지 않고, 값이 이상하지 않으면 업데이트 수행
        Event existingEvent = optionalEvent.get();
        this.modelMapper.map(eventDto, existingEvent);
        Event savedEvent = this.eventRepository.save(existingEvent);

        EventResource eventResource = new EventResource(savedEvent);
        eventResource.add(Link.of("/docs/index.html#resources-events-update ").withRel("profile"));

        return ResponseEntity.ok(eventResource);

    }

	// ... (생략) ...
}
@PutMapping 어노테이션을 사용해서 updateEvent() 메소드를 구현했다.
EventDto 에 validation을 수행하는데, 검증 결과는 errors 객체에 담기게 된다. (이 부분은 2장에서 배운 개념이다!)
따라서, 로직상 잘못된 값인 경우에는 errors.hasErrors() 로 조건문을 사용해서 400 응답을 보낼 수 있다.
그리고 값이 비어 있지 않고, 정상적인 값인 경우에는 업데이트를 수행하여 이벤트를 리소스로 만들어서 200 응답을 보낸다.
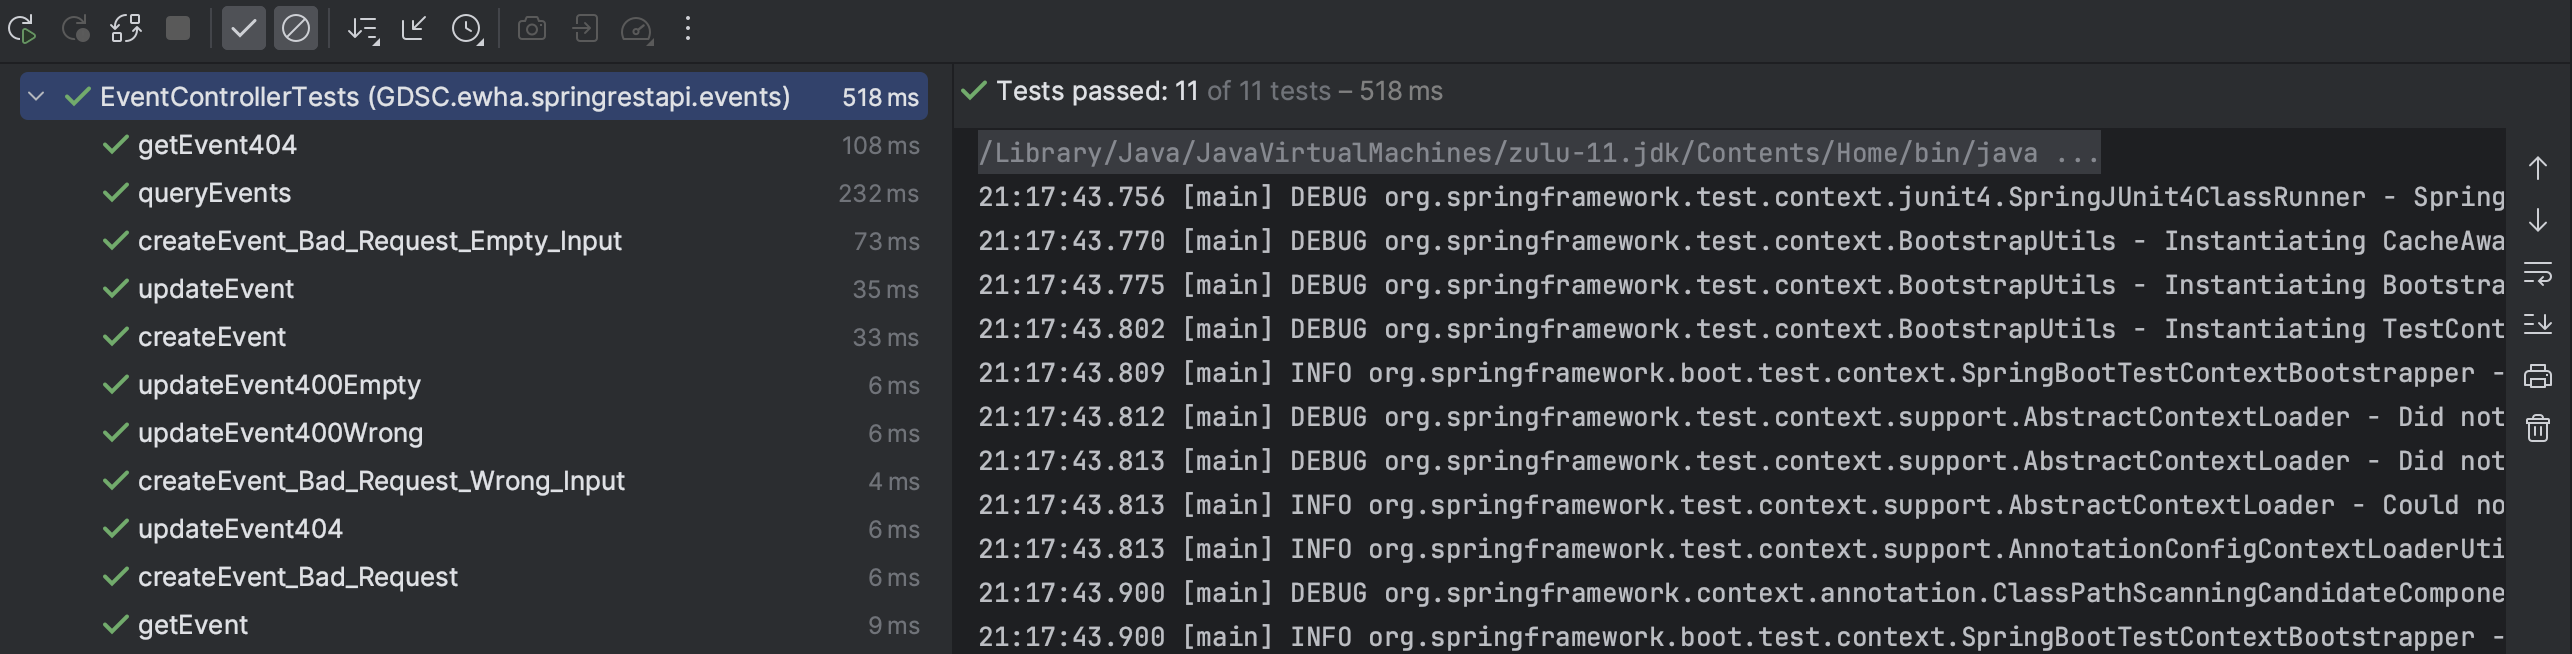
지금까지 작성한 테스트 코드 실행시켜보면, 모두 정상적으로 동작한다! 🙃
테스트 코드 리팩토링
지금까지 만들었던 테스트 코드를 살펴보면, EventControllerTests.java 와 IndexControllerTest.java 에서 중복으로 사용되는 코드가 있다.
@RunWith(SpringRunner.class)
@SpringBootTest
@AutoConfigureMockMvc
@AutoConfigureRestDocs
@Import(RestDocsConfiguration.class)
@ActiveProfiles("test")

public class <ControllerTest 이름>{
    @Autowired
    MockMvc mockMvc;
}
이러한 중복은 BaseControllerTest.java 클래스를 생성해서 상속하면 쉽게 해결할 수 있다.
// BaseControllerTest.java

import com.fasterxml.jackson.databind.ObjectMapper;
import org.junit.Ignore;
import org.junit.runner.RunWith;
import org.modelmapper.ModelMapper;
import org.springframework.beans.factory.annotation.Autowired;
import org.springframework.boot.test.autoconfigure.restdocs.AutoConfigureRestDocs;
import org.springframework.boot.test.autoconfigure.web.servlet.AutoConfigureMockMvc;
import org.springframework.boot.test.context.SpringBootTest;
import org.springframework.context.annotation.Import;
import org.springframework.test.context.ActiveProfiles;
import org.springframework.test.context.junit4.SpringRunner;
import org.springframework.test.web.servlet.MockMvc;

@RunWith(SpringRunner.class)
@SpringBootTest
@AutoConfigureMockMvc
@AutoConfigureRestDocs
@Import(RestDocsConfiguration.class)
@ActiveProfiles("test")
@Ignore
public class BaseControllerTest {
    @Autowired
    protected MockMvc mockMvc;

    @Autowired
    protected ObjectMapper objectMapper;

    @Autowired
    protected ModelMapper modelMapper;
}
이렇게 생성한 후, EventControllerTests.java 와 IndexControllerTest.java 에서 BaseControllerTest 클래스를 상속받으면 된다.
@Ignore 어노테이션은 리팩토링 목적으로 사용된 BaseControllerTest 가 테스트로 간주되지 않도록 설정해 준다.
IntelliJ 명령어 정리 (macOS)
💡
[cmd + shift + T]: test로 이동
💡[ctrl + shift + R]: 테스트 메소드 실행
💡[ctrl + opt + O]: optimize import, 사용하지 않는 import문 제거
인프런 백기선님의 스프링 기반 REST API 개발을 기반으로 작성했습니다.