화면에 html요소를 추가하기 위해서 자바스크립트로 dom에 접근하여 엘리먼트를 만드는 방법이 있다.
바로 createElement, appendChild이다.
바로 예시를 써보자면
const p = document.createElement('p');
document.body.appendChild(p)
// 만들어둔 엘리먼트 안에 요소를 넣고 싶을 경우(ex. id='container')
container.appendChild(p)
createElement
코드를 해석하자면 document안에 p태그를 create해서 p라는 변수에 대입한 것이다.
이렇게 대입한다고 해서 바로 화면에 표출되는 것은 아니다. 그냥 변수 선언만 했을 뿐.
appendChild
바로 appendChild를 통해 넣고 싶은 엘리먼트안에 적용하는 것이다. append는 추가하다, 덧입히다라는 의미를 갖고있다.
위의 예시에서는 document의 body안에 변수 p를 추가한다는 코드와 container라는 id를 가진 엘리먼트 안에 변수 p를 넣겠다는 코드 2가지가 쓰여있다.
appendChid는 비슷한 기능으로 append만을 쓸 수도 있다. 2가지 모두 의미는 동일하지만 appendChid의 경우 p태그, div태그 같은 노드객체(dom의 html 엘리먼트 객체라고 보면 됨)만을 추가할 수 있지만 append는 노드객체, 문자열을 자식 요소로 추가할 수 있다.
parent.append('Hello, ', document.createElement('div').textContent = 'World');

// 문자열만 추가
parent.append('This is a string');
예시와 같이 append는 여러 종류의 노드객체와 문자열을 한번에 추가할 수 있다.
실습: 몬스터 잡기 게임
git주소: https://github.com/hanhyochan/study-javascript/blob/master/5%ED%9A%8C%EC%B0%A8/%EB%AA%AC%EC%8A%A4%ED%84%B0%EC%9E%A1%EA%B8%B0%EA%B2%8C%EC%9E%84.html
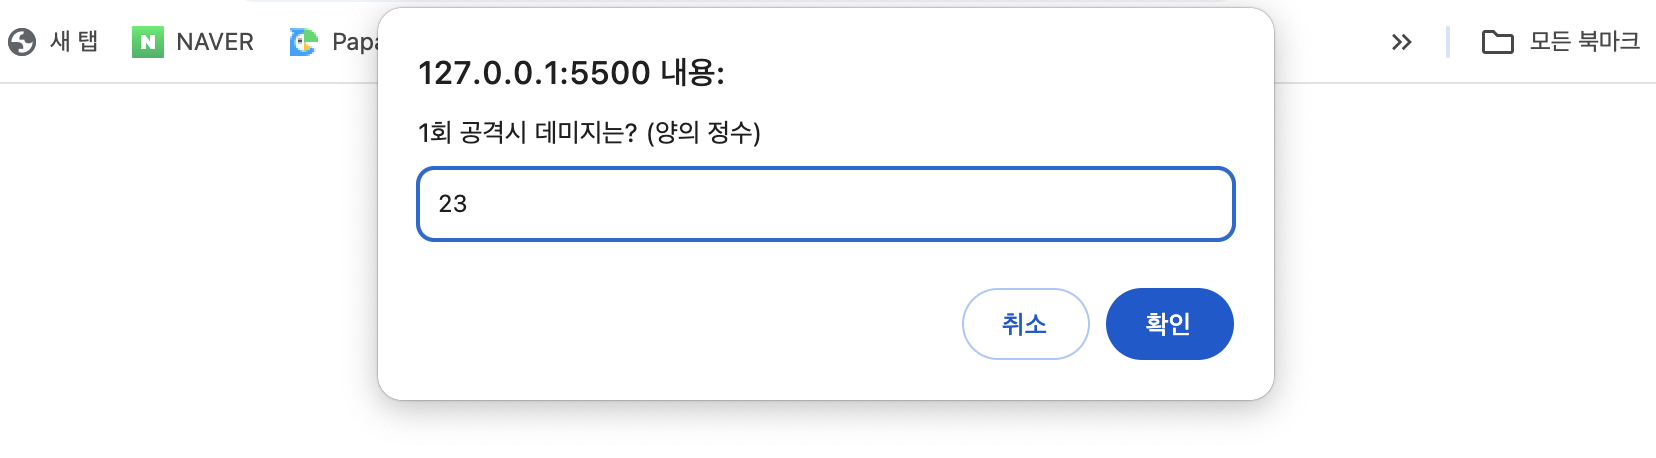

prompt에 몬스터에게 줄 데미지 수치를 입력하면 몬스터 HP가 100에서 0이 될 때까지 데미지를 준 후 0이 되면 잡기가 완료되는 게임이다.
prompt에 음수나 100이상을 입력하면 다시 쓰라는 alert가 나온다.
코드는 아래와 같다.
<div id="container"></div>
    <script>
      const container = document.getElementById("container");
      const h1 = document.createElement("h1");
      h1.textContent = "몬스터 잡기 게임을 시작합니다!";
      container.appendChild(h1);

      let monsterHP = 100;
      let attackDamage = parseInt(prompt(`1회 공격시 데미지는? (양의 정수)`));
      let attackCount = 0;

      if (attackDamage > 0 && attackDamage <= 100) {
        while (monsterHP > 0) {
          monsterHP -= attackDamage;
          attackCount++;

          if (monsterHP < 0) {
            monsterHP = 0;
          }

          const p = document.createElement("p");
          p.textContent = `몬스터를 ${attackCount}회 공격했다!`;
          container.append(p);

          const strong = document.createElement("strong");
          strong.textContent = `몬스터의 남은 HP는 ${monsterHP}입니다!`;
          container.appendChild(strong);
        }
        const h2 = document.createElement("h2");
        h2.textContent = `몬스터 잡기 완료~`;
        h2.title = `게임을 다시 시작하고 싶으면 새로고침하세요.`;
        h2.style.color = "orange";
        container.appendChild(h2);
      } else {
        alert("점수 똑바로 입력하세욧!");
      }
</script>- body에 엘리먼트를 넣을 container를 만들어 준다.
- 화면에 표출할 엘리먼트들을 담은 변수들을 선언해준다.
- 몬스터 HP와 데미지값, 공격 횟수를 선언한다.
- 데미지값이 올바르게 들어왔을 경우 while문을 사용해 몬스터 HP가 0이 될 때까지 HP에서 데미지값을 빼고 공격 횟수를 센다.
- 몬스터를 잡았을 때 데미지값을 깔끔하게 0으로 떨어지게하기 위해 HP가 0 미만으로 떨어졌을 때 무조건 화면에 0이 뜨게 만든다.
- createElement와 appendChild로 화면에 표출한다.
- 몬스터를 잡았을 때 '잡기 완료' 문구가 뜨도록 한다.
회고: createElement와 appendChild를 바로 복습할 수 있어서 좋았다.