시작하며
우선 이 작업이 해당 프로젝트의 첫 작업은 아니다. 간단한 구현은 이미 진행했었고, 이 github link에서 본 작업 이전까지의 작업물을 확인할 수 있다.( 아 물론 코드를 받아서 사용하려면 application.properties에 적혀있는 mysql 설정에 맞게 DB를 만들어줘야 한다.)
본 글은 OAuth2를 처음 적용해보며 겪고 이해했던 내용들을 복습의 형태로 기록하는 목적을 갖고 있다. 또한 본 글은 이 포스트를 따라가며 kotlin으로 변화시켜 적용시켜 보는 과정임을 명시한다.
Google OAuth2 구현하기
우선 OAuth2에 대한 자세한 설명은 여기서 하지 않는다. 대신 이해에 큰 도움이 될 수 있는 글 link를 하나 달아둔다.
OAuth2 인증 방식에 대해 알아보자.
Step 1. 구글 프로젝트 생성 및 프로젝트와 연결
처음으로는 구글 프로젝트를 만들고 나의 프로젝트와 연결해줘야 한다.
구글 프로젝트를 생성하고 사용자 ID를 만드는 것 까지는 따로 적지 않아도 구글링을 통해 너무나도 쉽게 알아낼 수 있기에 넘어간다.
코드적으로 진행해야 하는 부분은 아래와 같다.
## application.properties
~
spring.profiles.include=oauth
~

## application-oauth.properties (여기서 해당 파일은 개인 key이기에 .gitignore를 통해서 제외시켜주자)
spring.security.oauth2.client.registration.google.client-id=[발급받은 client-id]
spring.security.oauth2.client.registration.google.client-secret=[발급받은 client-secret]
spring.security.oauth2.client.registration.google.scope=profile,email
Step 2. User Entity 작성
서비스에서 사용할 User Entity를 만들어준다. 해당 코드는 우선 email, name, picture, role, createdAt field들을 가지고 있고, password가 없는 이유는 일단 google login을 통해서만 user가 사용할 수 있도록 할 생각이기 때문이다.
## User.kt
@Entity
data class User(
    @Column (unique = true)
    val email: String,
    val name: String,
    val picture: String,

    @Enumerated(EnumType.STRING)
    val role: Role,

    @CreationTimestamp
    val createdAt: LocalDateTime = LocalDateTime.now(),

    @Id @GeneratedValue
    val id: Long = 0
)

enum class Role(
    val key: String,
    val title: String
) {
    ADMIN("ROLE_ADMIN", "관리자"),
    USER("ROLE_USER", "사용자")
}

## UserRepository.kt
interface UserRepository: JpaRepository<User, Long> {
    fun findByEmail(email: String): User?
}
Step 3. SecurityConfig 작성
자 이제부터가 OAuth2 적용의 시작이다. 먼저 해야할 일은 gradle에 oauth를 추가해주는 것이다.
## build.gradle.kts
~
implementation("org.springframework.boot:spring-boot-starter-oauth2-client")
~
이제 핵심 코드들을 나온다. 우선 한번 쭉 읽고서 따라 적거나, 다시 한번 보는 걸 추천한다. 그 이유는 먼저 나오는 코드에서 뒤 쪽에 나올 코드를 사용하기 때문이다. 그럼에도 이 순서대로 코드를 배치한 것은 그게 이해에 도움이 될 것 같아서 이다.
SecurityConfig.kt 작성
이 class는 HttpSecurity를 설정해주는 역할을 한다. 코드를 보면서 이해해보자.
@EnableWebSecurity
class SecurityConfig(
    @Autowired private val customOAuth2UserService: CustomOAuth2UserService
): WebSecurityConfigurerAdapter() {
    override fun configure(http: HttpSecurity?) {
        if (http == null) throw Exception()

        http
            .csrf().disable()
            .headers().frameOptions().disable()
            // 여기까지는 h2 콘솔을 위한 설정들을 disable 하는 과정이라고 한다.
            // 이 파트는 사실 이해하지 못했다. 다만 csrf가 나오는 것으로 보아
            // 후에 다시 와서 수정하게 될 것 같다.
            .and()
                .authorizeRequests() // URL별 접근 권한 설정을 시작함을 알림
                .antMatchers("/").permitAll() // "/"는 누구나에게
                .antMatchers("/api/**").hasRole(Role.USER.name) // "/api/**"는 USER 권한을 가진 사람만
                .anyRequest().authenticated() // 이외의 곳들은 로그인한 사람이라면 누구
            .and()
                .logout() // 로그아웃 관련 설정을 하겠다~
                .logoutSuccessUrl("/") // 로그아웃 성공시 "/"으로 redirect
            .and()
                .oauth2Login() // OAuth2 로그인 기능을 설정하겠다~
                .userInfoEndpoint() // userInfo Endpoint, 즉 로그인 성공 후에 관하여 설정
                .userService(customOAuth2UserService) // 로그인 성공후에 사용할 Service 등록
    }
}
이렇게 이 과정은 http 통신에 있어서 Security 설정을 전반적으로 설정하는 코드가 된다. 이에 이어서는 마지막에 userService로 등록하는 customOAuth2UserService를 작성한다.
CustomOAuth2UserService.kt 작성
@Service
class CustomOAuth2UserService(
    private val userRepository: UserRepository,
    private val httpSession: HttpSession
): OAuth2UserService<OAuth2UserRequest, OAuth2User> {
    override fun loadUser(userRequest: OAuth2UserRequest?): OAuth2User {
        if (userRequest == null) throw OAuth2AuthenticationException("Error")

        val delegate = DefaultOAuth2UserService()
        val oAuth2User = delegate.loadUser(userRequest)

		// registrationId는 로그인 진행중인 서비스 코드
        // 구글, 네이버, 카카오등을 구분하는 것이기에 현재는 사실 필요없음
        val registrationId = userRequest.clientRegistration.registrationId
        // OAuth2 로그인 진행시 키가 되는 필드값
        val userNameAttributeName = userRequest.clientRegistration.providerDetails.userInfoEndpoint.userNameAttributeName

        // OAuth2User의 attribute가 된다.
        // 추후 다른 소셜 로그인도 이 클래스를 쓰게 될 것이다.
        val attributes = OAuthAttributes.of(
            registrationId,
            userNameAttributeName,
            oAuth2User.attributes
        )

		// 전달받은 OAuth2User의 attribute를 이용하여 회원가입 및 수정의 역할을 한다.
		// User Entity 생성 : 회원가입
        // User Entity 수정 : update
        val user = saveOrUpdate(attributes)

		// session에 SessionUser(user의 정보를 담는 객체)를 담아 저장한다.
        httpSession.setAttribute("user", SessionUser(user))

        return DefaultOAuth2User(
            setOf(SimpleGrantedAuthority(user.role.key)),
            attributes.attributes,
            attributes.nameAttributeKey
        )
    }

    fun saveOrUpdate(attributes: OAuthAttributes): User {
        val user = userRepository.findByEmail(attributes.email)
            ?.copy(name = attributes.name, picture = attributes.picture)
            ?: attributes.toEntity()

        return userRepository.save(user)
    }
}
OAuthAttributes.kt, SessionUser.kt
## OAuthAttributes.kt
// 해당 form이 OAuth2에서 모두 공통적으로 사용할 수 있는 form 인 것 같다.
data class OAuthAttributes(
    val attributes: Map<String, Any>,
    val nameAttributeKey: String,
    val name: String,
    val email: String,
    val picture: String,
) {
    companion object {
        fun of(
            registrationId: String,
            userNameAttributeName: String,
            attributes: Map<String, Any>
        ): OAuthAttributes {
            return OAuthAttributes(
                name = attributes["name"] as String,
                email = attributes["email"] as String,
                picture = attributes["picture"] as String,
                attributes = attributes,
                nameAttributeKey = userNameAttributeName
            )
        }
    }
}

// User Entity 생성, 즉 회원가입에 사용될 것이다.
fun OAuthAttributes.toEntity(): User {
    return User(
        name = name,
        email = email,
        picture = picture,
        role = Role.USER
    )
}

## SessionUser.kt
data class SessionUser(
    private val user: User
): Serializable {
    val name = user.name
    val email = user.email
    val picture = user.picture
}
Step 4. html 작성 및 테스트
이후 로그인 테스트를 위해 html을 작성하자. 편의를 위해 mustache를 사용했다. 우선 gradle에 추가해주자.
## build.gradle.kts
implementation("org.springframework.boot:spring-boot-starter-mustache")
그 후 두 파일을 만든다.
## HtmlController.kt
@Controller
class HtmlController(
    private val httpSession: HttpSession
) {
    @GetMapping("/")
    fun home(model: Model): String {
        model.addAttribute("hi", "hi")
        val user = httpSession.getAttribute("user") as SessionUser?

        if (user != null) {
            model.addAttribute("user", user)
        }

        return "home"
    }
}
## resources/templates/home.mustache
<html>
<head></head>
<body>
<div>
<h1>{{hi}}</h1>
</div>
<div class="col-md-12">
<div class="row">
<div class="col-md-6">
{{#user}}
Logged in as: <span id="user">{{user.name}}</span>
<img src={{user.picture}}>
<a href="/logout" class="btn btn-info active" role="button">Logout</a>
{{/user}}
{{^user}}
// 해당 endpoint는 spring session에서 기본 제공한다고 한다.
<a href="/oauth2/authorization/google" class="btn btn-success acitve"
role="button">Google Login</a>
{{/user}}
</div>
</div>
<br>
<!-- 목록 출력 영역 -->
</div>
</body>
</html>
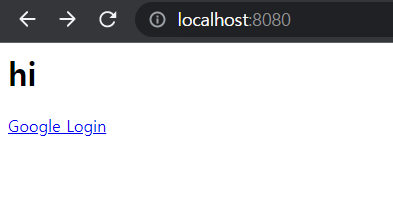
이렇게 될 경우 localhost:8080 으로 접속하면 index.mustache로 연결되게 되고, 그 과정에서 httpSession의 user가 있다면, 로그인 되어 있는 상태로 간주하고 해당 정보를 가지고 이름과 이미지를 그려주게 된다.
실제 동작 사진
- localhost:8080 접속시
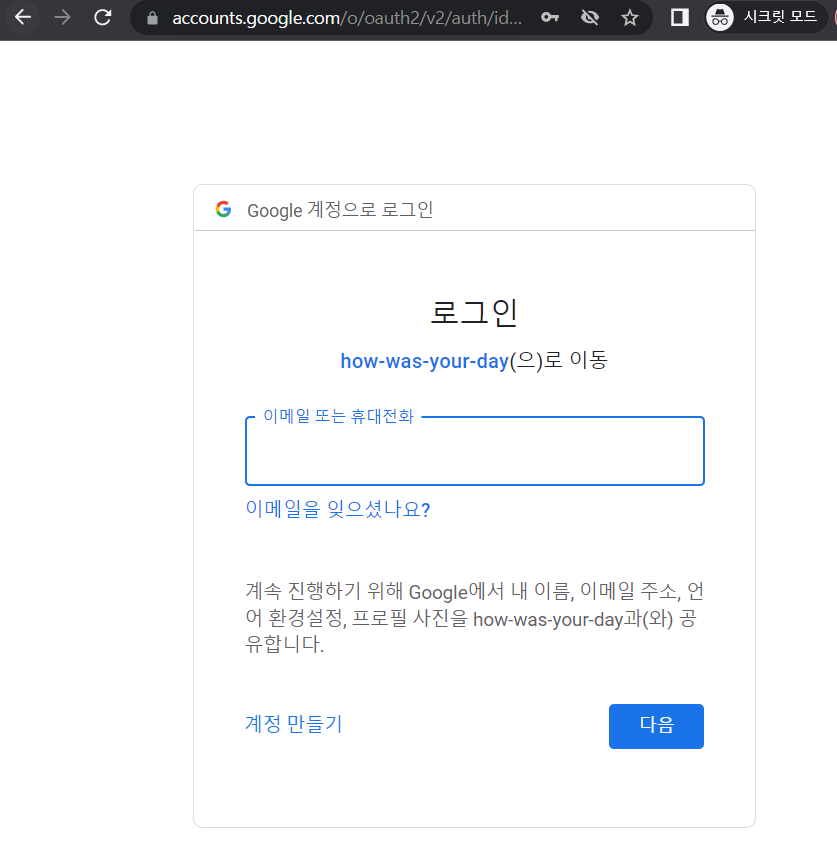
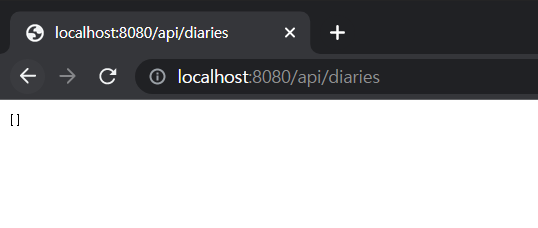
- localhost:8080/api/diaries 접속시 로그인 되어 있지 않기 때문에 로그인 요구 화면으로 이동(api/** 의 권한이 USER ROLE을 가지고 있는 사용자로 제한되어 있기 때문!)
이는 추후에 권한 오류시 대응 화면을 추가하거나 해야 할 듯
- 로그인 완료시 기존 타겟 url로 redirect
- 로그인 된 상태에서 localhost:8080 접속시
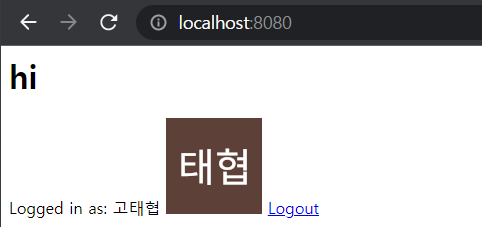
이렇게 성공적으로 OAuth2 Google 로그인을 구현해 낼 수 있다.
추가로 더 알아봐야 할 것
사실 이 정도로는 많이 부족하다. 아직 정확히 session을 통해 어떻게 유지되는지, OAuth2가 정확히 어떤식으로 동작하여 이 작업이 가능했던 것인지 등의 이슈들이 남아있다. 따라서 관련해야 추후 공부할 내용을 적어두고 틈틈히 채워넣는다.
JSession
구현 후 해당 web에서 F12를 눌러(크롬기준) 관리자 도구를 열어 살펴보면 JSession이 cookie로 들어있는 것을 볼 수 있다. 이를 찾아보니 Tomcat에서 session을 저장하는 방식이라고 한다. 이에 대한 추가 학습이 필요하다.
OAuthService의 동작
위 JSession과 연관이 있겠지만 OAuthService를 통한 로그인 동작이 정확히 어떤 프로세스로 이뤄지는지 깊게 파볼 이유가 있다. 이를 알아야 다른 social login도 추가하고, 효과적으로 로그인을 유지시킬 수 있을 것 같다.
OAuth2의 여러 기능들
아마 내가 짧은 지식으로 이해하기에 나는 OAuth2에서 아주 국소적인 부분만을 이용해서 오늘의 작업을 진행했다. 보면 google의 로그인을 하고 그 결과만을 가지고 User를 만들었을 뿐이다. OAuth2에서는 권한을 명시하는 access token을 부여하고, 이를 통해 해당 api 서버에 요청을 할 수 있게 된다~~ 라는 이야기도 많은데 이런 부분들은 전혀 다뤄보지 못한 것이다. 따라서 OAuth2에 대한 추가적인 깊은 이해와 연습이 필요해보인다.
JpaRepository vs CrudRepository
https://blog.naver.com/writer0713/221587319282
jpa가 더 고도화된 class 이며 jpa 특화 기능을 쓰기 위해선 jpaRepository를, 단순 crud의 경우 crudrepository를 선택하며 된다. 여기서 JPA 특화 기능이 무엇이 있는지를 알아봐야 할 것 같다.
마치며
오늘로 User를 만들고 로그인을 구현하면서 Data를 쌓아나가고 하나의 어플리케이션 처럼 동작할 수 있는 큰 산을 하나 넘었다. 다만 아직 OAuth2에 대한 이해가 완전하지 않아 추가적으로 더 알아봐야할 것 같기는 하다. 그럼에도 이제 사실 지금의 정도만으로도 서버를 배포해 데이터를 쌓아나가기 시작해봐도 좋을 것 같다는 생각이 들었다. 물론 DB schema가 계속 바뀔 수는 있겠지만 말이다.
오늘의 작업 코드는 여기서 확인해 볼 수 있다.