문서 객체 조작하기
HTML 페이지에 있는 html, head, body, title, h1, div, span 등을 HTML 언어에서는 요소라고 부른다.
그리고 자바스크립트에서는 이러한 html 요소들을 문서 객체라고 부른다.
문서 객체를 조합해서 만든 전체적인 형태를 문서 객체 모델이라고 부른다.
DOMContentLoaded 이벤트
<!DOCTYPE html>
<html lang="en">
<head>
  <meta charset="UTF-8">
  <meta name="viewport" content="width=device-width, initial-scale=1.0">
  <title>Document</title>
  <script>
    document.addEventListener('DOMContentLoaded', () => {
      const h1 = (text) => `<h1>${text}<h1>`
      document.body.innerHTML += h1('DOMContentLoaded 이벤트 발생')
    })
  </script>
</head>
<body>
</body>
</html>- 문서 객체를 조작할 때는 DOMContentLoaded 이벤트를 사용한다.
- 기본적으로 html의 head 태그 내부에 script 태그를 배치하면 body 태그에 있는 문서 객체(요소)에 접근할 수 없기 때문이다.
- DOMContentLoaded 이벤트는 웹브라우저에서 문서 객체를 모두 읽고 나서 실행하는 이벤트로 이 이벤트를 사용하면 script 태그가 body 태그 이전에 위치해도 문제없이 코드가 실행된다.
문서 객체 가져오기
document.head
document.body
document.title
=> head, body, title과 같은 요소들을 가져온다.
querySelector() 메소드
<!DOCTYPE html>
<html lang="en">
<head>
  <meta charset="UTF-8">
  <meta name="viewport" content="width=device-width, initial-scale=1.0">
  <title>Document</title>
  <script>
    document.addEventListener('DOMContentLoaded', () => {
      const header = document.querySelector('h1');
      header.textContent = 'HEADERS';
      header.style.color = 'white';
      header.style.backgroundColor = 'black';
      header.style.padding = '10px';
    })
  </script>
</head>
<body>
  <h1></h1>
</body>
</html>
querySelector() => 요소를 하나만 추출
querySelectorAll() => 문서 객체를 여러 개 추출
querySelectorAll() 메소드
<!DOCTYPE html>
<html lang="en">
<head>
  <meta charset="UTF-8">
  <meta name="viewport" content="width=device-width, initial-scale=1.0">
  <title>Document</title>
  <script>
    document.addEventListener('DOMContentLoaded', () => {
      const headers = document.querySelectorAll('h1');
      headers.forEach((header) => {
        header.textContent = 'HEADERS';
        header.style.color = 'white';
        header.style.backgroundColor = 'black';
        header.style.padding = '10px';
      })
    })
  </script>
</head>
<body>
  <h1></h1>
  <h1></h1>
  <h1></h1>
  <h1></h1>
</body>
</html>
글자 조작하기
<!DOCTYPE html>
<html lang="en">
<head>
  <meta charset="UTF-8">
  <meta name="viewport" content="width=device-width, initial-scale=1.0">
  <title>Document</title>
  <script>
    document.addEventListener('DOMContentLoaded', () => {
      const a = document.querySelector('#a');
      const b = document.querySelector('#b');
      a.textContent = '<h1>textContent 속성<h1>'
      b.innerHTML = '<h1>innerHTML 속성<h1>'
    })
  </script>
</head>
<body>
  <div id="a"></div>
  <div id="b"></div>
</body>
</html>
textContent => 입력된 문자열을 그대로 삽입
innerHTML => 입력된 문자열을 HTML 형식으로 삽입
속성 조작하기
<!DOCTYPE html>
<html lang="en">
<head>
  <meta charset="UTF-8">
  <meta name="viewport" content="width=device-width, initial-scale=1.0">
  <title>Document</title>
  <script>
    document.addEventListener('DOMContentLoaded', () => {
      const rects = document.querySelectorAll('.rect');
      rects.forEach((rect, index) => {
        const width = (index + 1) * 100;
        const src = `https://www.placecats.com/${width}/250`;
        rect.setAttribute('src', src);
      })
    })
  </script>
</head>
<body>
  <img class="rect">
  <img class="rect">
  <img class="rect">
  <img class="rect">
</body>
</html>

문서 객체.setAttribute(속성 이름, 값) => 특정 속성에 값을 저장
문서 객체.getAttribute(속성 이름) => 특정 속성을 추출
스타일 조작하기
<!DOCTYPE html>
<html lang="en">
<head>
  <meta charset="UTF-8">
  <meta name="viewport" content="width=device-width, initial-scale=1.0">
  <title>Document</title>
  <script>
    document.addEventListener('DOMContentLoaded', () => {
      const divs = document.querySelectorAll('body > div');
      divs.forEach((div, index) => {
        console.log(div, index);
        const val = index * 10;
        div.style.height = '10px';
        div.style.backgroundColor = `rgba(${val}, ${val}, ${val})`
      })
    })
  </script>
</head>
<body>
  <div></div><div></div><div></div><div></div><div></div>
  <div></div><div></div><div></div><div></div><div></div>
  <div></div><div></div><div></div><div></div><div></div>
  <div></div><div></div><div></div><div></div><div></div>
  <div></div><div></div><div></div><div></div><div></div>

</body>
</html>
스타일 조작하기
자바스크립트에서는 - 기호를 식별자에 사용할 수 없으므로 다음과 같은 방법들로 스타일을 조정해야 한다.
h1.style.backgroundColor
h1.style['backgroundColor']
h1.style['background-Color]
문서 객체 생성하고 삽입하기
<!DOCTYPE html>
<html lang="en">
<head>
  <meta charset="UTF-8">
  <meta name="viewport" content="width=device-width, initial-scale=1.0">
  <title>Document</title>
  <script>
    document.addEventListener('DOMContentLoaded', () => {
      const header = document.createElement('h1');
      header.textContent = '문서 객체 동적으로 생성하기';
      header.setAttribute('data-custom', '사용자 정의 속성');
      header.style.color = 'white';
      header.style.backgroundColor = 'black';

      document.body.appendChild(header);
    })
  </script>
</head>
<body>

</body>
</html>
document.createElement(문서 객체 이름) => 문서 객체 만들기
문서 객체 이동하기
<!DOCTYPE html>
<html lang="en">
<head>
  <meta charset="UTF-8">
  <meta name="viewport" content="width=device-width, initial-scale=1.0">
  <title>Document</title>
<script>
    document.addEventListener('DOMContentLoaded', () => {
      const divA = document.querySelector('#first');
      const divB = document.querySelector('#second');
      const h1 = document.createElement('h1');
      h1.textContent = '이동하는 h1 태그';
      const toFirst = () => {
        divA.appendChild(h1);
        setTimeout(toSecond, 1000);
      }
      const toSecond = () => {
        divB.appendChild(h1);
        setTimeout(toFirst, 10000);
      }
      toFirst();
    })
  </script>
</head>
<body>
  <div id="first">
    <h1>첫 번째 div 태그 내부</h1>
  </div>
  <hr>
  <div id="second">
    <h1>두 번째 div 태그 내부</h1>
  </div>
</body>
</html>
부모 객체.appendChild(자식 객체)
=> 문서 객체를 다른 문서 객체에 추가 하면 document 객체가 이동한다.
문서 객체 제거하기
<!DOCTYPE html>
<html lang="en">
<head>
  <meta charset="UTF-8">
  <meta name="viewport" content="width=device-width, initial-scale=1.0">
  <title>Document</title>
  <script>
    document.addEventListener('DOMContentLoaded', () => {
      setTimeout(() => {
        const h1 = document.querySelector('h1');
        h1.parentNode.removeChild(h1);
      }, 3000)
    })
  </script>
</head>
<body>
  <hr>
  <h1>제거 대상 문서 객체</h1>
  <hr>
</body>
</html>
이벤트를 제거할 때는 removeEventListener() 메소드를 사용한다.
이벤트 모델
<!DOCTYPE html>
<html lang="en">
<head>
  <meta charset="UTF-8">
  <meta name="viewport" content="width=device-width, initial-scale=1.0">
  <title>Document</title>
  <script>
    document.addEventListener('DOMContentLoaded', () => {
      const textarea = document.querySelector('textarea')
      const h1 = document.querySelector('h1');
      textarea.addEventListener('keyup', (event) => {
        const length = textarea.value.length;
        h1.textContent = `글자 수 : ${length}`
      })
    })
  </script>
</head>
<body>
  <h1>글자 수 : 0</h1>
  <textarea></textarea>
</body>
</html>
이벤트 모델
1. addEventListener() => 현재 표준으로 사용하고 있는 표준 이벤트 모델
2. on으로 시작하는 속성에 함수를 할당하는 모델 => 고전 이벤트 모델
3. on으로 시작하는 속성을 HTML 요소에 직접 넣어서 이벤트를 연결하는 모델 => 인라인 이벤트 모델
모든 이벤트 모델의 이벤트 리스너는 첫 번째 매개변수로 이벤트 객체를 받는다.
이벤트 객체에는 이벤트와 관련된 정보가 들어있다.
keydown => 키가 눌릴 때 사용
keypress => 키가 입력되었을 때 실행
keyup => 키보드에서 키가 떨어질 때 사용
keydown 이벤트와 keypress 이벤트는
웹 브라우저에 따라서 아시아권의 문자를 제대로 처리하지 못하는 문제가 있어서 일반적으로 keyup 이벤트를 사용한다.
예외처리
기본 예외 처리
<!DOCTYPE html>
<html lang="en">
<head>
  <meta charset="UTF-8">
  <meta name="viewport" content="width=device-width, initial-scale=1.0">
  <title>Document</title>
</head>
<body>

<script>
  document.addEventListener('DOMContentLoaded', () => {
    const h1 = document.querySelector('h1');
    if (h1) {
      h1.textContent = '안녕하세요';
    }
    else {
      console.log('h1 태그를 추출할 수 없습니다.')
    }
  })
</script>
</body>
</html>
if 문을 사용해서 기본 예외 처리를 할 수 있다.
고급 예외 처리
<!DOCTYPE html>
<html lang="en">
<head>
  <meta charset="UTF-8">
  <meta name="viewport" content="width=device-width, initial-scale=1.0">
  <title>Document</title>
</head>
<body>
  <script>
    try {
      willExcept.byeBye()
      console.log("try 구문의 마지막 줄")
    } catch (exception){
      console.log("catch 구문의 마지막 줄")
    } finally {
      console.log("finally 구문의 마지막 줄")
    }
  </script>
</body>
</html>
try ~ catch ~ finally 문으로 고급 예외 처리가 가능하다.
예외가 발생할 수 있는 문을 try 블록 안에 넣고 예외가 발생했을 시 실행할 문을 catch 문 안에, 예외가 발생하든 안 하든 실행할 문을 finally 문 안에 넣으면 된다.
예외 정보 출력하기
<!DOCTYPE html>
<html lang="en">
<head>
  <meta charset="UTF-8">
  <meta name="viewport" content="width=device-width, initial-scale=1.0">
  <title>Document</title>
</head>
<body>
  <script>
    try {
      const array = new Array(999999999999999999999);
    } catch (exception) {
      console.log(exception);
      console.log();
      console.log(`예외 이름: ${exception.name}`);
      console.log(`예외 메시지: ${exception.message}`);
    }
  </script>
</body>
</html>
catch문 () 안에 입력하는 식별자가 예외 객체가 된다.
보통 exception 이나 e를 식별자명으로 사용한다.
예외 강제 발생
<!DOCTYPE html>
<html lang="en">
<head>
  <meta charset="UTF-8">
  <meta name="viewport" content="width=device-width, initial-scale=1.0">
  <title>Document</title>
</head>
<body>
  <script>
    function divide(a,b) {
      if(b === 0) {
        throw '0으로는 나눌 수 없습니다.';
      }
      return a / b;
    }
    console.log(divide(10,2));
    console.log(divide(10,0));
  </script>
</body>
</html>
예외를 강제로 발생시켜야 하는 경우네는 throw 구문을 사용한다.
숙제
기본 숙제
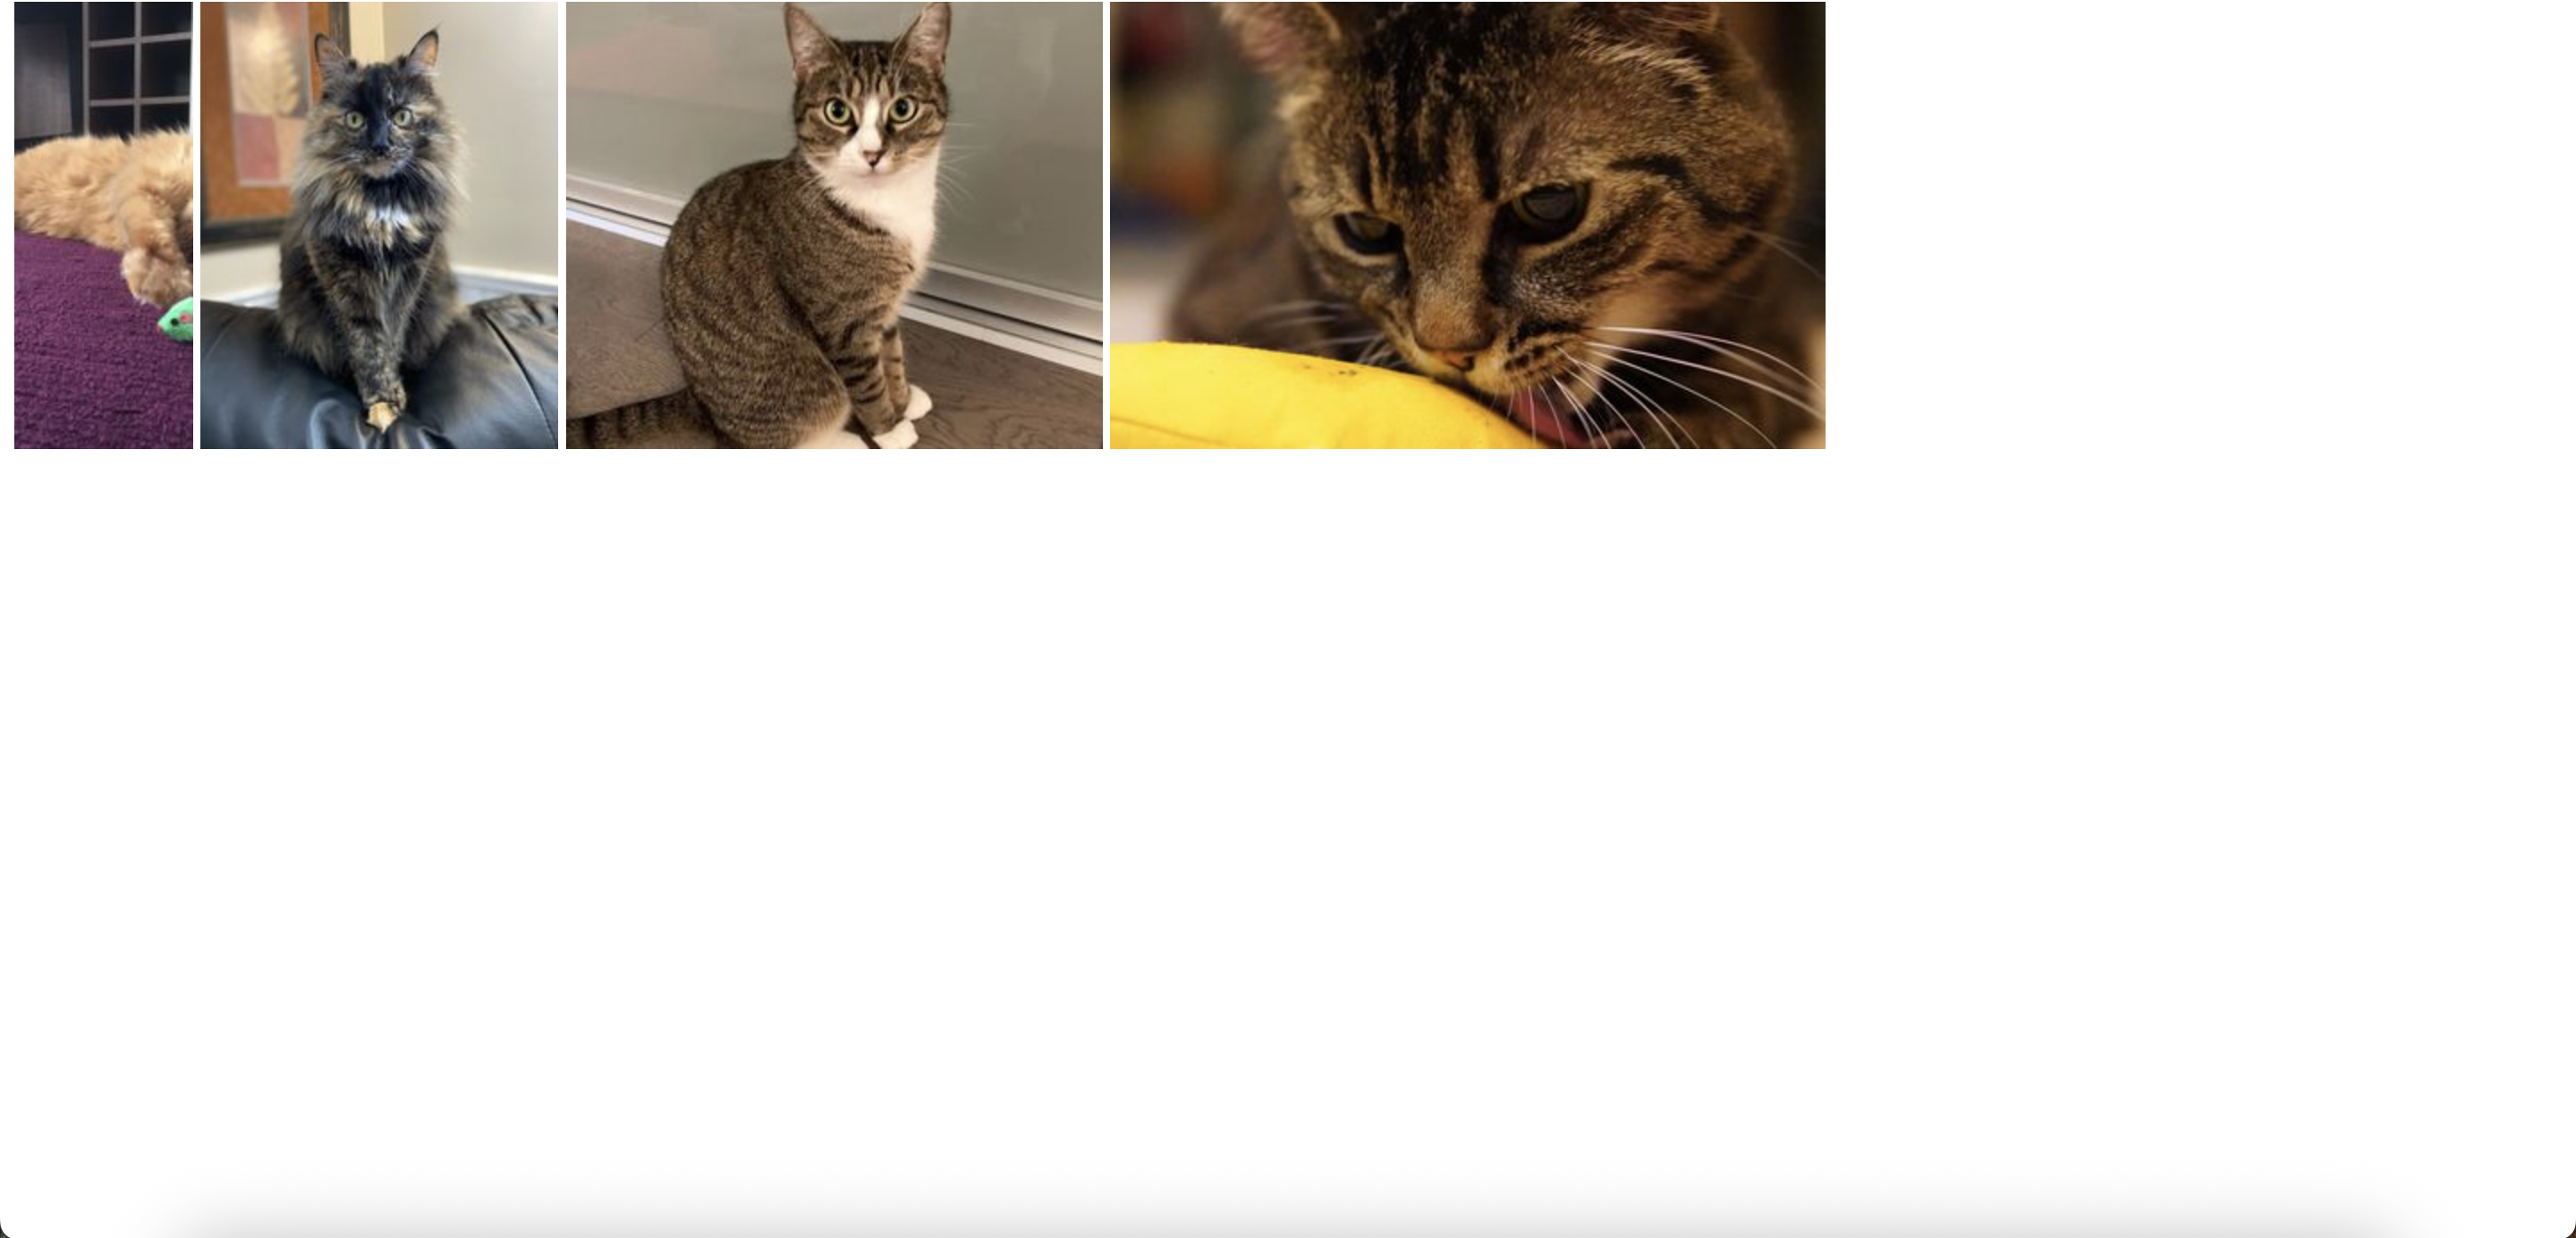
src 속성을 변경해서 다음과 같은 고양이 사진들을 출력할 수 있었습니다.
추가 숙제