Swiper
자바스크립트로 무한으로 루프하는 슬라이더를 구현해봤으니 플러그인을 이용해 슬라이드를 간단하게 만들 수 있는 방법에 대해 알아보자!
이번에 사용한 플러그인은 Swiper로 cdn, npm, 파일을 다운받아 삽입하는 방식으로 쉽게 슬라이드를 구현할 수 있고 하위 브라우저(IE9)에서도 문제없이 사용 가능하기 때문에 크로스 브라우징 측면에서도 뛰어나다.
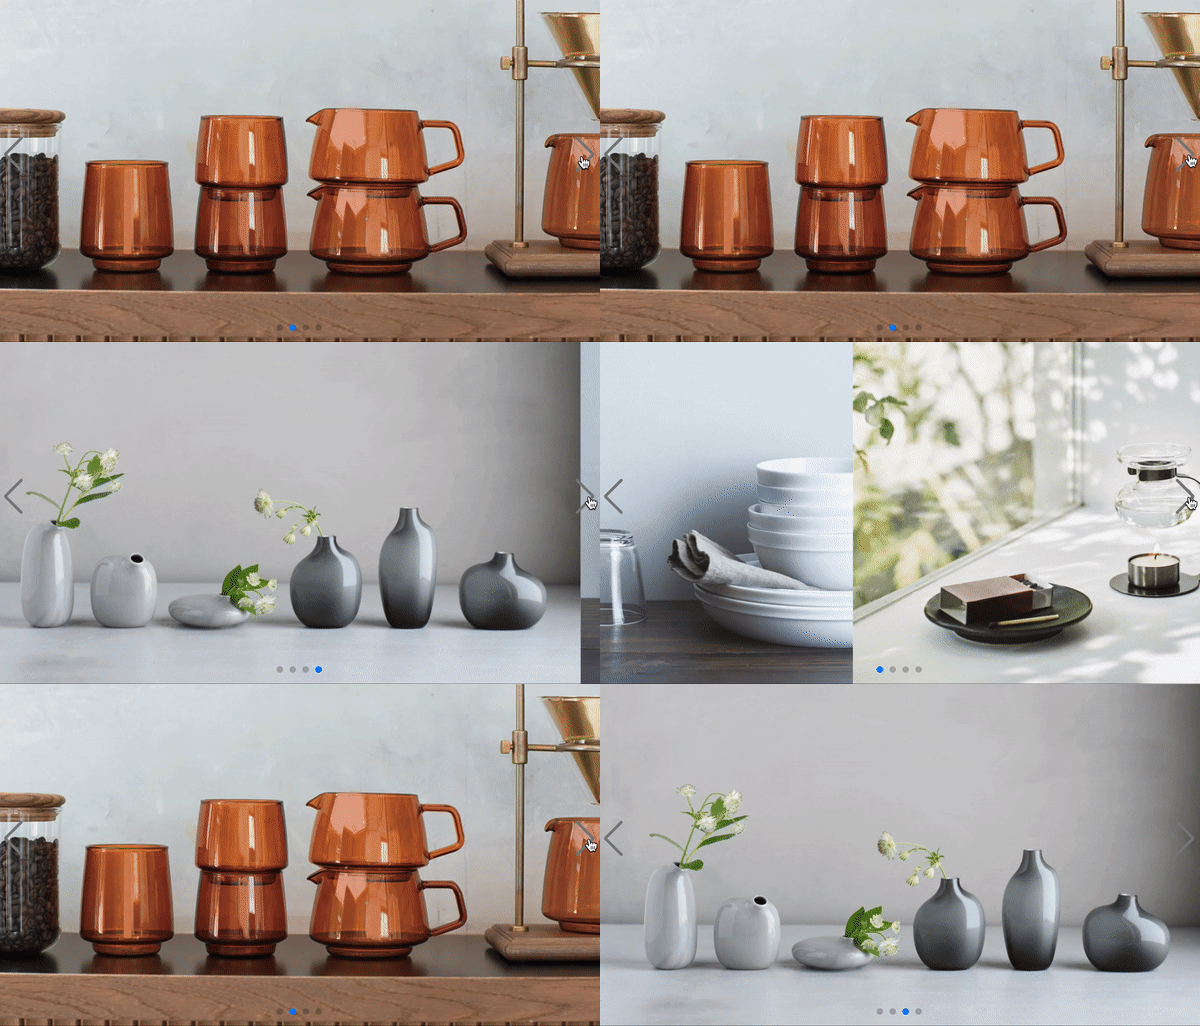
완성한 모습!

HTML + JavaScript
<!DOCTYPE html>
<html lang="ko">

<head>
  <meta charset="UTF-8">
  <title>swiper slider</title>
  <meta name="description" content="slider">
  <link rel="stylesheet" href="./css/initial.min.css">
  <!-- 파일을 다운받아 링크를 걸어준다. -->
  <link rel="stylesheet" href="./css/swiper-bundle.css">
  <link rel="stylesheet" href="./css/swiper_customize.css">
  <link rel="stylesheet" href="./css/style.css">
  <script type="text/javascript" src="js/common.js"></script>
</head>

<!-- 슬라이드 구현 -->
<body>
  <div class="swiper-container mySwiper">
    <div class="swiper-wrapper">
      <div class="swiper-slide">
        <img src="./main_banner/main_banner_1.jpg" alt="">
      </div>
      <div class="swiper-slide"><img src="./main_banner/main_banner_2.jpg" alt=""></div>
      <div class="swiper-slide"><img src="./main_banner/main_banner_3.jpg" alt=""></div>
      <div class="swiper-slide"><img src="./main_banner/main_banner_4.jpg" alt=""></div>
    </div>
    <div class="swiper-button-next"></div>
    <div class="swiper-button-prev"></div>
    <div class="swiper-pagination"></div>
  </div>

  <!-- 스크립트 -->
  <script type="text/javascript" src="./js/swiper-bundle.js"></script>
  <script type="text/javascript">
    let swiper = new Swiper('.mySwiper', {
      autoplay: {
        delay: 3000,
        disableOnInteraction: false,
      },
      loop: true,
      navigation: {
        nextEl: '.swiper-button-next',
        prevEl: '.swiper-button-prev',
      },
      pagination: {
        el: '.swiper-pagination',
        clickable: true,
      }
    });
  </script>
</body>

</html>
Swiper의 사용법을 간단히 말하면 슬라이드로 사용할 태그에 특정 class만 추가하여 태그를 슬라이드로 만드는 것이다.
이 때 슬라이드를 만들기 위한 몇가지 규칙이 있는데 가장 중요한 것은
밑의 계층구조를 따라 class명을 정해주는 것이다.
swiper-container > swiper-wrapper > swiper-slide
swiper-slide가 슬라이딩될 요소 하나가 된다.
슬라이드 마크업이 끝나면 버튼과 pagination도 추가하고 스크립트로 넘어가면 된다.
스크립트는 DOM이 모두 로드된 뒤에 요소를 제어해야하기 때문에 body 마지막에 링크를 건다.
   let swiper = new Swiper('.mySwiper', {
      autoplay: {
        delay: 3000,
        disableOnInteraction: false,
      },
      loop: true,
      navigation: {
        nextEl: '.swiper-button-next',
        prevEl: '.swiper-button-prev',
      },
      pagination: {
        el: '.swiper-pagination',
        clickable: true,
      }
    });
Swiper에서 제공하는 메서드를 이용해 인스턴스를 생성하고 옵션을 설정해주면 기본적인 슬라이더 구현은 끝난다.
기본옵션
slidesPerView : 'auto', // 한 슬라이드에 보여줄 갯수
spaceBetween : 6, // 슬라이드 사이 여백
loop : false, // 슬라이드 반복 여부
loopAdditionalSlides : 1, // 슬라이드 반복 시 마지막 슬라이드에서 다음 슬라이드가 보여지지 않는 현상 수정
pagination : false, // pager 여부
autoplay : {  // 자동 슬라이드 설정 , 비 활성화 시 false
  delay : 3000,   // 시간 설정
  disableOnInteraction : false,  // false로 설정하면 스와이프 후 자동 재생이 비활성화 되지 않음
},
navigation: {   // 버튼 사용자 지정
	nextEl: '.swiper-button-next',
	prevEl: '.swiper-button-prev',
},CSS
.swiper-container {
  width: 100%;
  height: 100%;
}

.swiper-slide {
  text-align: center;
  font-size: 18px;
  background: #fff;
  display: flex;
  justify-content: center;
  align-items: center;
}

.swiper-slide img {
  display: block;
  width: 100%;
  height: 100%;
  object-fit: cover;
}

.swiper-container {
  margin-left: auto;
  margin-right: auto;
  width: 100%;
  height: 100vh;
}

/* navigation custom */

.swiper-button-prev,
.swiper-button-next {
  color: gray;
}

/* pagination custom */

.swiper-pagination.swiper-pagination-bullets {
  bottom: 5%;
}
스크립트를 다 작성한 뒤 작동이 잘 되는지 확인하고 CSS로 레이아웃을 잡는다. .swiper-button과 .swiper-pagination-bullets는 Swiper 자체에서 스타일링된 CSS가 있기때문에 다시 재정의해서 사용하면 된다.
🤔
원래 있던 코드에 Swiper를 적용하던 중 slide 요소에 구조선택자를 이용해 background-image로 넣은 순간 제대로 구동되지 않는 것을 발견했다. 개발창을 열어보니 swiper는 index를 이용해 슬라이딩되는 로직으로 되어있어서 slide가 복제되면서 구조선택자가 엉켜버린 것이다. 이것을 해결하기 위해 이미지 삽입 방식을 html에 img태그로 넣는 것으로 변경했다.
