💡학습목표
웹페이지에서 이미지를 노출시킬 때 유저가 버튼을 누르면 그에 맞는 이미지와 텍스트가 나타나는 반응형 이미지 슬라이더를 Jquery를 사용하여 구현하는 것을 통해 each()와 addClass()등의 jqeury 주요 메서드를 이해한다.
💡주요 로직
- 각각의 이미지마다 각각의 버튼이 있으므로
.each()를 이용해 이미지와 버튼의 인덱스 값을 받아온다. - 이미지의 인덱스값과 버튼의 인덱스값이 동일한지
if 구문으로 체크한다. - 인덱스 값이 동일하다면
.addClass로 class를 추가해 active로 만든다.
💡코드
HTML
<body>
<section>
<!-- img area -->
<div class="timeline_container">
<div class="timeline_box active"> <!-- active 주기-->
<div class="img_wrap"></div>
<div class="text_wrap">
<h2 class="timeline_title">About</h2>
<p class="timeline_text">
From small realizations to creation. Ideas for products originate
from small realizations in everyday life. Drawing from actual
experiences, we develop product concepts around lifestyles that
inspire us.
</p>
</div>
</div>
<div class="timeline_box">
<div class="img_wrap"></div>
<div class="text_wrap">
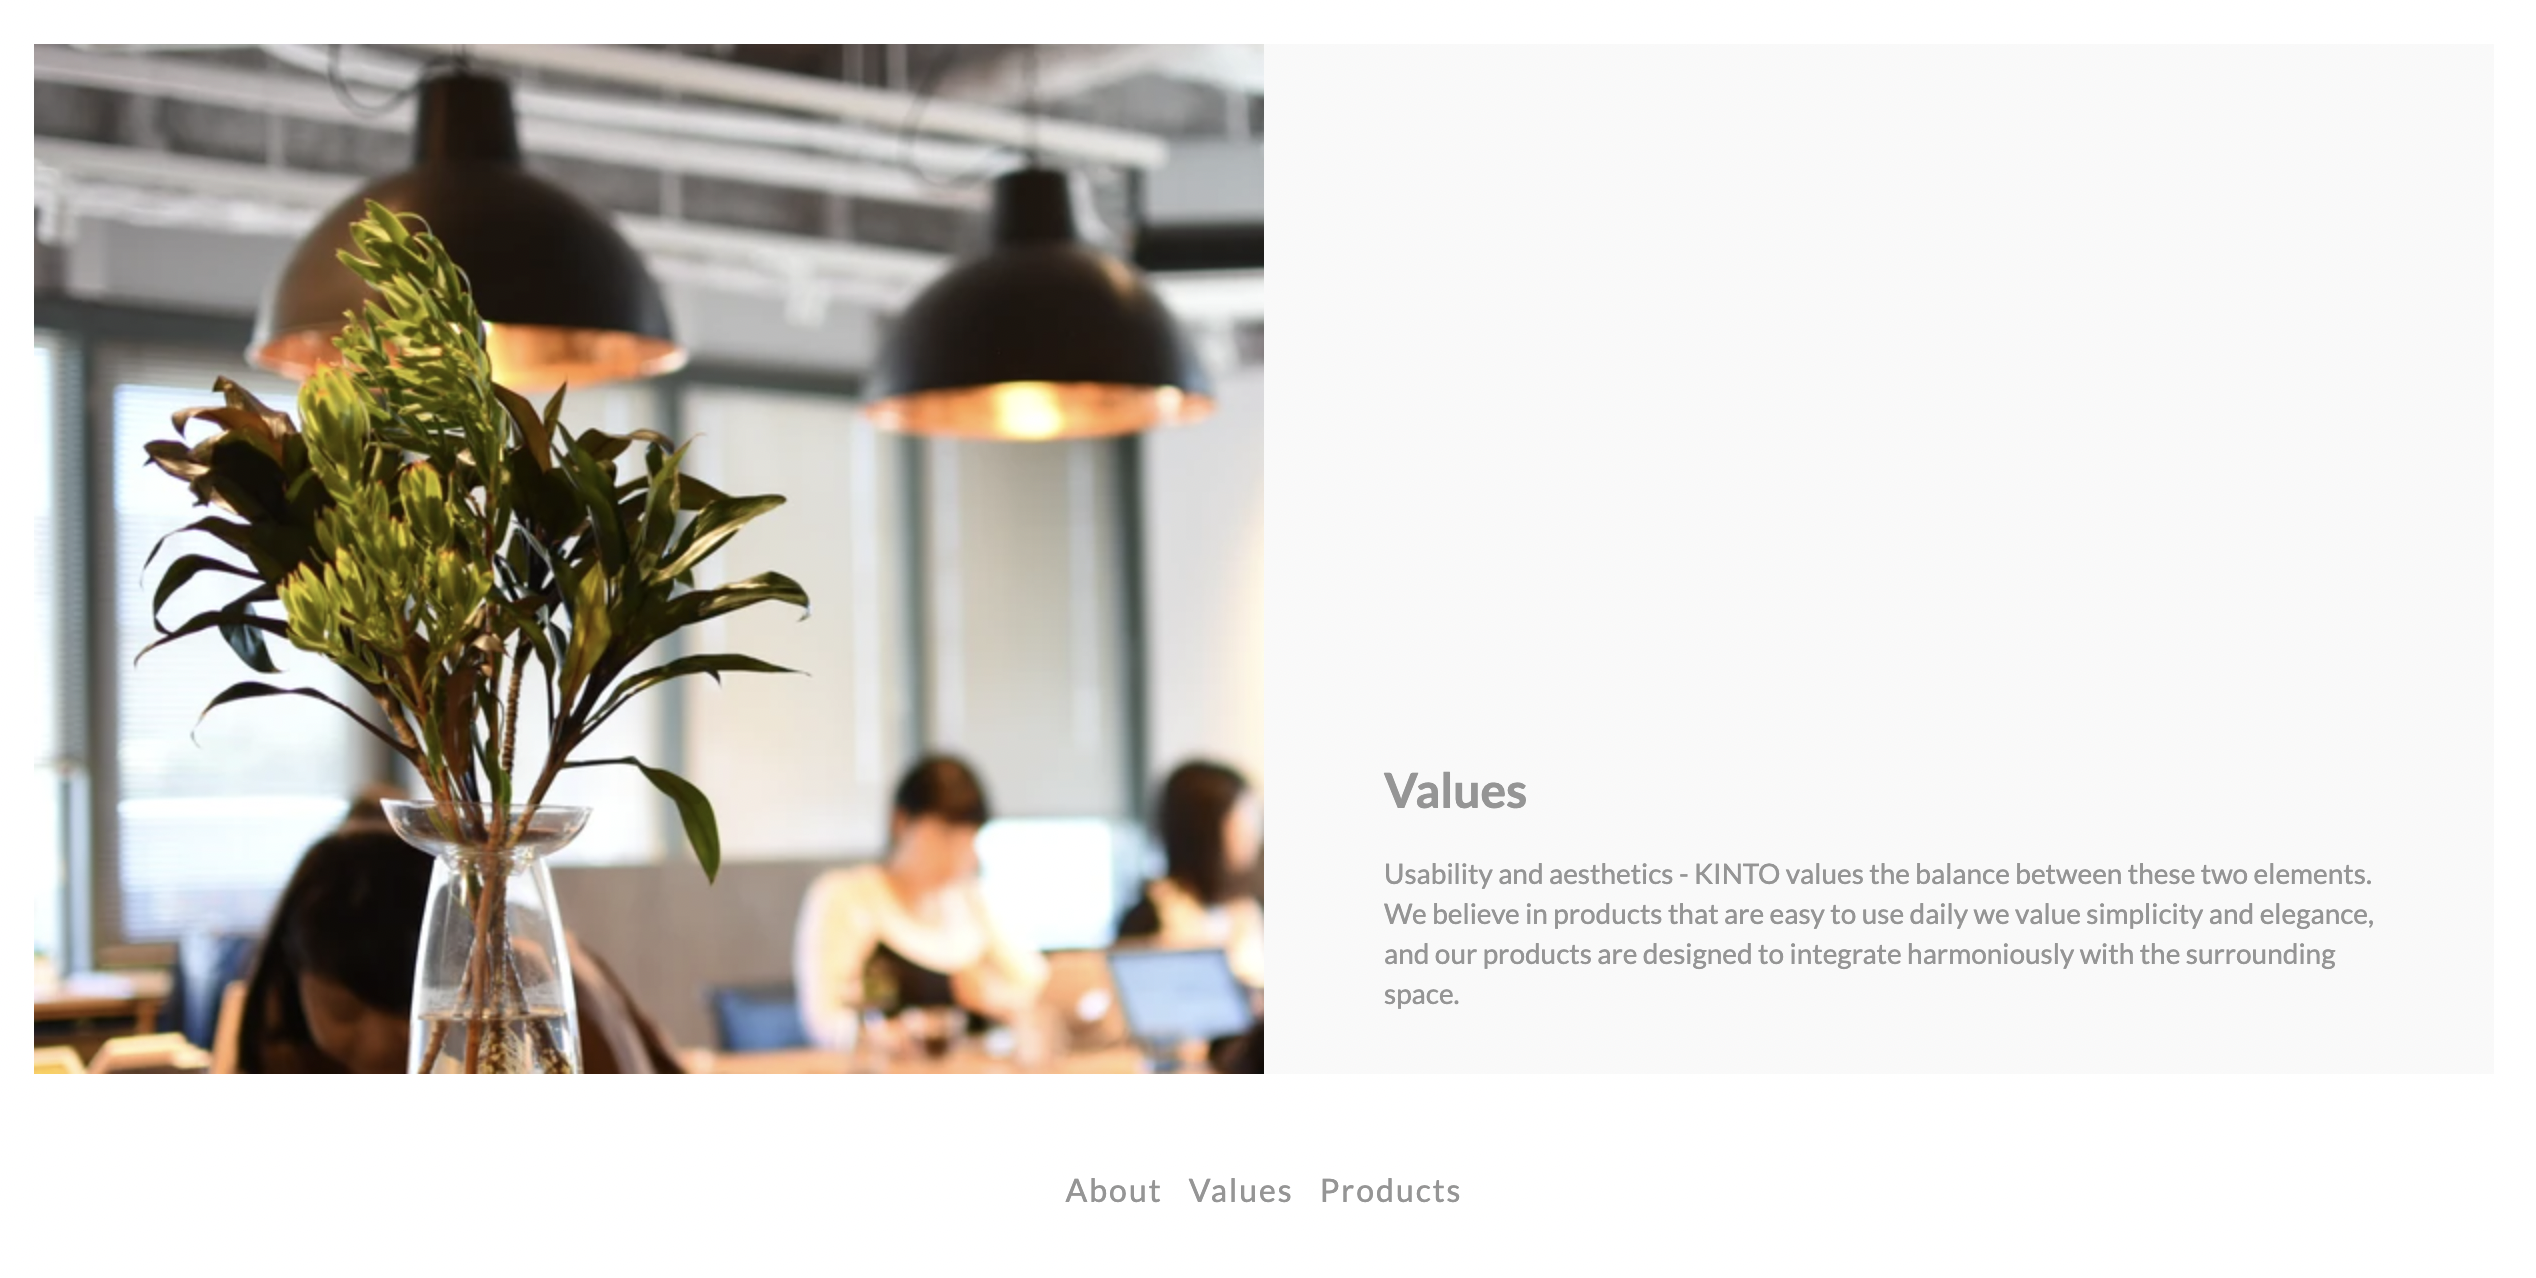
<h2 class="timeline_title">Values</h2>
<p class="timeline_text">
Usability and aesthetics - KINTO values the balance between these
two elements. We believe in products that are easy to use daily we
value simplicity and elegance, and our products are designed to
integrate harmoniously with the surrounding space.
</p>
</div>
</div>
<div class="timeline_box">
<div class="img_wrap"></div>
<div class="text_wrap">
<h2 class="timeline_title">Products</h2>
<p class="timeline_text">
From small realizations to creation. Ideas for products originate
from small realizations in everyday life. Drawing from actual
experiences, we develop product concepts around lifestyles that
inspire us.
</p>
</div>
</div>
</div>
<!-- btn area -->
<div class="timeline_btn">
<button type="button" name="button">About</button>
<button type="button" name="button">Values</button>
<button type="button" name="button">Products</button>
</div>
</section>
</body>-
작동되었을 때 실제로 움직이는 영역인 timeline_box에 좌측은 이미지를 넣고 우측에 텍스트를 위치시켰다.
-
<div class="timeline_box active">: 첫 번째 timeline_box에 다중클래스를 이용해 active를 주었다. active를 넣는 이유는 기본적으로 겹쳐져있는 timeline_box는opacity:0으로 투명한 상태인데, 선택하기 전에도 보여지는 컨텐츠가 있어야 하기때문에 첫 번째 timeline_box에 active를 줘 디폴트로 화면에 노출시킨다. -
아래에는 각각의 timeline_box에 매치되는 timeline_btn 영역을 만들어 버튼을 생성했다.
CSS
html,
body {
  height: 100%;
}

body {
  font-family: "Lato", sans-serif;
  color: #959595;
  display: flex;
  align-items: center;
  justify-content: center;
}

ul,
li {
  list-style: none;
}

a {
  color: #959595;
  text-decoration: none;
}

h1,
h2,
h3,
h4,
h5,
h6 {
  line-height: 1;
}

input:focus {
  outline: none;
}

section {
  min-width: 1320px;
}

.timeline_container {
  width: 1230px;
  height: 515px;
  margin: 0 auto;
}

.timeline_box {
  width: 1230px;
  height: 515px;
  background: #f9f9f9;
  display: flex;
  text-align: center;
  position: absolute; /*.timeline_box 모두 겹치기*/
  opacity: 0; /*기본 투명도*/
}

.timeline_box .img_wrap {
  background-image: url("../img/slider/slider_1.jpg");
  background-repeat: no-repeat;
  width: 50%;
  height: 100%;
}

.timeline_box:nth-child(2) .img_wrap {
  background-image: url("../img/slider/slider_2.jpg");
}

.timeline_box:nth-child(3) .img_wrap {
  background-image: url("../img/slider/slider_3.jpg");
}

.text_wrap {
  width: 50%;
  padding: 0 60px;
  box-sizing: border-box;
  position: absolute;
  top: 70%;
  right: 0;
  text-align: left;
}

.text_wrap h2 {
  font-size: 24px;
}

.text_wrap .timeline_text {
  font-size: 14px;
  margin-top: 20px;
  font-weight: normal;
  line-height: 20px;
}

.timeline_btn {
  width: 100%;
  height: auto;
  text-align: center;
  margin-top: 40px;
}

.timeline_btn > button {
  display: inline-block;
}

/*active 상태일 때 opacity 1 을 줘서 화면에 노출 */
.timeline_box.active {
  opacity: 1;
}

button {
  all: unset;
  font-size: 16px;
  cursor: pointer;
  padding: 10px 0;
  letter-spacing: 1px;
}

button {
  border: none;
  position: relative;
  cursor: pointer;
  margin-right: 10px;
}

button:last-child {
  margin-right: 0;
}

button:hover {
  background: #fff;
  color: #959595;
}
button:after {
  content: "";
  position: absolute;
  top: 0;
  right: 0;
  height: 2px;
  width: 0;
  background: #959595;
  transition: 400ms ease all;
}

button:after {
  right: inherit;
  top: inherit;
  left: 0;
  bottom: 0;
}
button:hover:after {
  width: 100%;
  transition: 600ms ease all;
}
- 컨텐츠 영역인 timeline_box는 총 3개이며,
position: absolute;를 줘서 모두 겹치게 하고 기본적으로opacity: 0;상태로 만든다.
.timeline_box.active { opacity: 1; }클릭이벤트가 일어나면 (active) 투명도를 1을 줘서 화면에 노출시킨다. 어떤 클릭이벤트가 일어나지 않은 상태는 첫번째 컨텐츠가 노출된 상태이다.
Jquery
$(function () {
  //1. 버튼의 각각의 인덱스 받아오기
  $(".timeline_btn > button").each(function (i) {
    let indexNum = i;
    //2. .timeline_box(컨텐츠영역)의 각각의 인덱스 받아오기
    $(this).click(function () {
      //3. 버튼의 인덱스와 .timeline_box 인덱스 비교
      $(".timeline_box").each(function (j) {
        if (indexNum == j) {
          //4. 기존의 class 삭제 후 추가
          $(".timeline_box").removeClass("active");
          $(this).addClass("active");
        }
      });
    });
  });
});
1. 버튼의 각각의 인덱스 받아오기,
2. .timeline_box(컨텐츠영역)의 각각의 인덱스 받아오기
컨텐츠와 버튼이 각각 대응하는 구조를 이용하기 위해서 .each() 메서드를 이용해 컨텐츠와 버튼의 인덱스를 모두 받아오고 비교군이 될 버튼의 인덱스는 indexNum 라는 변수에 넣는다.
3. 버튼의 인덱스와 .timeline_box 인덱스 비교
if구문을 이용해 버튼의 인덱스 (i)와 .timeline_box 인덱스 (j)가 같은지 비교한다.
4. 기존의 class 삭제 후 추가
html 마크업시 디폴트로 컨텐츠를 보여주기 위해서 active 클래스를 미리 넣어뒀으므로 먼저 active class를 삭제 후, 클릭이벤트 발생시 클릭되어진 버튼과 동일한 인덱스의 컨텐츠가 active되게 class를 추가한다.
$(".timeline_box").removeClass("active");
만약 두번째 실행의 경우에도 특정 컨텐츠에 active 되어진 상태이기 때문에 모든 버튼의 class를 지우는 로직을 만들어야한다.
만약 .timeline_box 대신$("this").removeClass("active");를 넣게 되면 this는 선택된 컨텐츠를 가르키기 때문에 이전에 선택된 컨텐츠의 active가 사라지지 않고 버튼당 한 번씩만 작동되게된다.
💡완성!
👩💻후기
요즘 대부분의 웹사이트는 이미지 슬라이더가 구현되어있고 슬라이더를 만드는 방법 또한 무궁무진하지만 Jquery를 집중적으로 학습하고 위해 슬라이더를 Jquery 메서드를 이용해 만들보았다. 간단해보이지만 컴퓨터 앞에서 머리를 감싸고 있는 시간이 꽤 길었다.
부끄럽지만 처음에 생각한 로직 일부만 올리자면..
      if ($(".timeline_box").eq(i).hasClass("active")) {
        $(".timeline_box").eq(i).removeClass("active");
      }
위에 언급한 상황처럼 $("this").removeClass("active"); 같이 추가된 active가 전혀 사라지지 않는 것을 해결하기 위해 컨텐츠가 class를 가지고있다면 지워라...? 라는 자가당착 코드를 쓰게되었는데, active가 지워져 버리니 당연히 active 일 때 실행되는 css 코드도 실행되지 않는 아이러니한 상황에 빠지게 되었다.
결론적으로 .removeClass()와 .hasClass()의 순서를 바꿔서 모든 .timeline_box를 체크하여 active 상태를 리셋하고 선택된 .timeline_box에만 class주어 css를 적용시켜서 화면에 노출하는 방식으로 해결하였다.
본 포스팅의 슬라이더처럼 class를 이용해 기능을 구현할 때, class를 어떤식으로 제어해 로직을 짜야할지 더 고민해봐야겠다!
